In this article, you’ll learn how to update your Thrive Apprentice templates after adding assessments to an existing course. There are three methods to choose from, depending on how much customization you’ve done on your current template.
Note: If you’re building a brand-new course and enabling assessments from the start, you can skip this article. Your templates will already include assessment support when you first design them.
Why Templates Need Refreshing
If you designed and published a course before enabling assessments, your existing templates don’t include the layout elements needed to display assessment content. Adding an assessment will require you to take one extra step to get all set.
If you see a notice asking you to “reload the lesson list template” while adding an assessment, it means the template in use does not have the information needed to display the assessment. The main templates that need updating are:
- Lesson List: The “assessment” type appears alongside lessons, so lesson lists must be refreshed to include assessment items.
- Assessment Template: This is a new template type introduced with the assessments feature.
To update your templates, choose one of the three methods below. The method you choose depends on the customization done on your current template.
Method 1: Re-downloading a New Design
Re-downloading or switching to a new design is the easiest way to get things working. This is the best option when you have minimal customizations on your current template.
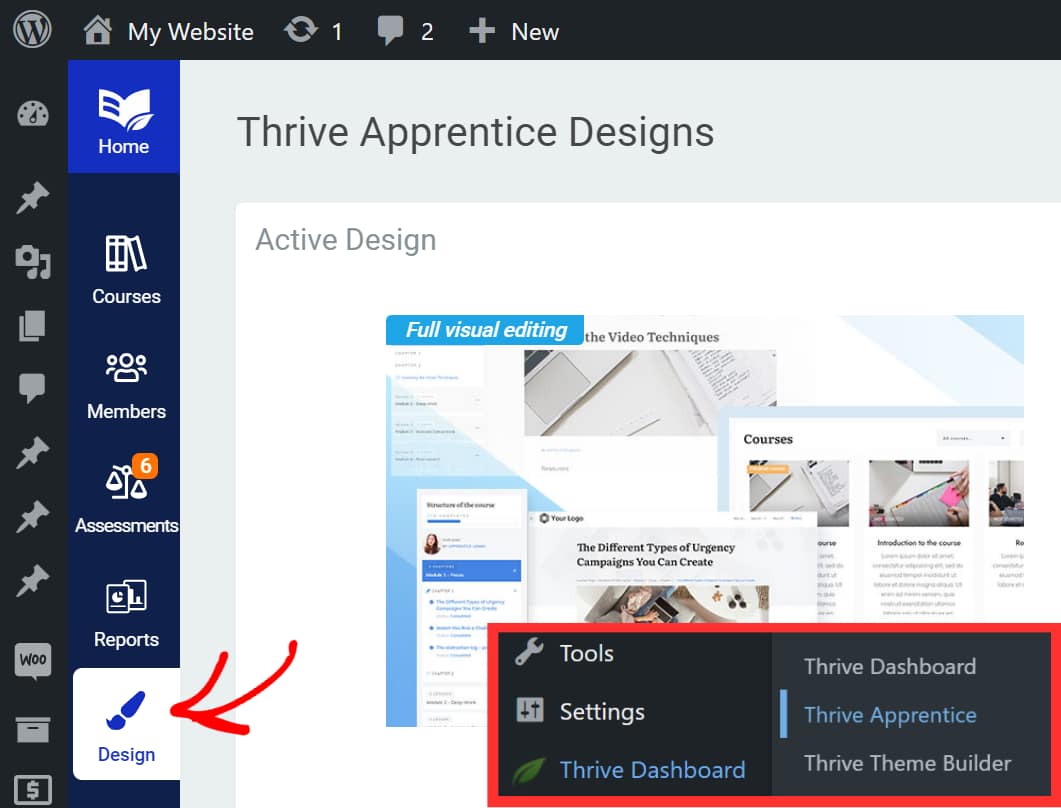
- Open your WordPress admin area and navigate to Thrive Dashboard > Thrive Apprentice.
- Click Design in the left sidebar to open the Design page.
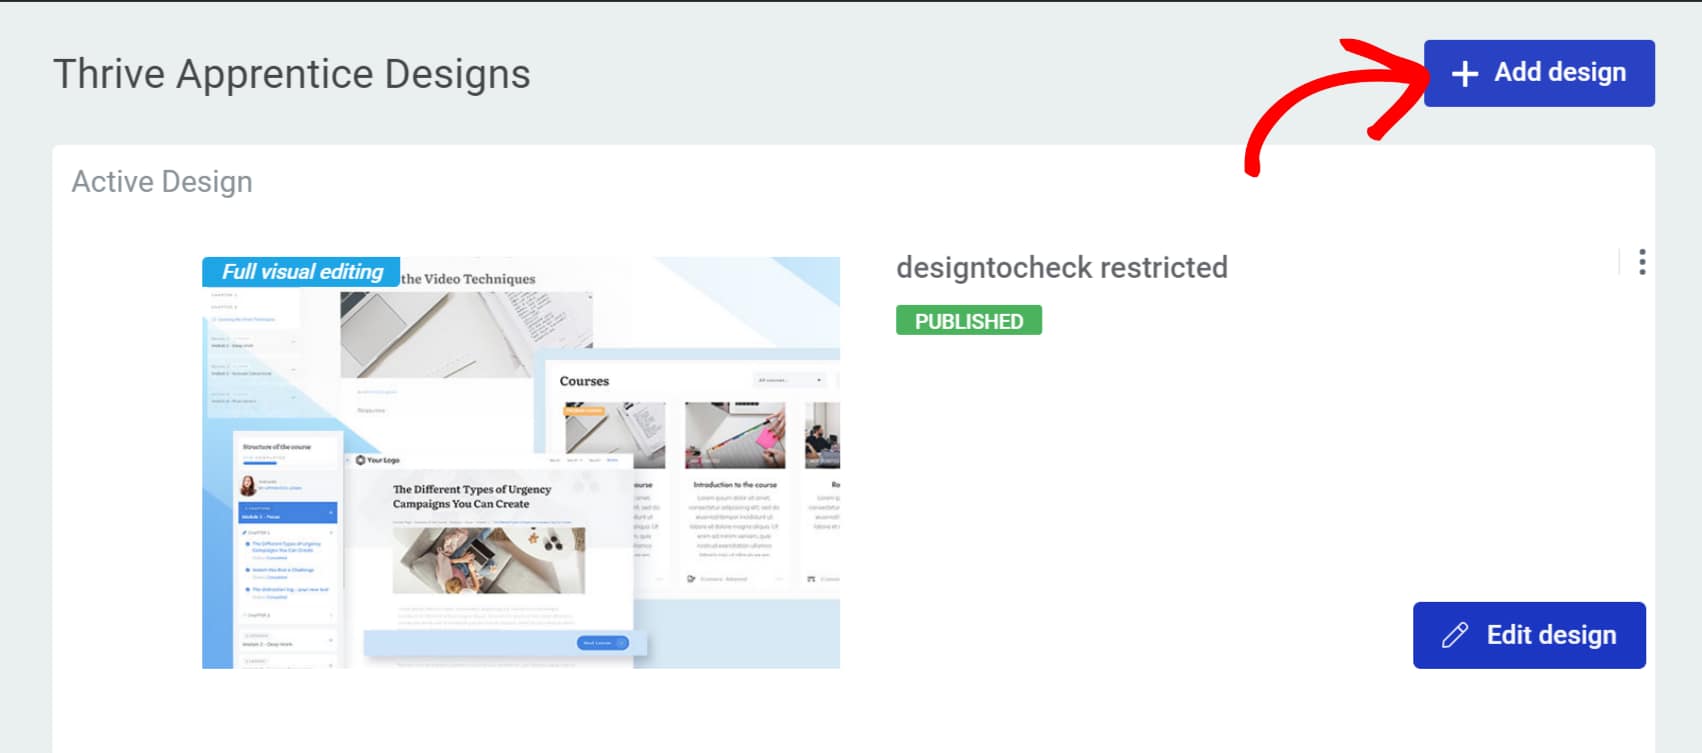
- Click the +Add Design button in the top right corner of the screen.
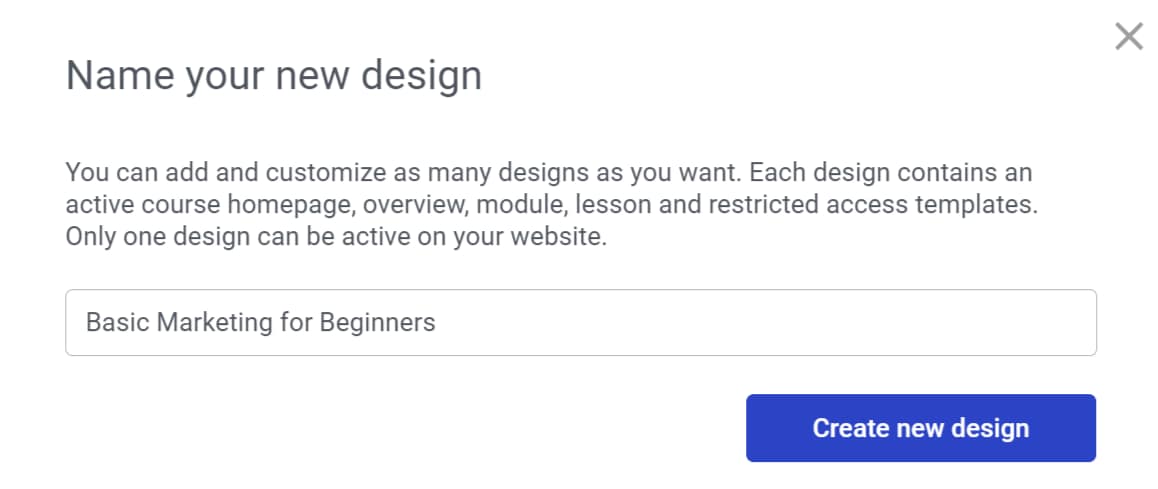
- In the popup, enter a name for the design and click the Create new Design button.
- The newly created design will appear under Unpublished Designs. Hover over it and click Publish to activate it.
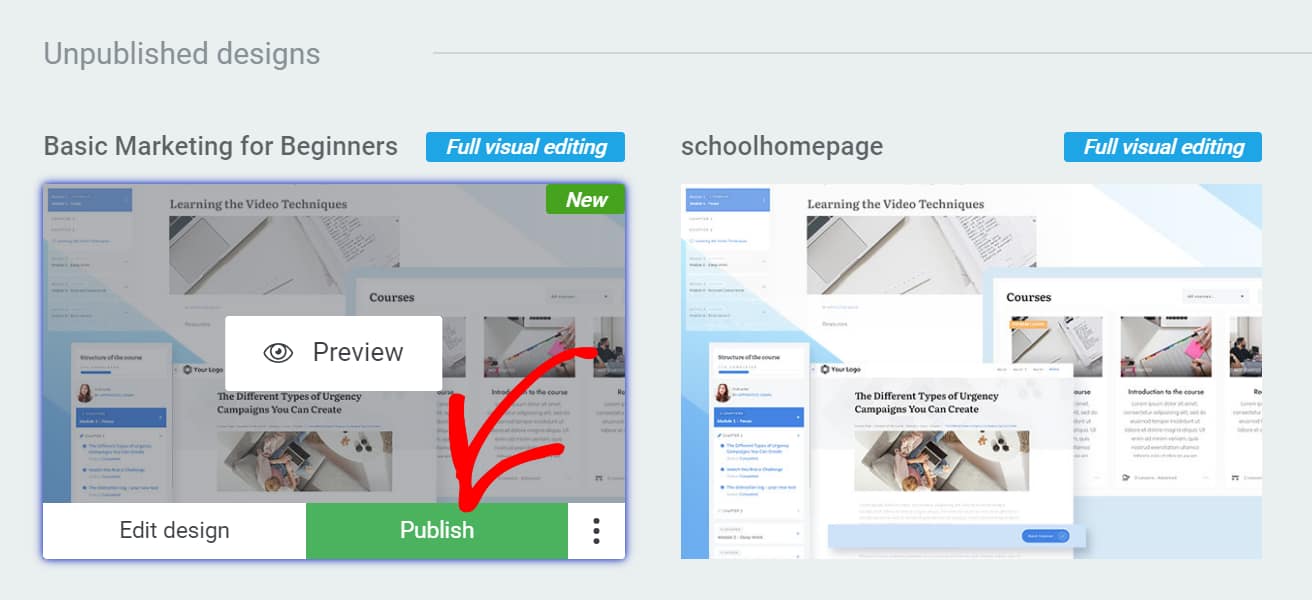
Your new design will include all the latest template types, including assessment support.
Method 2: Updating the Template from the Wizard
If you’ve customized your current template and don’t want to switch to a new one, you can update it using the Thrive Apprentice Design Wizard.
- Open your WordPress admin area and navigate to Thrive Dashboard > Thrive Apprentice.
- Click Design in the left sidebar to open the Design page.
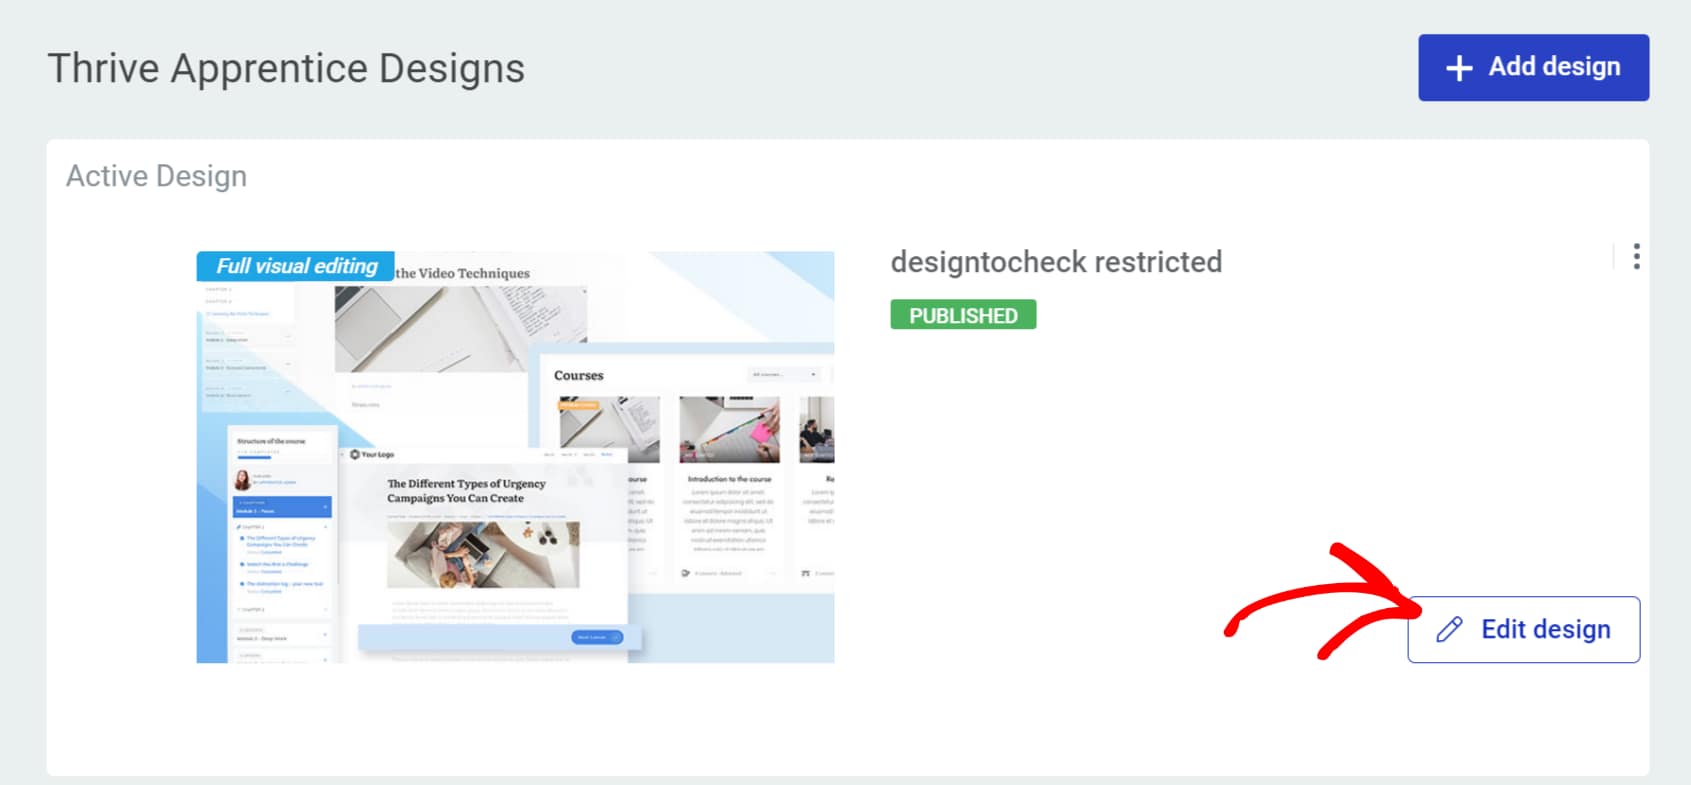
- Click Edit Design on your current template.
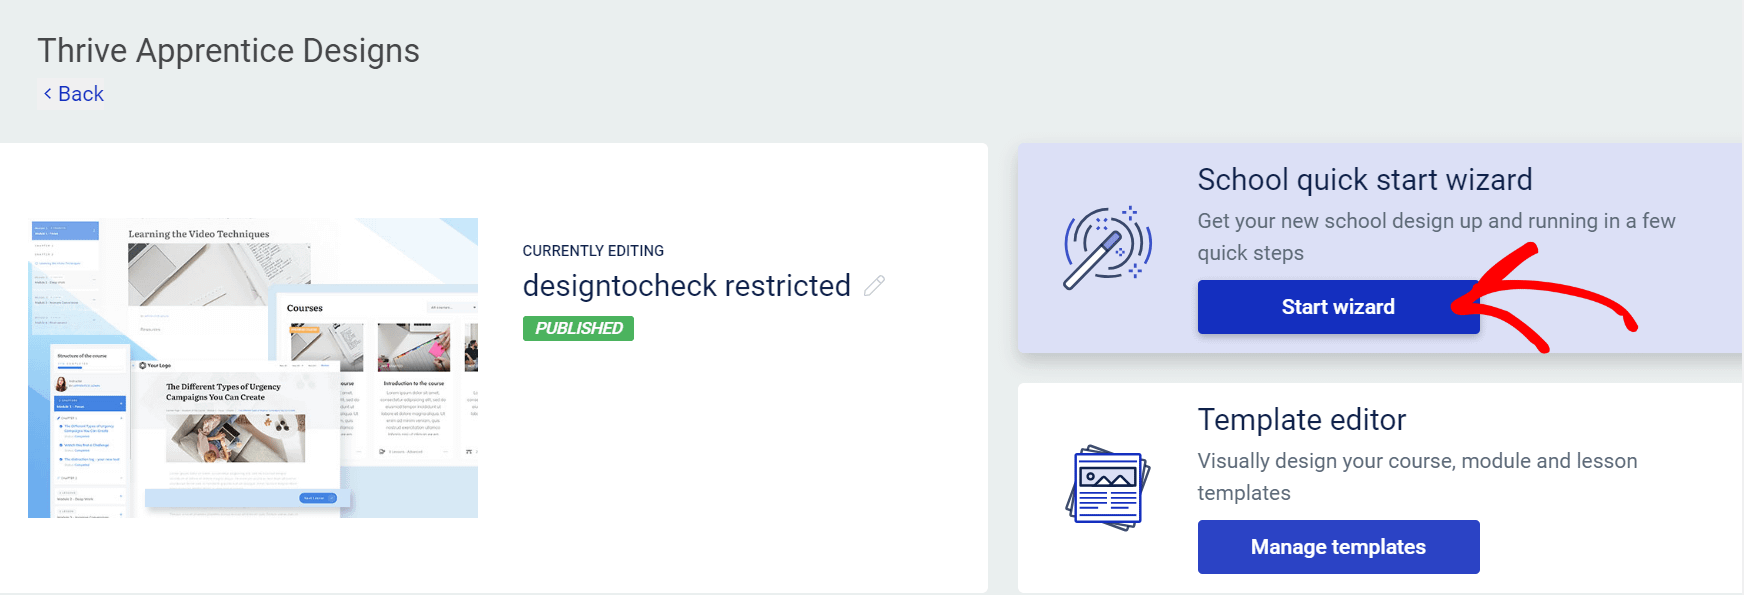
- Click the Start Wizard button under School quick start wizard.
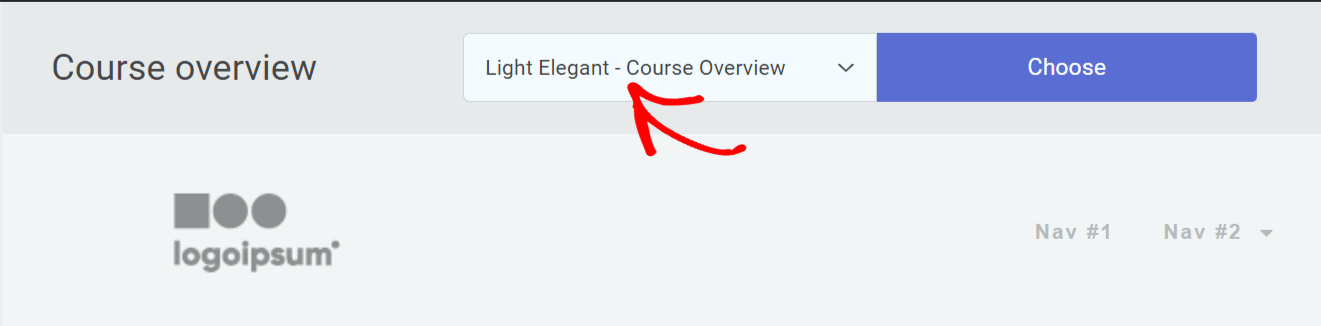
- In the wizard, update any template that contains lesson lists. These include: Course Overview, Module Overview, Navigation Sidebar, Assessment, and Course Completion.
- Click on each option in the left panel, select a template from the dropdown in the top right corner, and click Choose.
- Repeat for each section that needs updating.
Method 3: Updating Lesson Lists Manually
This method gives you the most control and is the best approach if you have extensive customizations on your templates. It requires editing templates individually.
Replacing the Lesson List Template
- Open your WordPress admin area and navigate to Thrive Dashboard > Thrive Apprentice.
- Click Design in the left sidebar.
- Click Edit Design on your current template.
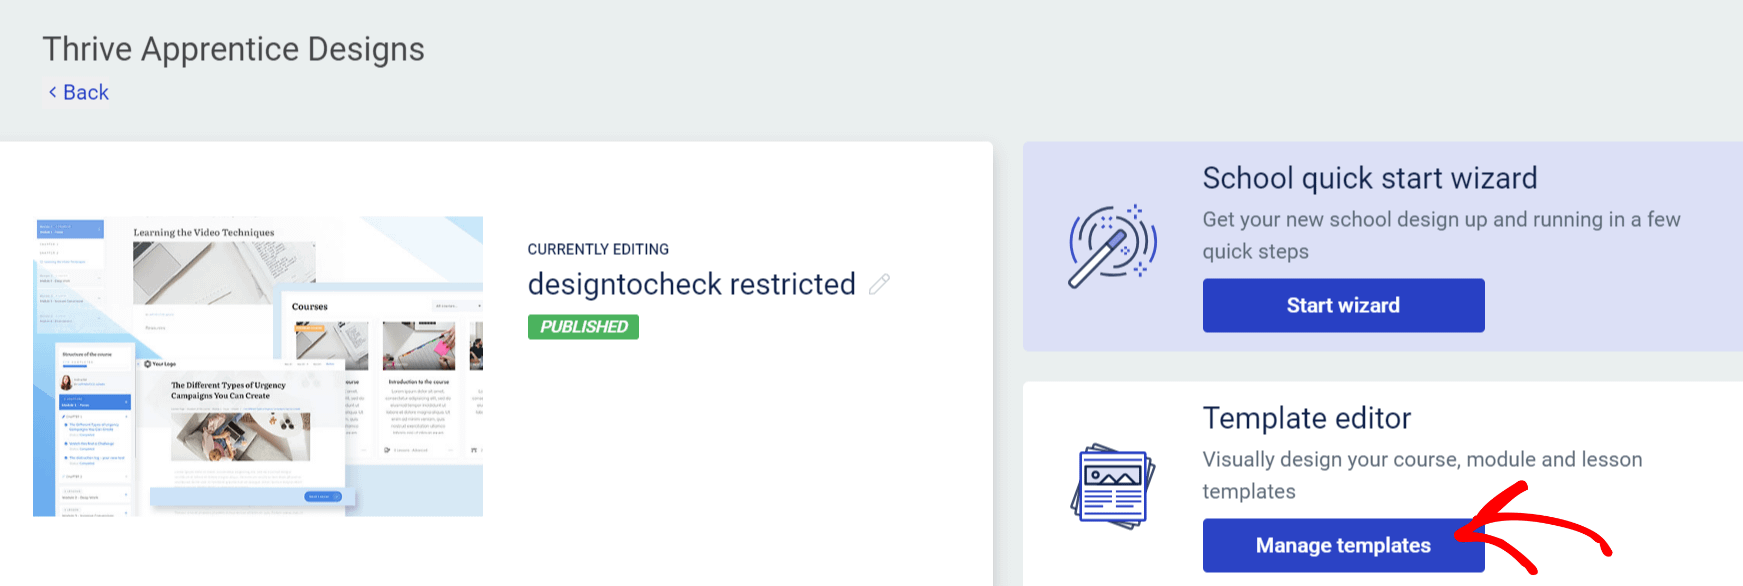
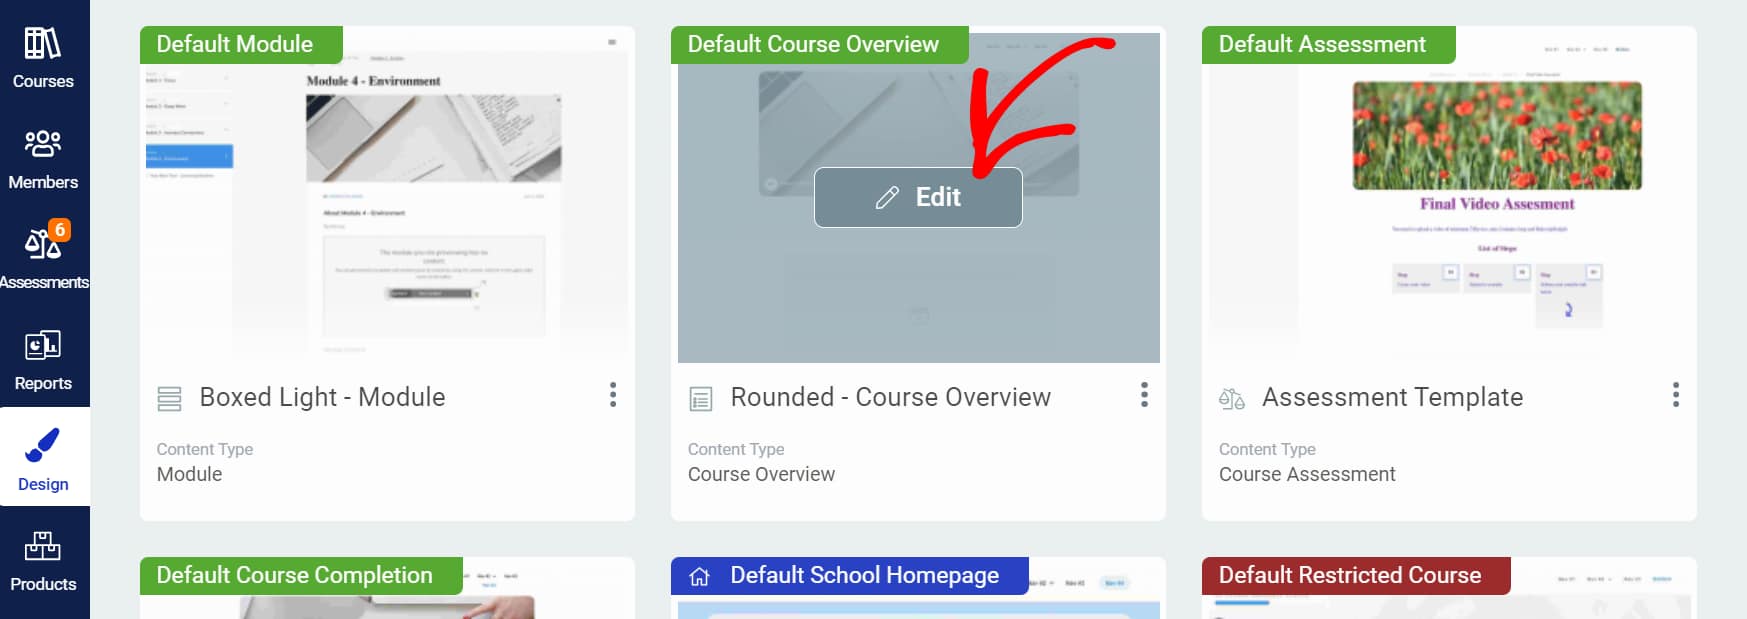
- Click the Manage Templates button under Template editor.
- On the Templates page, hover on the Course Overview template and click Edit.
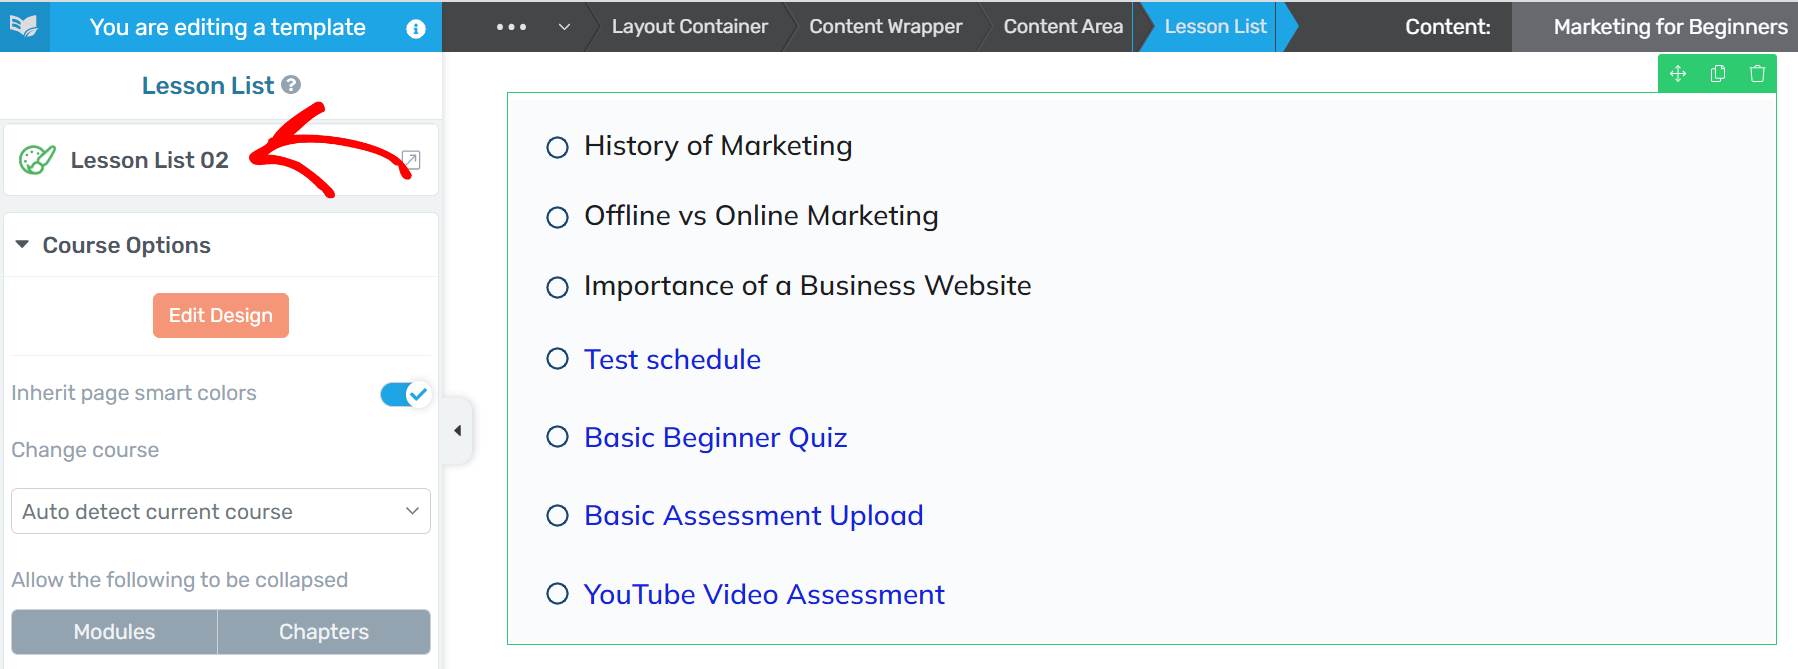
- In the template editor, scroll down and click on the lesson list element in the template.
- When you click the lesson list, the template name will appear in the left panel. Click on this template name.
- In the popup, select a template and click the Replace Template button.
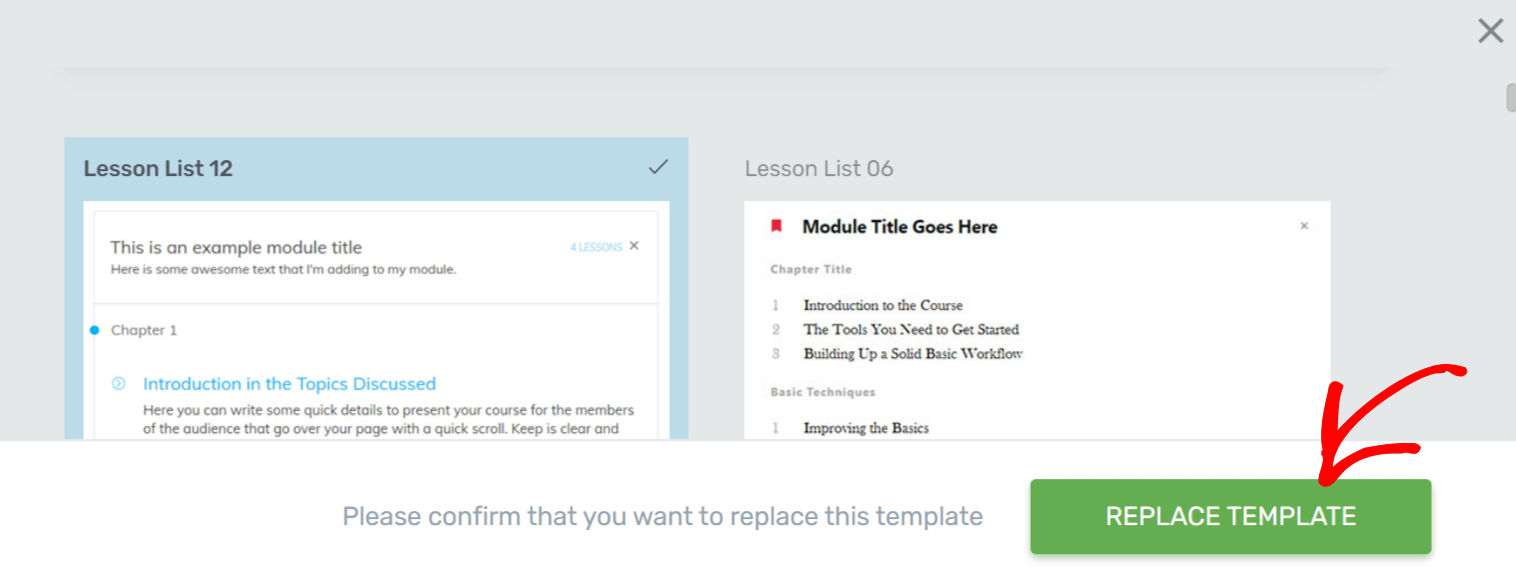
This updates the lesson list to include assessment items alongside regular lessons.
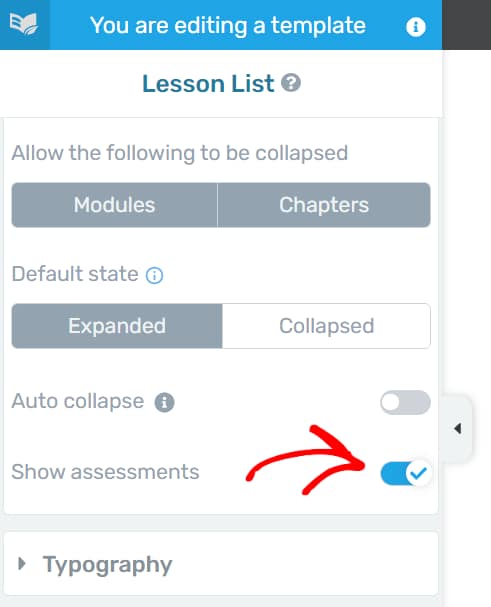
Enabling the “Show Assessments” Option
If you’ve completed the steps above and still don’t see assessments in the lesson list:
- Click on the Lesson List in the template.
- In the left panel, click the Course Options section.
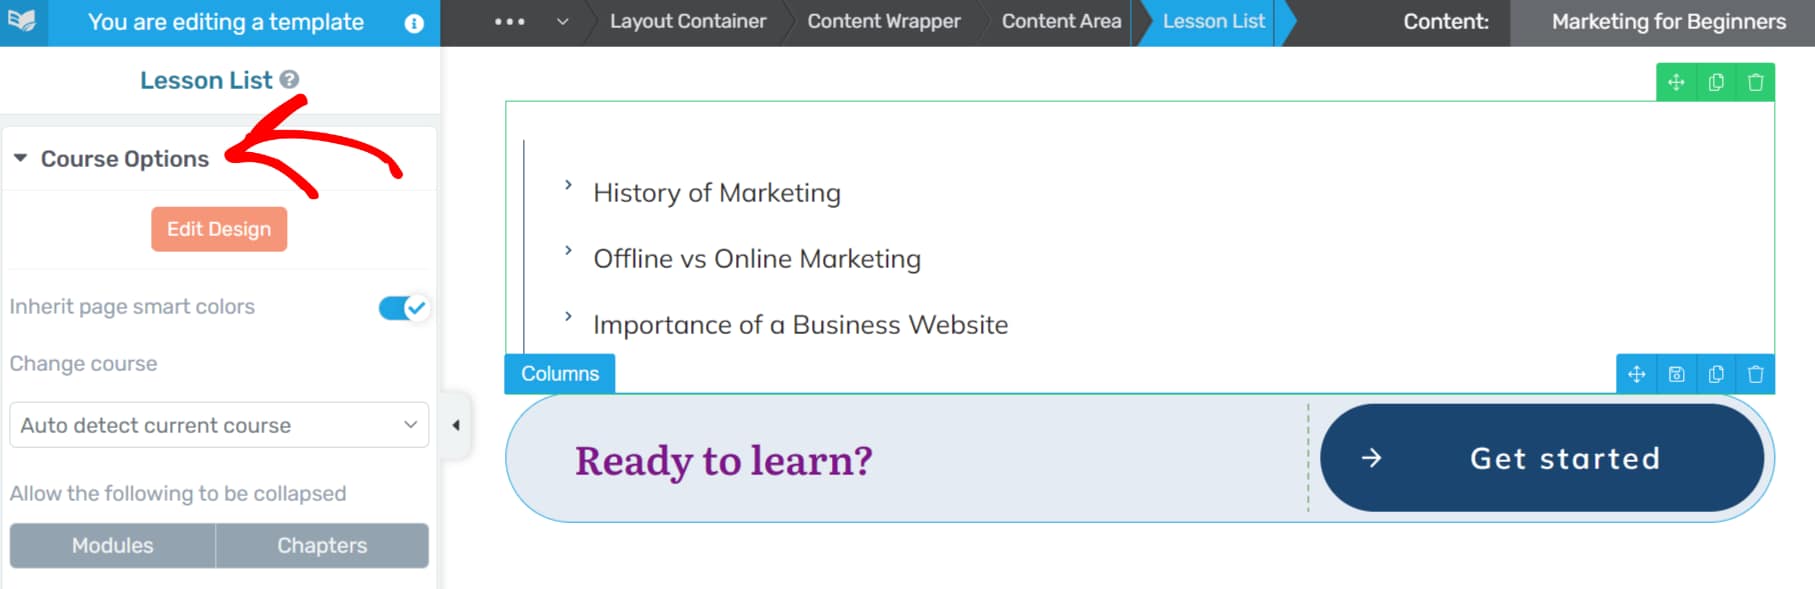
- Scroll down and enable the Show Assessments toggle.
Adding Assessments to the Sidebar Lesson List
If you want assessments to also appear in the sidebar lesson list:
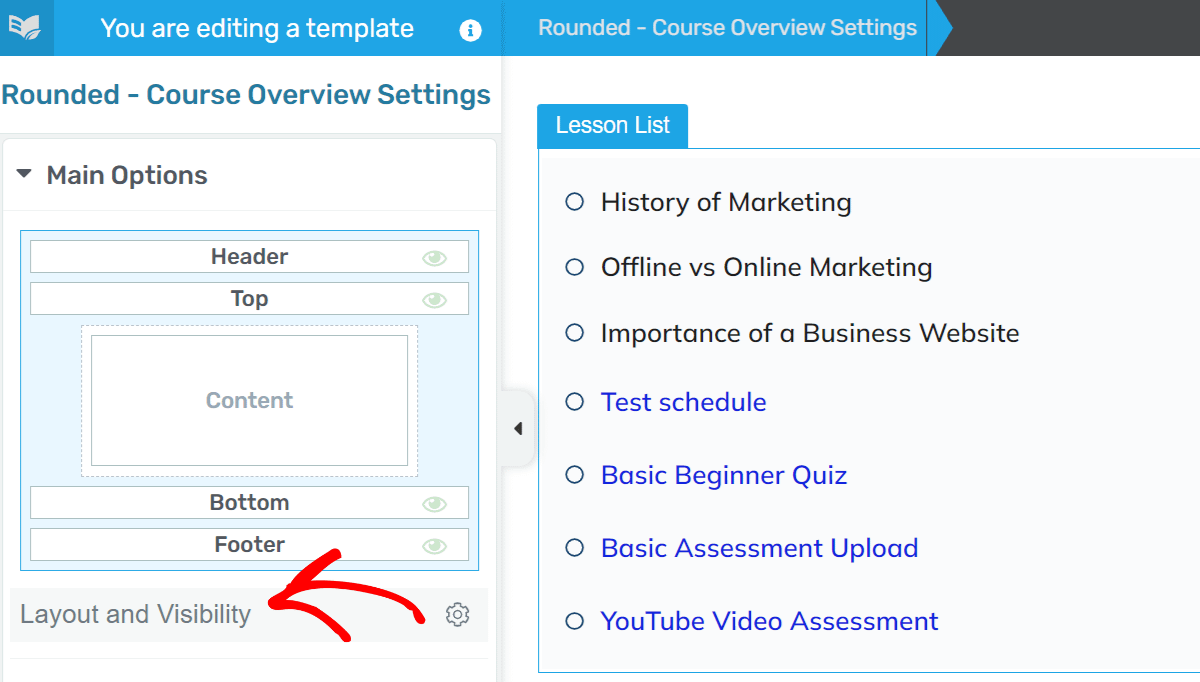
- Open the Course Overview page in the template editor.
- In the left panel, open Main Options and click Layout and Visibility.
- Click Hidden to unhide the sidebar for this template.
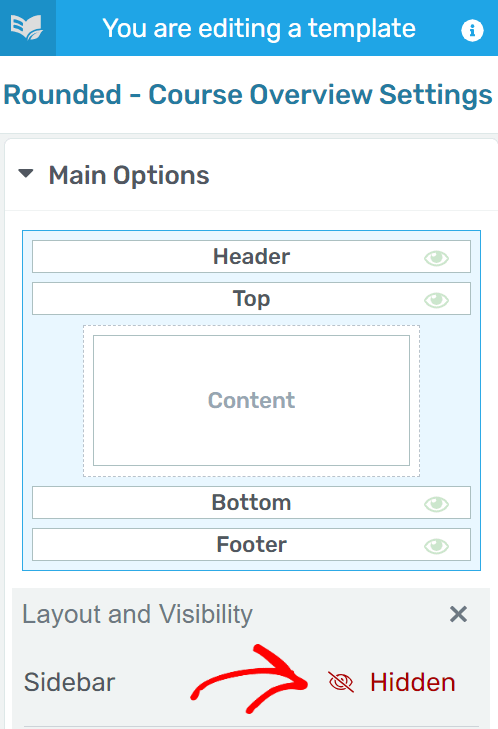
- After enabling the sidebar, click Sidebar under Section Options in the left panel.
- Click the Choose a design button to select a design for your sidebar.
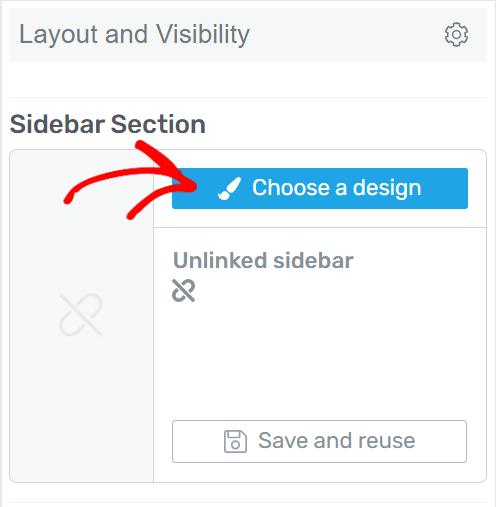
- In the popup, select a design by clicking on it. This will update the lesson list in the sidebar.
Related Resources
- Enabling assessments: How to Enable Assessments in Thrive Apprentice
- Upload settings: How to Manage Assessment Upload Settings
- Template management: How to Create and Manage Thrive Apprentice Templates