You can now use dynamic data when setting up the “Send webhook” action in Thrive Automator.
This feature comes in handy if you want to send values using directly through the webhook URL.
In Thrive Automator, add a “Form submit” trigger:

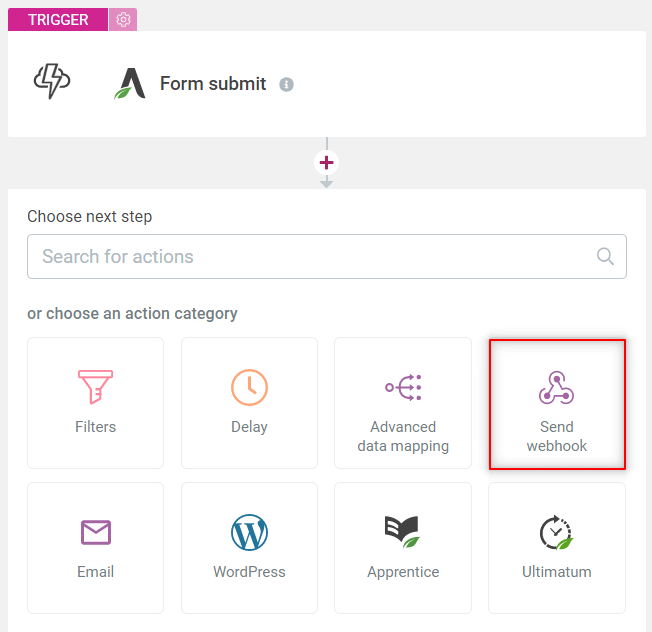
Then proceed with adding a new action:

The action will be the “Send webhook” one:
Here you will have to configure the webhook URL details, depending on the service you are using:
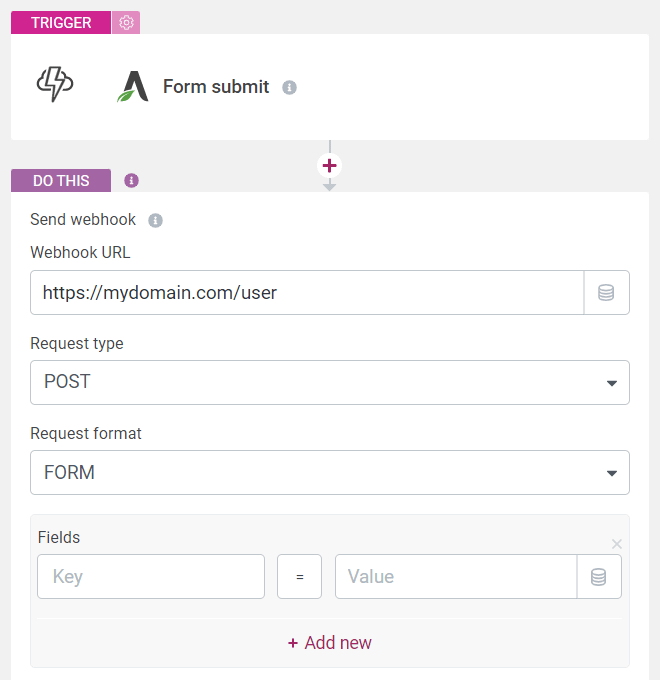
You will next have to insert data related to what’s coming downstream for the URL that you target. This is where the dynamic data comes into action:

Look through the list and select the data you would like to send out:
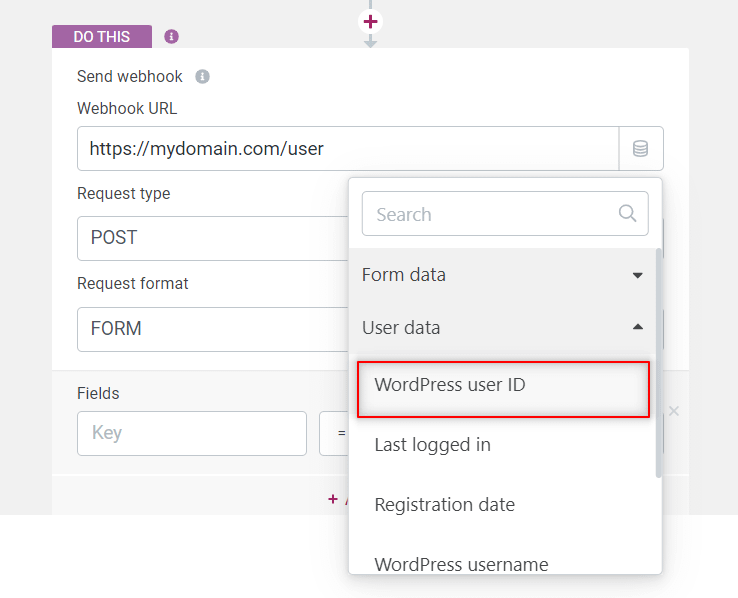
And this will automatically be added as dynamic data, that changes for each user:

With this feature you can dynamically change which URL is pointing to based on incoming data downstream.
These articles from our knowledge base might come in handy if you want to read more about setting this up with various services: