If you set up an API connection between your Thrive Themes and your Campaign Monitor account, you will be able to use both of the services offered at the same time.
This means that you will have the possibility to connect one of the Lead Generation elements you added to your page with Thrive Architect, or one of your opt-in forms created with Thrive Leads, with the email marketing services of Campaign Monitor.
This way the users who will subscribe through the respective Lead Generation element, or Thrive Leads opt-in form, will be added to the mailing list of your choice from your Campaign Monitor account.
Here are the steps you need to take in order to achieve that:
Get the Campaign Monitor API keys
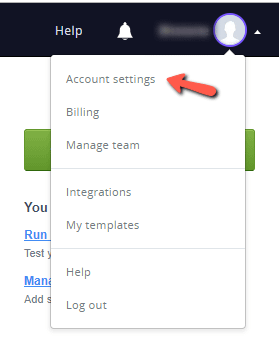
First, log in to your Campaign Monitor account and click on your profile from the upper right corner of your page:

This will open the drop-down with various options for your profile. Click on “Account settings” from the drop-down:
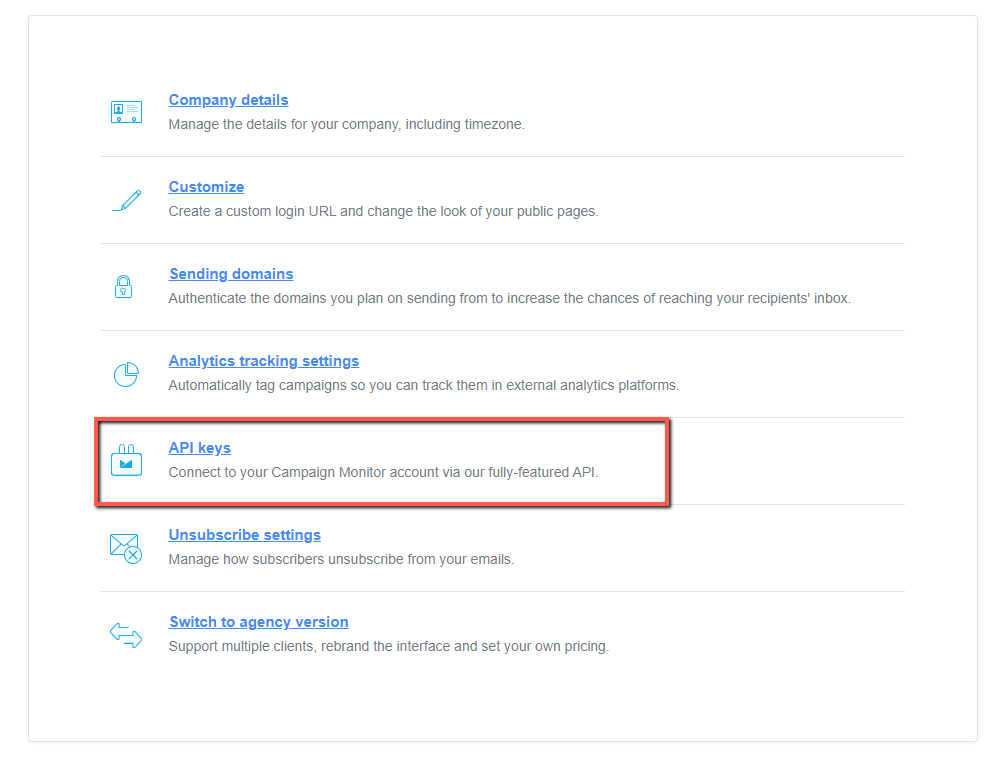
Then, look for the “API keys” section from the “Account settings” page and click on it:
The page where you can manage your API keys will open. Click on the “Show API key” option from it:

Before the key is displayed, a pop-up window will open prompting you to insert your account password once more. This is needed in order to verify the request, before retrieving your API key:
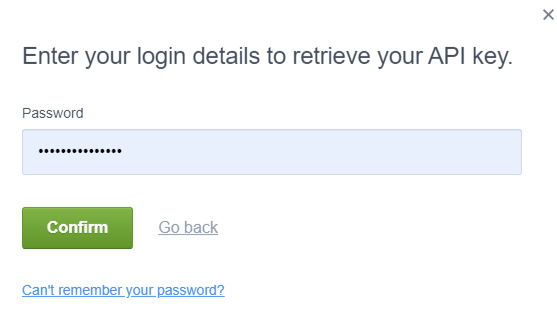
Once you have done that, the API key will be displayed on the page. You will need to copy this key:

Add the keys to your Thrive Dashboard
After you have the API key, you will need to use it to create the Campaign Monitor API connection.
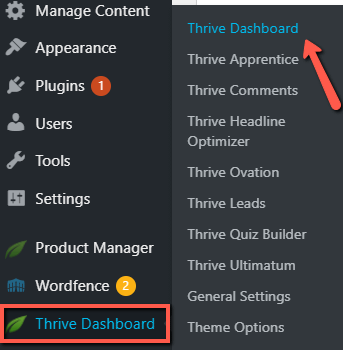
Go to your WordPress admin dashboard and select the “Thrive Dashboard” from the left sidebar to access it:
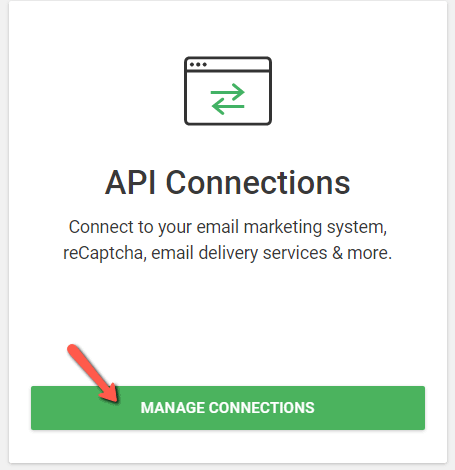
Scroll down a bit until you see the “API Connections” card and click on the “Manage Connections” button from it:
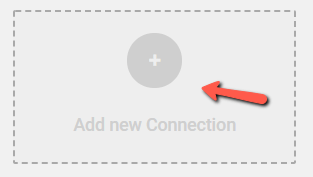
The API manager will open, where you can see every API connection that you have set up so far, and you can also add new connections. Look for the “Add new Connection” option from the page and when you have found it, click on it:
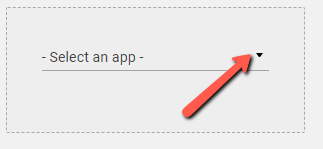
Then click on the “Select an app” section to open its drop-down:
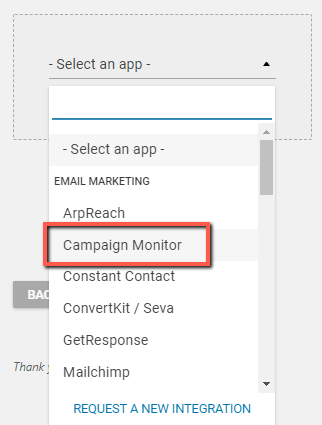
Look for “Campaign Monitor” in the drop-down that opens. You can either start typing “Campaign Monitor” or scroll down until you see it:
After you have found it, click on it and the Campaign Monitor connection card will open. Now, you will have to paste the API key you have previously copied, from your Campaign Monitor account, into the “API key” field here in the Campaign Monitor connection card:
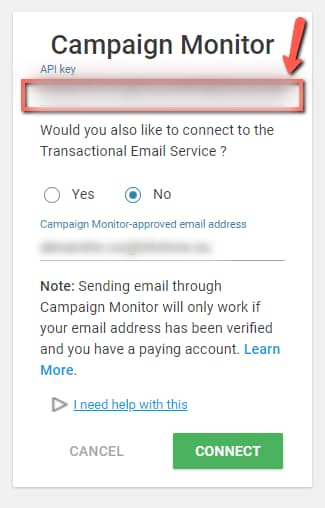
There is one more additional option here: Connecting to the Transactional Email Service. If you use Campaign Monitor to send transactional emails (e.g. asset delivery emails) then this option can come in handy for you.
With this option, besides setting up the API connection (to connect your opt-in forms and Lead Generation elements with your Campaign Monitor account), you will also connect your Thrive Themes account to Campaign Monitor’s Transactional Email Service.
In order to do that, select “Yes” in the second section of the Campaign Monitor connection card and make sure you enter a Campaign Monitor email address in the field below the “Yes/No” field:
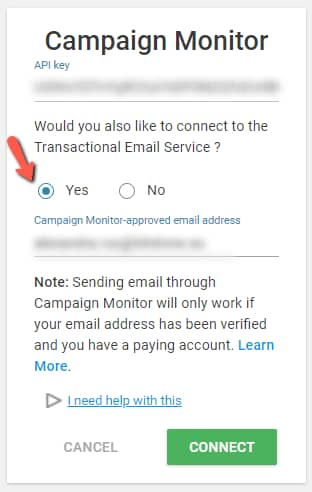
After you have completed the necessary information, click on the “Connect” button:

After a few seconds, you will see that your API connection will be ready to use:
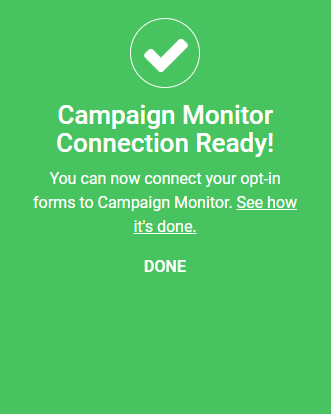
After you have set up the API connection with Campaign Monitor, it will be available for you when building your website with the Thrive products.
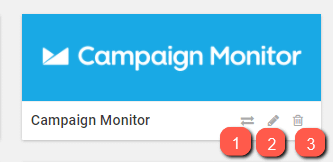
You can always return to the API manager to further (1) test, (2) edit, or (3) remove the connection:
However, in order to actually use it, you will have to connect the Lead Generation elements you have added to your page with Thrive Architect, or your opt-in forms, created with Thrive Leads, to the Campaign Monitor API connection that you have just made.
This way the visitors of your website, who will subscribe through the opt-in forms or “Lead Generation” elements, will be automatically added to one of your mailing lists from Campaign Monitor.
Connecting Campaign Monitor to a “Lead Generation” element
In order to connect your Campaign Monitor account to a “Lead Generation” element, you first have to open the page or post on which you want to set up the connection.
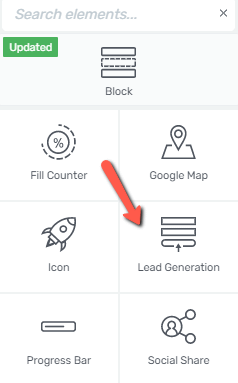
Next, look or the “Lead Generation” element in the right sidebar and add it to your page:
This will enable the “Main Options” of the element in the left sidebar:
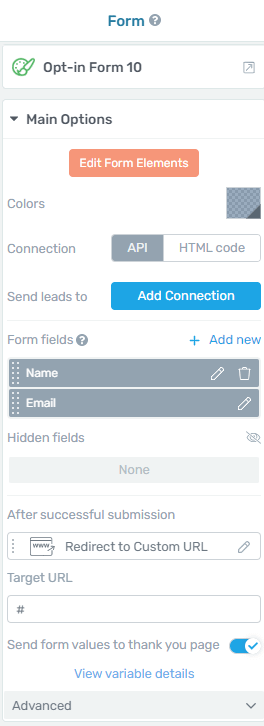
You can use the options to customize the element. If you want to learn more about what each option does, make sure to read this article.
1. Add Connection
In order to set up the integration, look for the “Connection” section of your left sidebar options and make sure that “API” is selected:
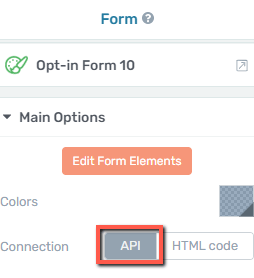
This is the option that needs to be selected in order to connect the “Lead Generation” element (the opt-in form) to Campaign Monitor.
Connection
Below the “Connection” section, you will find the “Send leads to” section. The next thing you have to do is to click on the “Add Connection” button from here:
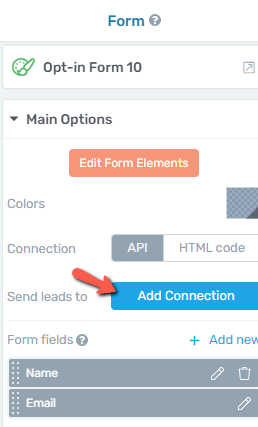
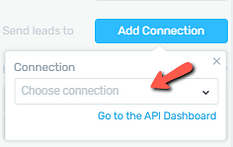
A window will open with a drop-down list. Click on the “Choose connection” file to view the full list:
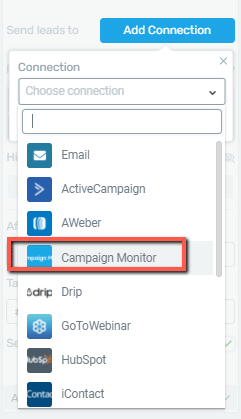
This will open a drop-down list with all the available API connections that you have previously set in your Thrive Dashboard. Look for “Campaign Monitor” and when you have found it, click on it to select it:
Mailing List
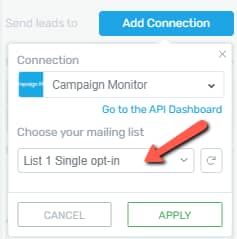
After you select the API connection, you will also have to set its details. In our case, this means that you need to select which one of your lists should the subscribers of this opt-in form be added to.
In order to choose the list you want subscribers to be added to, click on the field under the “Choose your mailing list” field and select a mailing list that you’ve previously set up in your Campaign Monitor account:
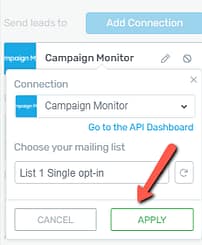
Once everything is done, click on the “Apply” button to save your changes and return to the “Main Options” of the element:
2. Set up the form fields
In the “Form fields” section you can also set the fields of the “Lead Generation” element, according to what information you would like to get from the subscribers:
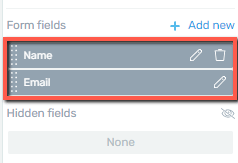
Note: Keep in mind that the “Email” field cannot be deleted because without it people would not be able to subscribe through the “Lead Generation” element, which is inside the opt-in form.
You can find out more information about form fields, in the dedicated section of the “Lead Generation” article, that you can find here.
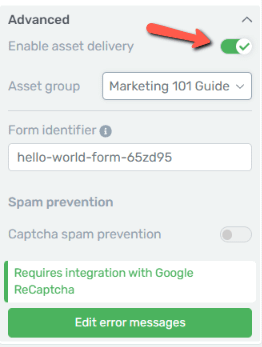
Note: If you want to use Campaign Monitor with the asset delivery feature, then make sure you access the “Advanced” section and enable the toggle:
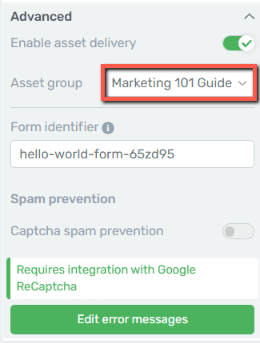
And also, don’t forget to select the “Asset group” from the following drop-down list:
After you’ve set the form fields and what happens after the visitor subscribes through your form, all you have left to do is to save the page in order to apply the changes to it:

Once this is done, whenever someone will subscribe using the opt-in form you have edited, their information will be added to the Campaign Monitor mailing list that you selected.
Connecting Campaign Monitor to Thrive Leads
If you want to connect one of your Thrive Leads opt-in forms with Campaign Monitor, you can do that as well.
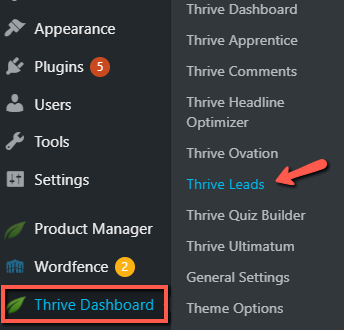
The first thing you need to do is access your Thrive Leads Dashboard. To do that, hover over the Thrive Dashboard section of your WordPress Admin Dashboard, and click on Thrive Leads:
Here, select the Lead Group which has the opt-in form which will be used for the Campaign Monitor connection:

Click on the “Edit” button next to the form you want to access (in this case a “Lightbox”):

This will take you to a new dashboard, with all “Lightbox” types of forms. Click on “Edit Design” next to the one you want to edit:

This will open the Thrive Architect editor, from where you can start editing the “Lead Generation” element available within that form:
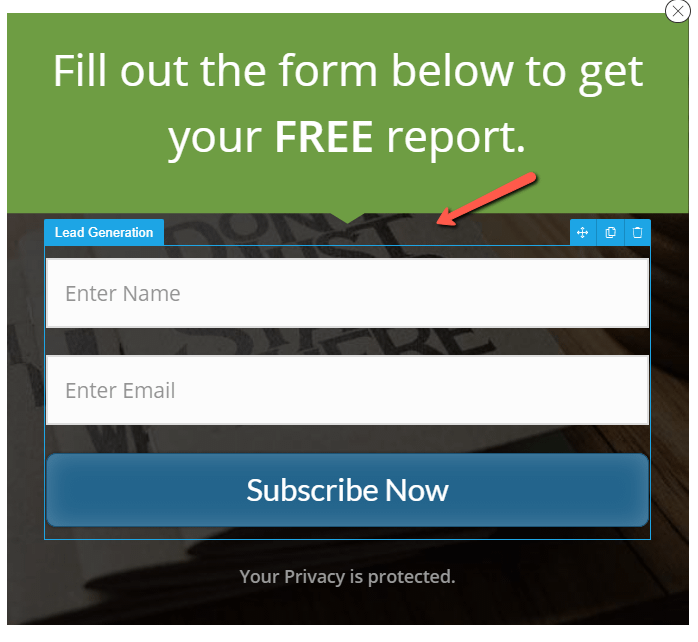
After you select the “Lead Generation” element, the “Main Options” will appear in the left sidebar:
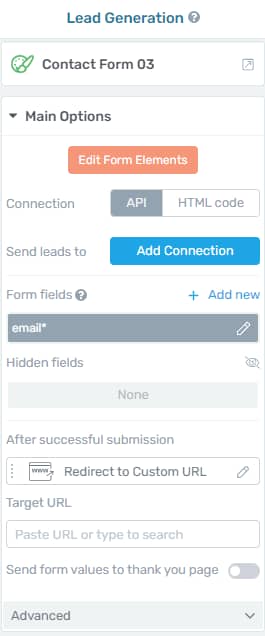
From this point onwards, the process for setting up the connection will be identical to the one described above for connecting your Campaign Monitor account to a “Lead Generation” element.
These are the steps for setting up and using an API connection with Campaign Monitor.
Don’t hesitate to check out our knowledge base if you want to read more about API connections and how Thrive Leads works.