If you use Constant Contact to manage your email lists, you can connect it to Thrive so new leads are sent to your Constant Contact account.
In this article, you’ll learn how to connect Thrive Themes with Constant Contact so you can use it with the Lead Generation element or Thrive Leads opt‑in forms to capture leads.
Getting Your Constant Contact Client ID and Client Secret
To connect your Constant Contact account to the Thrive Dashboard, you will need a Client ID and a Client Secret.
To get the Client ID, follow these steps:
- Log in to your Constant Contact account and navigate to the Applications page using this URL.
- On the Applications page, click the New Application button located in the top-right corner.

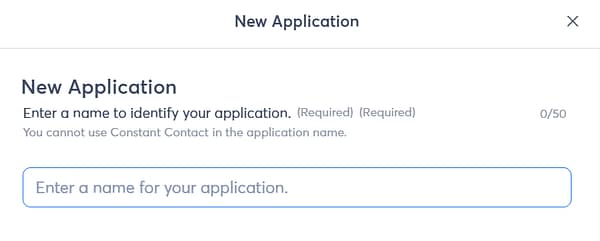
- A popup will appear, prompting you to enter a name for your application. This name is for your reference only within Constant Contact.
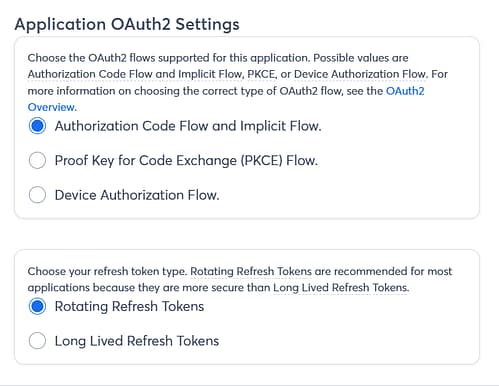
- Under the application name, look for the OAuth2 options and select the following:
- Authorization Code Flow and Implicit Flow
- Rotating Refresh Tokens
- Once you’ve made your selections, click Create.
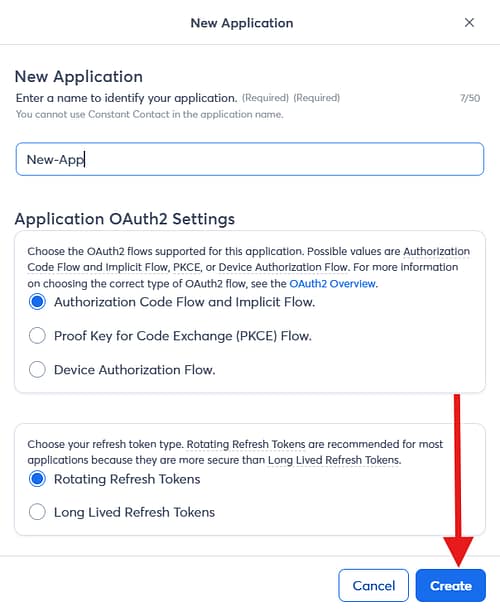
- The popup will close, and your new application will be listed along with its Client ID.
Now that you have the Client ID, you need to generate a Client Secret for this application.
To generate the Client Secret, follow these steps:
- On the Applications page, locate the application you just created and click the Edit button.

- In the Details tab, scroll down to the Redirect URI section and click the pen icon next to it.

- In the field that opens, enter the URL of your Thrive API connection page in the following format
https://your-domain.com/wp-admin/admin.php?page=tve_dash_api_connect, then click Confirm.
Be sure to replace your-domain.com with your actual site domain.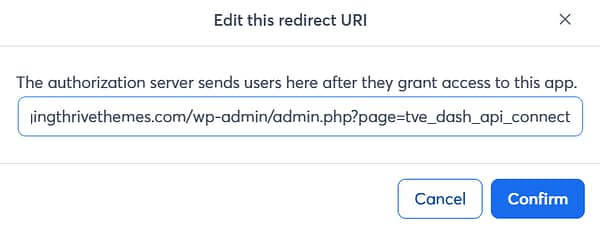
- You will be taken back to the main Applications page. Locate the Generate Client Secret button and click it.

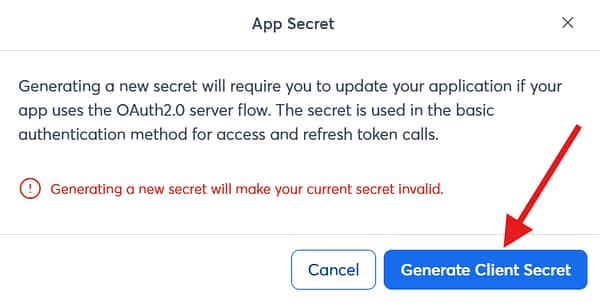
- A popup message will appear. Click the Generate Client Secret button again in this popup.
- Your Client Secret will be displayed. You can copy it by clicking the Duplicate/Copy icon, and then close the pop-up by clicking the Close button.
Important: Make sure to store this Client Secret in a safe place, as it will only be displayed this one time. You will need it for the Thrive connection.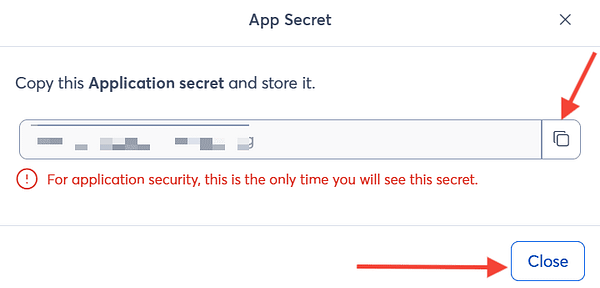
- After copying the Client Secret and closing the popup, click the Save button in the top-right corner of the page.

Adding Your Constant Contact Connection to the Thrive Dashboard
To add Constant Contact as an API connection in Thrive, follow these steps:
- Navigate to the Thrive Dashboard.
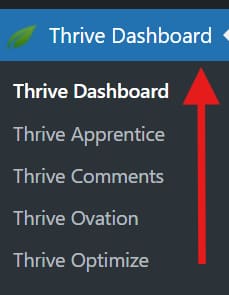
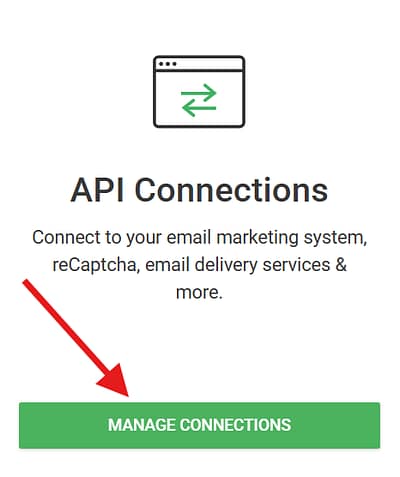
- Scroll down to the API Connections card and click the Manage Connections button.
- On the API Connections page, click the Add New Connection button.
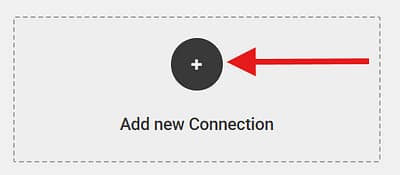
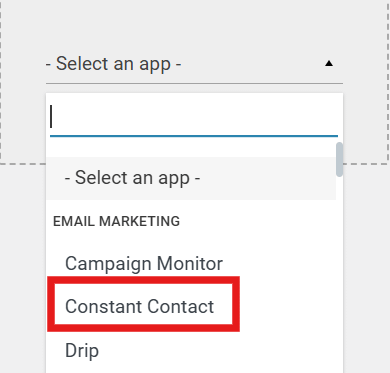
- In the Select an app dropdown, search for Constant Contact and select it.
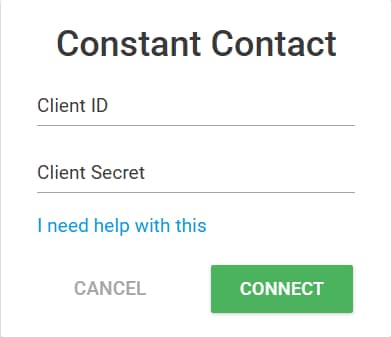
- Paste the Client ID and the Client Secret into the corresponding fields and click the Connect button.
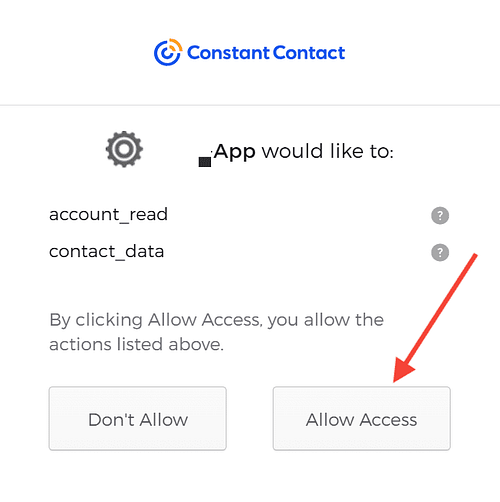
- A notification from Constant Contact will appear, asking for your permission to grant Thrive Themes access to your account. Click Allow Access to proceed.
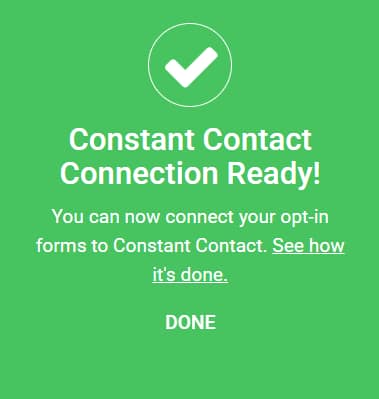
- Once you allow access, you will be redirected to the Thrive Themes API Connections page, where you will see a notification confirming that the connection with Constant Contact has been established.
You can always return to this dashboard and Test (1), Edit (2), or Remove (3) the connection.

Connecting Constant Contact to a Lead Generation Element
If you are creating a new page or editing an existing one, you can connect Constant Contact to your form by following these steps:
- Open your page in Thrive Architect.
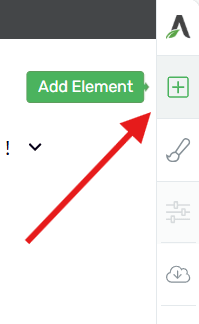
- In the editor, click on the plus (+) sign in the right sidebar to access the list of available Thrive Architect elements.
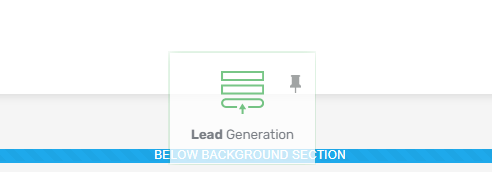
- Locate the Lead Generation element and drag it onto your page where you want the form to appear.
- Click on the Lead Generation element to open its options in the left-hand sidebar.
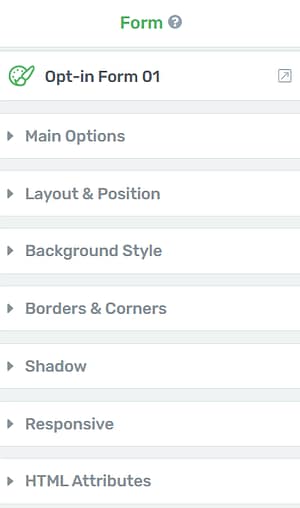
- Under the Main Options section, locate the Connection setting and select API as the connection type.

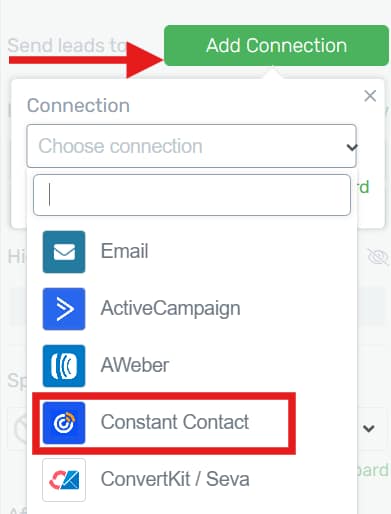
- Next, click Add Connection and choose Constant Contact from the dropdown list of available integrations.
Selecting a Mailing List
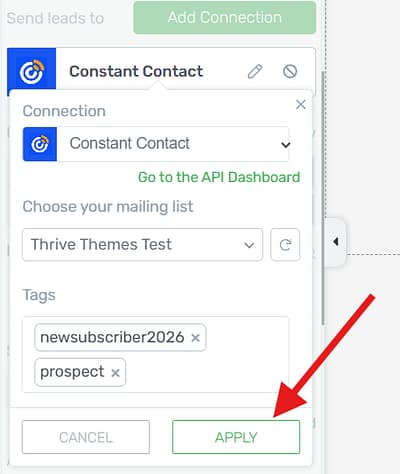
After selecting your connection, choose the mailing list you want to use from your Constant Contact account.
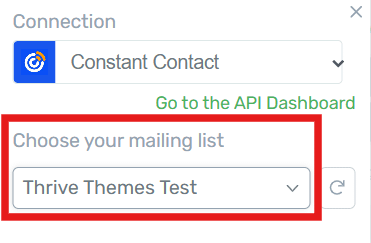
Note: If your mailing list isn’t showing up in the dropdown, make sure to click the Refresh button to reload the data. If your list is newly created, it may take a moment to appear.

Adding Tags to Your Form
Tags allow you to categorize and segment subscribers based on the form they used to sign up, making it easier to send targeted campaigns later.
To add tags to your form, follow these steps:
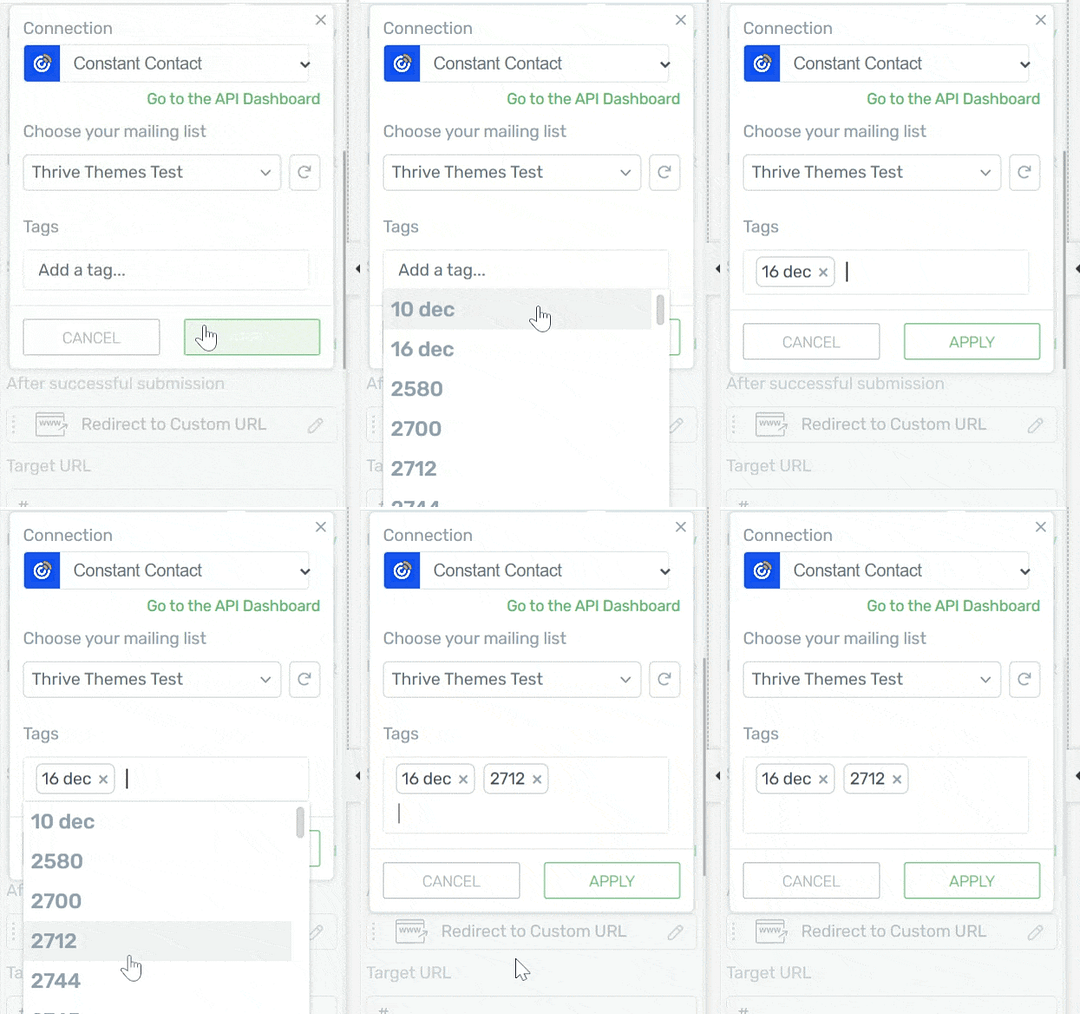
- In the Tags field, start typing the name of the tag you want to assign. Existing tags in your Constant Contact account will appear in the dropdown for you to select.
- To create a new tag, type its name and press Enter.
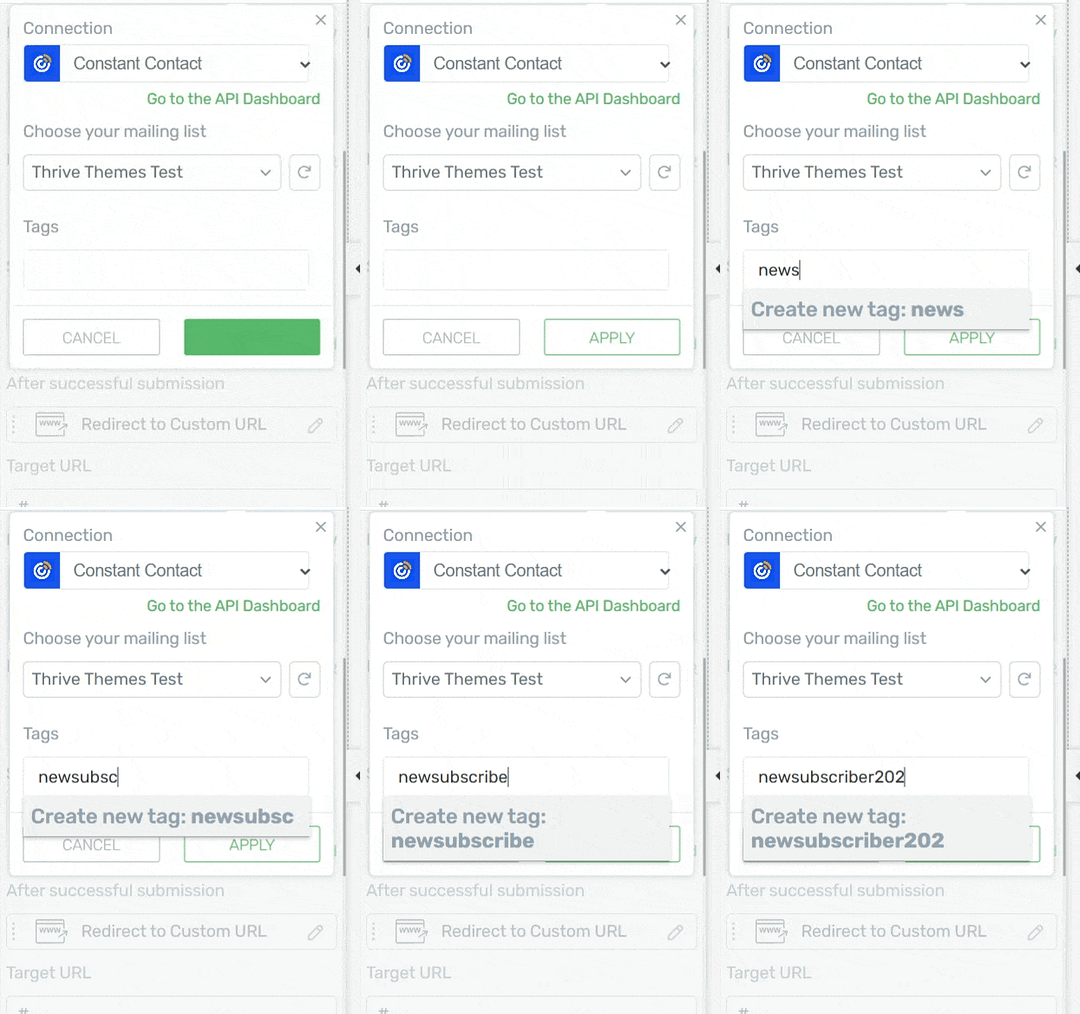
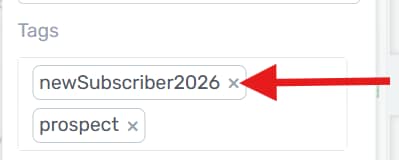
- The tag will now appear in the list below the field. You can add as many tags as needed.

- To remove a tag, click the (x) icon next to it.
- Once you have selected your list and added your tags, click Apply to save your connection settings.
Setting Up the Form Fields
To set up the form fields that will be sent to Constant Contact, follow these steps:
- With the Lead Generation element still selected, navigate to the Form Fields section.

- To add a new field, click + Add new.

- To remove a field, click the trash bin icon next to the field.

- To change the order of fields, click and hold the drag handle and move it to your preferred position.

- You can also create custom fields. For each field, make sure the field mapping points to the correct Constant Contact field. To learn more about setting up and mapping form fields, please refer to this guide.
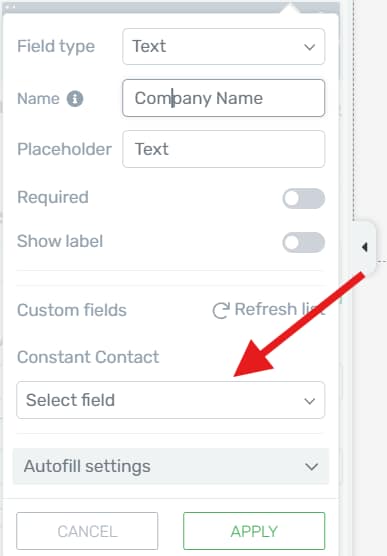
- After adding and mapping the field, click Apply to save the custom field.
- Once done, click Save Work to save your changes.

Connecting Constant Contact to Thrive Leads Forms
If you are working with forms in Thrive Leads rather than on a standalone page, the process is quite similar. To connect Constant Contact to a Thrive Leads form, follow these steps:
- In the WordPress Admin area, go to your Thrive Leads dashboard.
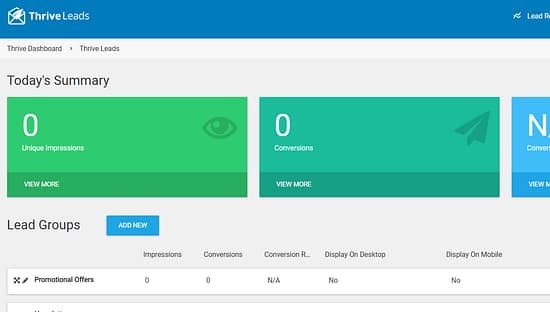
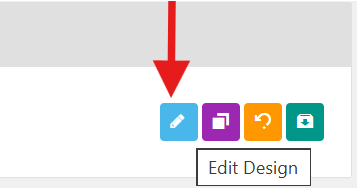
- Locate the opt-in form you want to connect to Constant Contact and click the pen icon to edit it.
- This will open the form in the Thrive Architect editor. From there, click the Lead Generation element in the editor to select it. The element’s options will appear in the left sidebar.
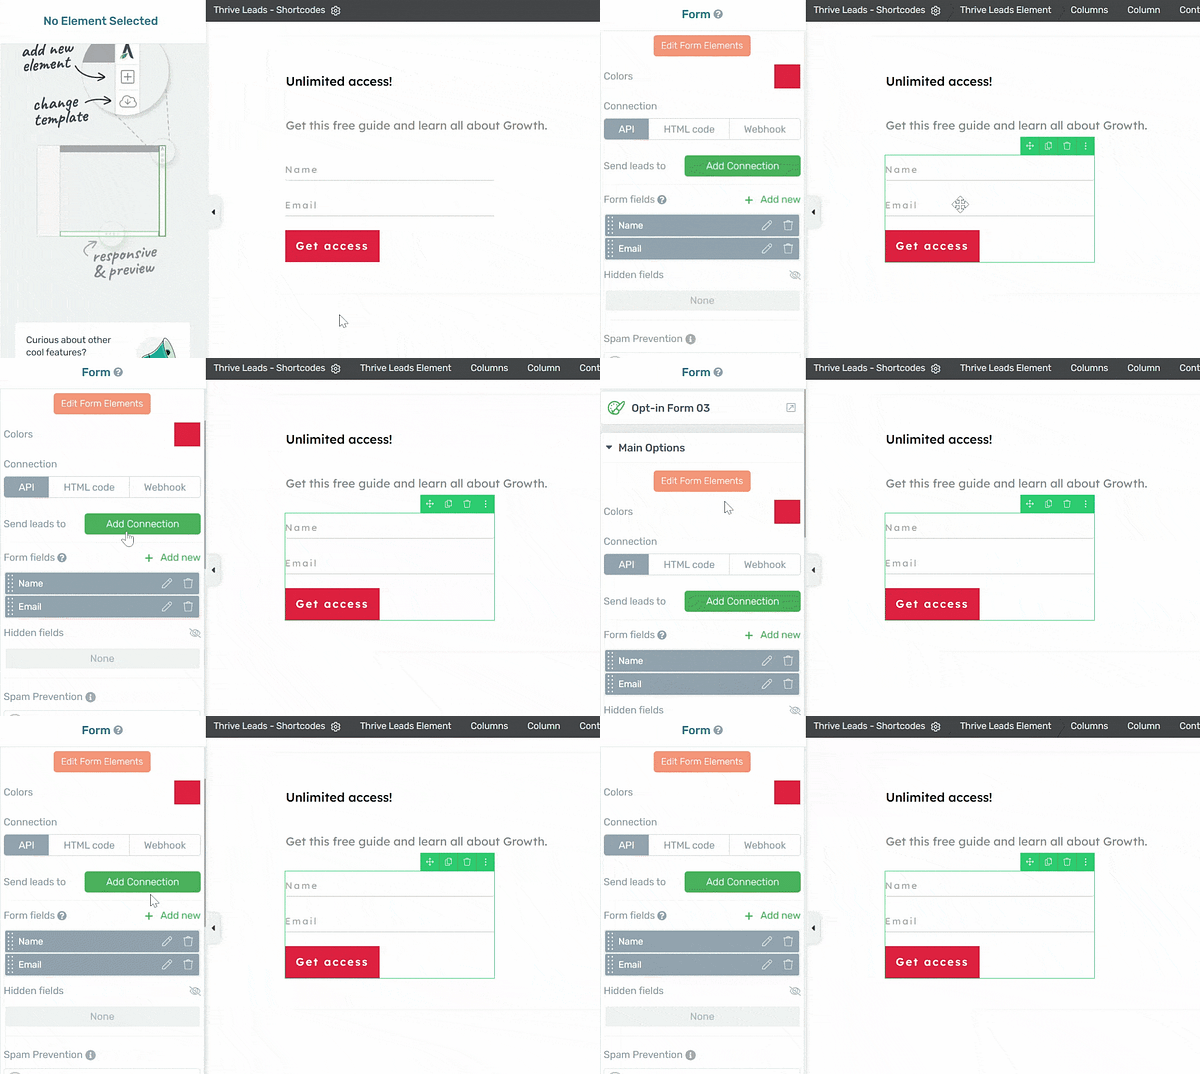
From this point, the setup process is identical to what has been described above.