If you are looking for a software that will allow you to create pre-recorded webinar sessions that you can schedule anytime you want, then EverWebinar might be the solution for you.
EverWebinar is an automated software platform that gives you the possibility to pre-record your webinars and take the live streaming experience to another level. You can basically give the attendees the option of joining in and taking part in your webinar without you having to actually log in and hold a live session.
You can connect your EverWebinar account to a “Lead Generation” form or a form from Thrive Leads, and give your visitors the possibility of registering to your webinars directly from your website.
Keep in mind though that if you are running multiple series of webinars, that occur on different dates, the visitors will not be able to actively select the session to which they want to attend. Instead, you will have to create separate forms for each recorded session, and you can read all about how you can do that in the below article.
EverWebinar Configuration
Just as in the case of any other platform, in order to use it, you will have to create an account and select a type of pricing plan that matches your needs.
After you do that and login into your account, you’ll have to create your first webinar.
Access the “My webinars” dashboard and click on “Add webinar”:
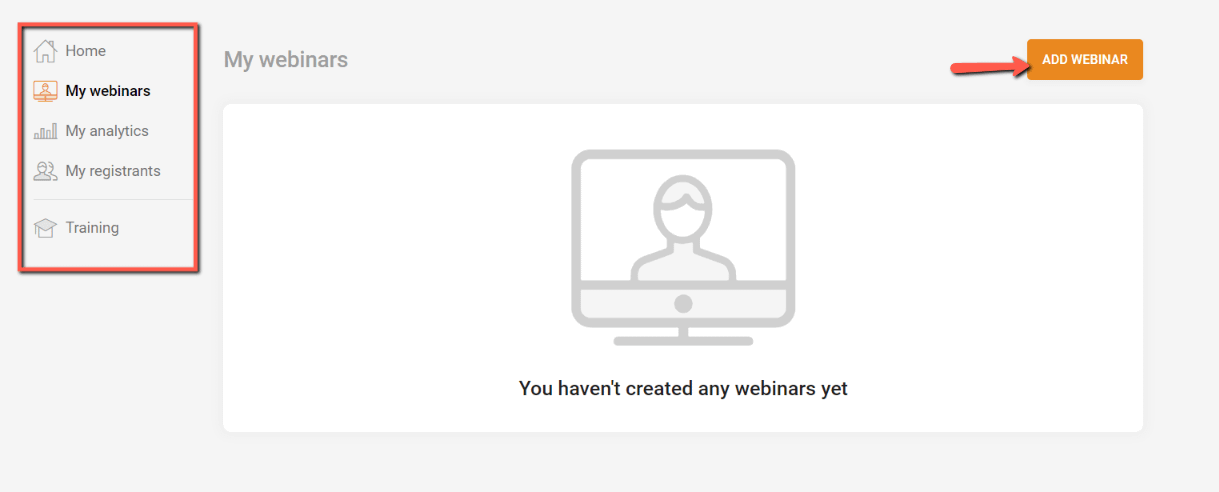
From here onwards, you’ll have to go through the steps of the webinar configurator.
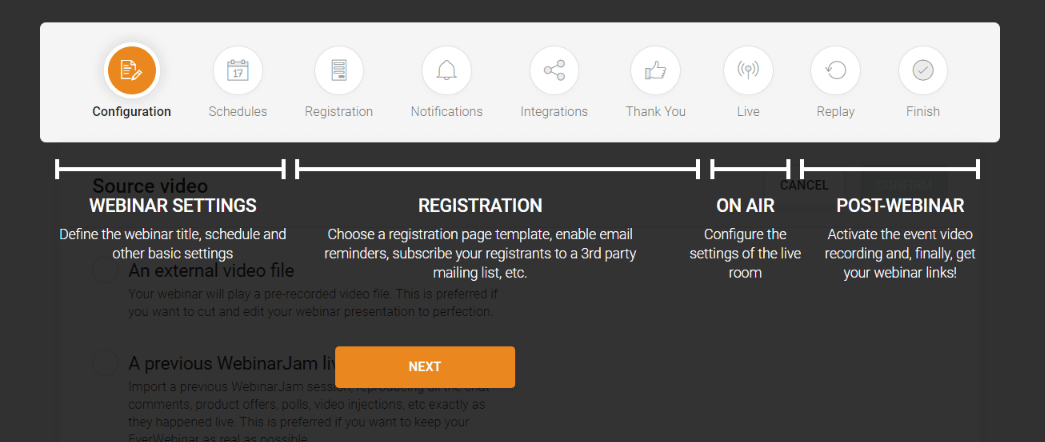
The configurator will guide you through the process from start to finish: you will start with the webinar settings, go through the registration templates and finally get the webinar links that you can share with your attendees:
Important!
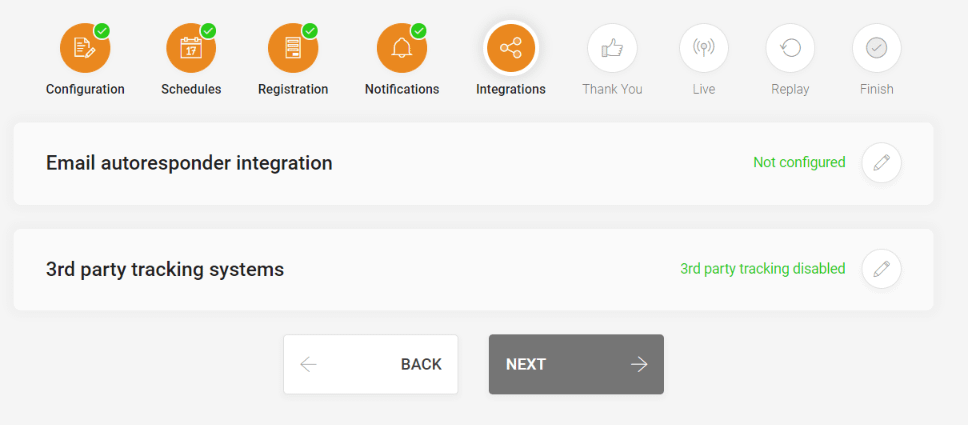
The “Integrations” step will require an active integration with a third-party autoresponder:
You will have a list of autoresponders you can choose from, so make sure you select one that you are already using and set up your connection:
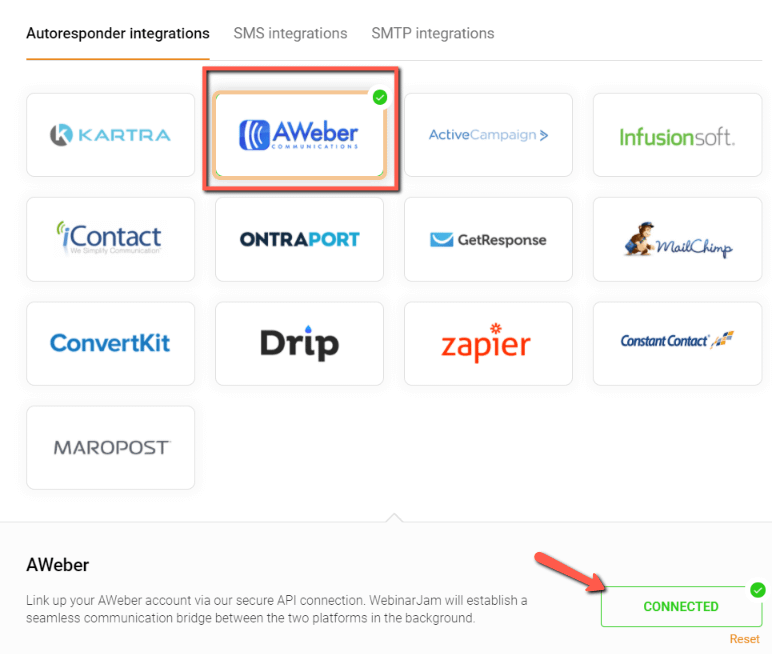
Depending on the autoresponder, you might simply have to log in to your account (e.g. AWeber) and create a communication bridge between these two platforms, or, for example, use an API key from your autoresponder account (e.g. Mailchimp).
The purpose of this integration is to allow you to follow up with the people who register for your webinar after the session is over.
Once you have configured this, you can proceed with setting up the remaining steps, such as configuring the thank you page templates (if you want), the replay settings, and so on.
The end result will be an automated evergreen webinar, that you can schedule to play anytime you want.
Get the EverWebinar API key
Now that you’ve created your first webinar, it’s time to go on to the next step, which is getting the API keys required for the integration with your Thrive plugins.
To do that, you will have to access the “Advanced” settings of your webinar, from the “My Webinars” dashboard:

Click on the “API custom integration” tab and simply copy the API key available there:

Add the keys to your Thrive Dashboard
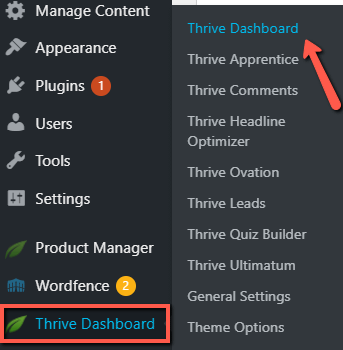
With the API key copied, you will have to log into your WordPress account, and access your Thrive Dashboard:
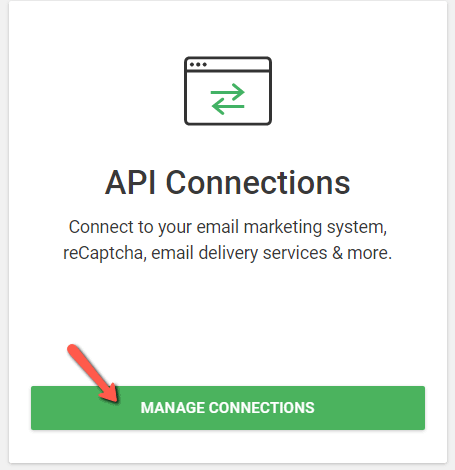
Scroll down until you find the API connections card and click on “Manage connections”:
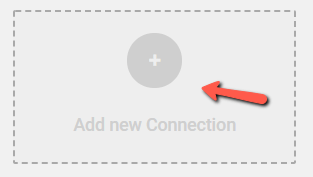
This will take you to the list of already set up integrations available in your dashboard, and in order to add a new one, look for this button:
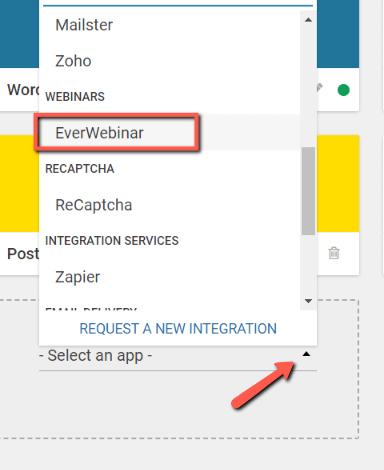
You will be prompted with a drop-down list with all the services you can choose from:
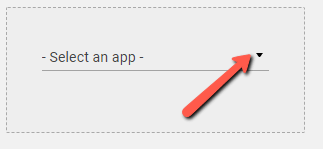
Look for the EverWebinar field and select it:
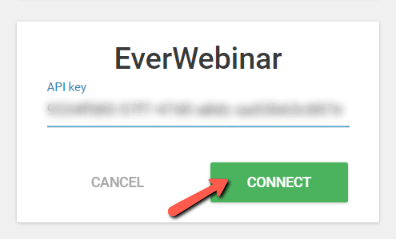
This is where you will have to paste the API key previously copied from your EverWebinar account. Once done, click on “Connect”:
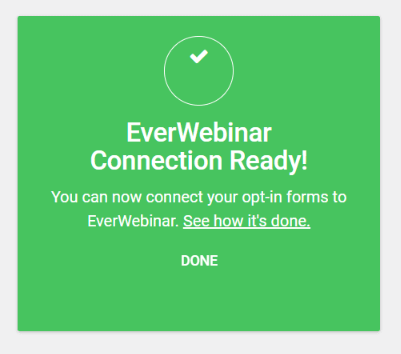
If the connection is successful, you’ll see this notification:
Furthermore, you can always return to this dashboard and further test, edit, or remove the integration, from these options available on your connection card:
Connecting EverWebinar to a “Lead Generation” element
Now that your API connection has been set up in your Thrive Dashboard, you can proceed with connecting your EverWebinar to a “Lead Generation” element.
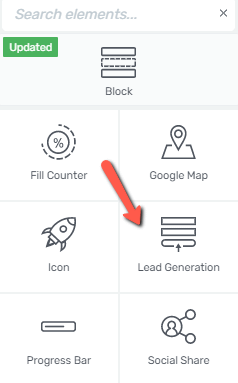
Naturally, for this, you will have to open the page or post on which you plan to this and add the “Lead Generation” element to your content:
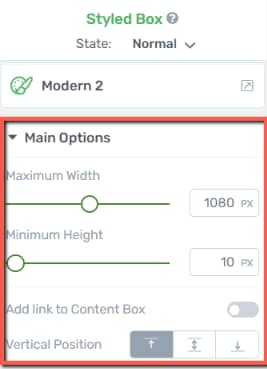
After you do that, you will be able to access the “Main Options” in the left sidebar of your editor:
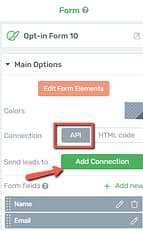
In order to set up the integration, make sure the “Connection” is set to “API”:
1. Add Connection
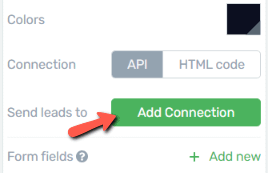
Next, you can go ahead and click on “Add Connection”:
Connection
This will trigger a drop-down list, which you need to expand in order to see the full list of available connections:

Select the service from the list:

Select webinar
You will next have to open the second drop-own list that appears and select the webinar to which this registration form will provide access:

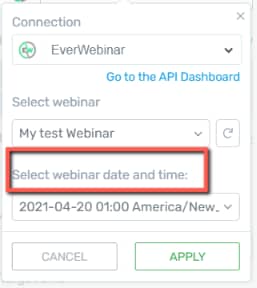
Select webinar date and time
Lastly, if your webinar is scheduled to run multiple times, over a certain amount of time, you’ll also have to select the specific session:
Open the drop-down and select the date and time:
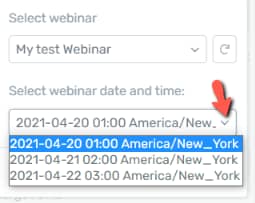
Note: If the date and time drop-down list selection is not displayed here from the beginning, you might want to reload the list by clicking on the “Refresh” button next to your webinar:

Customize your form
Given the fact that your webinar might have multiple sessions, you will have to set up different forms and configure the date and time for each one of them.
Therefore, you’ll first have to select the session from the webinar date and time drop-down list.
And, in addition to this, the form itself should also mention the date and time for which the attendee is registering.
You can do that by simply customizing the “Lead Generation” and adding a text that reflects the date and time set by you:

This way you are clearly stating the session for which the user is registering.
2. Set Form Fields
Now that the connection is ready, you can start setting up the form fields:
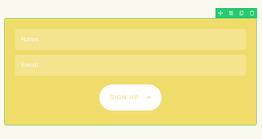
You can find out more information about form fields, in the dedicated section of the “Lead Generation” article, that you can find here.
Important!
You might want to set up a GDPR field here, for the attendees that are subject to GDPR requirements:

They should be aware of the fact that, by filling out this form, they offer you their consent to use their personal data and their e-mail address to communicate with them in the future.
You can also read more about these requirements on the EverWebinar documentation page.
The connection is now ready to be used. Don’t forget to save all the changes, by clicking on the green “Save Work” button from the bottom left side of the screen:

Connecting WebinarJam to Thrive Leads
You can also use your EverWebinar account to integrate with Thrive Leads if you want to.
The first thing you need to do is access your Thrive Leads dashboard. To do that, hover over the Thrive Dashboard section of your WordPress Admin dashboard, and click on Thrive Leads:
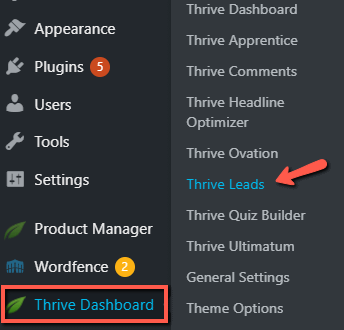
You can now go ahead and select the Lead Group which has the opt-in form that will be used for the EverWebinar connection:
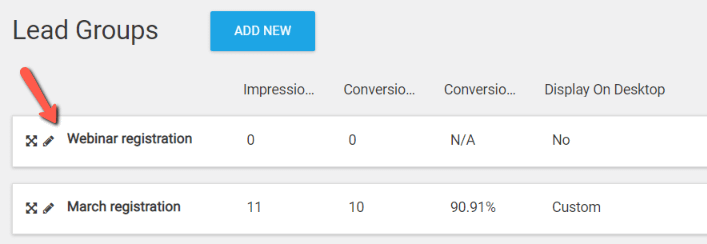
Click on the “Edit” button next to the form you want to access (in this case a “Lightbox”):

And, in the newly opened dashboard, click on “Edit Design” next to the “Lightbox” you want to edit:
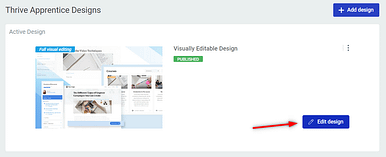
This will open the Thrive Architect editor, and you can go ahead and start using the left sidebar options to apply changes to your form:

If your form has a “Lead Generation” element added to it, you can find it by hovering over different parts of the template and simply select it:
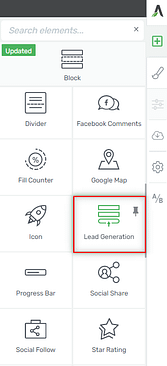
If not, open the right sidebar list of elements and drag and drop the element to your template.
You will then be able to use the “Main Options” and set up your connection just as described above, for connecting your EverWebinar account to a “Lead Generation” element:

These are the steps for setting up a connection between your EverWebinar account and a “Lead Generation” element, or a Thrive Leads opt-in form.
Don’t hesitate to check out our knowledge base if you want to read more about API Connections and how they work.
Hopefully, this article was useful to you. If so, please give us a smile below 🙂