Creating an API connection between your Facebook profile and your page can be important. For example, you need this connection if you want to offer visitors the possibility to upload their Facebook picture on the Thrive Ovation testimonial capture form. If this connection is set up, they will be able to log in to their Facebook profile and upload their picture to the testimonial they leave on your website.
Another instance when you need this connection is when you use Thrive Comments and you want to allow people to sign in to their Facebook profile when leaving a comment on your website.
Important: Facebook does not accept URLs that are not secure. In order to be able to make the connection between your Facebook profile and your page, your website URL must start with HTTPS.
Note: Both the Thrive Dashboard Facebook connection and the Thrive Comments Facebook login only request the public_profile permission. You do not need to add or enable the email permission on your Meta app for this connection to work.
1. Access the Facebook Developer Page

First, log into your Facebook account and go to the Facebook developers page. Once here, click on Get Started.
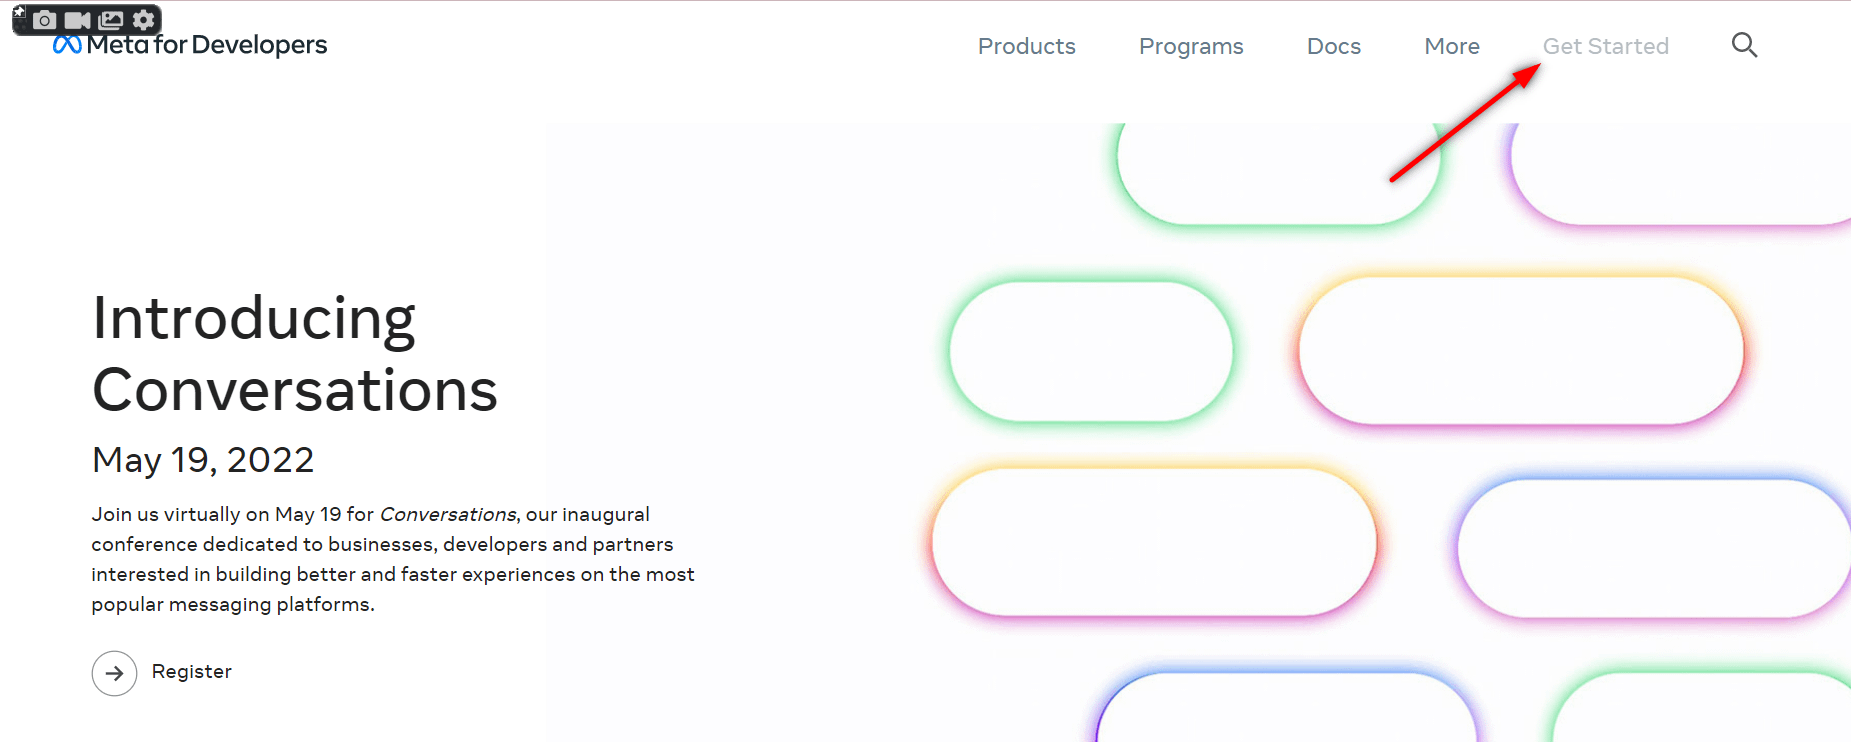
Next, proceed with the required registration/verification steps:
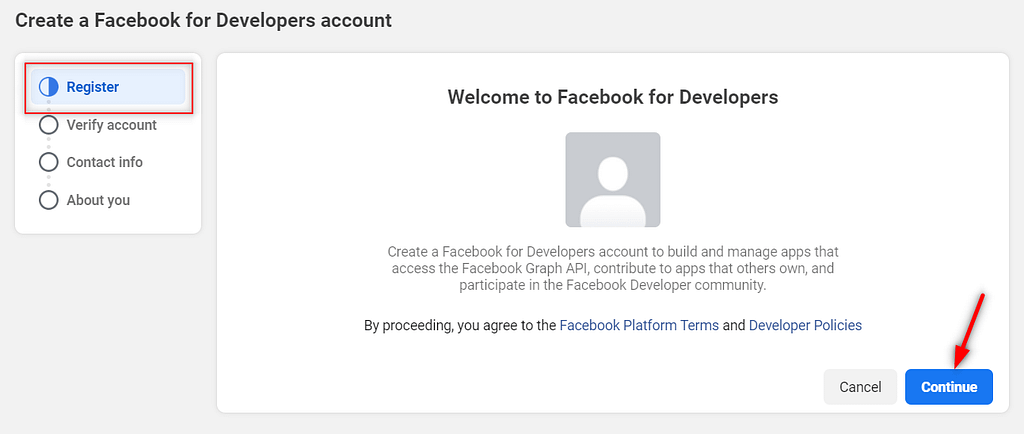
- Verify your account using your phone number
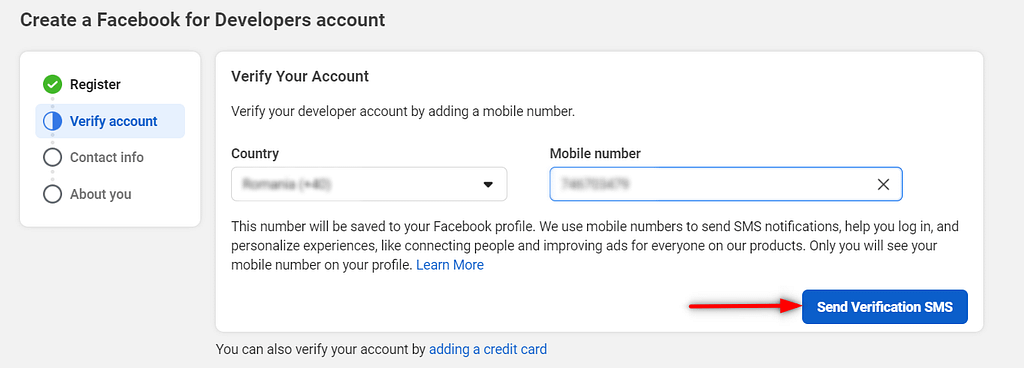
- Review your email address
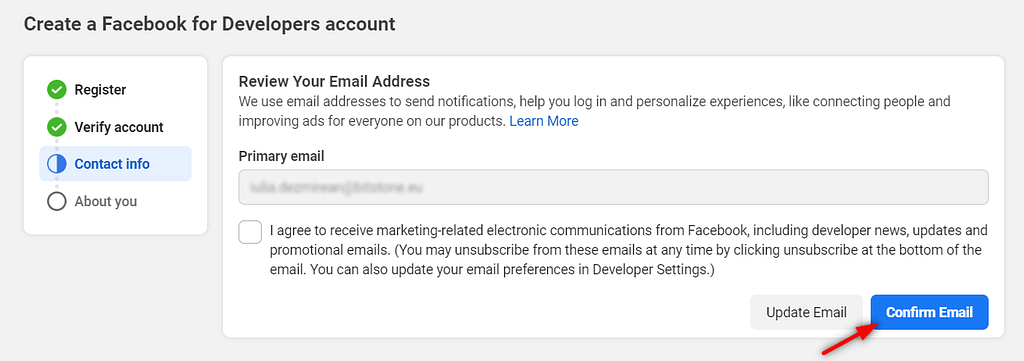
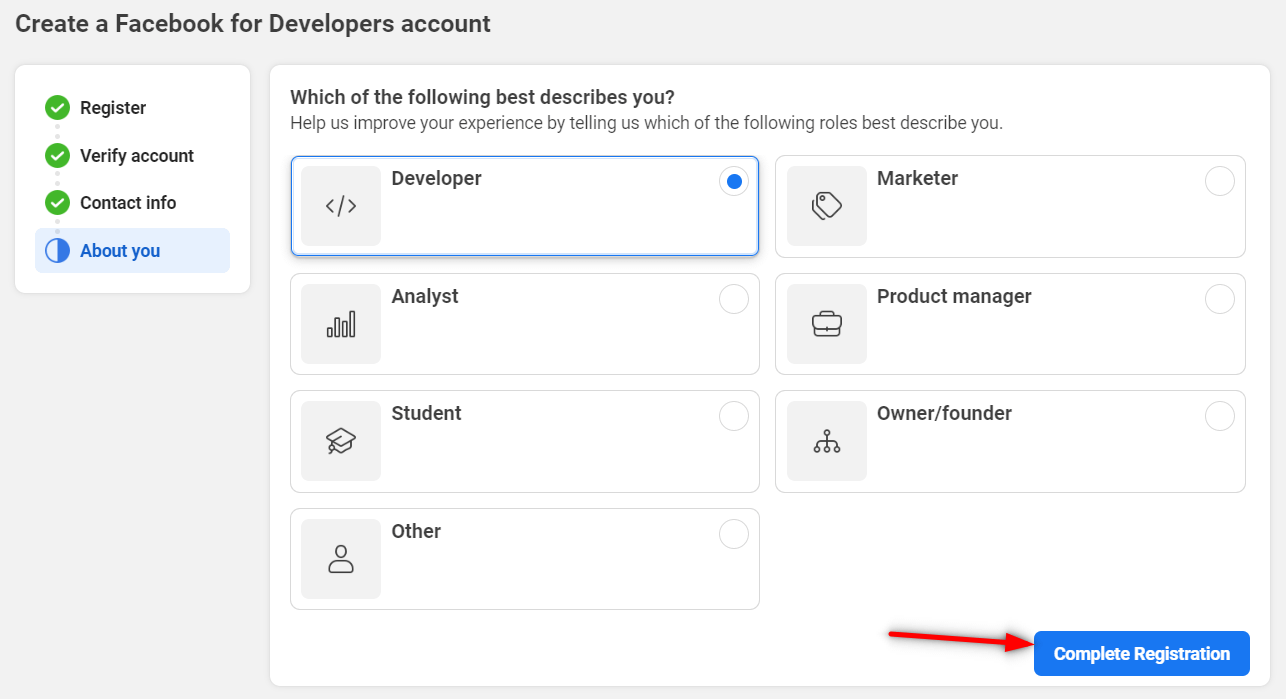
- Submit your “About you” information (select Developer for this use case)
2. Adding a New App
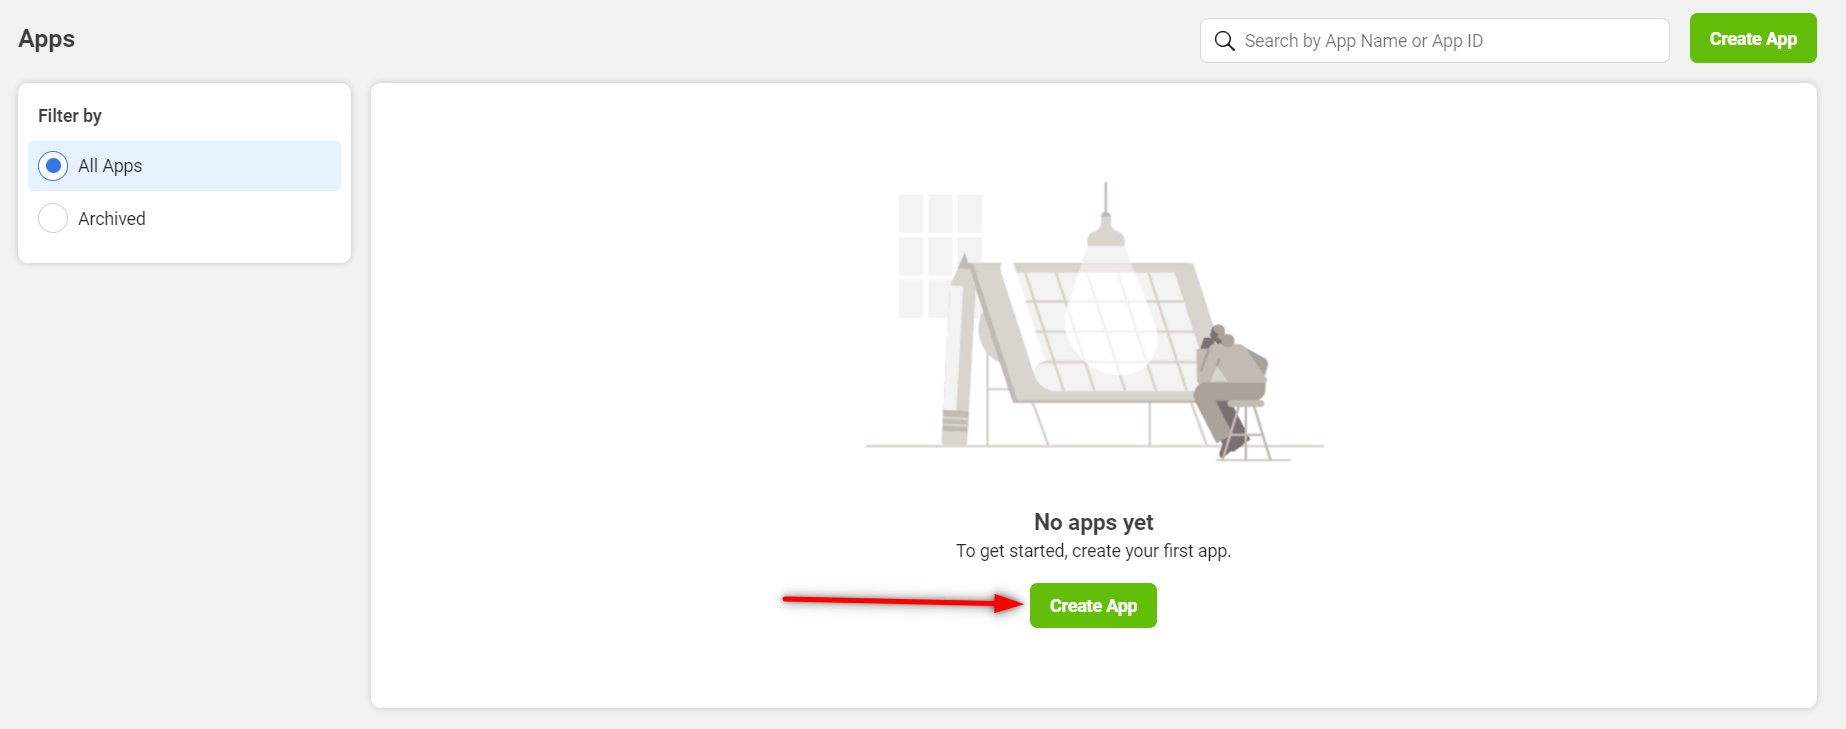
Click on the Create App button to start the process.
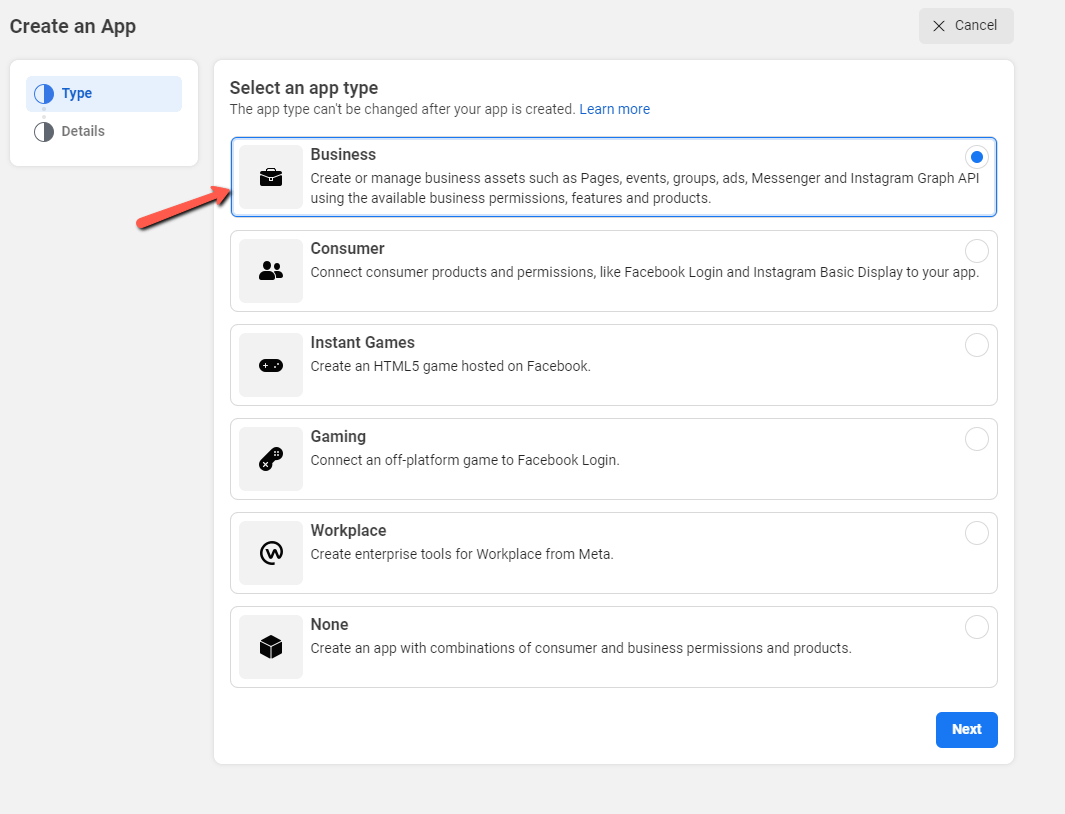
A pop-up window will open, where you will be required to select between a few different options. For this purpose, select Business.
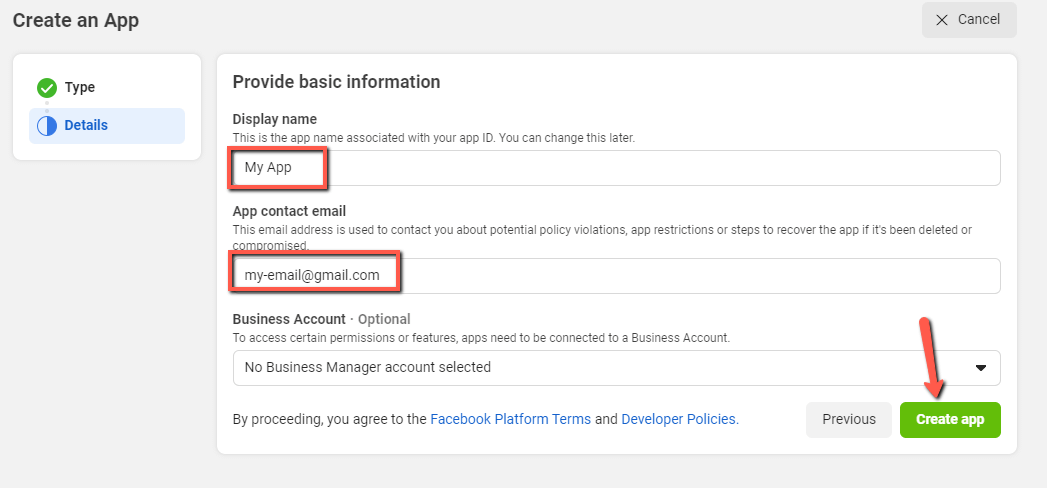
Next, a new pop-up will appear on the screen, where you will be required to enter a name for your app, as well as your contact email, and then you can click on Create app.
Note: You may be prompted to do a security check with either a captcha or a checkbox (e.g. “I’m not a robot”).
3. Adding the Facebook Login Use Case
Meta’s App Dashboard no longer uses a “Products” list – app capabilities are now added as use cases. On the Add use case screen, select Authenticate and request data from users with Facebook Login, then click Next.
On the Login type screen, select No, I’m not building a game, then click Next. This gives the visitors of your website an easy way to log into your website using their Facebook account.
4. Configuring Your Use Case for Your Website

After your use case is added, go to Use cases in the left sidebar and click Customize next to Facebook Login. Open the Settings tab and, under Client OAuth Settings:
- Turn on Web OAuth Login
- Enter the URL of the website you want to use the app on in the Allowed Domains for the JavaScript SDK field
- Click Save Changes
5. Disable “Strict Mode for Redirect URIs”
Facebook has the “Strict Mode” activated by default and there is no option to deactivate it, so you will have to build the exact OAuth Redirect URI yourself.
Construct Redirect URL
The URL has three parts:
Part A – Your Admin Page:
- Must contain your domain (https://www.domain.com/) plus the admin part: “/wp-admin/admin.php”
- Result:
https://www.domain.com/wp-admin/admin.php
Note: If you have a custom login URL you will have to use that URL.
Part B – Static Part:
- Contains the page where visitors will be redirected and the API connection type
- Add:
?page=tve_dash_api_connect&api=facebook - Result:
https://www.domain.com/wp-admin/admin.php?page=tve_dash_api_connect&api=facebook
Part C – Dynamic Part:
- Contains your App ID and Secret ID
- Add:
&app_id=Your Facebook APP ID&app_secret=Your Facebook Secret ID
Complete URL Example:
[[https://www.examplesite.com/wp-admin/admin.php?page=tve_dash_api_connect&api=facebook&app_id=111111111&app_secret=11aaa111aaa11aaa]]
Before Copying Keys
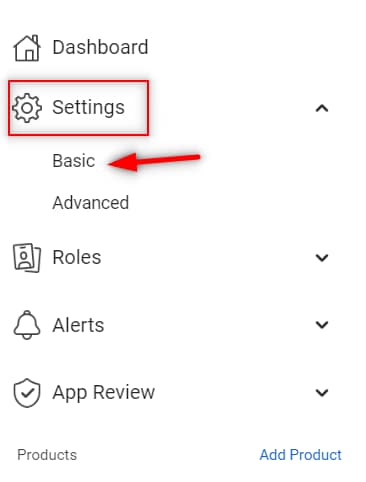
- Go to “Settings” > “Basic” dropdown
- Complete the App Domains field with your domain
- Complete the Privacy Policy URL field with your privacy policy URL
- Click “Save Changes”
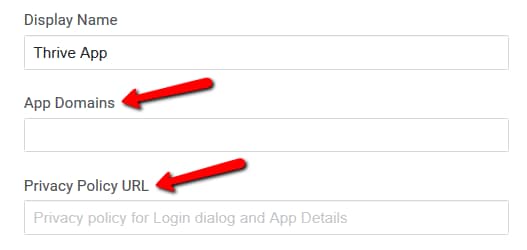
Important: These have to be completed because later on, you will have to change the status of your App and that cannot be done without these fields completed.
Obtaining App ID and Secret
Copy the “App ID” and “App Secret ID” from the top of the options.

Note: When you click on “Show” in the “App Secret” section, you might be required to introduce your password again.
Configuring OAuth Redirect Settings
- Go to Use cases in the left sidebar
- Click Customize next to Facebook Login
- Open the Settings tab
- Enter the composed URL in the Valid OAuth Redirect URIs field, under Client OAuth Settings
- Make sure Web OAuth Login is turned on
- Confirm your website URL is listed in the Allowed Domains for the JavaScript SDK field
- Click Save Changes
Note: This connection only needs the public_profile permission – you do not need to add or enable the email permission for this to work. If you see a Meta error mentioning Invalid Scopes: email, this connection is not requesting that scope; the fix is on the Thrive side, not something you need to add to your app.
Getting Access for public_profile

- Still on the Facebook Login use case, open the Permissions and Features tab (this replaces the old standalone “App Review” section for this use case)
- Find public_profile in the list – it’s included automatically and marked as required for every use case
- If you need your connection to work for visitors who aren’t listed as testers or don’t have a role on your app or business (which is the normal case for a live website), click Increase access next to public_profile
- Confirm public_profile shows as ready, so your connection isn’t limited to app testers only
Redirect URI Validator

- On the same Settings tab, find the Redirect URI Validator field
- Enter your composed URL
- Confirm you see a notification that the redirect URI is valid
- Click Save Changes again at the bottom of the page
Important: You will have to do all of these steps so that the URL will be validated correctly.
6. Copy the API Keys
Retrieve your two API keys:
- App ID
- App Secret ID
Go back to “Settings” > “Basic” dropdown and locate these in the respective fields. Have them ready to paste into your Thrive Dashboard.

7. Integrating Your App with Thrive Themes
- Go to the WordPress admin dashboard of your website
- Access the “Thrive Dashboard”

- Scroll down to the API Connections card
- Click on “Manage Connections”
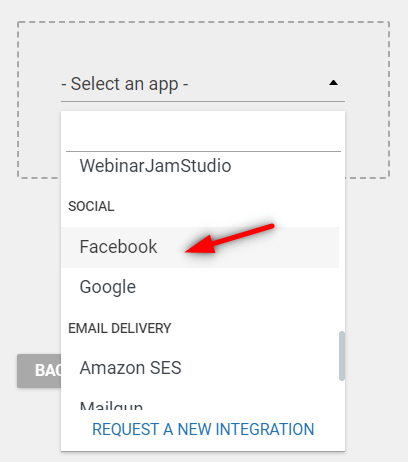
- Add a new connection by selecting an app from the drop-down
- Look for and select the Facebook option
- Paste the App ID and App Secret ID in the fields that appear
- Click Connect

- A pop-up window will open with the information the App will use
- Edit if desired or leave as is
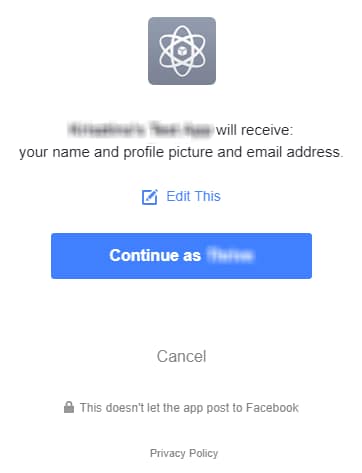
- Click Continue as
- You will see a notification that your connection is ready to be used

Note: This connection only requests the public_profile permission (your name and profile picture) – it does not request or require the email permission.
That’s it! You’ve successfully set up an API connection between your Facebook account and your website using Thrive Dashboard.