You can use FluentCRM to capture and manage leads through Lead Generation elements or Thrive Leads forms.
In this article, you will learn how to set up an API connection with FluentCRM, implement it in Thrive Leads and Thrive Architect, and map fields while assigning tags when users sign up through your forms.
Before You Begin
Before you can connect FluentCRM to Thrive Themes, you need to have the FluentCRM plugin installed and activated on your WordPress site with a valid license key.
Adding FluentCRM to the Thrive Dashboard
To connect FluentCRM to the Thrive Dashboard, follow these steps:
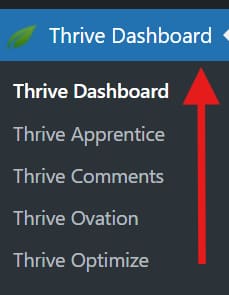
- Navigate to the Thrive Dashboard.
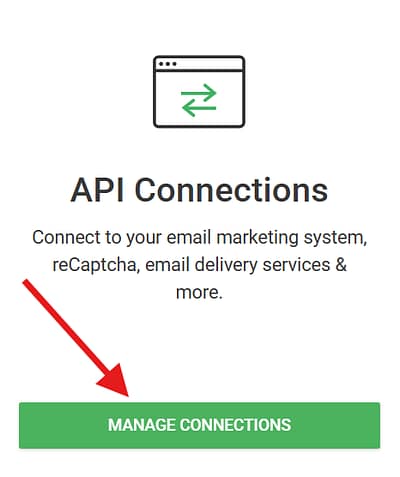
- Scroll down to the API Connections card and click the Manage Connections button.
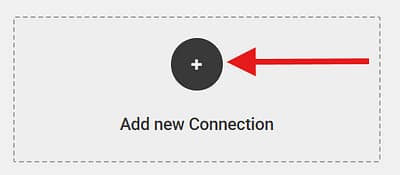
- On the API Connections page, click the Add New Connection button.
- In the Select an app dropdown, search for FluentCRM and select it.

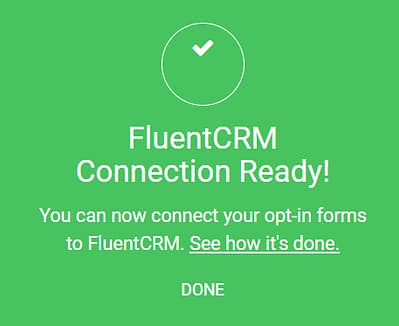
- After selecting FluentCRM, click Connect.

- When the connection is successful, you will see a success message indicating that the connection has been established.
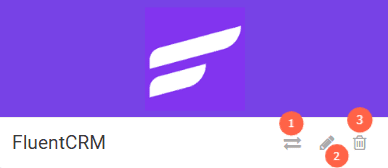
You can always return to this dashboard and Test (1), Edit (2), or Remove (3) the connection.
Connecting FluentCRM to a Lead Generation Element
If you are creating a new page or editing an existing one, you can connect FluentCRM to your form by following these steps:
- Open your page in Thrive Architect.
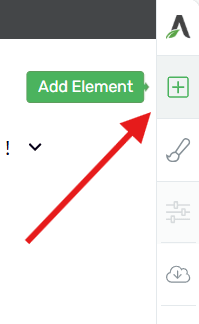
- In the editor, click on the plus (+) sign in the right sidebar to access the list of available Thrive Architect elements.
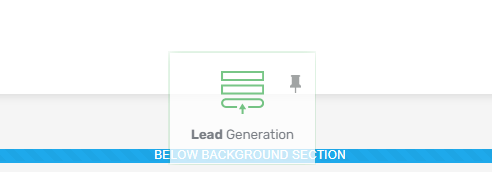
- Locate the Lead Generation element and drag it onto your page where you want the form to appear.
- Click on the Lead Generation element to open its options in the left-hand sidebar.
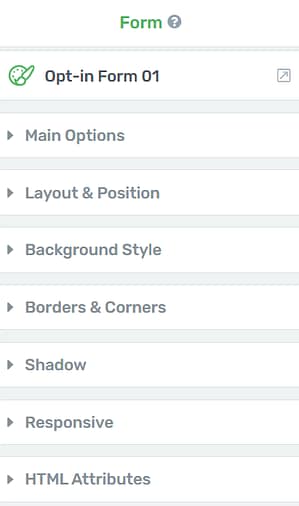
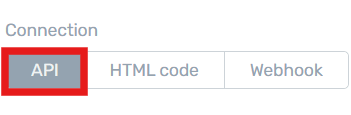
- Under the Main Options section, locate the Connection setting and select API as the connection type.
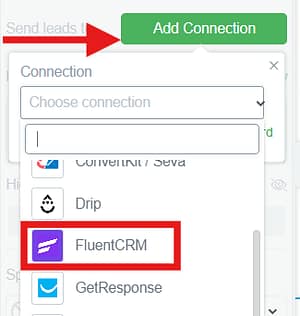
- Next, click Add Connection and choose FluentCRM from the dropdown list of available integrations.
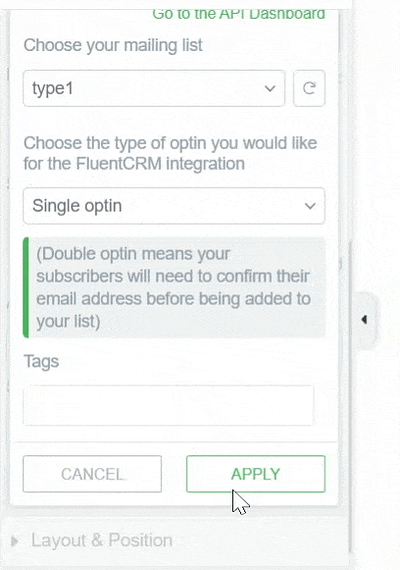
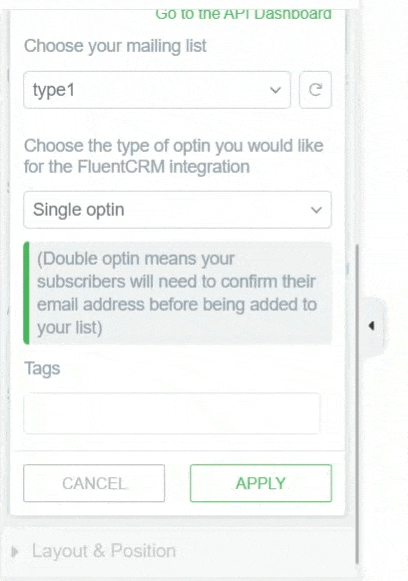
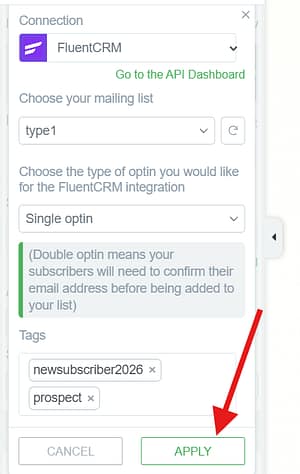
Selecting a Mailing List
After selecting your connection, choose the mailing list you want to use from FluentCRM.
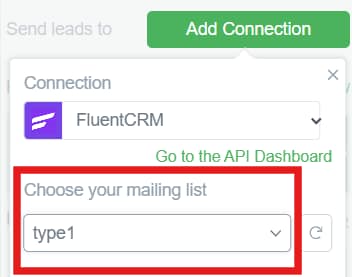
Note: If your mailing list isn’t showing up in the dropdown, make sure to click the Refresh button to reload the data. If your list is newly created, it may take a moment to appear.

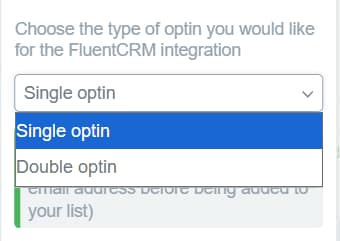
Choosing the Type of Opt-In
Next, you’ll need to choose the opt-in method for your form.
- Single opt-in: When someone submits the form, they are immediately added to your email list.
- Double opt-in: After submitting the form, the subscriber will receive a confirmation email and must click a link to confirm their subscription.
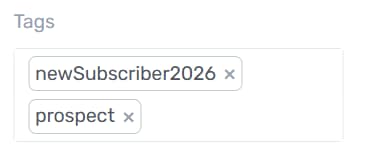
Adding Tags to Your Form
Tags allow you to categorize and segment subscribers based on the form they used to sign up, making it easier to send targeted campaigns later.
To add tags to your form, follow these steps:
- In the Tags field, start typing the name of the tag you want to assign. Existing tags in FluentCRM will appear in the dropdown for you to select.
- To create a new tag, type its name and press Enter.
- The tag will now appear in the list below the field. You can add as many tags as needed.
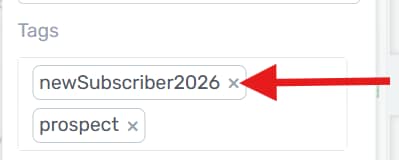
- To remove a tag, click the (x) icon next to it.
- Once you have selected your list and added your tags, click Apply to save your connection settings.
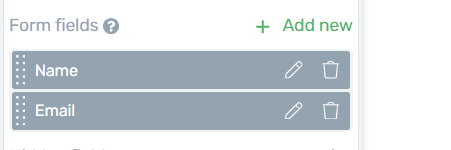
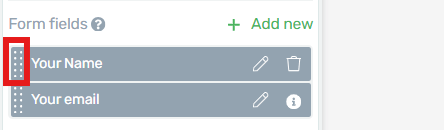
Setting Up the Form Fields
To set up the form fields that will be sent to FluentCRM, follow these steps:
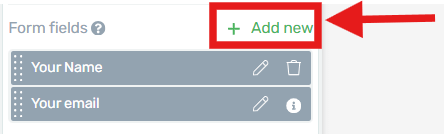
- With the Lead Generation element still selected, navigate to the Form Fields section.
- To add a new field, click + Add new.
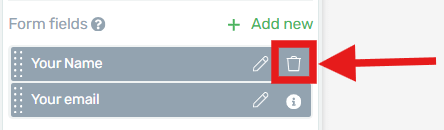
- To remove a field, click the trash bin icon next to the field.
- To change the order of fields, click and hold the drag handle and move it to your preferred position.
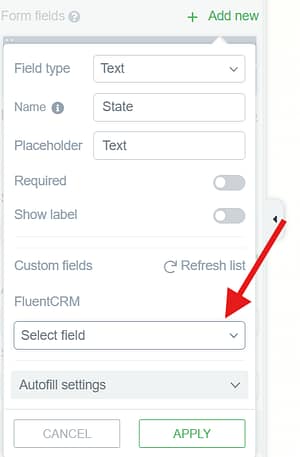
- You can also create custom fields. For each field, make sure the field mapping points to the correct FluentCRM field. To learn more about setting up and mapping form fields, please refer to this guide.
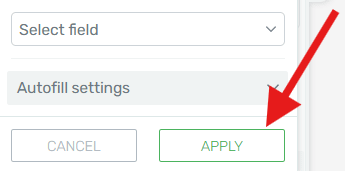
- After adding and mapping the field, click Apply to save the custom field.
- Once done, click Save Work to save your changes.

Connecting FluentCRM to Thrive Leads Forms
If you are working with forms in Thrive Leads rather than on a standalone page, the process is quite similar. To connect FluentCRM to a Thrive Leads form, follow these steps:
- In the WordPress Admin area, go to your Thrive Leads dashboard.
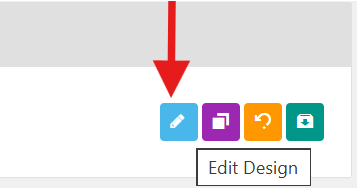
- Locate the opt-in form you want to connect to FluentCRM and click the pen icon to edit it.
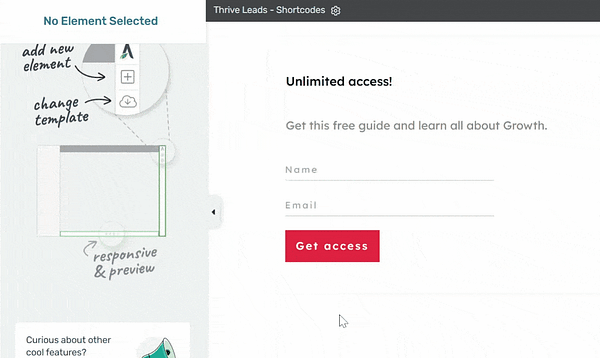
- This will open the form in the Thrive Architect editor. From there, click the Lead Generation element in the editor to select it. The element’s options will appear in the left sidebar.
From this point, the setup process is identical to what has been described above.