If you want to use the email marketing services of KlickTipp by creating a connection with one of your Thrive Themes forms, then this article might be useful to you.
Thrive Themes products connect to KlickTipp through their API. Follow the video below to learn more:
Important!
In order for the API integration to work, you need to register for a Premium KlickTipp account.
Add the keys to your Thrive Dashboard
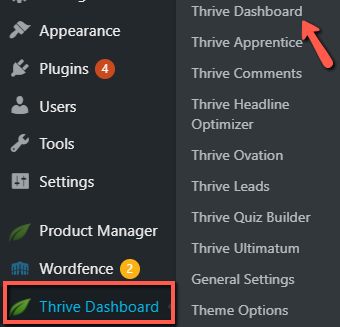
In your WordPress admin dashboard, click on Thrive Dashboard:
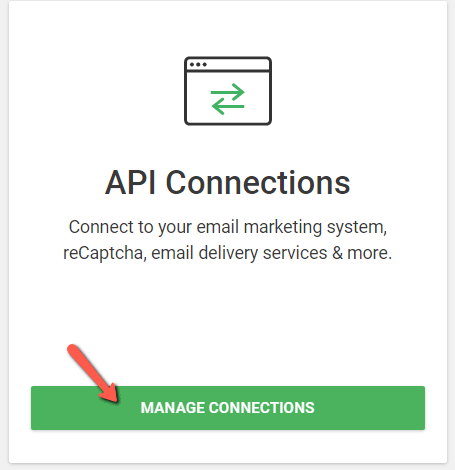
Look for the “API Connections” card, and once found, click on “Manage Connections”:
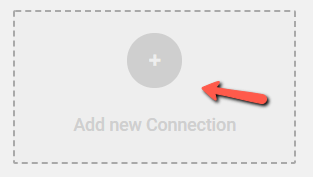
Now click on “Add New Connection” in order to start setting up the Klick-Tipp integration:
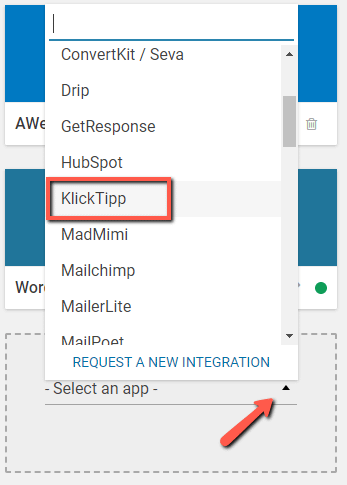
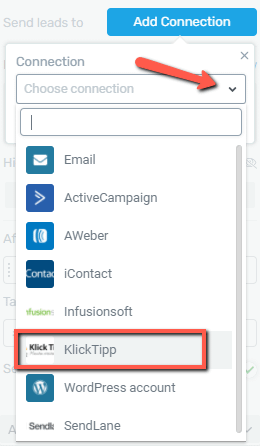
Open the drop-down list to view the full list of available services, and once you find KlickTipp, select it:
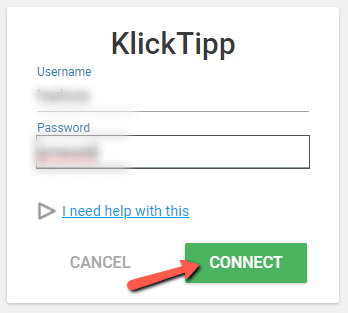
Add all the required details (username and password) in the corresponding fields and click on “Connect”:
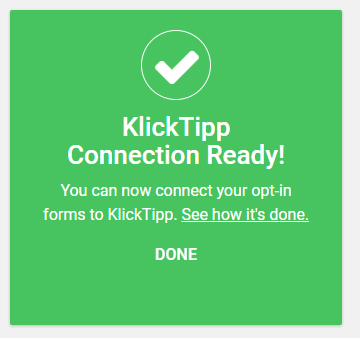
If the connection is successful, you will get a message letting you know that you can start using the connection:
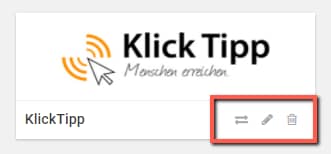
You can always return to the “API Manager” if you want to edit or remove the connection:
Connecting KlickTipp to a “Lead Generation” element
Once the API connection with Klick-Tipp has been set, you will be able to connect “Lead Generation” forms to your account.
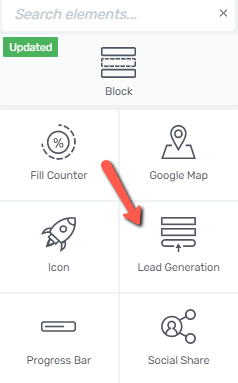
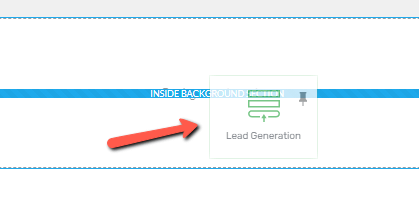
Open the page or post on which you want to add your form, and look for the “Lead Generation” element in the right sidebar:
Then, drag and drop the element to your page:
After you choose a template, you will notice that the “Main Options” will become available in the left sidebar:
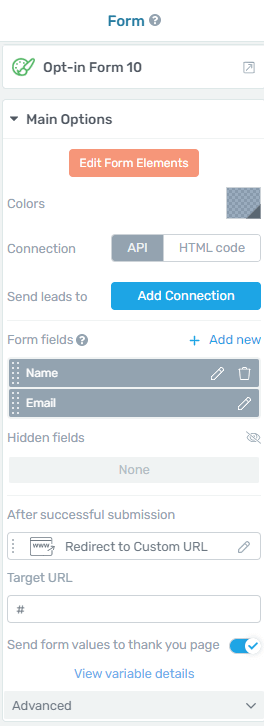
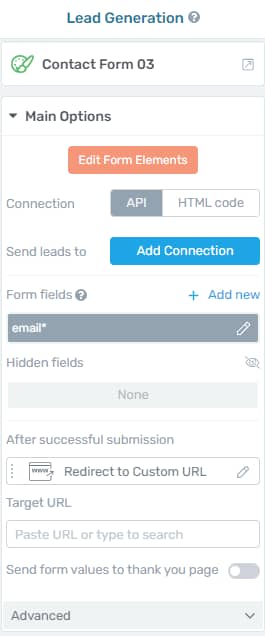
1. Add Connection
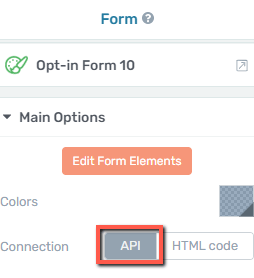
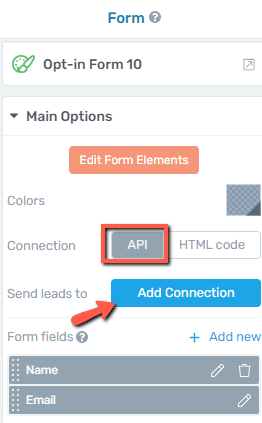
The first thing you need to do when setting up the integration is to check that the API connection is selected:
Afterwards, click on the “Add Connection” button:
Connection
This will trigger a drop-down list, which you need to expand in order to look for the KlickTipp connection and select it:
You will next have to set up other settings in order to complete the integration.
Mailing List
Next, you have to select a mailing list, which you have previously set up in your KlickTipp account:
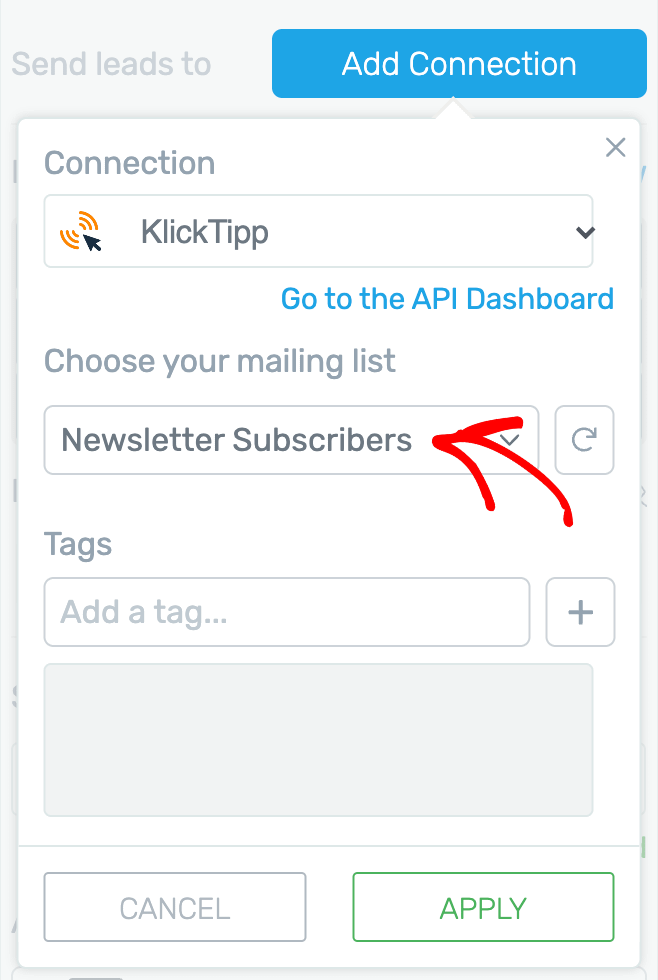
Additionally, you can add tags to your forms, if you want. This will allow you to segment your subscribers based on various criteria. Once done, click on “Apply”:

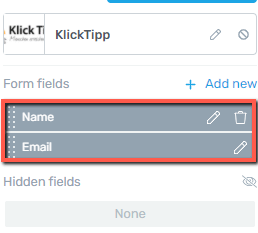
2. Set up the form fields
The next step is setting up the form fields. Depending on what type of template you have chosen for your “Lead Generation” element, you will have different kinds of form fields available in the left sidebar:
You can read more about form fields in the dedicated section of this article.
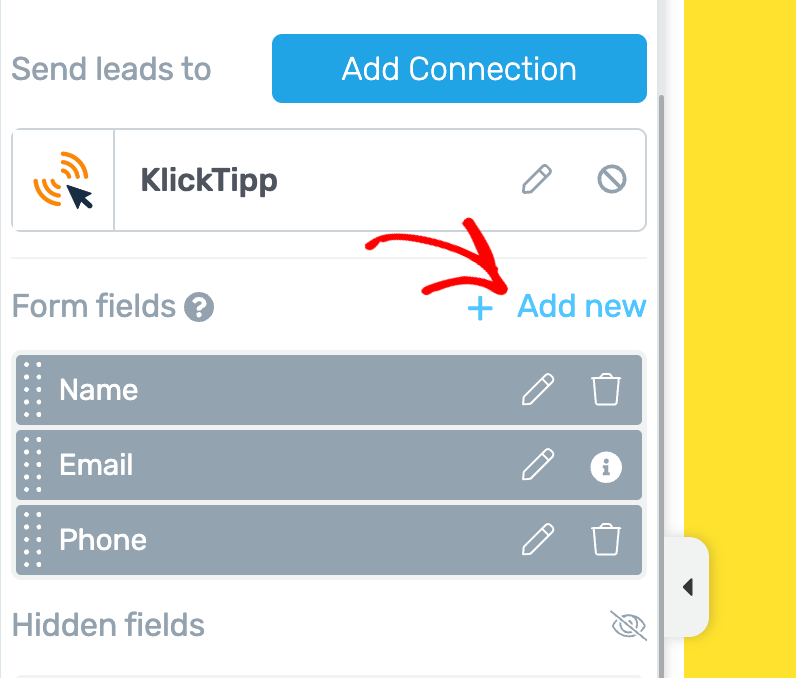
You can also add and use custom fields with this integration. To do so, you’ll have to create a new custom field in the Lead Generation form and map it with the respective field in KlickTipp.
To add a custom field, first under the Form fields section click + Add new.
Clicking to add a new field, click on the dropdown to select a field type.

In this dropdown select the type you want to add. We are selecting a Textarea for this example.

Once you select the field type, enter the field name and click on the dropdown to select the respective field in KlickTipp that you want to map this field with.

In this example, we’ve selected Message. So, the information going through the textarea field will be sent to the Message field in KlickTipp.

After adding the field and mapping it with the one in KlickTipp, click the Apply button to add this custom field.

Connecting KlickTipp to Thrive Leads
Another way of connecting your forms to Klick-Tipp is through a Thrive Leads form.
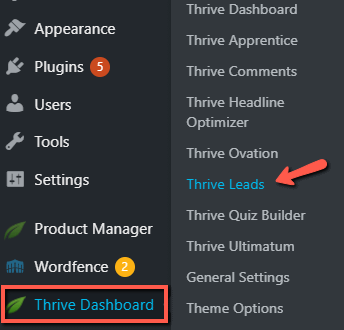
If you want to do that, access the Thrive Leads dashboard, by hovering over the “Thrive Dashboard” of your WordPress admin dashboard:
Then, find or create a Lead Group that has the form that you want to use for setting up the connection:
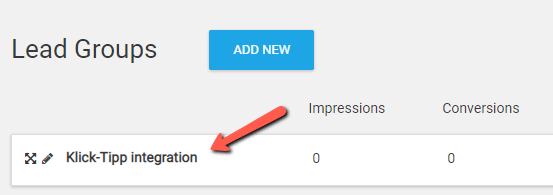
Next, click on “Edit”, from its right side:

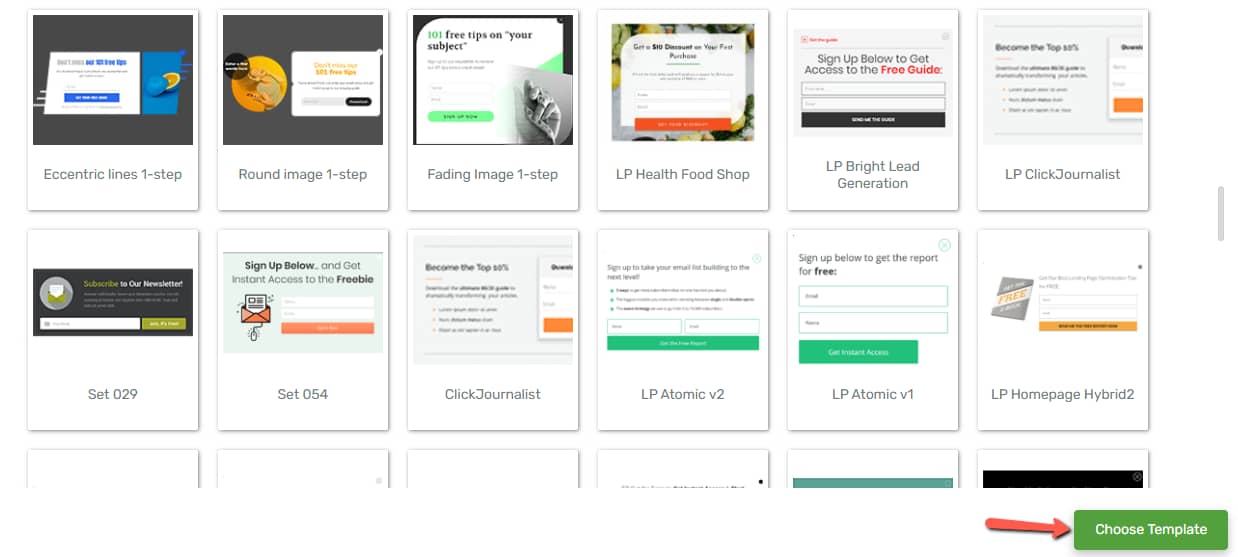
The list with the available forms will open. Look for the one that you want to add the connection to, and click on “Edit Design”:

This will automatically take you to the Thrive Architect editor, and a pop up will show up on the screen with various form templates you can choose from:
Select the “Lead Generation” element available in your opt-in form:
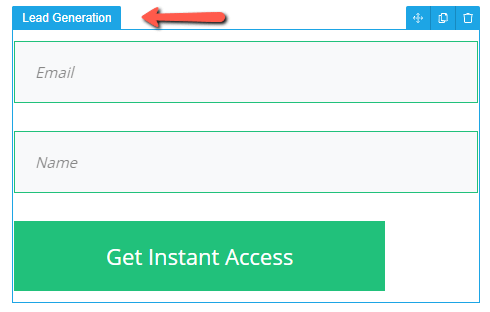
This will enable the left sidebar set of “Main Options”, allowing you to start setting up the connection:
The process is identical to the one already described above, in the case of connecting to a “Lead Generation” form.
These are the steps for setting up a connection with Klick-Tipp. If you want to learn more about API Connections and how they work, make sure to read our dedicated knowledge base articles.