You can easily set up an API connection between your Thrive Themes and your SendLane account, in order to be able to take advantage of both of the services offered, at the same time.
For instance, after you create this API connection, you will be able to connect the forms you create with Thrive Leads to the email marketing services of SendLane.
The article will go through all the necessary steps for creating and using an API connection with SendLane.
Get the SendLane API Keys
First, you will need to get the API keys from your Sendlane account. In order to do this, log in to your SendLane account and access your dashboard.
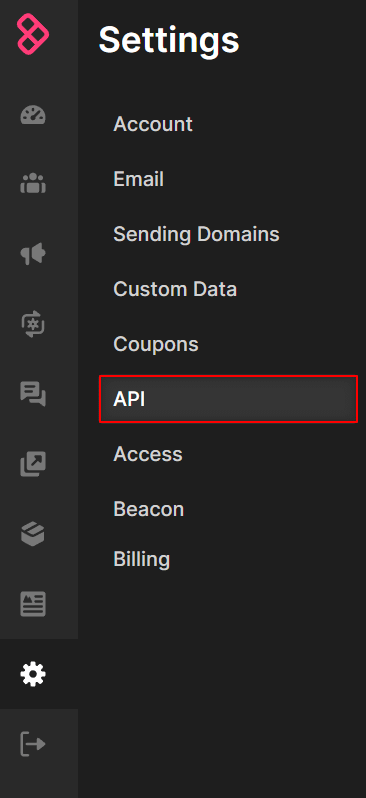
Click on the “Account” gear icon located in the left sidebar:

Then click on “API” in the sub-menu that opens:
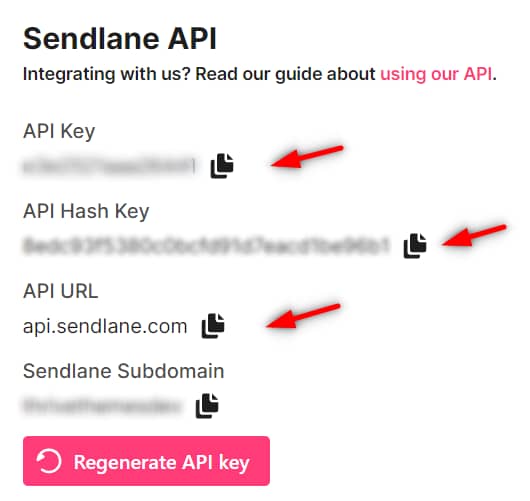
From the dashboard that appears on the screen, you will have to copy the two keys (“API Key” and the “API Hash Key”) as well as the domain name from the “API URL” field:
Add the keys to your Thrive Dashboard
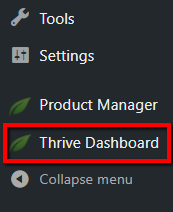
After you have copied the API keys and the domain from your SendLane account, go to your WordPress admin dashboard and click on the “Thrive Dashboard” from the left sidebar to access it:
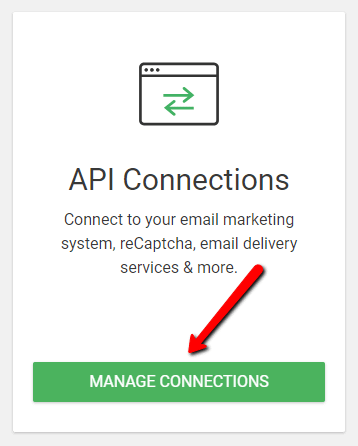
Then, scroll down a bit to see the “API Connections” card and click on the “Manage Connections” button from it:
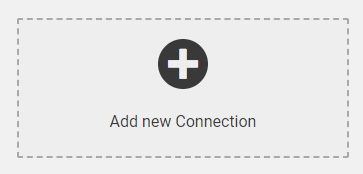
You will see the list of the connections that you have already set up. Look for the “Add new Connection” section and click on it:
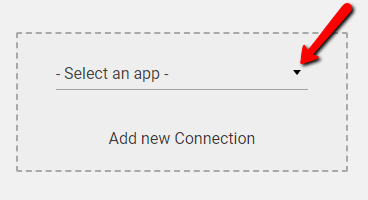
Now, click on the downwards pointing arrow next to the “Select an app” field:
In the drop-down that opens, look for “SendLane”. You can either start typing “SendLane” or scroll down until you see it:
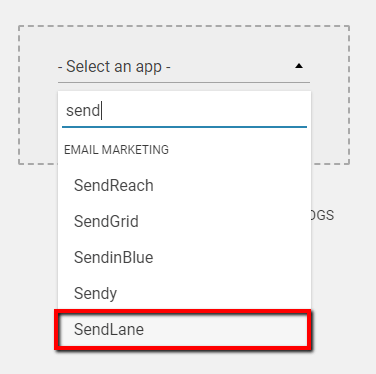
Once you found it, click on it and the SendLane connection card will open:
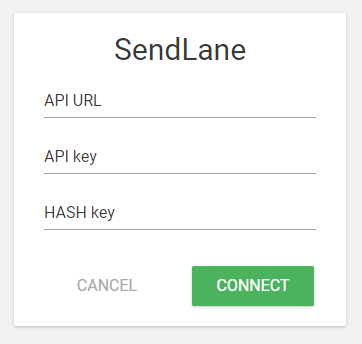
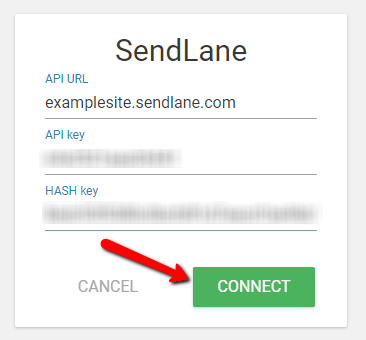
Here, you will have to paste in the information you have copied from your SendLane “Security Credentials” in the three given fields as follows:
- API URL: paste here the domain name that you have previously copied from the “SendLane” “API URL” field
- API key: paste the “SendLane API key” that you have copied
- HASH key: paste here the “SendLane Hash key” that you have copied.
After you have completed all three fields, all you have left to do is to click on the “Connect” button from the card:
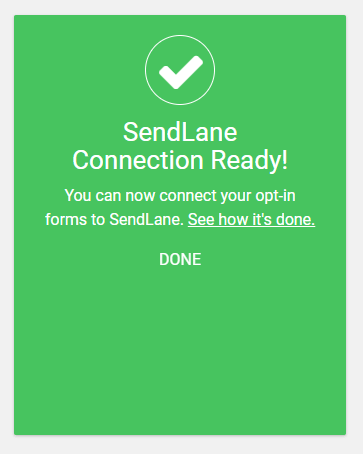
Once all these steps are done, you will see that your API connection will be ready to use:
Connecting SendLane to a “Lead Generation” element
Once the API connection with SendLane has been set, you will be able to connect your Thrive Leads forms and the “Lead Generation” elements to your SendLane account.
In the next steps, I will show you how to connect your SendLane account to a “Lead Generation” element.
The first thing you need to do is open the page where you want to add your form, and then, from the right sidebar, look for the “Lead Generation” element:

Once found, drag and drop it to your page, as you see fit, and select the template that you want to use. You will notice that as soon as the element has been added to the page, the main options will show up in the left sidebar:
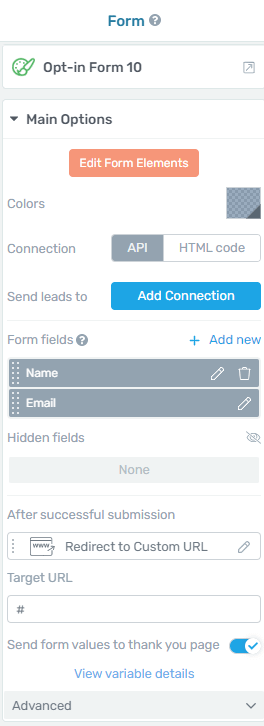
You can use the options to customize the element. If you want to learn more about what each option does, make sure to read this article.
1. Add Connection
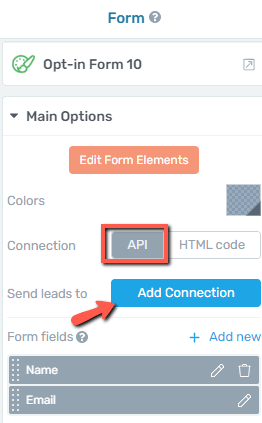
In order to connect this element to your SendLane account, you’ll have to set up the connection from the “Connection” section. Make sure “API” is selected, and click on “Add Connection”:
Connection
Clicking on “Add Connection” will trigger a pop-up with all the available connections:
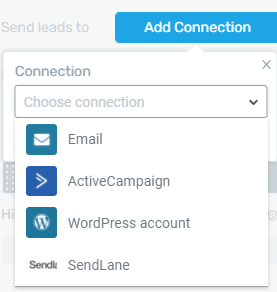
From the drop-down list, select the e-mail marketing service to which you want to connect, in this case, SendLane:

Mailing List
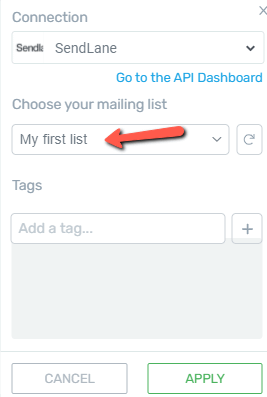
The following drop-down will allow you to select the mailing list which you’ve previously created in your SendLane account:
Tags
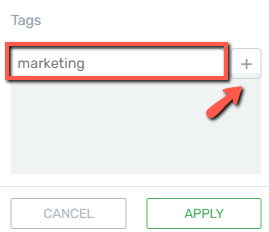
And lastly, if you want, you can create targeted campaigns by adding tags to your form. Add the tag in the corresponding field and click on the plus icon:
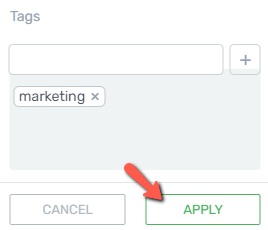
The tag will be automatically added to the list. Add as many as you want, and once done, click on “Apply” to save your settings:
2. Set up the form fields
The next step is setting up the form fields, form the same left sidebar options:
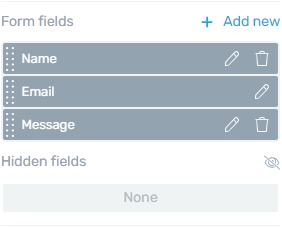
You can find out more information about how to do that, in the dedicated section of the “Lead Generation” article, that you can find here.
Once this is done and set, click on the “Save Work” button and start using your SendLane connection:

Connecting SendLane to Thrive Leads
If you want, you can also connect SendLane to a form available in your Thrive Leads dashboard. For that, access the Thrive Leads dashboard, by hovering over “Thrive Dashboard”:
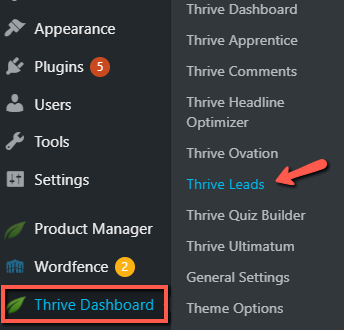
Then look for the Lead Group which contains the form to which you want to add the connection and click on it to expand it:
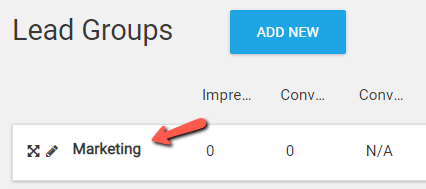
After you selected the form to which you want to connect your SendLane account, go ahead and click on “Edit” to start customizing it:

This will open the Thrive Architect editor. Locate the form within the “Lead Generation” element, and click on it:
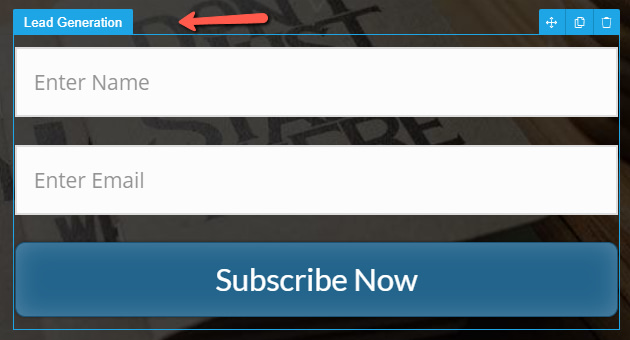
Now, from the left sidebar options, you will be able to add the connection just like you would do for any other “Lead Generation” element.
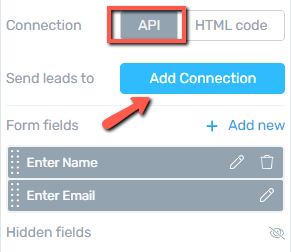
Make sure the connection is set to “API” and click on “Add Connection”:
From the drop-down list, select SendLane:

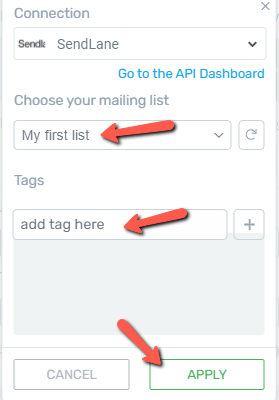
Then choose the desired mailing list and tags (if you want), and click on “Apply” to make sure everything is saved:
Now your connection is set and ready to be used. If you want, you can go ahead and further customize the form fields, and all the other additional options available in the left sidebar.
If you need more information about these steps and how to use the “Lead Generation” element, please check out this tutorial.
This is how you can set up and use an API connection with SendLane.
Don’t hesitate to check out our knowledge base if you want to read more about API Connections and how Thrive Leads works.