Do you want to sell your Thrive Apprentice courses using SendOwl? You can do that after establishing an API connection between the Thrive Dashboard and your SendOwl account.
In this article, we’ll show you how you can establish the connection between Thrive Dashboard and SendOwl.
- Obtaining the API Key and the Secret Key in SendOwl
- Connecting SendOwl with the Thrive Dashboard
- Entering SendOwl Account Keys for Integration Settings
Obtaining the API Key and the Secret Key in SendOwl
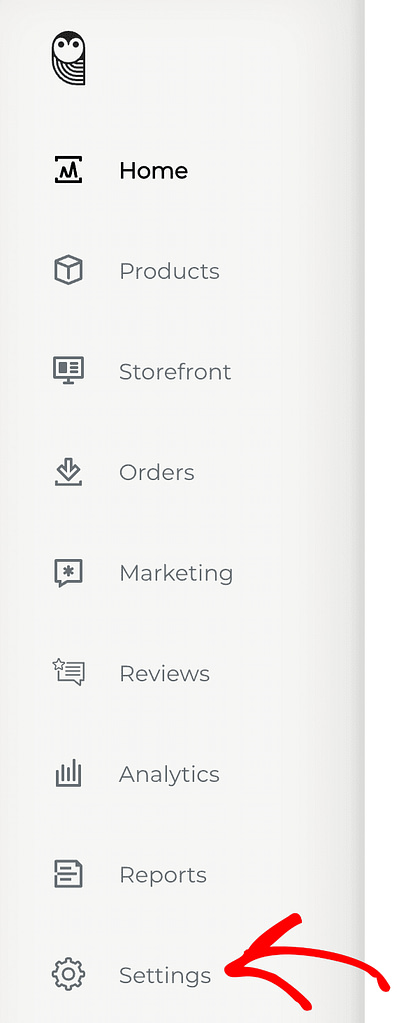
To find the API key in your SendOwl account, start by logging in to your SendOwl account, opening the dashboard and clicking on Settings in the left panel.
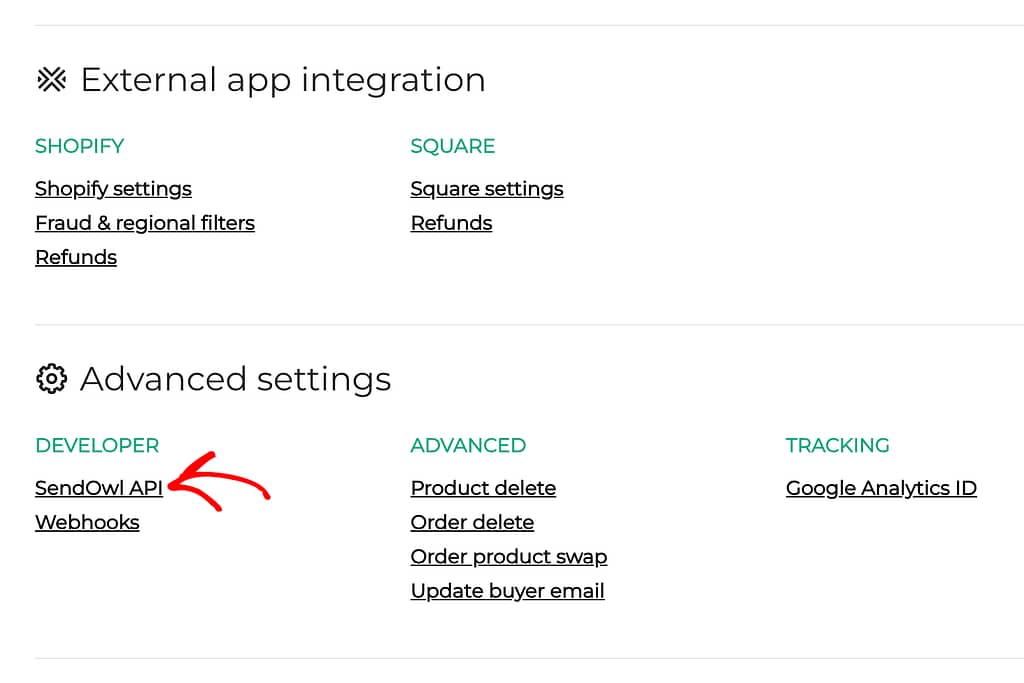
On the Settings page, scroll down to Advanced Settings, and click SendOwl API.
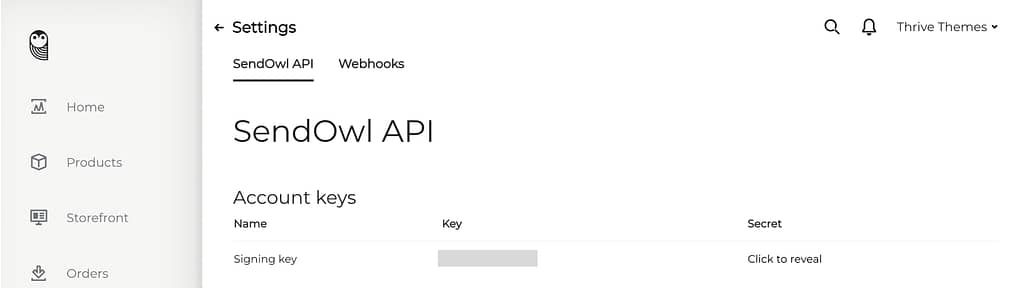
When you click on SendOwl API, it will open the SendOwl API tab on the settings page.
Under the SendOwl API tab, scroll down and click the Add API key button.
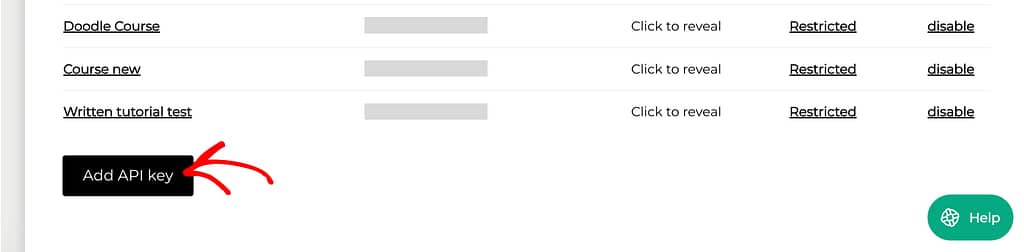
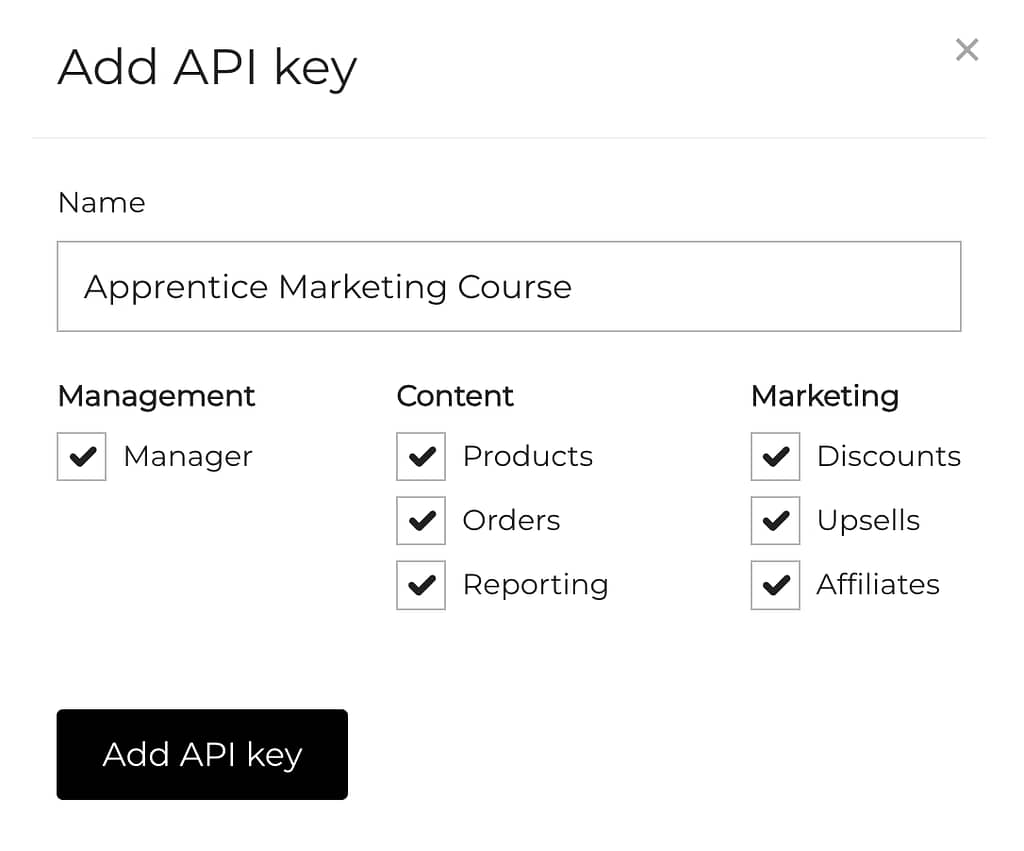
When you click the button to add an API key, you’ll see a popup to enter the name and select permissions you want to grant.
On the popup, enter a meaningful API Key name and click the checkbox beside the Manager option that will automatically select all the other permissions on it. Then click the Add API key button.
You can read more about permissions in SendOwl API connections in our document here.
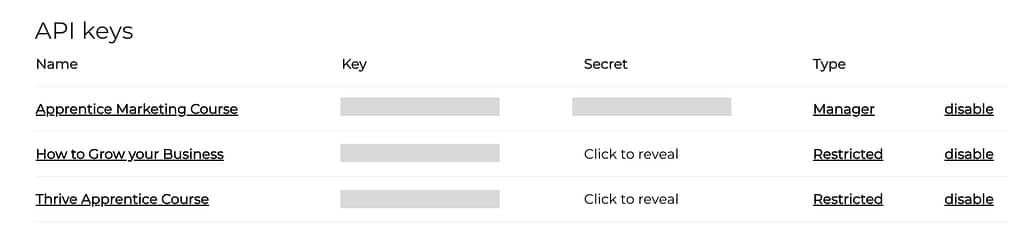
After clicking the button, you’ll see the newly created API Key added to the list under the SendOwl API tab.
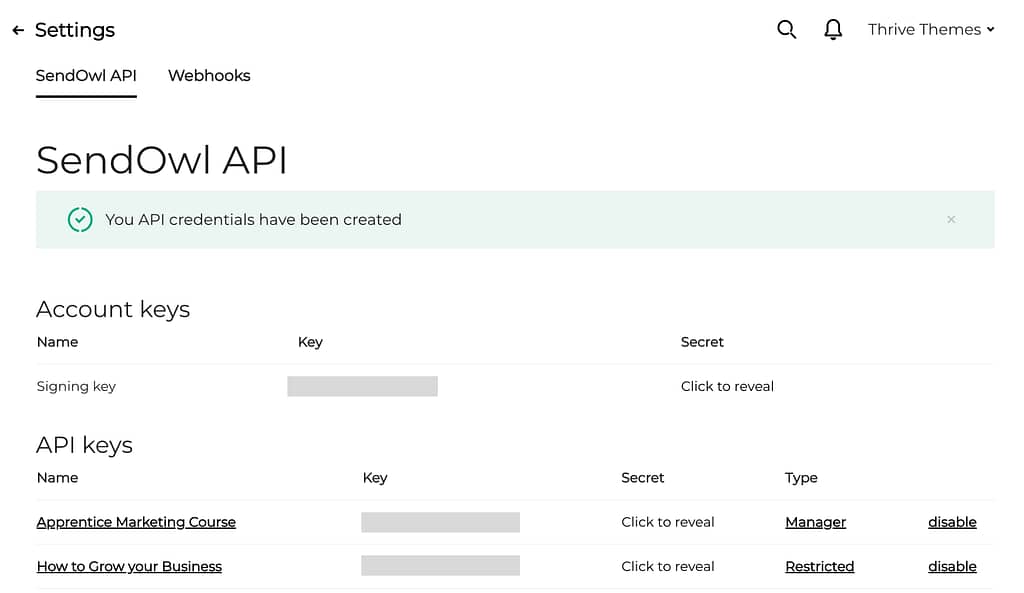
The API keys table has the API key names and the associated API key, Secret key, type and status in the respective columns.
In this table, copy the API key from the Key column beside the API key name and click on the Click to reveal link to reveal the Secret key.
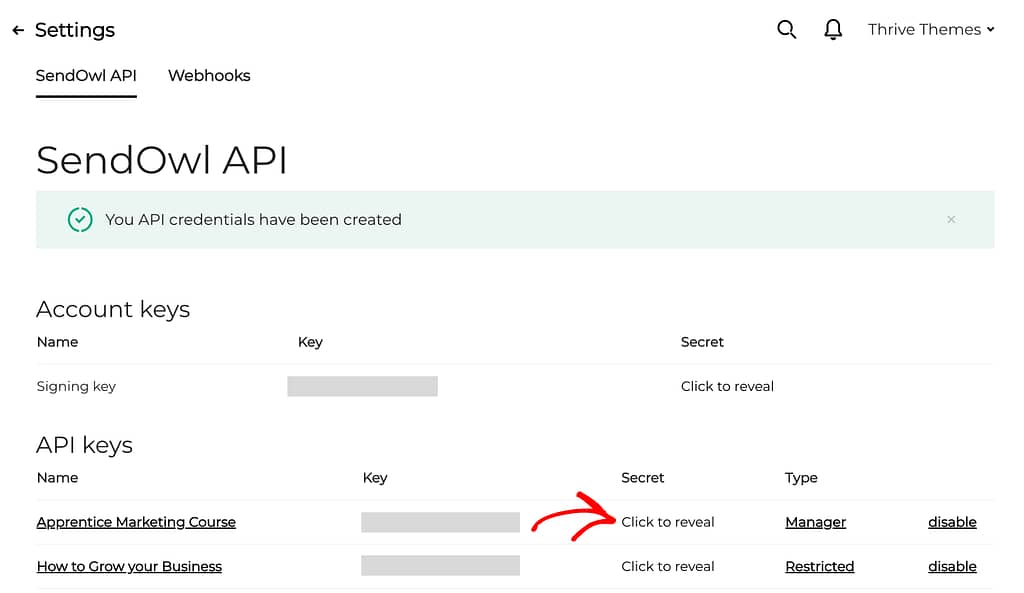
Before you proceed, ensure you copy the SendOwl API key and the Secret key from here.
Connecting SendOwl with the Thrive Dashboard
The next step to complete the integration is to enter the SendOwl API details into Thrive Dashboard.
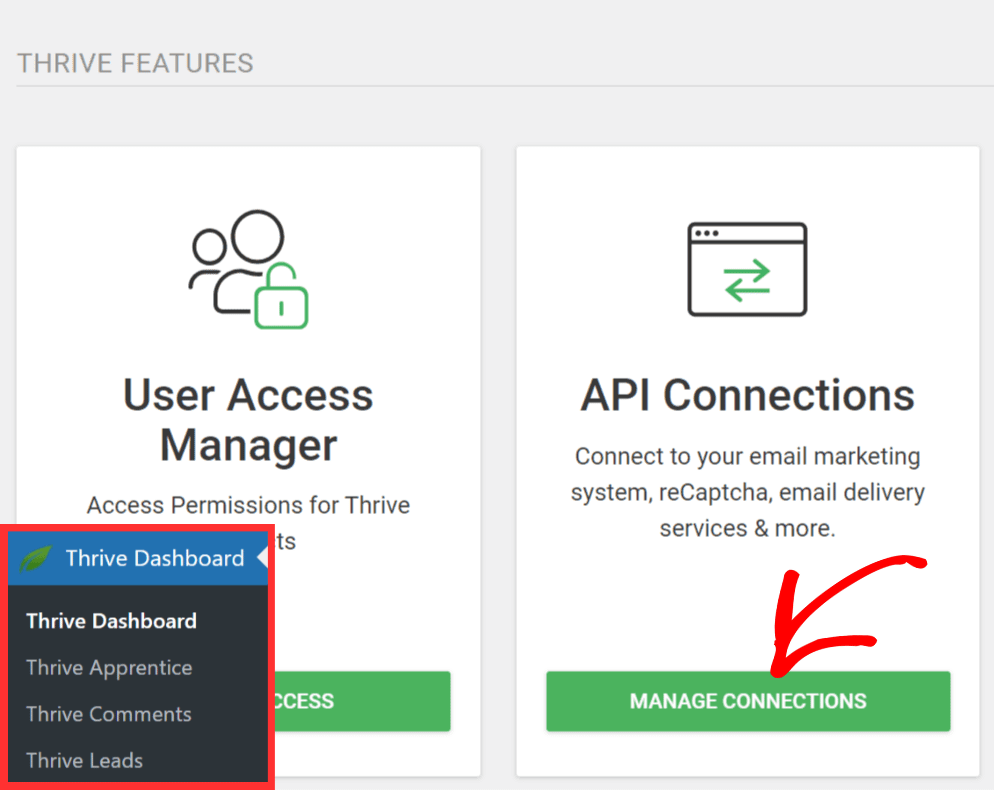
To do so, open your WordPress admin area, navigate to Thrive Dashboard >> Thrive Dashboard, scroll to API Connections and click Manage Connections.
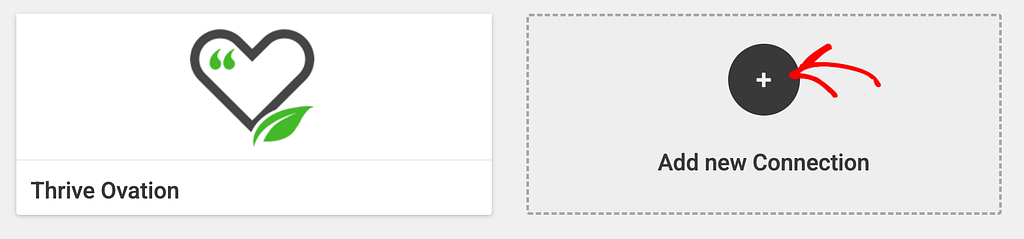
On the API Connections page, click on +Add new Connection.
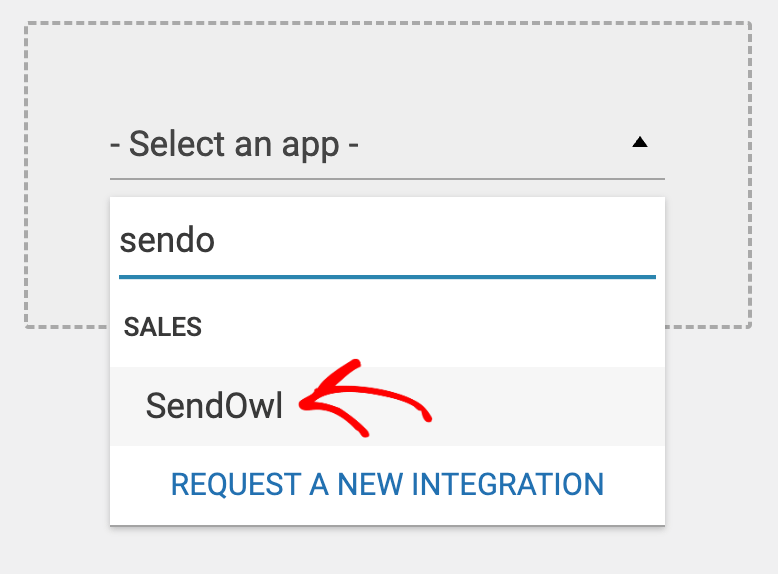
When you click to add a new connection, select SendOwl in the dropdown.
Once you select SendOwl, enter the API Key and Secret Key copied from your SendOwl account, and click Connect.

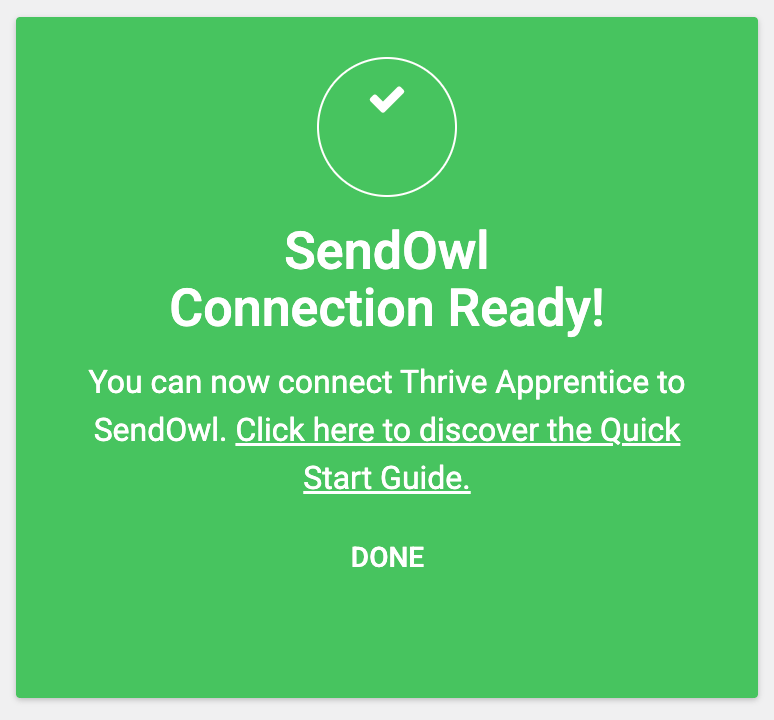
Clicking connect will display a successful message saying the connection is established.
Entering SendOwl Account Keys for Integration Settings
After you’ve established a connection in the Thrive Dashboard, you have to add your SendOwl account keys in the SendOwl Integration Settings in Thrive Apprentice.
To do so, start by opening your WordPress admin area, navigating to Thrive Dashboard >> Thrive Apprentice, and clicking on Settings in the left panel.

On the Settings page, click on SendOwl in the left column.
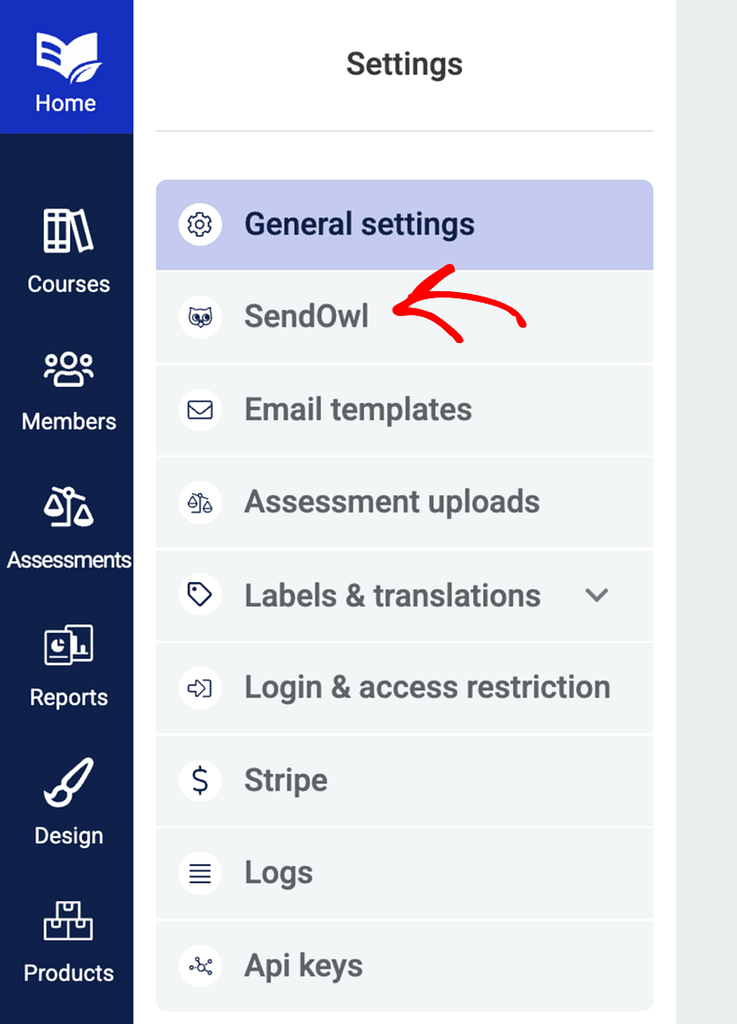
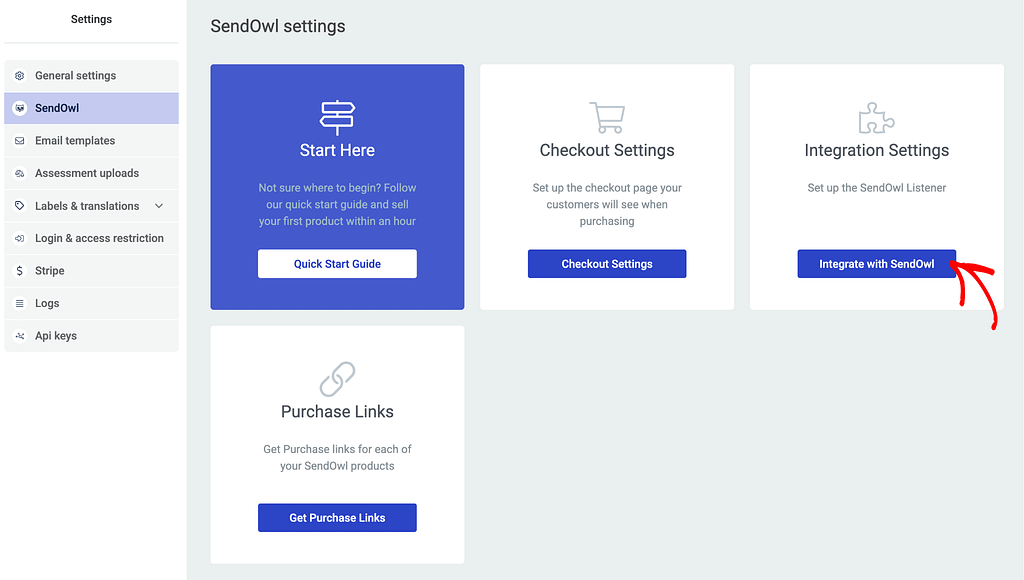
When on the SendOwl Settings page, click on the Integration Settings button in the Integration Settings block.
On the Integrations Settings page, you’ll see fields that ask you to enter the Account Signing Key and Account Secret from SendOwl.

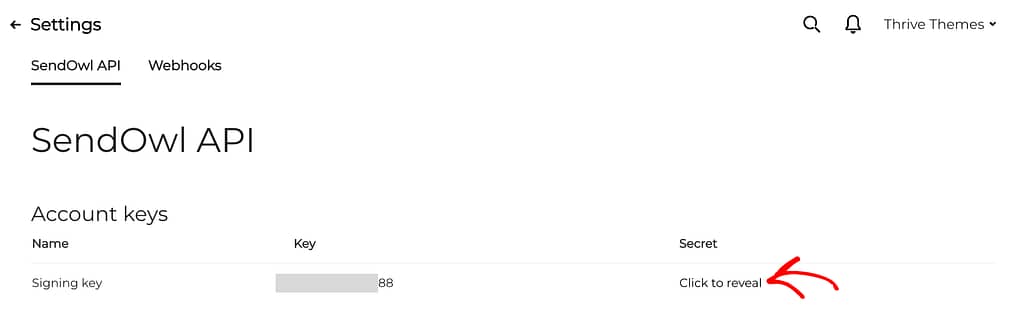
To obtain the Account key and the secret from your SendOwl account, open the SendOwl API page in your SendOwl account, click the reveal the Account Secret under the Secret column and copy the Account Key and the Secret.
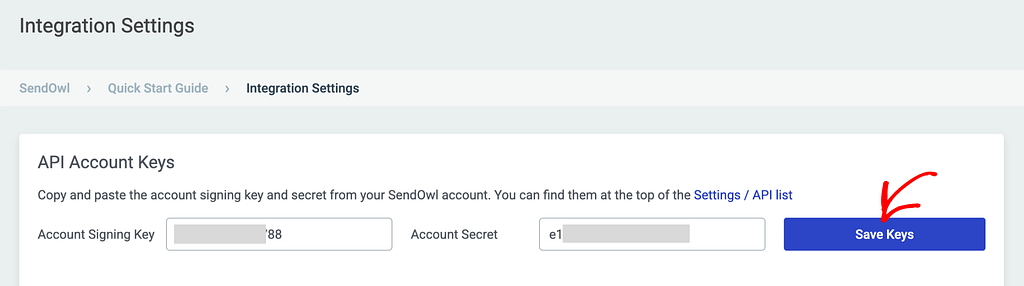
After copying the Account Key and Secret from your SendOwl account, paste them in the fields on the Integration Settings page in Thrive Apprentice and click the Save Keys button.
We’ve just seen how to build an API connection between Thrive Dashboard and your SendOwl account and also add the account keys in the integration settings of Thrive Apprentice.
Next, do you need help setting up a Thrive Apprentice course that you can sell using SendOwl? Here’s our document that will help you do that.