In this article, you’ll learn how to connect your Zoho Campaigns account to Thrive Themes. This allows you to automatically send leads captured through Thrive Leads or Thrive Architect directly to your Zoho lists and apply specific tags.
Note: Zoho is a complex software, with over 40 integrated applications. As of now you can only connect the Zoho Campaigns application to your Thrive Dashboard.
Please ensure you should create a mailing list in your Zoho account prior to creating the below-explained setup.
Get Your Zoho API Credentials
- Log in to your Zoho account.
- Go to the API Console.
- Click Get Started.
- Select Self Client and click Create.

- Click OK on the confirmation popup.
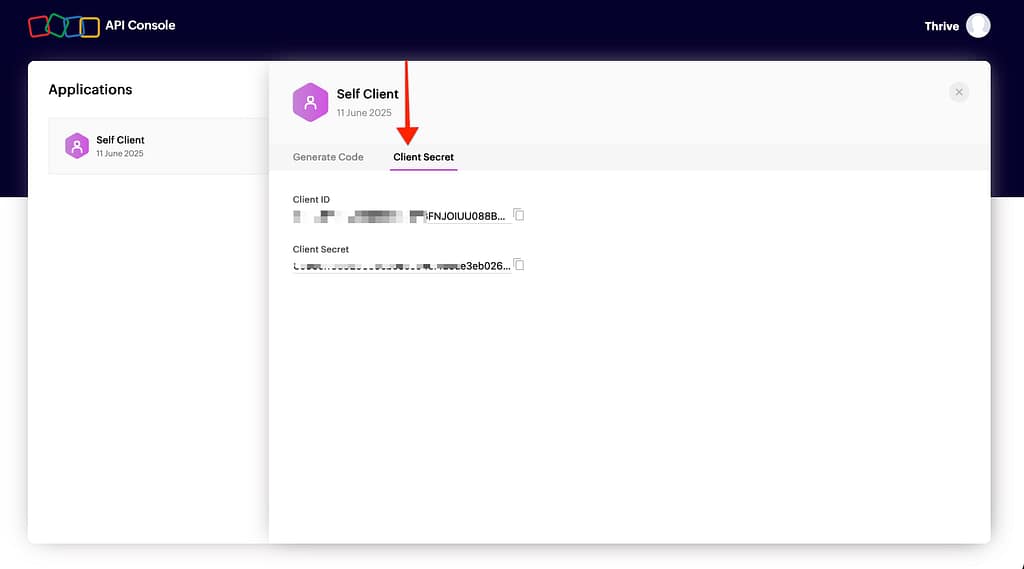
- Copy your Client ID and Client Secret.
- Click the Generate Code tab.
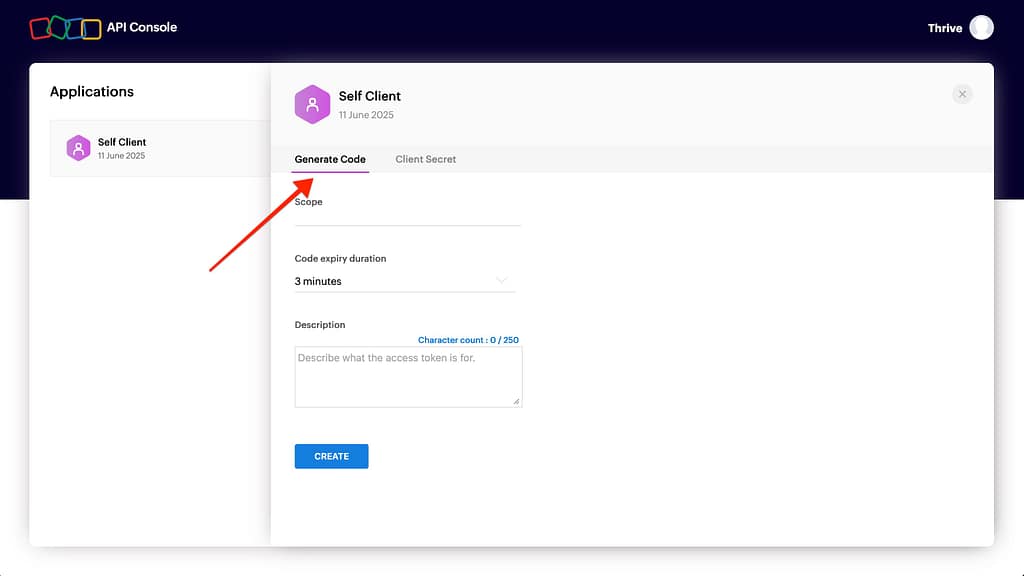
- Enter the following details:
- Scope:
ZohoCampaigns.contact.ALL - Time Duration: Choose a duration (e.g., 10 minutes).
- Scope Description: Enter a description (e.g., “Thrive Integration”).
- Scope:
- Click Create.
- Select your portal/campaign and click Create.
- Copy the generated Access Code.
- Go to your Zoho Profile and copy the Account URL (the first part of the URL in your browser address bar).
Connect to Thrive Dashboard
- Log in to your WordPress admin dashboard.
- Navigate to Thrive Dashboard > Thrive Dashboard.

- Scroll to the API Connections card and click Manage Connections.

- Click Add New Connection.
- Select Zoho from the dropdown menu.

- Paste your Account URL, Client ID, Client Secret, and Access Code into the respective fields.
- Click Connect.
Connect to a Lead Generation Form
Once connected, you can use Zoho Campaigns with any lead generation form.
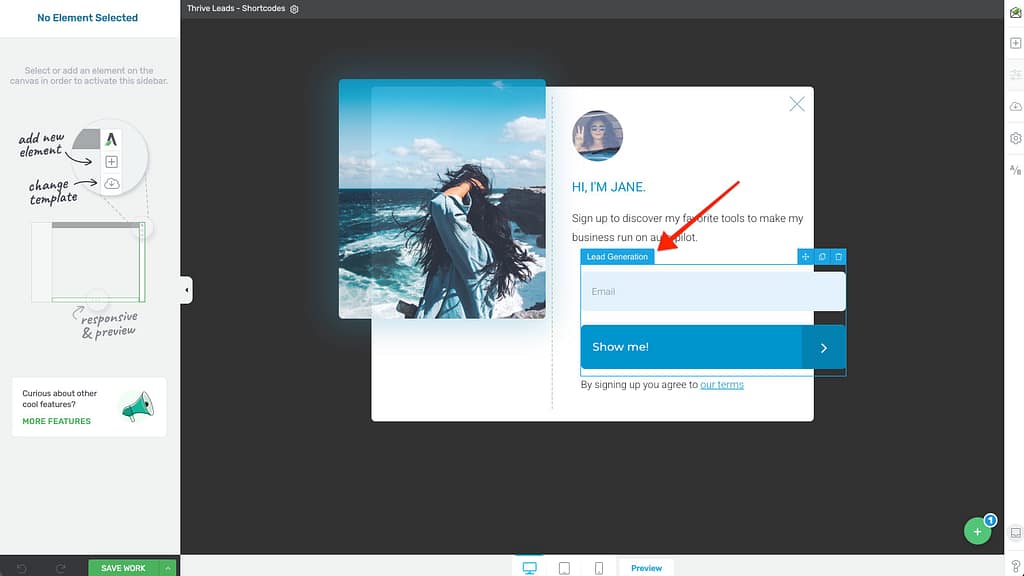
- Open your page or form in Thrive Architect or Thrive Leads.
- Click on the Lead Generation element to select it.
- In the left sidebar, click Add Connection.
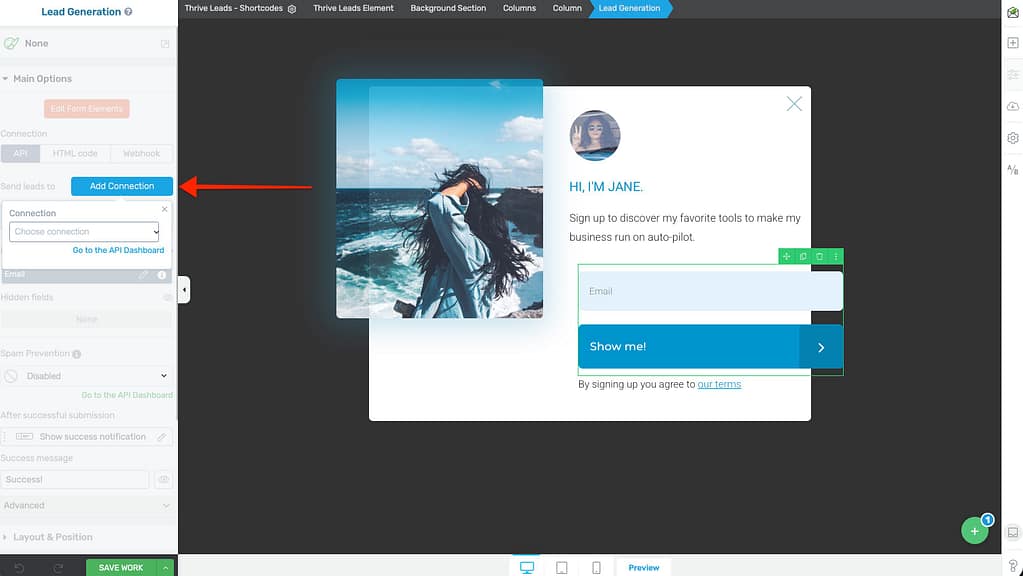
- Select Zoho from the dropdown.
- Mailing List: Choose the list where you want to add subscribers.
- Tags:
- Click in the Tags field to see a dropdown of all available tags.
- Refresh Tags: If you recently created a tag in Zoho and don’t see it, click the Refresh button to update the list immediately.
- Select Multiple: You can select multiple tags to apply to new leads.
- Create New Tag: Type a new tag name and click + Add new tag: [tag-name] to create it instantly.
- Click Apply to save your settings.
Related Resources
- SmartLinks: Using the Thrive Leads SmartLinks Feature.
- AWeber: Setting up an API Connection with AWeber.
- KlickTipp: Setting up an API Connection with KlickTipp.