Do you want to make your website easily recognizable and more professional in browser tabs? Setting up a favicon with Thrive Theme Builder allows you to add your own custom icon, helping boost your brand identity and make your site stand out.
In this article, we’ll show you how you can apply a favicon to your website using the Thrive Theme Builder.
Setting Your Website Favicon
To set up your website’s favicon, you’ll first need to open the Branding settings in Thrive Theme Builder. To do so, open your WordPress admin area, navigate to Thrive Dashboard >> Thrive Theme Builder, and click on Branding in the left panel.

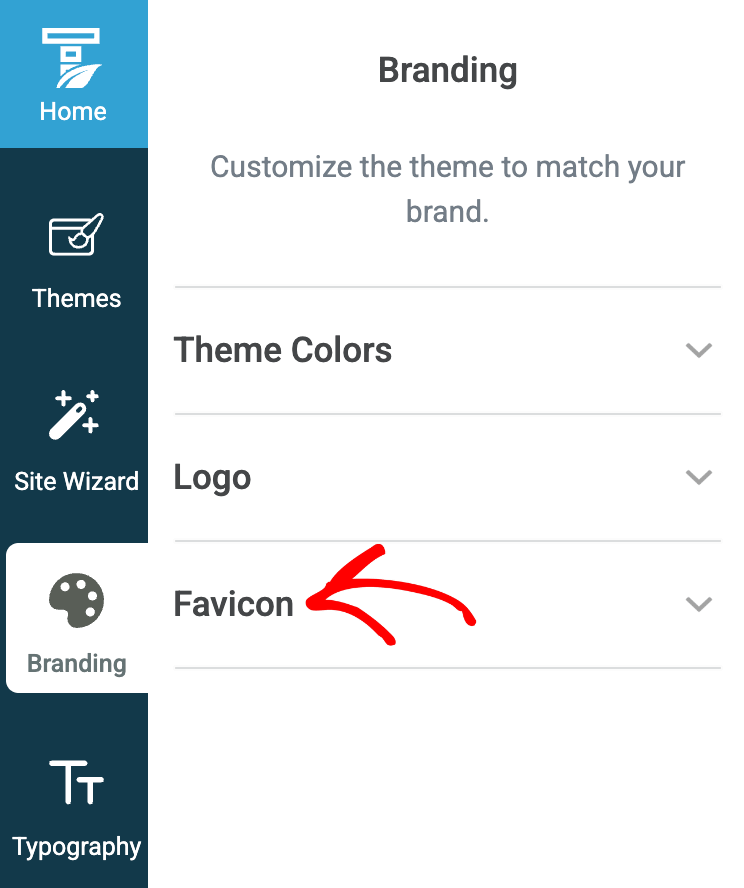
On the Branding page, click to open the Favicon settings.
Under the Favicon settings, click on the image placeholder that’ll further let you select or upload an image you want to set as your website favicon.
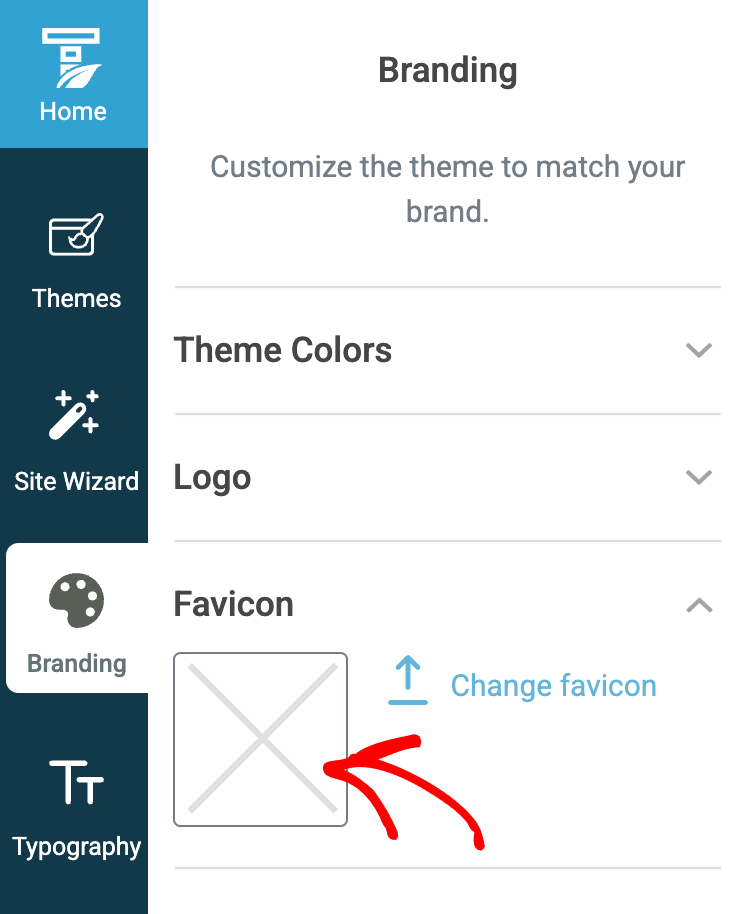
Clicking the image placeholder will open the media library where you can select an existing image (if you’ve uploaded that earlier) or upload one that you want to use.
When you select or upload the image, you’ll see it inside the image placeholder under the Favicon settings.
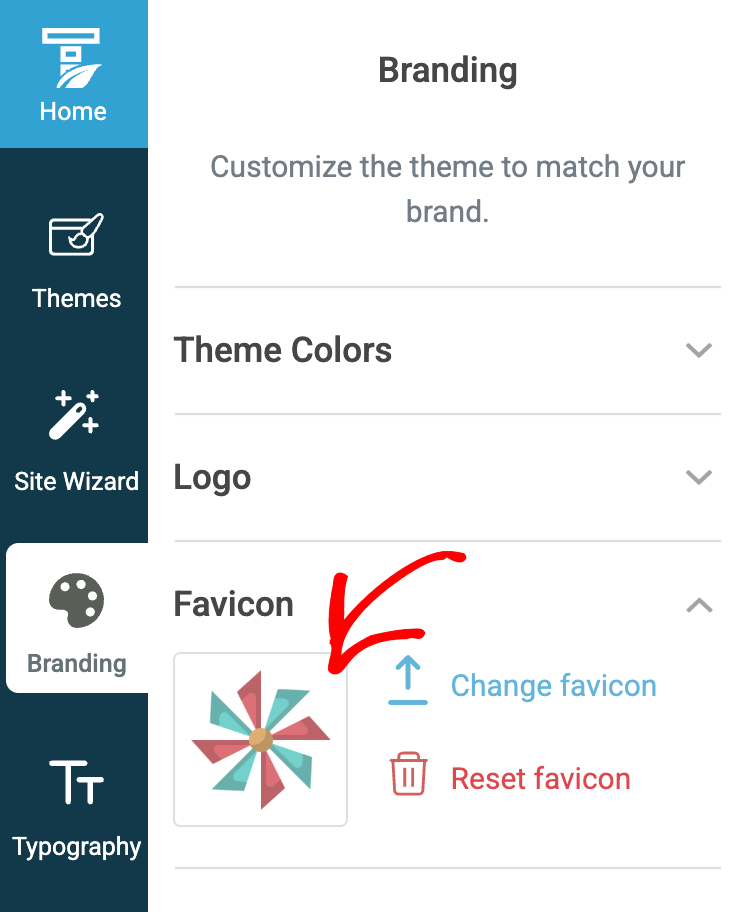
Setting up the Favicon this way will show it up when you open your website in a browser tab.

Changing or Resetting the Favicon
Once you set a favicon, the Thrive Theme Builder lets you change or reset it when you want.
Changing a Favicon
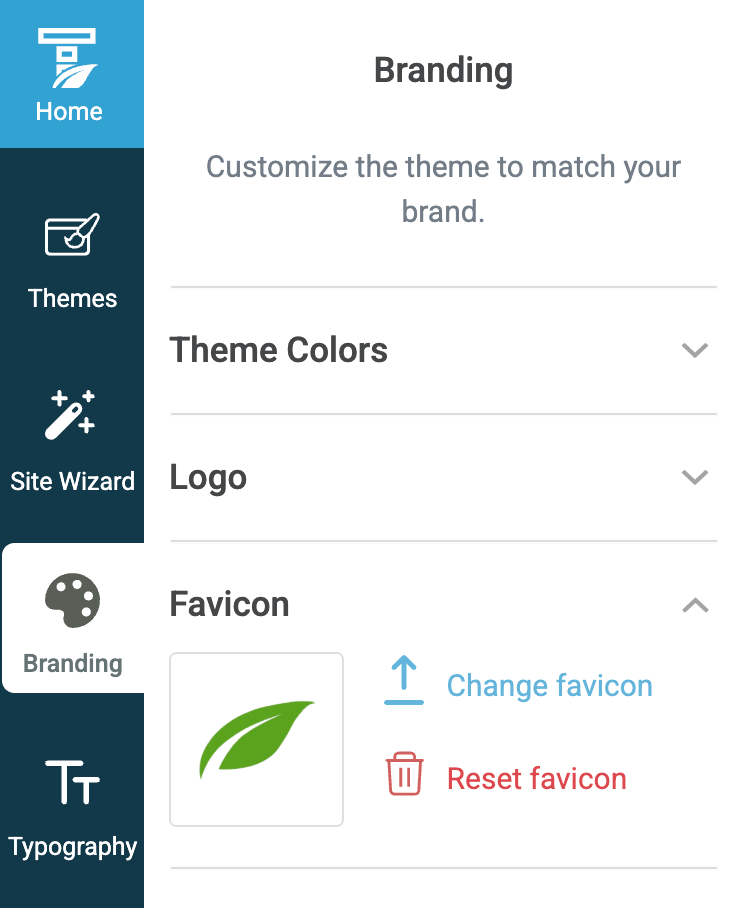
To change a favicon, in Thrive Theme Builder’s Branding settings, open Favicon and click the Change favicon link.
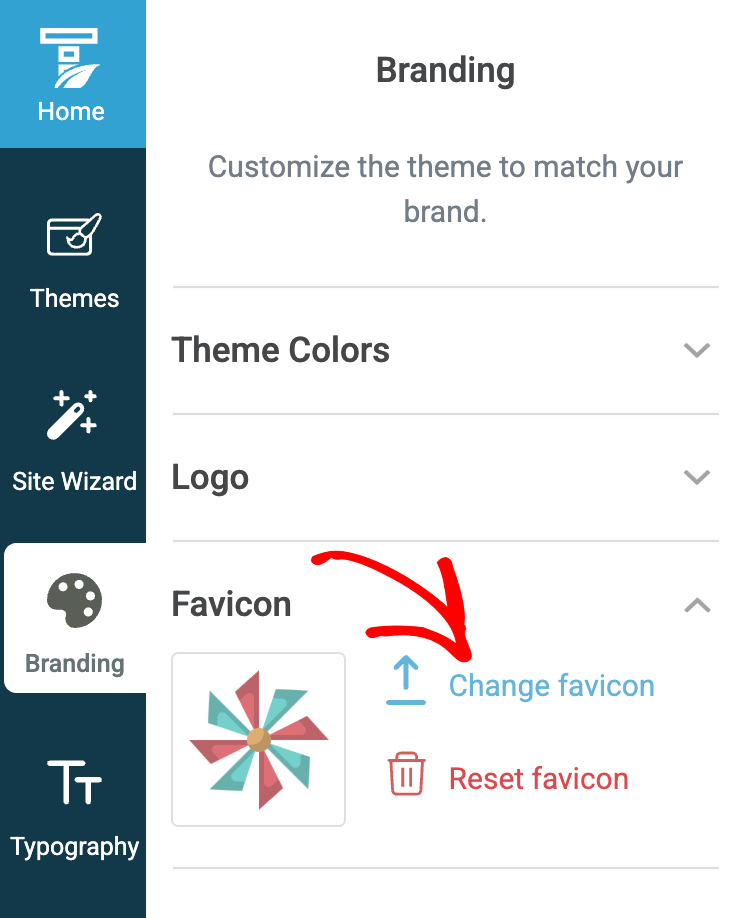
Clicking on Change favicon will open the Media library popup where you can select an uploaded image or upload one that you want to use as a favicon.
Resetting a Favicon
Resetting a favicon means removing the applied favicon. To remove an applied favicon, click on Remove favicon.
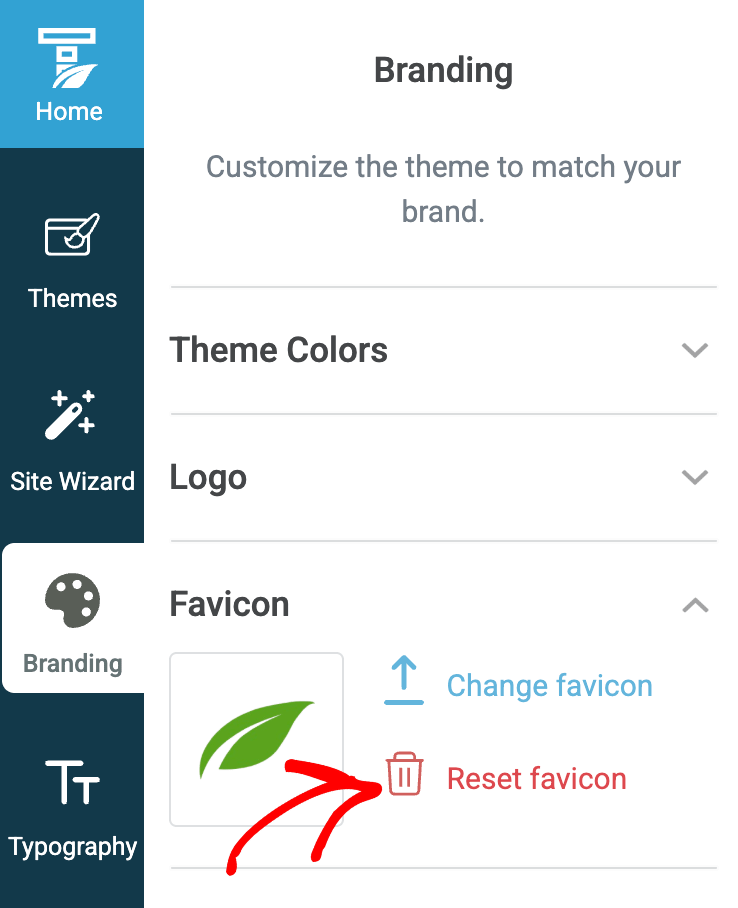
Clicking to reset the favicon will remove the applied favicon.
We’ve just seen how you can set up, change or reset a favicon on your website.
Next, for help setting up and changing the website logo you can refer to our document here.