This article will go through the options that you can use when trying to set up different sets of typography in Thrive Apprentice.
In order to set up a typography sets, you first have to access the “Design” section of your Thrive Apprentice.
Access the Design section of Thrive Apprentice
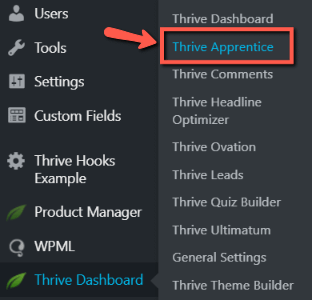
To do that, in your WordPress Admin Dashboard, hover over Thrive Dashboard and select Thrive Apprentice from the sub-menu that opens:
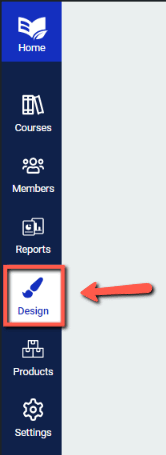
Here’s where you will have to access the “Design” section of the left navigation bar:
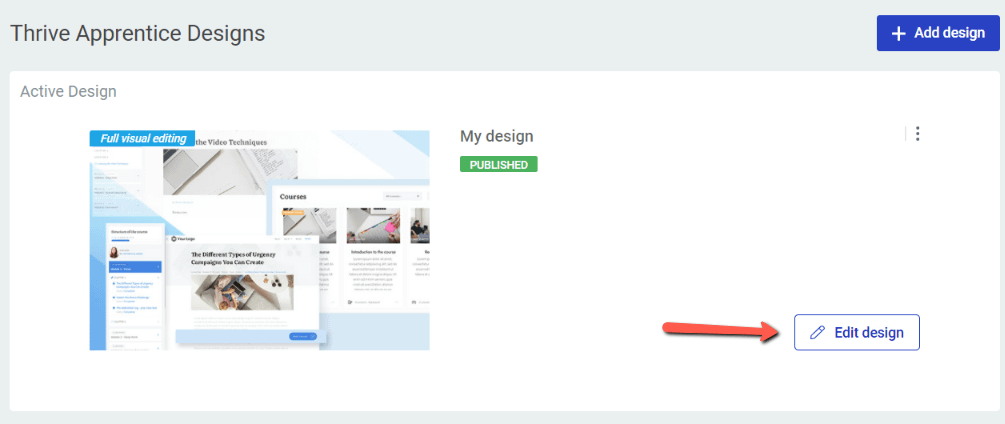
Now you are able to view the currently active design, but you can also add new ones from this dashboard.
Customize the Typography Set
If you are planning to edit the “Typography” settings of the currently active design, all you have to do here is to click on the “Edit design” button:
This will take you directly to the design dashboard and have access to the full visual editor of Thrive Apprentice:
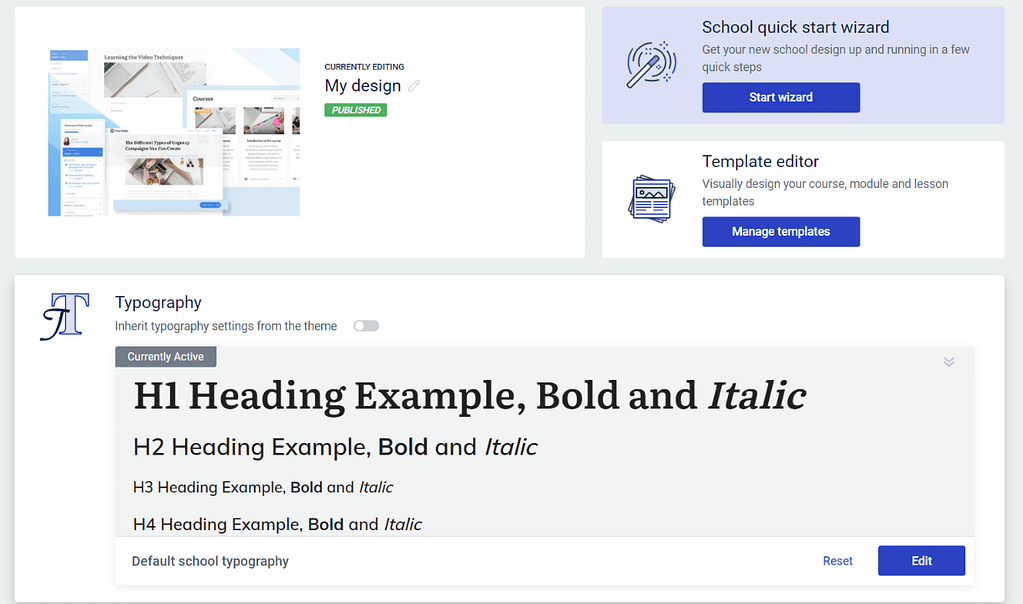
If you want to learn how to use and get the most out of each of these sections, then this article is a quick guide that explains what each section does and references more articles that you might find useful.
Before going into the typography editor, there are still several options you can use here.
Inherit typography settings from the theme
Firstly, if you want, you can activate the “Inherit typography settings from the theme” toggle:
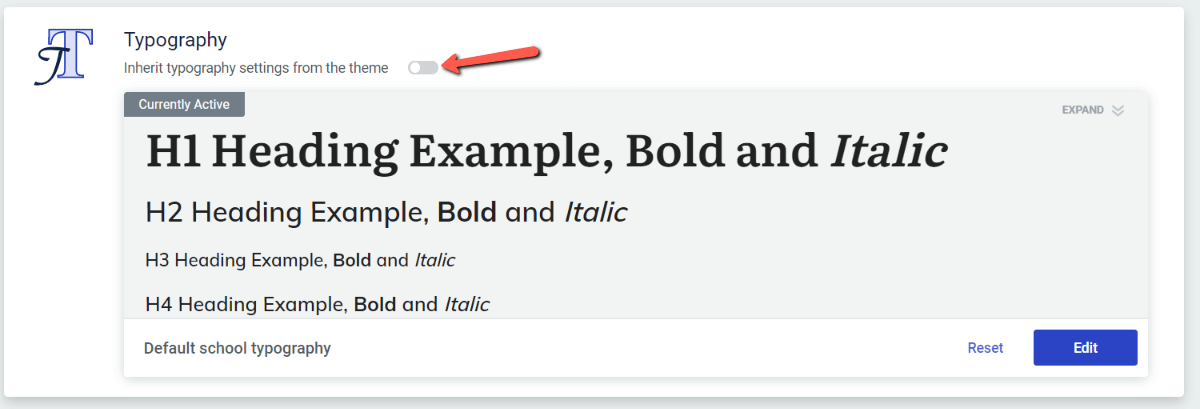
This means that you will not be able to further modify the typography settings from here, as they will be inherited from the theme that you are using on your website:

Check out this article if you want to learn more in-depth about settings up the typography for your theme.
Expand the Typography Set
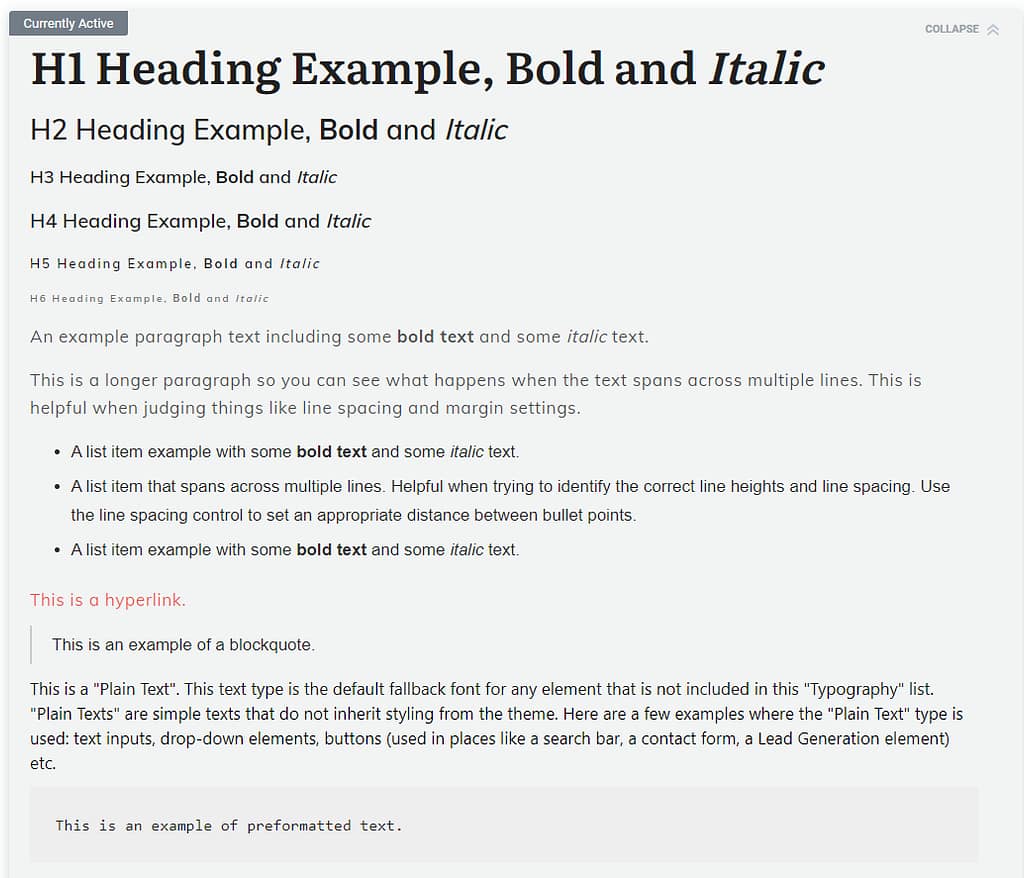
Next, click on the downwards pointing arrows if you want to expand the typography section:

This will allow you to view the configuration for all types of heading and texts:
Edit the Typography Set
In order to start customizing the “Typography” settings, click on the “Edit” button from the “Typography” card:

This will load the editor where you can bring changes to each type of heading and text available in the typography set:
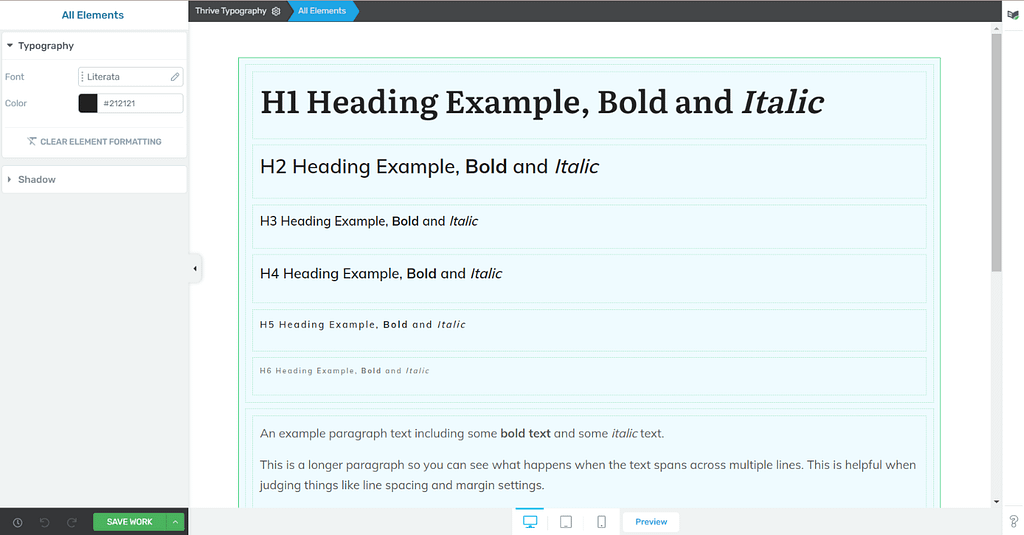
Simply click on the type of text that you want to edit, and customize it using the options that appear in the left sidebar:
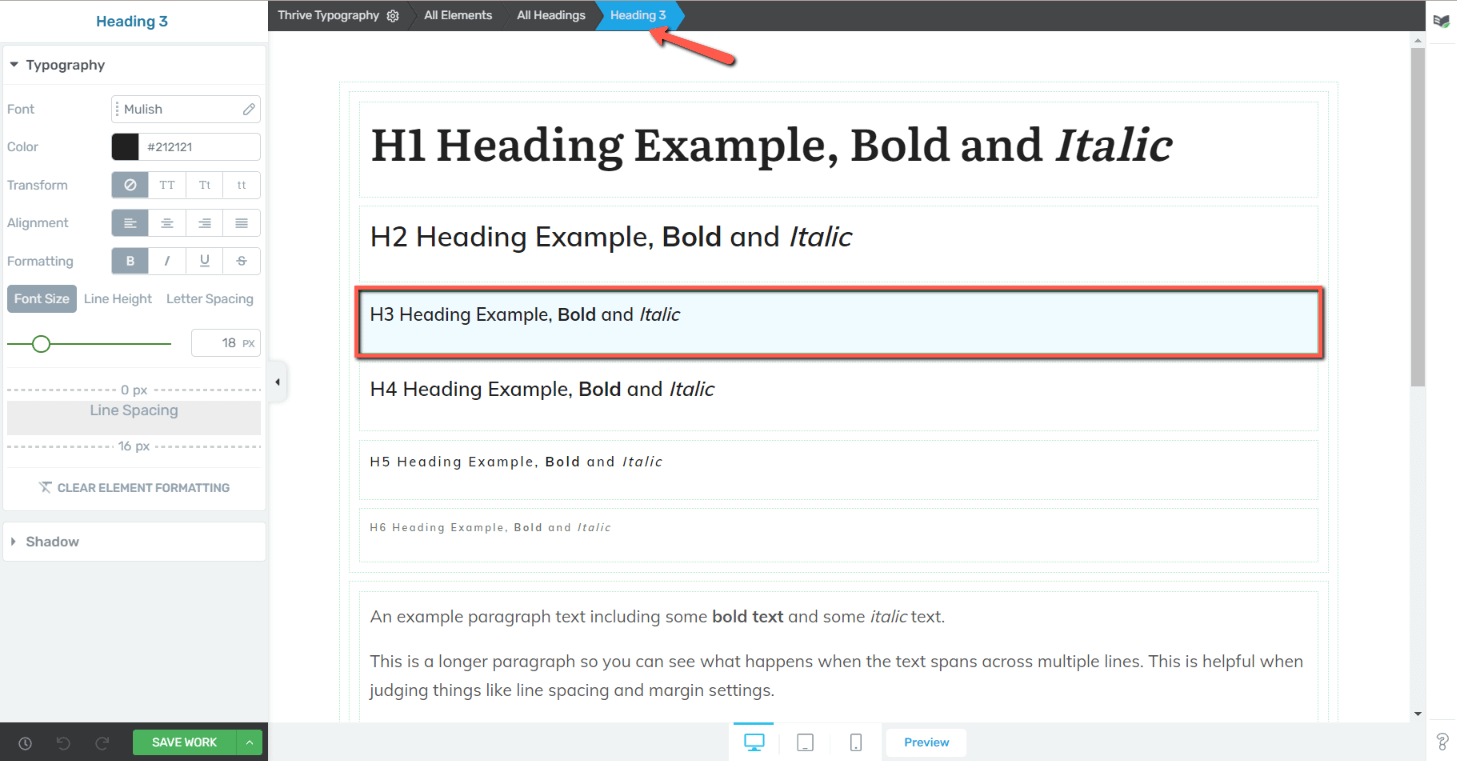
You can also customize groups of text elements if you want. If you click on the outermost green line, that will select all of the elements except for the preformatted text:
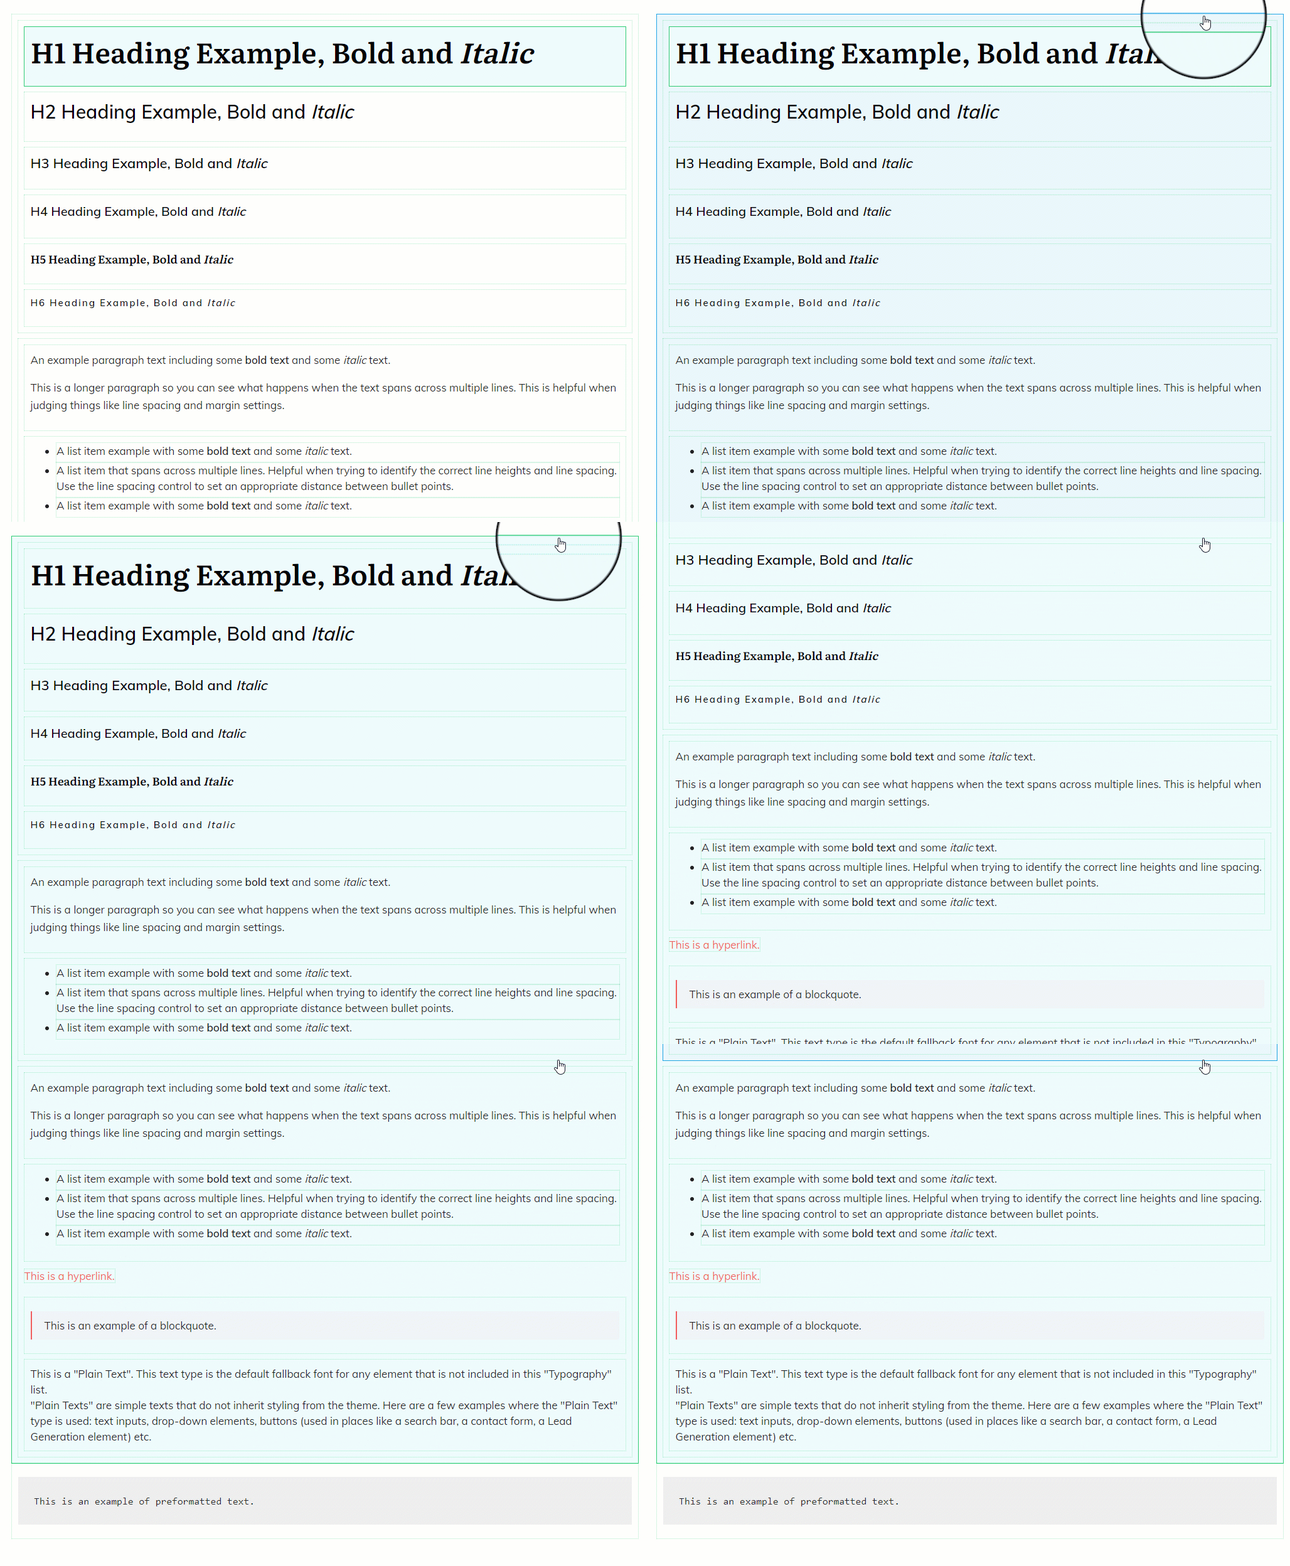
Now you can choose a new font and color that will be applied to all selected elements:

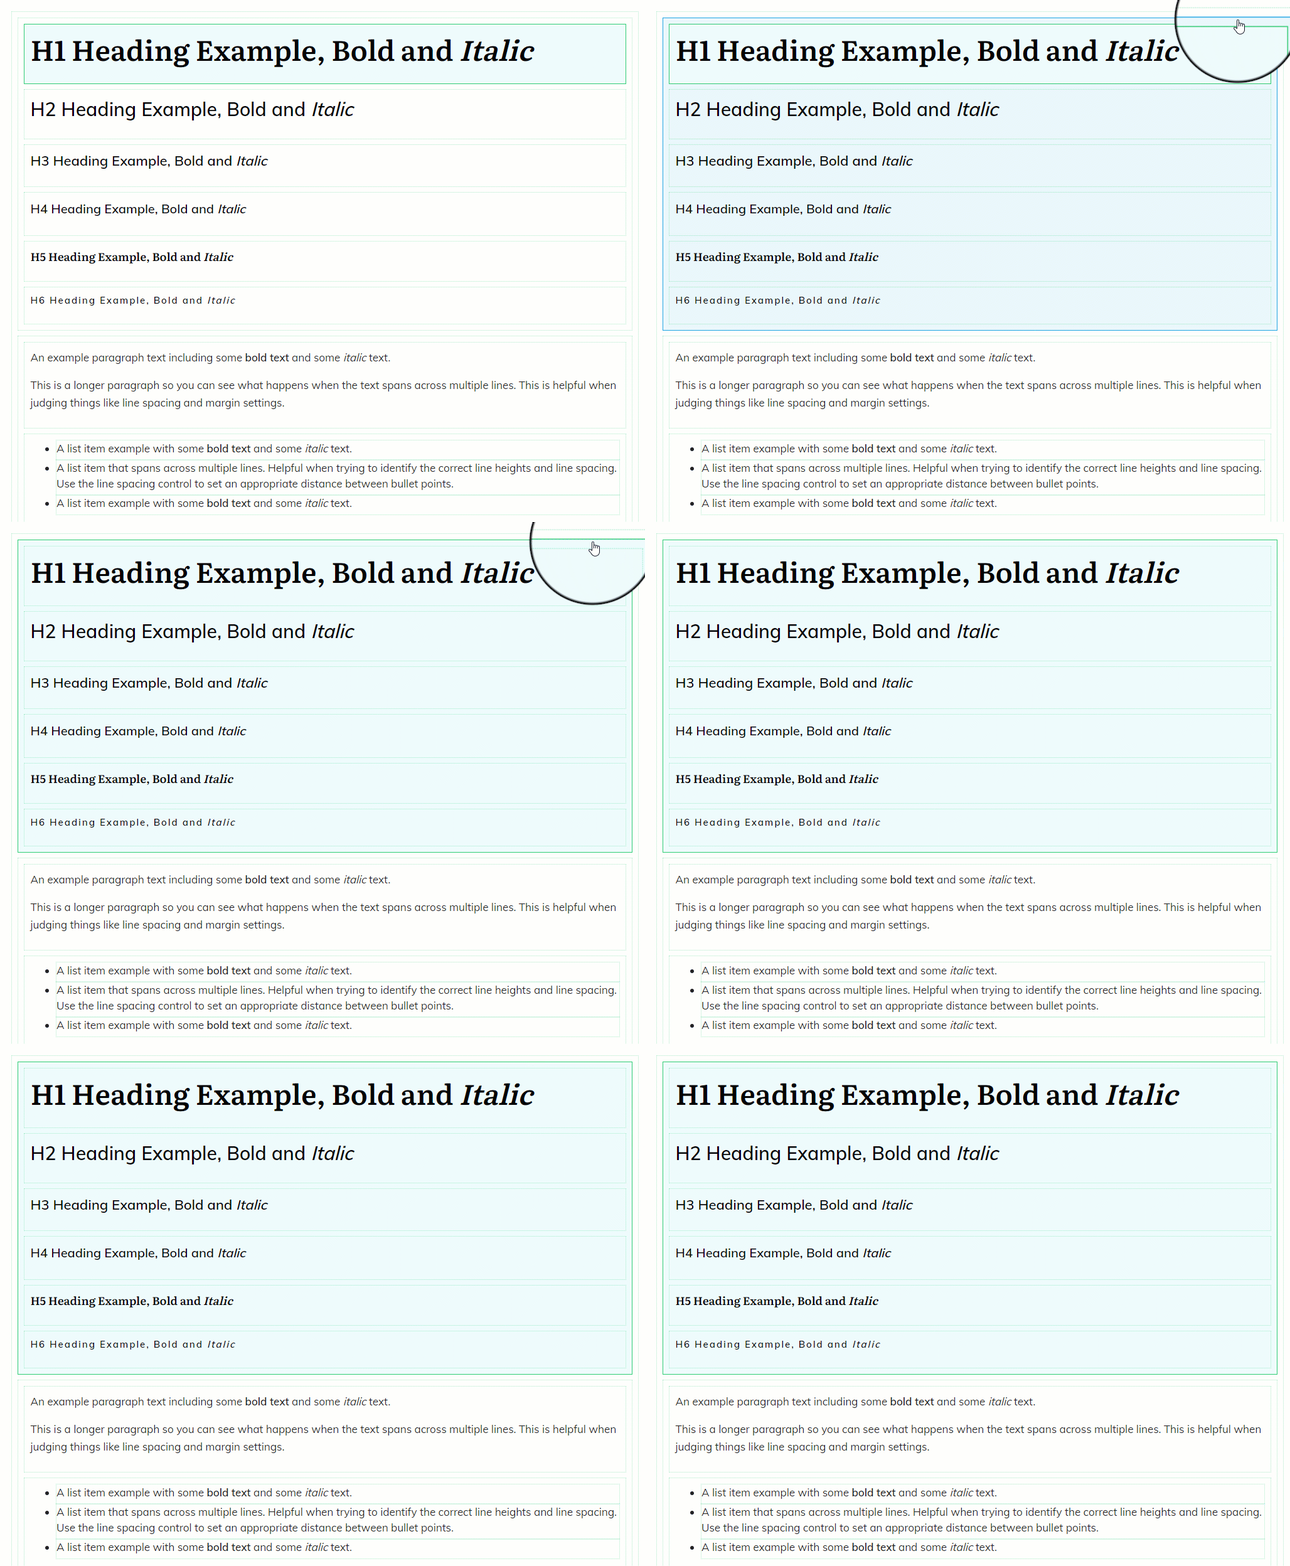
You can also select all of the headings, by clicking on the middle green line and edit all of those at once:
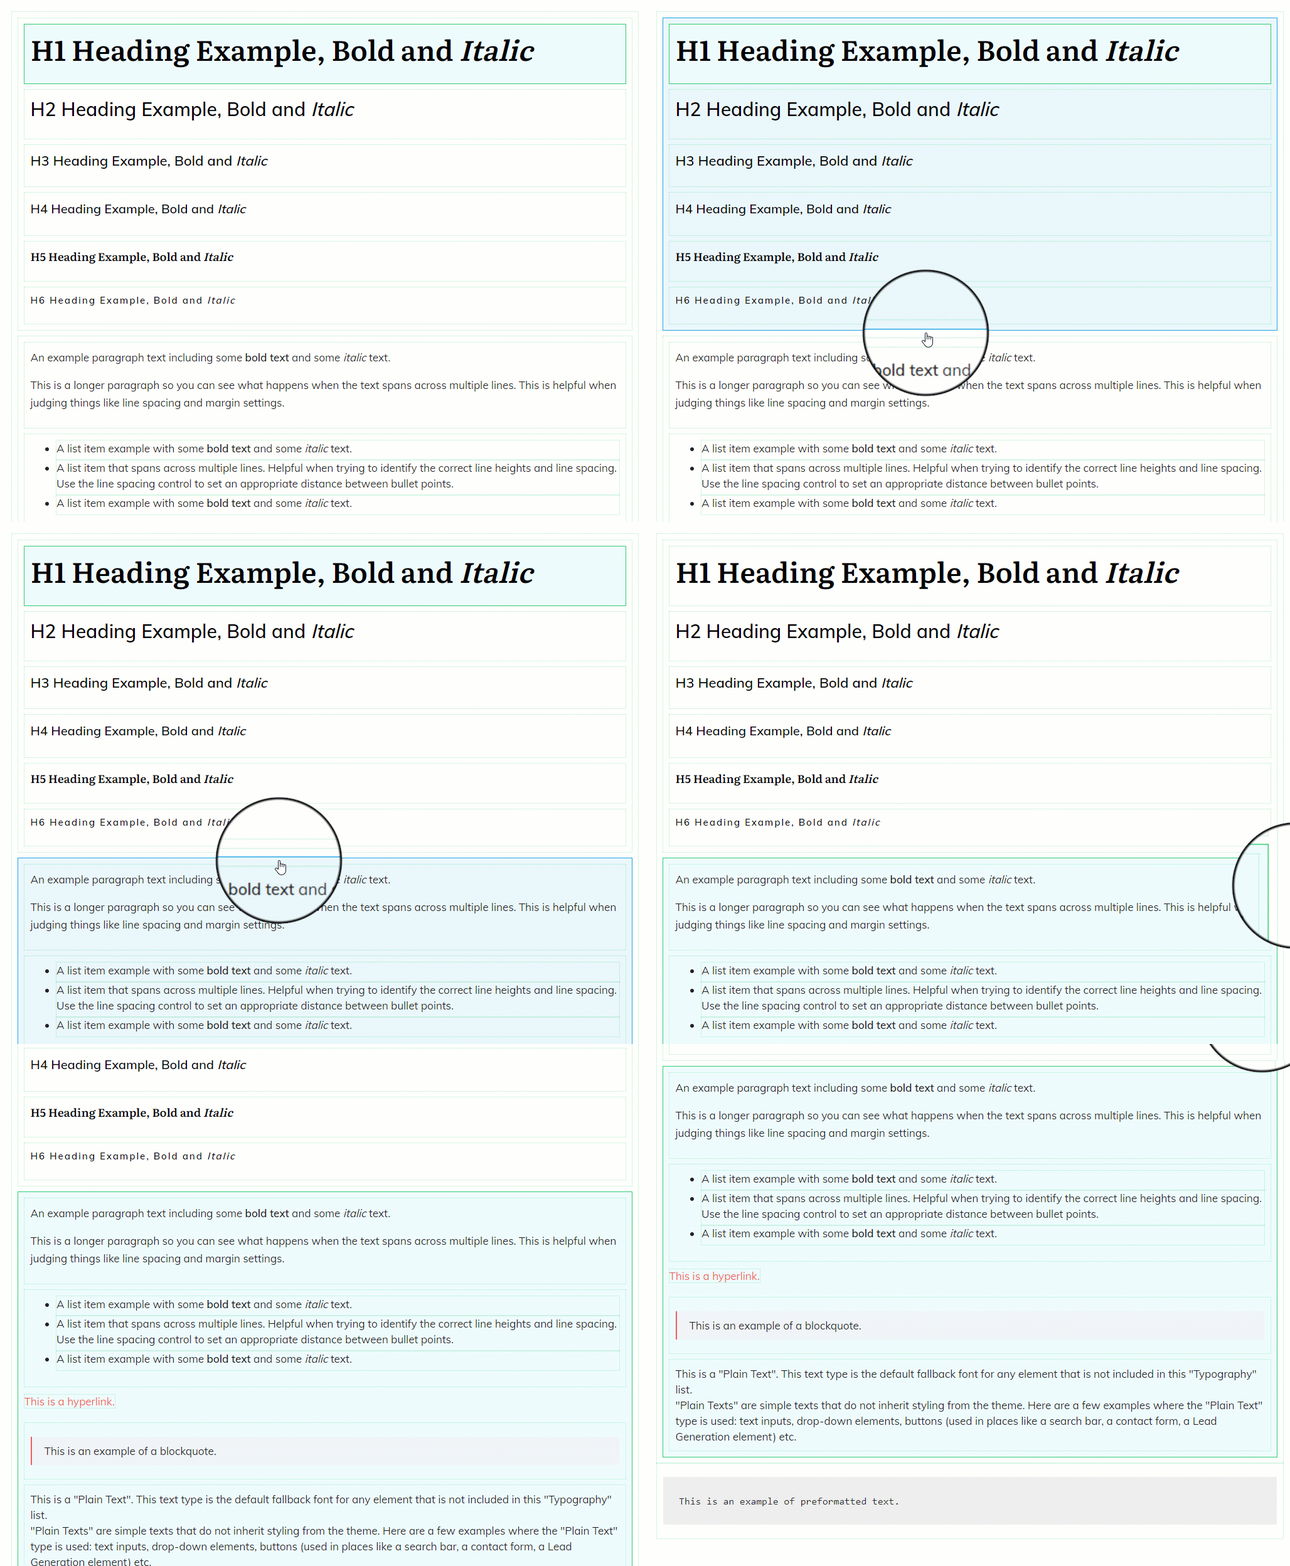
And lastly, just as in the case of the headings, you can also select all of the paragraph texts:
Since the typography sets consist of “Text” elements, the options that appear in the left sidebar are the same as the “Text” element options. If you need details about how to use these options, make sure to check out this article.
After you have finished customizing the set, click on the green “Save Work” button from the bottom left side of the editor:

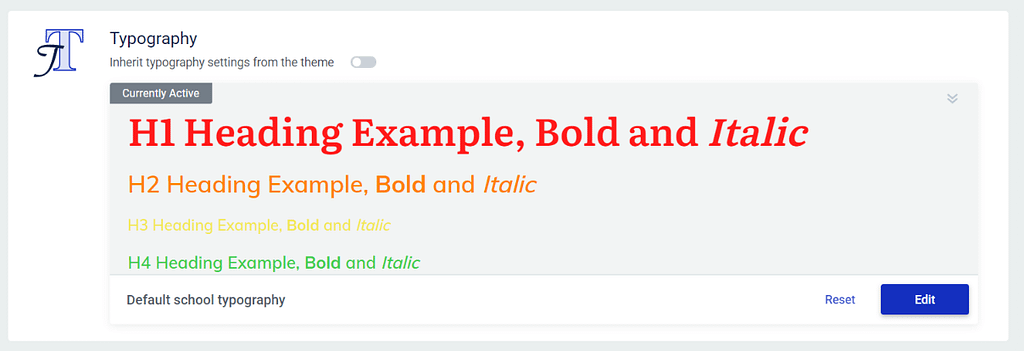
You can then close the editor and go back to the design dashboard, where you will notice that the set preview will now show the new typography configurations that you’ve just made:
Reset the Typography Set
If you want to revert to the initial settings, you can do so by clicking on the “Reset” button from the same “Typography” card:
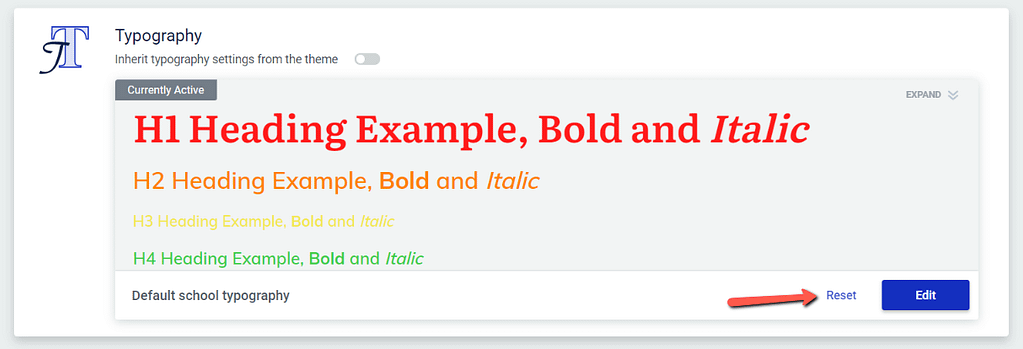
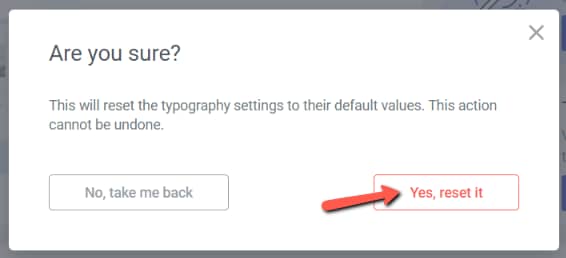
You will next have to confirm that you want to proceed with this action:
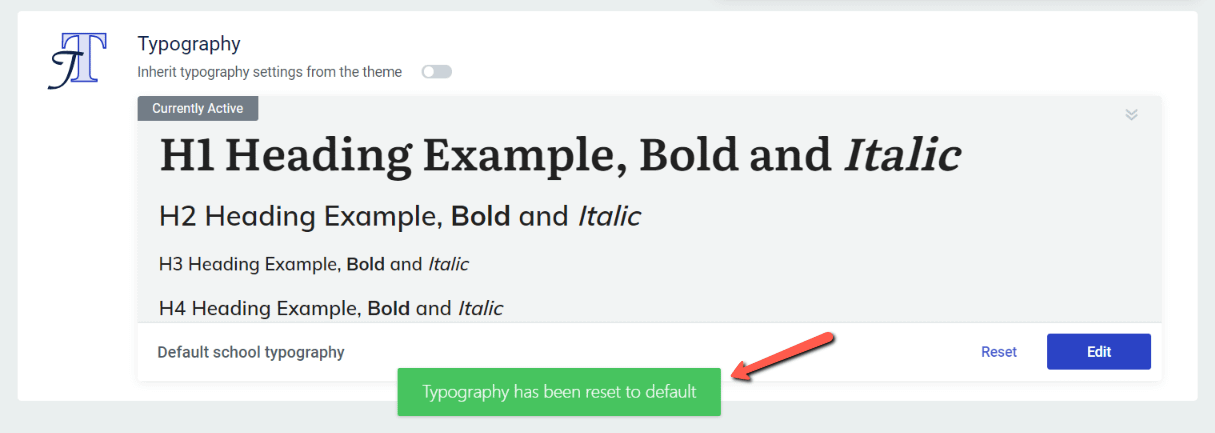
And if you confirm, then the typography will be reset to the default settings:
These are the ways in which you can set up and use the “Typography” section in Thrive Apprentice. If you want to find out more information about various features or settings, make sure to check the articles from our knowledge base.