The “Right/Wrong” quiz type allows you to set a correct answer for each question on your quiz. The final result will be then calculated according to how many correct answers your user has given.
Apart from the information found in this article, below you can also see a video tutorial that will walk you through the entire process:
Set up Your Quiz
In order to start using the “Right/Wrong” quiz type, you need to add a new quiz and give it a name.
Choose a Quiz Type
This will take you to step 1/4, where you have to select a quiz type:
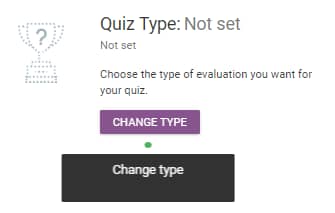
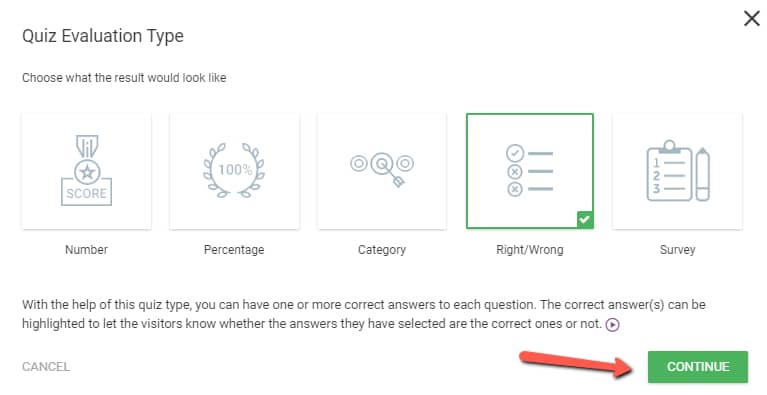
By clicking on the “Change Type” button or on the black background description, you will be sent to the “Quiz Evaluation Type” window, where we will select the “Right/Wrong” quiz type and then click on “Continue”:
Quiz Settings: Highlighted Answers
The next step will take you to a window in which you will be able to decide what happens after the visitor responds to the question. By default, the “Highlight correct answer” option is selected, but you can select a different option if you want:
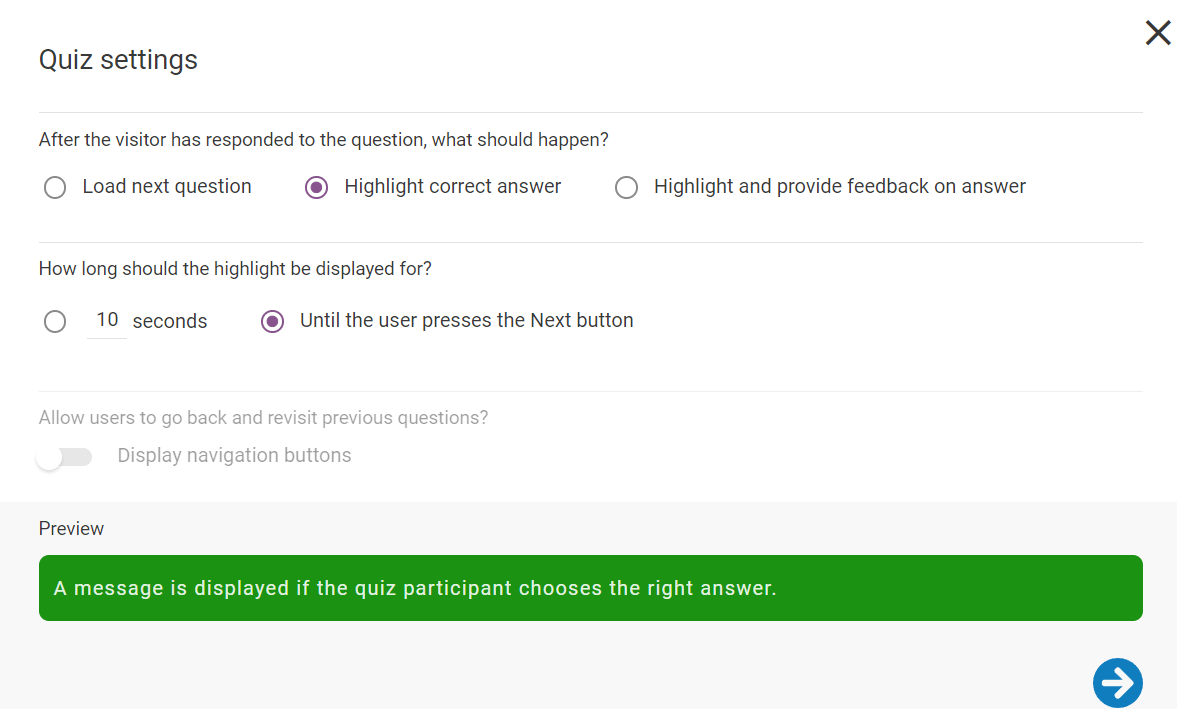
For the “Highlight correct answer” option, the process goes like this: after the user will choose an answer, they will know if it’s the correct one or not based on the highlight color that appears on the screen.
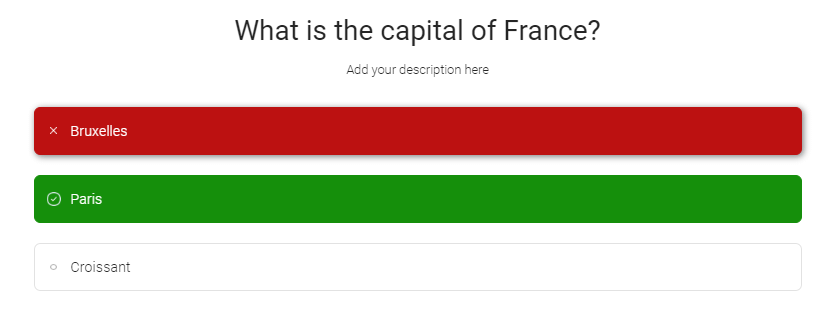
If the user has chosen the wrong answer, it will be highlighted with the red color, while the correct one will be highlighted with the green color:
On the other hand, if you choose not to highlight the correct answers, and load the next question, then the user will only see how he did on your quiz on the Results Page:

Lastly, you can choose to “Highlight and provide feedback on answer”:

The feedback text can be later added when you are adding your questions and answers:

You are also able to choose here how long the highlight should be displayed. You can either set a number of seconds, or you can choose to leave the highlight on until the user presses on the “Next” button:

For this quiz type, you cannot enable the “Display navigation buttons” due to the fact that there are only two possible answers, either right or wrong. Therefore, this option is disabled by default:

Here’s an article that explains in detail how the quiz navigation works:
Choose a Quiz Style
After you have set up the “Quiz Settings”, you can proceed to the next step in customizing your quiz and select a “Quiz Style”:
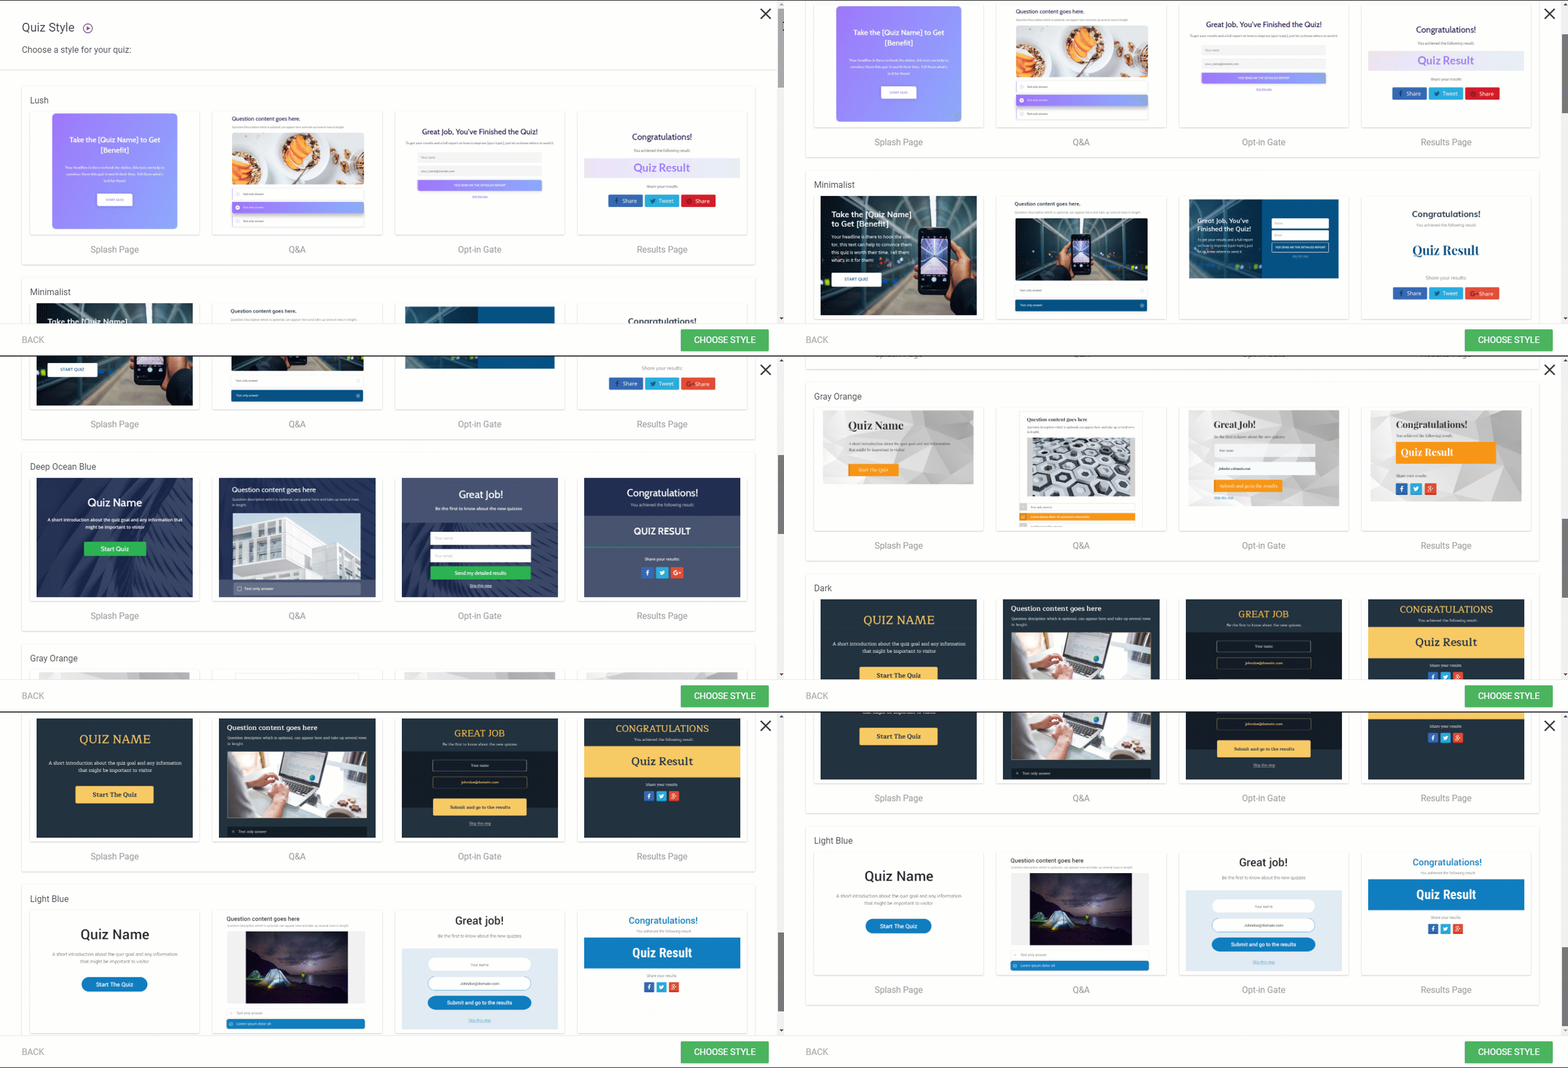
You can find more information about how to customize your quiz style from this article.
Add questions and answers
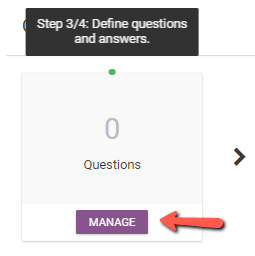
Next, you’ll have to set up your questions and answers, by clicking on the “Manage” button:
And then, in the new window, click on the “Add Question” button:
In the lightbox that appears on the screen, choose the question type you would like to have for this quiz:
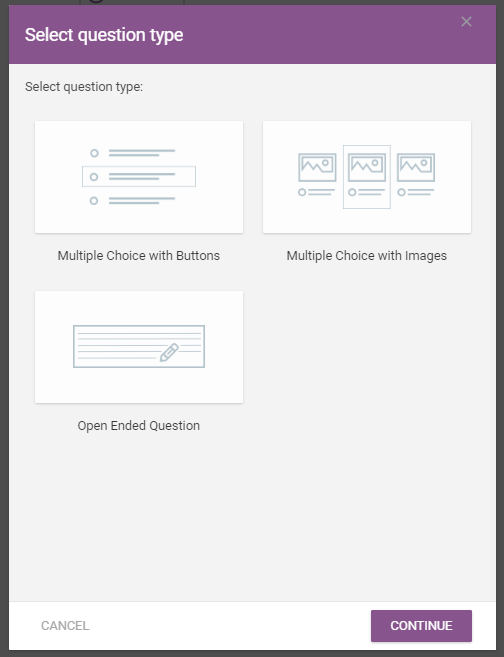
If you need more information about the different types of questions from which you can choose, make sure to read this article which explains in-depth the entire process.
Set Up the Correct Answer
Now you can start typing in your question and answers.
In order to determine which answer is the correct one, all you have to do is select the “Correct Answer” button, found next to each answer:
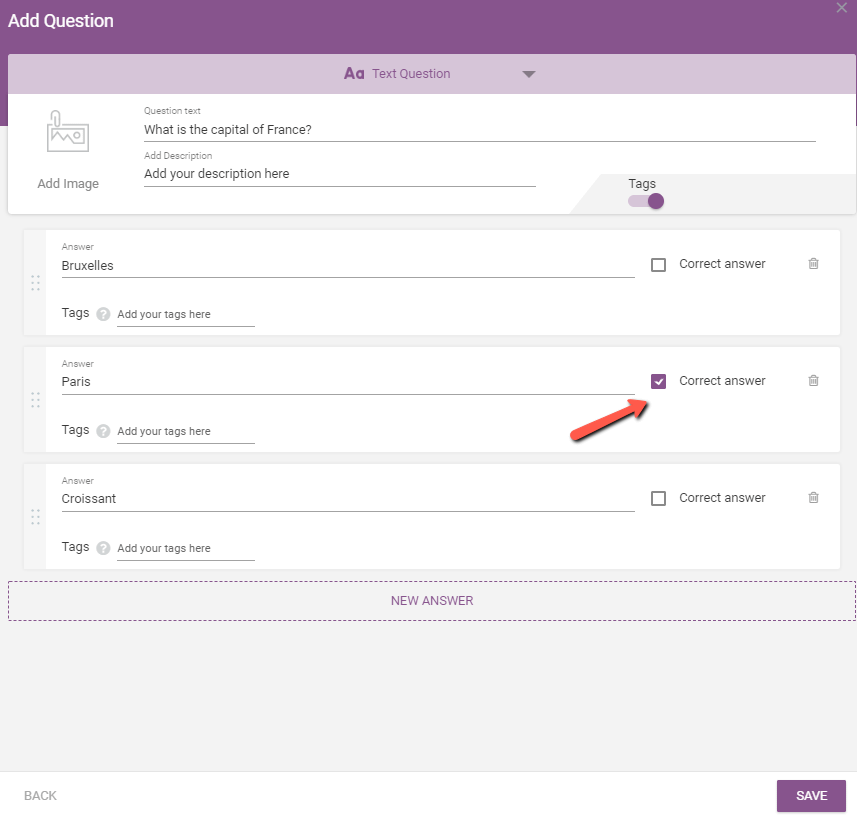
You will notice here that you can have multiple “Correct answers”, depending on whether your question allows such a feature.
Also, from the same pop-up, you can optionally add an image and a description to your question.
Additionally, you can also assign tags to each answer, change the order of the answers, or delete the ones which you don’t need anymore.
After you have chosen a correct answer, it will be also seen in the editor highlighted in green:

Lastly, before publishing the quiz, you must set up the Results Page, you can find out how to set it up, here.
After the users finish the quiz, the results will show up on their screen, along with a success message and the final result.
How is the Final Result Calculated
The final result is calculated according to the correct answers the user has given, from the total number of answers. (e.g. 1/4 – 1 correct answers out of 4):
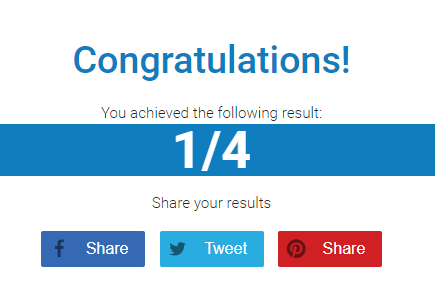
Note that, the final result is only calculated according to the answers that were selected and submitted as an answer. So, if you have different branching paths that your user didn’t come across they won’t be taken into account.
And that’s how you can configure the “Right/Wrong” quiz type in Thrive Quiz Builder!
If you need more information about this plugin, feel free to check out this section of our knowledge base.