In this article, you’ll learn about the eight template types available in Thrive Apprentice—what each one controls, when your students see it, and how to create or add one to your design. Use this guide as a reference whenever you need to build or customize a specific template.
Every design in Thrive Apprentice can include templates for each of the following page types. You can use the pre-built templates that ship with the plugin, customize them, or build new ones from scratch.
How to Add Any Template
The general process for adding a new template is the same across all types:
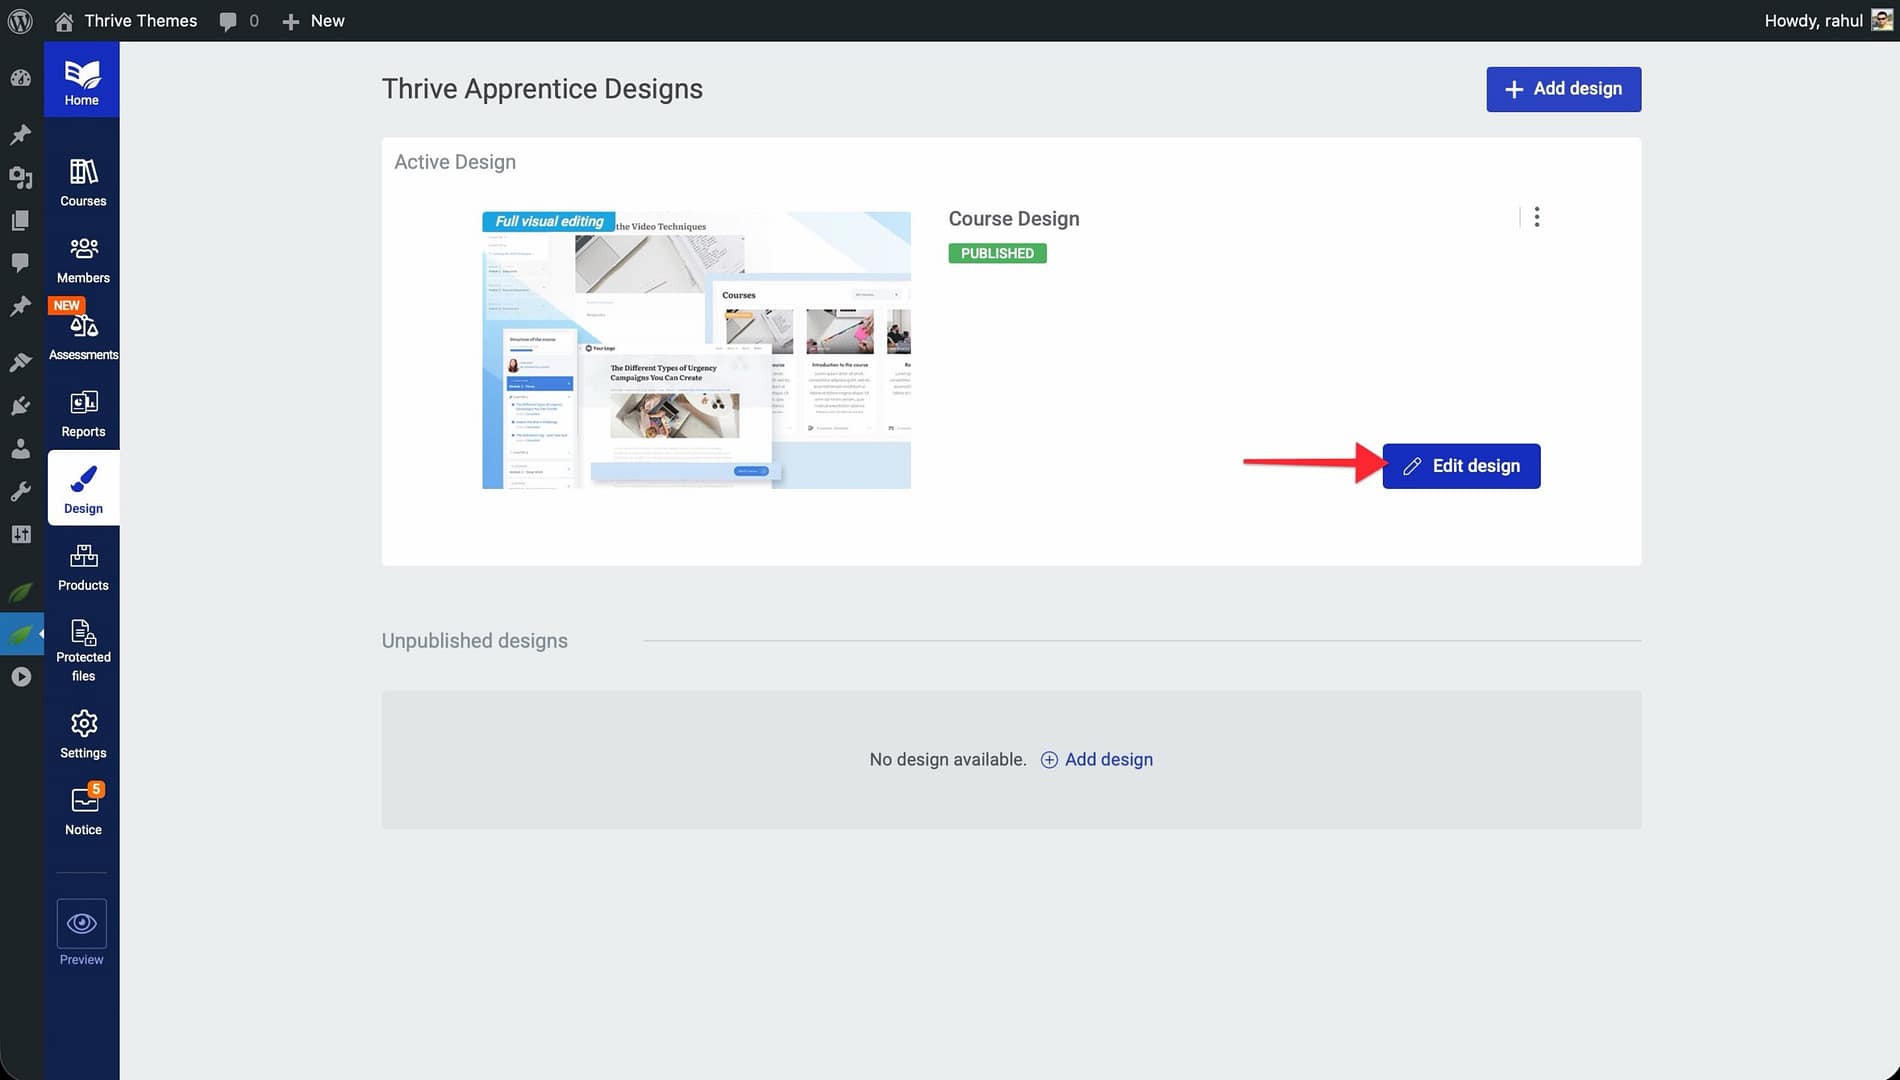
- Go to Thrive Dashboard > Thrive Apprentice.
- Click the Design tab in the left sidebar.
- Click Edit Design on the design you want to modify.
- Navigate to the template type you want to add.
- Click the option to add a new template.
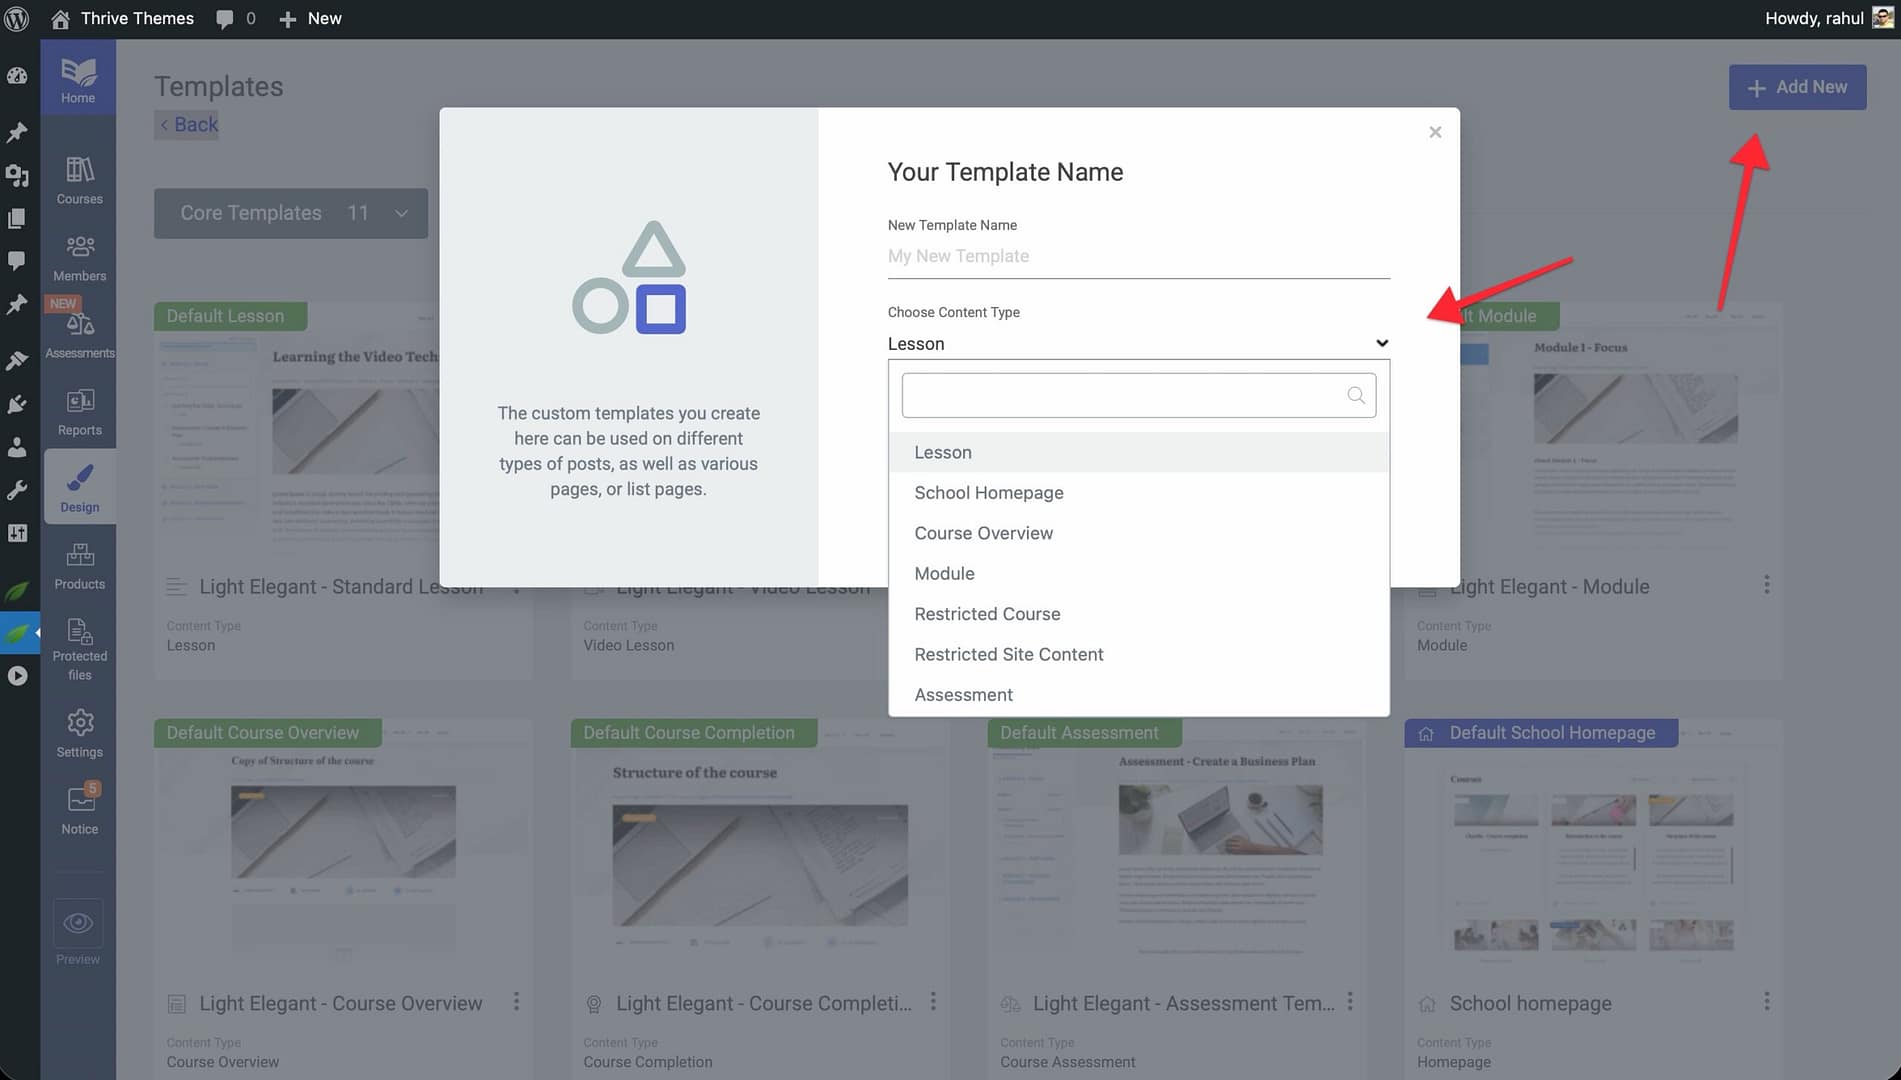
- Choose whether to start from a pre-built template or build from scratch.
- Customize the template using the visual editor.
- Save your changes.
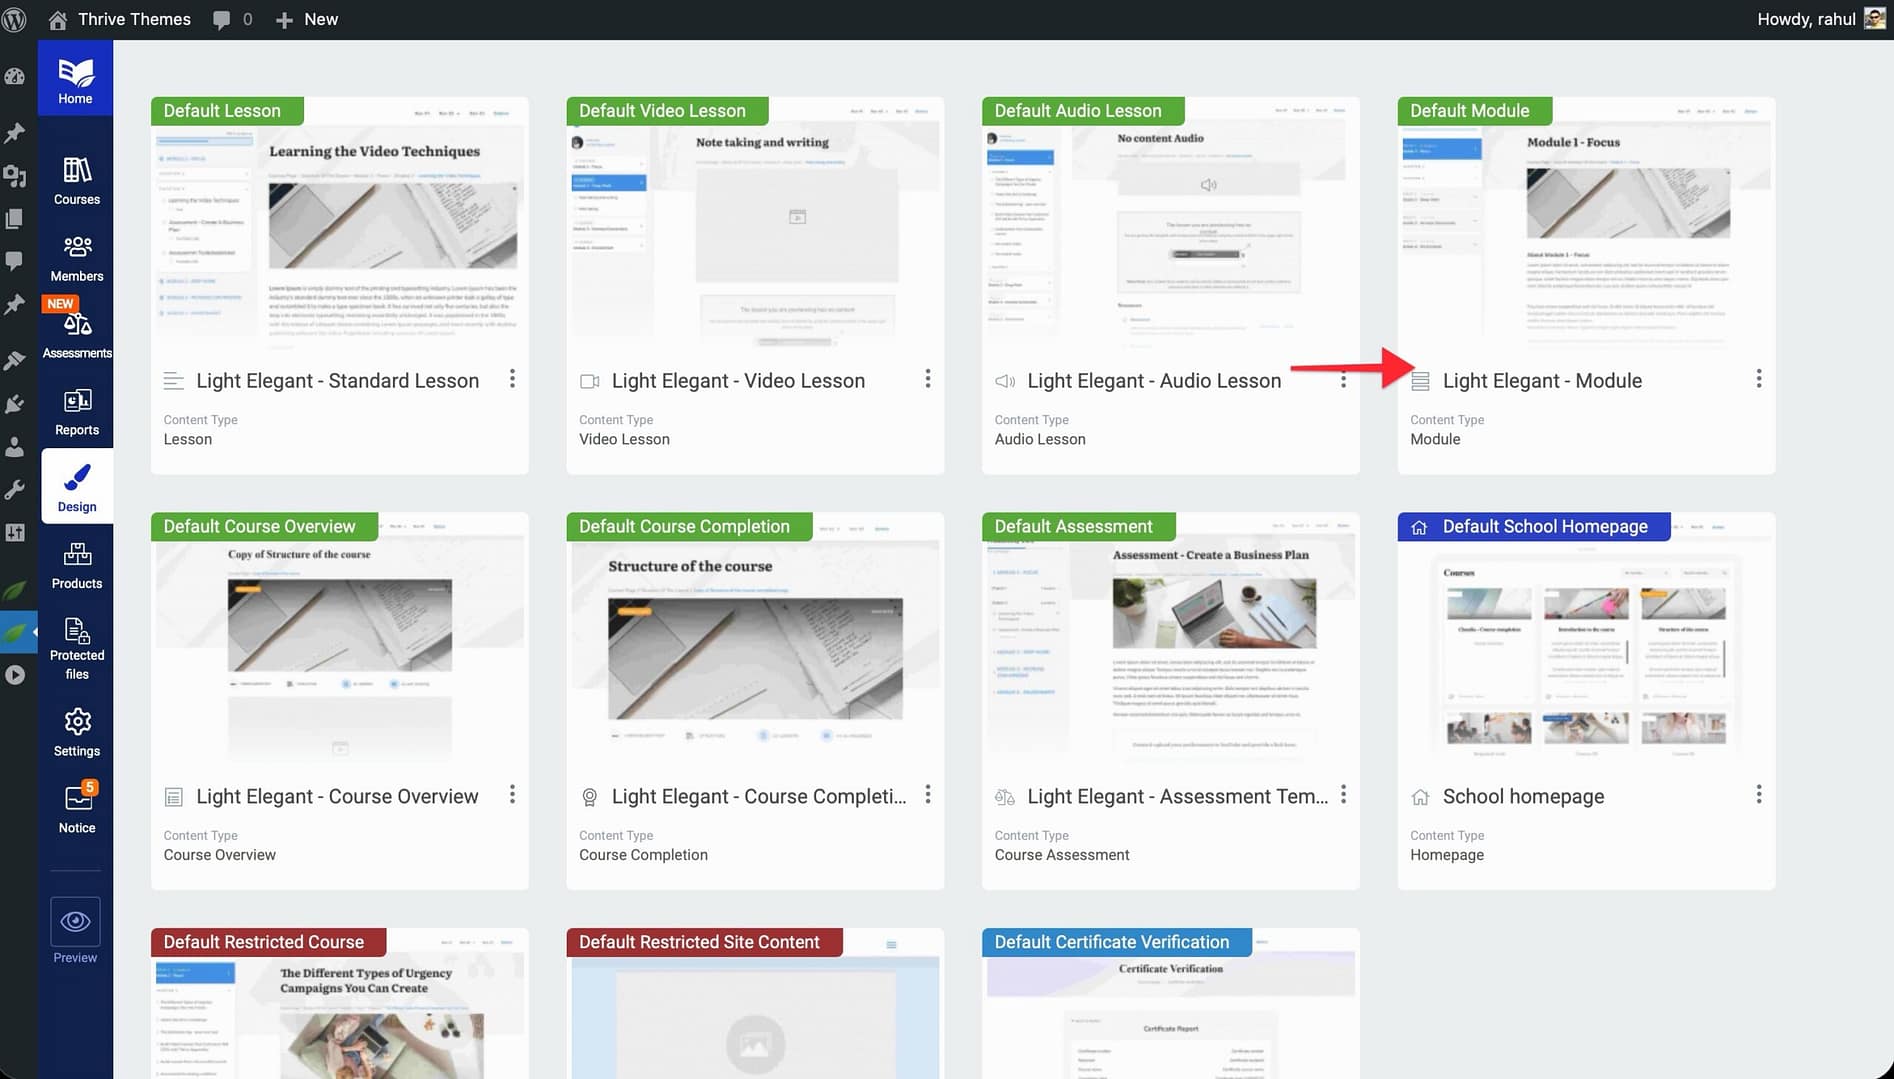
Below, you will find details for each of the eight template types.
1. Course Overview Template
What it controls: The Course Overview template defines how your course’s main page looks. It displays course details—such as the title, description, video description, instructor information, and curriculum outline—in one centralized location.
When students see it: Students see this page when they click on a course to view its details before enrolling or when they return to the course’s main page during their studies.
How to create one:
- Open your design and navigate to the Course Overview section in the template editor.
- A default Course Overview template is included. Click the option to add a new one if needed.
- Customize the layout to include the elements you want—such as course title, description, video, lesson list, and call-to-action buttons.
- Save your template.
2. Lesson Template
What it controls: The Lesson template defines how individual lesson pages appear to students. This includes the lesson content area, video player, navigation controls, and any supplementary resources.
When students see it: Students see this template every time they open a lesson within a course. It is the most frequently viewed template in your school.
How to create one:
- Open your design and navigate to the Lesson section in the template editor.
- Click the option to add a new Lesson template.
- Choose a pre-built lesson layout or start from scratch.
- Customize elements such as the content area, video placement, progress indicators, and navigation buttons.
- Save your template.
3. Module Template
What it controls: The Module template controls how module pages display. Modules act as organizational containers within a course—grouping related lessons and chapters together.
When students see it: Students see this template when they click into a module to view the lessons it contains. It provides an overview of what is inside the module.
How to create one:
- Open your design and navigate to the Module section in the template editor.
- Click the option to add a new Module template.
- Design the layout to show the module title, description, and a list of lessons within it.
- Save your template.
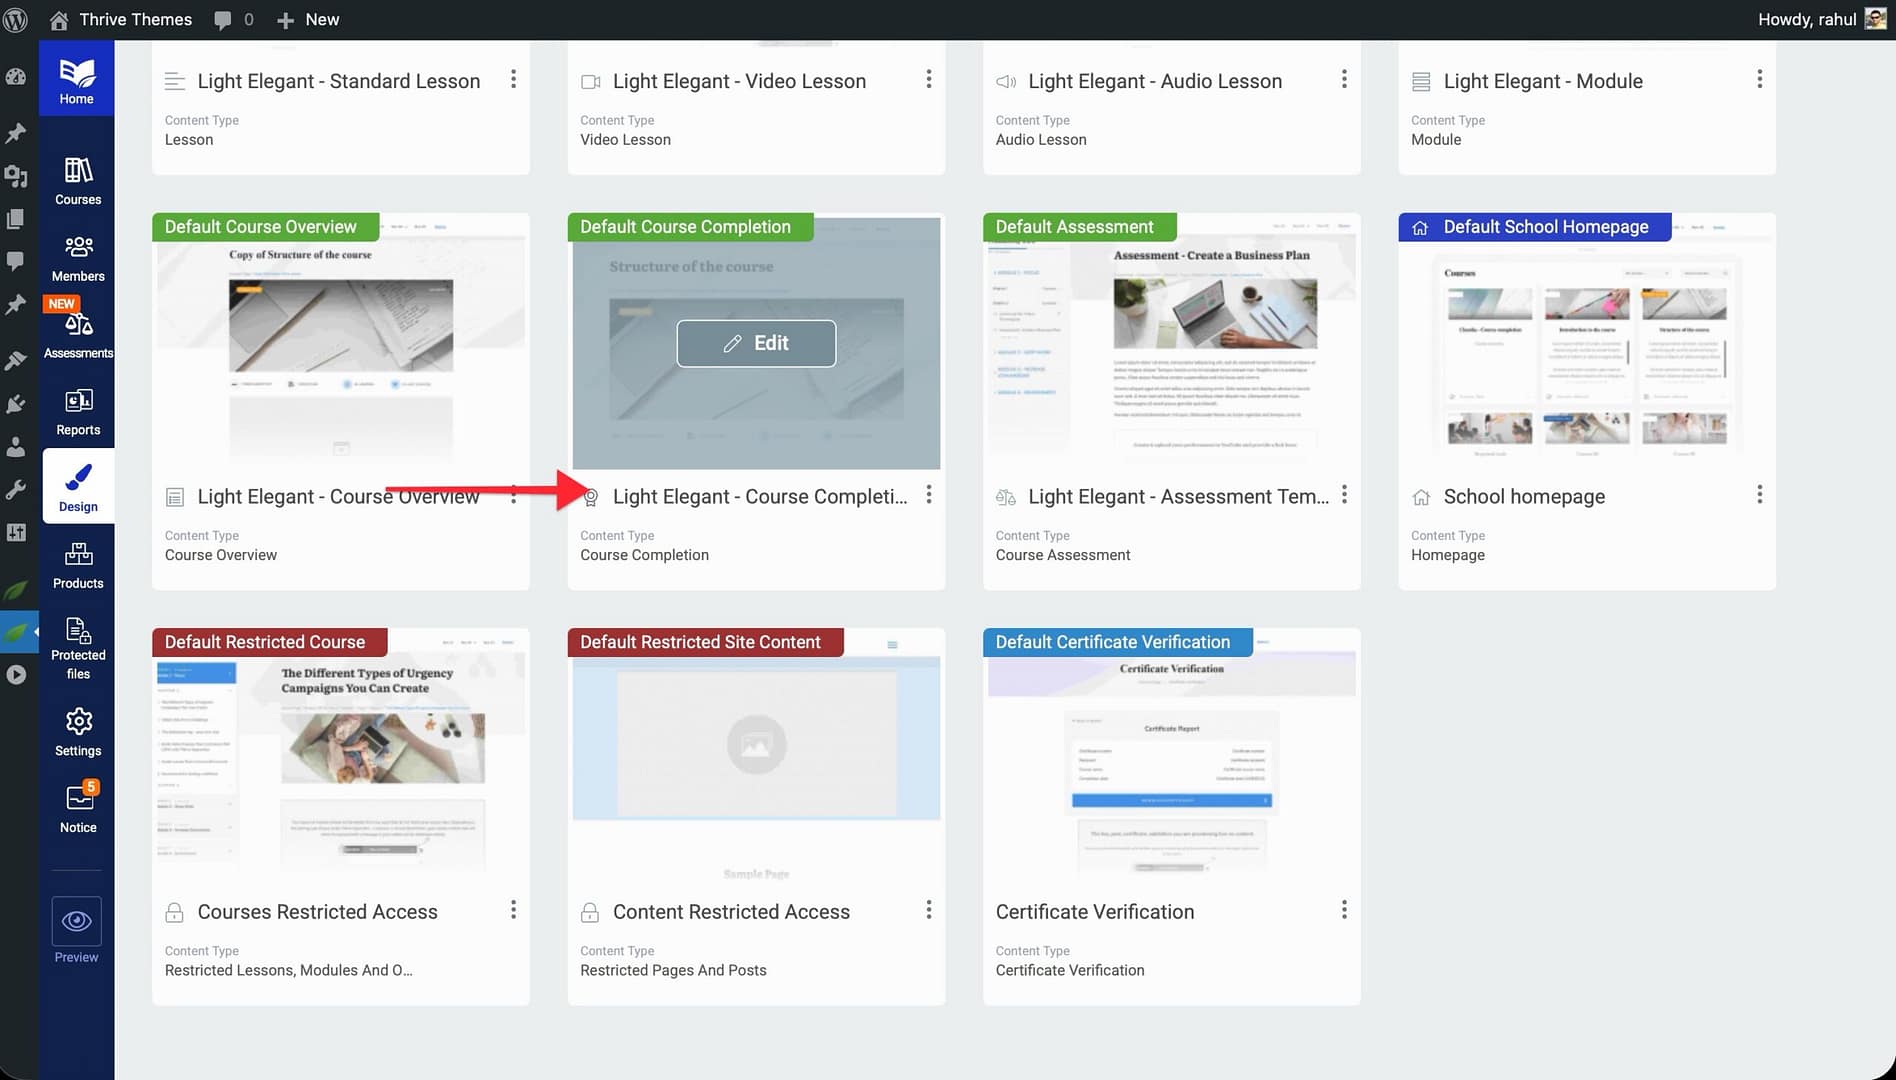
4. Course Completion Template
What it controls: The Course Completion template defines what students see when they finish a course. This is where you can display congratulatory messages, certificates, next-step recommendations, or upsell offers for additional courses.
When students see it: Students see this page after they complete the final lesson in a course and their progress reaches 100%.
How to create one:
- Open your design and navigate to the Course Completion section in the template editor.
- Click the option to add a new Course Completion template.
- Add elements such as a congratulations message, certificate download link, social sharing buttons, or links to related courses.
- Save your template
5. Access Restricted Template
What it controls: The Access Restricted template controls the page displayed when a student tries to access content they do not have permission to view—such as a paid course they have not purchased or a lesson behind a membership gate.
When students see it: Students see this page whenever they attempt to access restricted content. It acts as a barrier page that explains why access is limited and guides them toward the appropriate action (e.g., purchasing or enrolling).
How to create one:
- Open your design and navigate to the Access Restricted section in the template editor.
- Click the option to add a new Access Restricted template, or customize the default one.
- Design the page to include a clear message explaining why access is restricted, along with a call-to-action button (e.g., Buy Now or Enroll).
- Save your template.
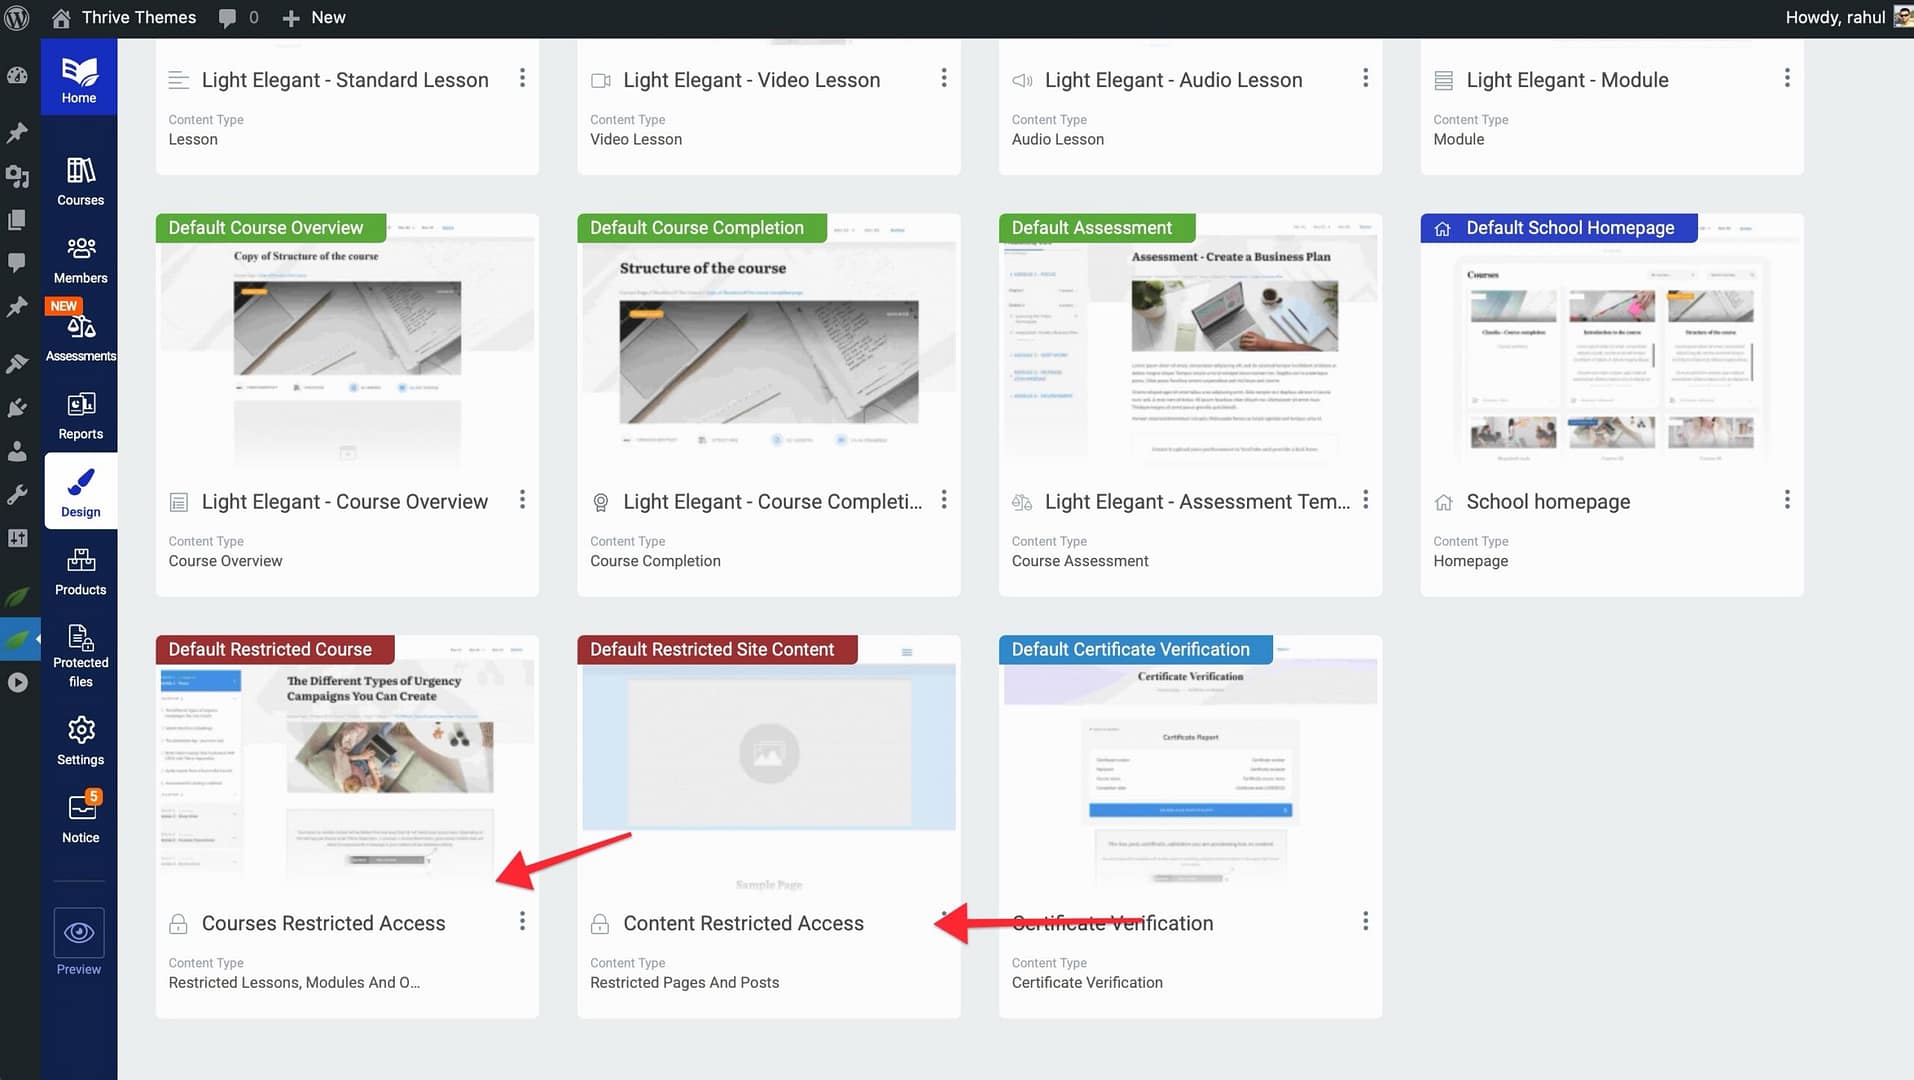
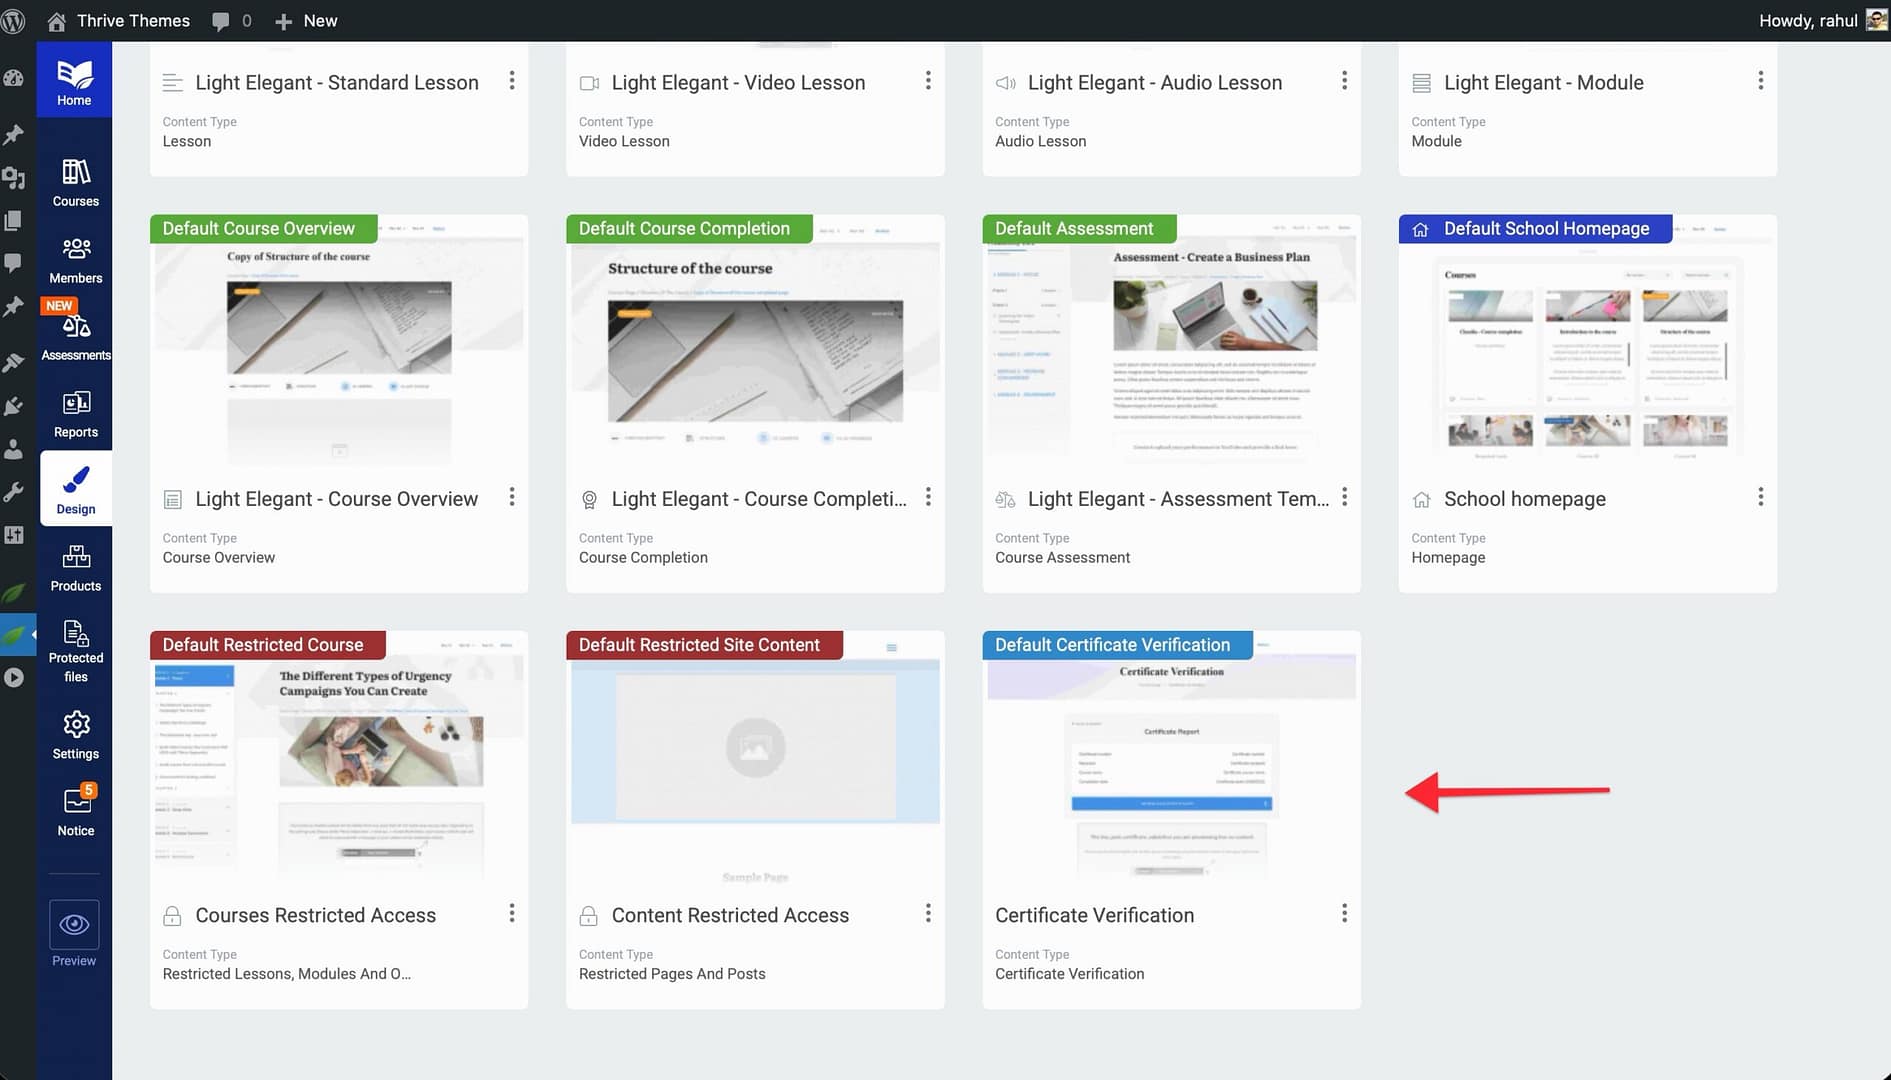
6. Certificate Verification Template
What it controls: The Certificate Verification template defines the page where anyone can verify the authenticity of a course completion certificate. When a student shares their certificate, the recipient can visit this page to confirm it is genuine.
When students see it: This page is accessible via a verification link included on the certificate itself. Employers, clients, or other third parties use it to validate a student’s credentials.
How to create one:
- Open your design and navigate to the Certificate Verification section in the template editor.
- Click the option to add a new Certificate Verification template, or modify the default one.
- Customize the page to display verification details—such as the student’s name, the course completed, and the date of completion.
- Save your template.
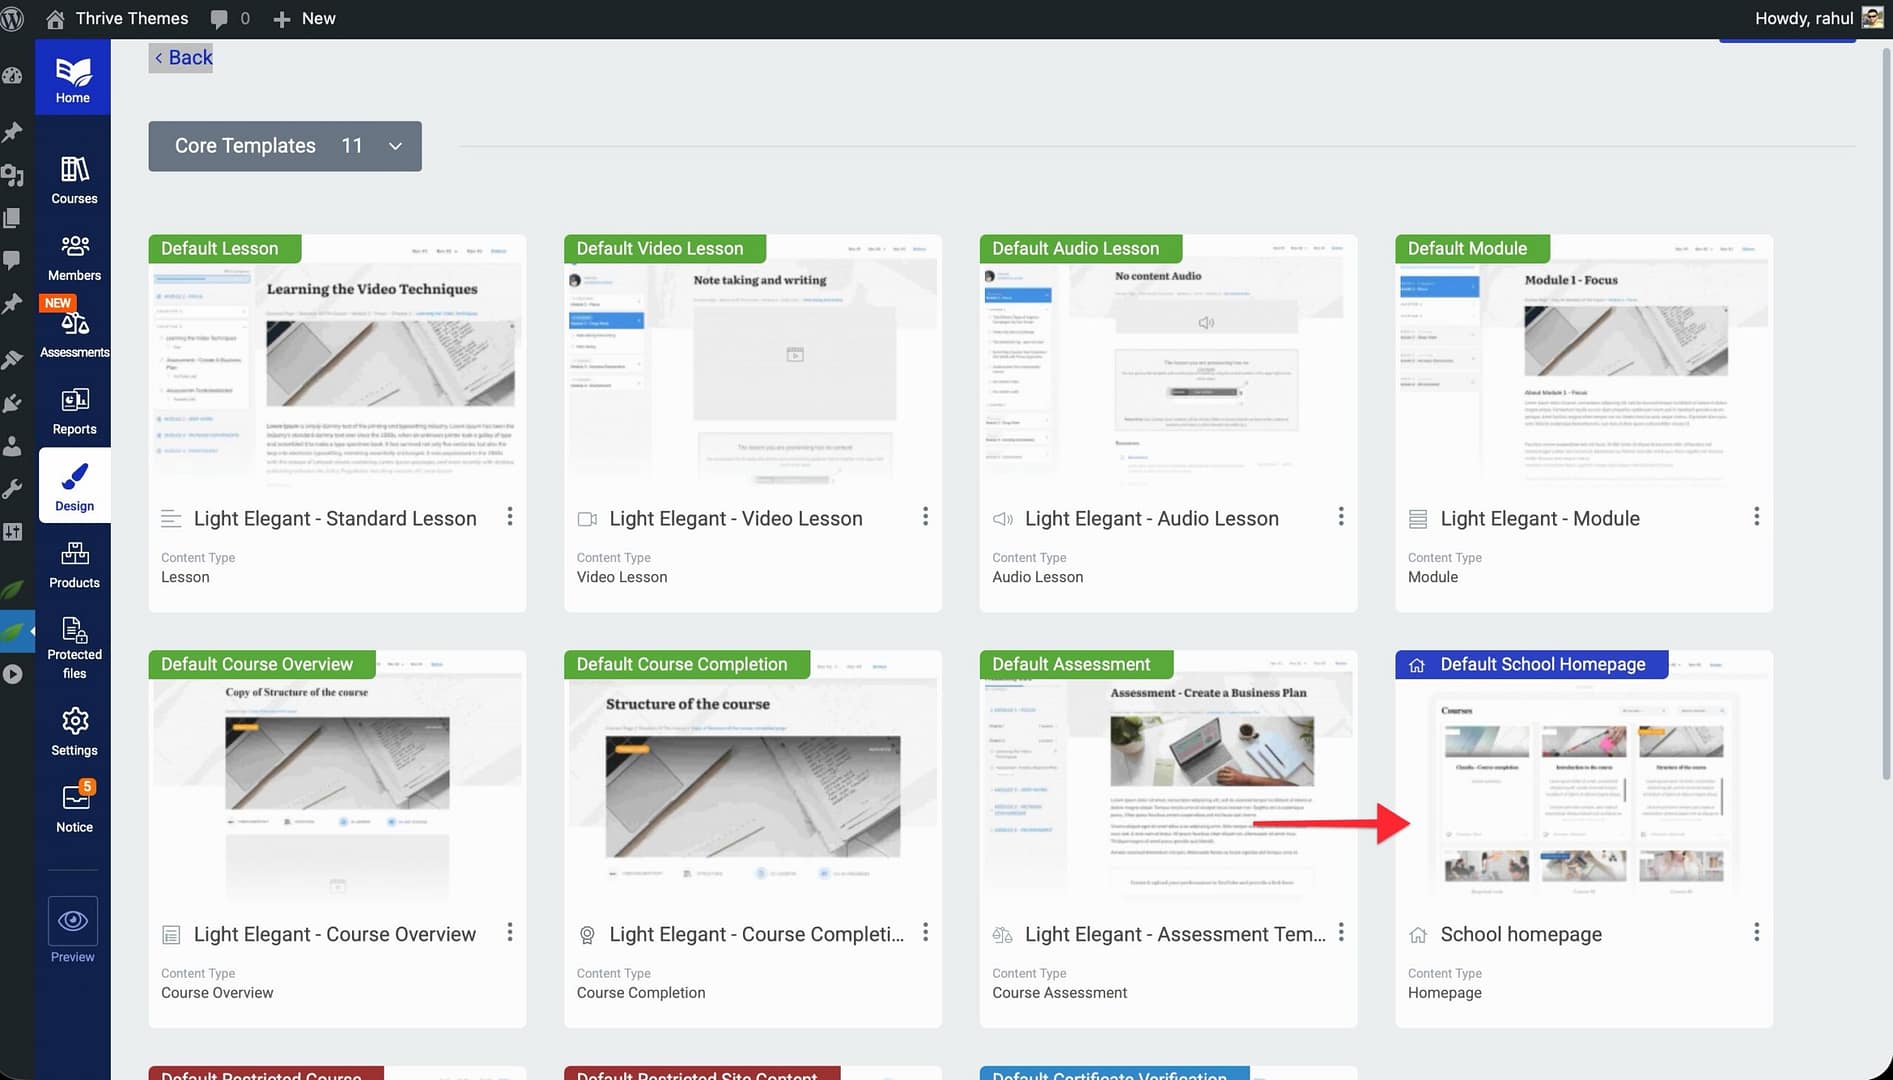
8. School Homepage Template
What it controls: The School Homepage template controls the main landing page of your online school. This is the first page students see when they visit your school, and it typically showcases your available courses, featured content, and a welcome message.
When students see it: Students see this page when they navigate to your school’s main URL. It serves as the entry point for browsing all available courses.
How to create one:
- Open your design and navigate to the School Homepage section in the template editor.
- Click the option to add a new School Homepage template.
- Design the page with elements like a course list, featured courses, welcome text, and branding elements.
- Save your template.
Conclusion
That’s it! You’ve successfully reviewed all eight Thrive Apprentice template types. Each template serves a specific role in the student experience—from first landing on your School Homepage to completing a course and verifying their certificate. Customize each one to create a seamless, branded learning journey.
Related Resources
- Creating and Managing Templates — Step-by-step instructions for creating, editing, duplicating, and deleting templates.
- Getting Started with the Visual Editor — Learn how to access and navigate the Thrive Apprentice Visual Editor.
- Displaying Lesson Resources by Progress — Show or hide resources on lesson pages based on student completion status.