One important step before starting to use the Thrive Ultimatum plugin is to configure its settings, as time and date are decisive for a scarcity campaign.
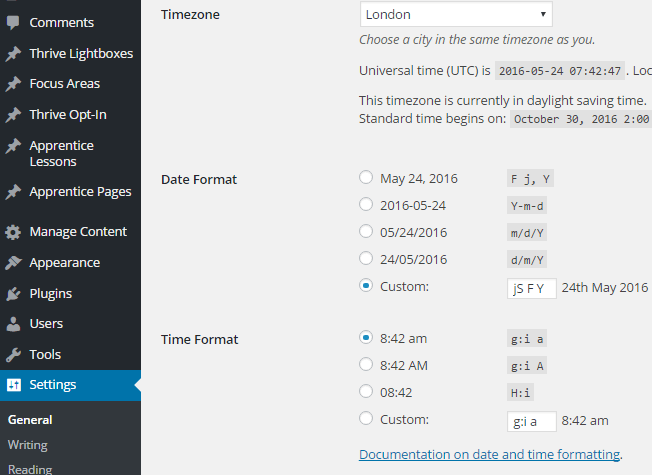
By default, the Thrive Ultimatum plugin will use the time and date settings you have set up in your “General” section of the WordPress settings:

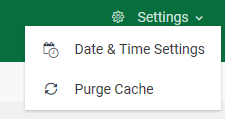
If you wish to use other date and time settings for your campaigns, you can change them by going to the Thrive Ultimatum section in your Thrive Dashboard and clicking on the Settings menu at the top right corner of the page:

Date & Time Settings
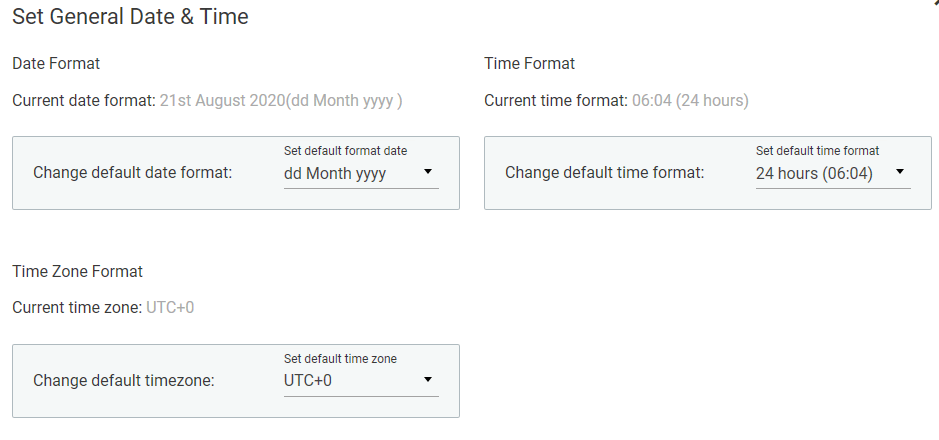
Clicking on the “Date & Time Settings” option will open a lightbox where you can change the Date, Time, and Time Zone format:

Once you have done the changes you need for your campaign, you need to save them and start building your campaigns:
Below you can see a video that will walk you through the entire “Date & Time settings” process:
Purge Cache
If you hover your mouse over the “Purge Cache” option, you will see the option’s description in the tooltip:

By clicking on this option the plugin’s cache will be cleared. Doing this, you will not see any changes as this will delete some data stored in the backlog.
You can use this feature after you have run the plugin for several campaigns so that the data we are showing on the Thrive Ultimatum card is as accurate as possible.
If you want to read more about all Thrive Ultimatum features, make sure to check out our knowledge base archive.
Hopefully, this article was useful to you. If so, make sure to leave a smile below 🙂