WPML is a plugin that helps you build multilingual sites and lets you easily switch between languages.
This article will explain the steps for installing and using it while having an active Thrive Theme Builder theme on your website. You can also read this article about what other plugins you can use with Thrive Theme Builder.
In order to start using WPML on your website, you first have to install and configure it. Then, using the available tools from the plugin, you can translate the desired content and also add a language switcher on your website, which would allow you to easily switch between languages.
This would be the desired outcome at the end of the configuration – to have a multi-language website with a language switcher option.
Note: The Thrive Theme products do not assure100% compatibility with WPML plugin. However, the steps in this article are just workaround on how to make the WPML plugin work with our products.
Configure the plugin
The first thing that you need to do is create a WPML account and decide which of the available pricing solutions offered by them best suits your needs.
Note: Keep in mind that this is a paid product, therefore in order for this to work, you’ll have to purchase one of their available bundles.
Install and activate the plugin
After you’ve logged into your WPML account and purchased one of the available bundles, you have to follow the steps described here and access your products from the “Downloads” page of your WPML account.
Download the ZIP files from your WPML “Downloads” page, and install them just like you would do with any other manually uploaded WordPress plugin.
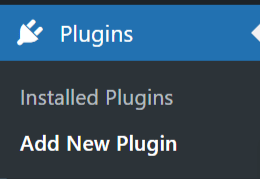
In your WordPress Admin dashboard hover over “Plugins” and click on “Add New Plugin”:
In the newly opened window, click on “Upload Plugin”:

And then click on “Choose File” in order to start uploading the ZIP files which you’ve downloaded from your WPML account. Once you select the file, click on “Install Now”:

After the plugin was successfully installed, you’ll get a success message letting you know that everything went well. Next, you can go ahead and click on “Activate Plugin” and complete the installation:

Do these steps for each of the ZIP files available on your “Downloads” page.
Note: For this example, we have used the WPML recommended “Multilingual CMS complete solution for multilingual WordPress” bundle, so we will download and install these four main WPML components: WPML core plugin, String Translation, Translation Management, and Media Translation.
After installing and activating the plugins, go ahead, and register the plugins in order to receive automatic updates.
Register the plugin
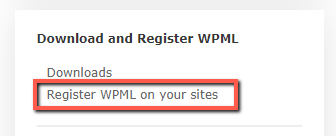
Go to your WPML “Account”, and click on “Register WPML on your sites” from the left sidebar:
In the new window, click on “Add new site”:

Paste your site’s URL in the corresponding field, and click on “Add”:
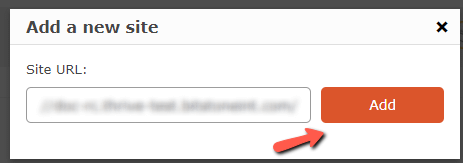
This will generate your key for the site that you’ve just registered:

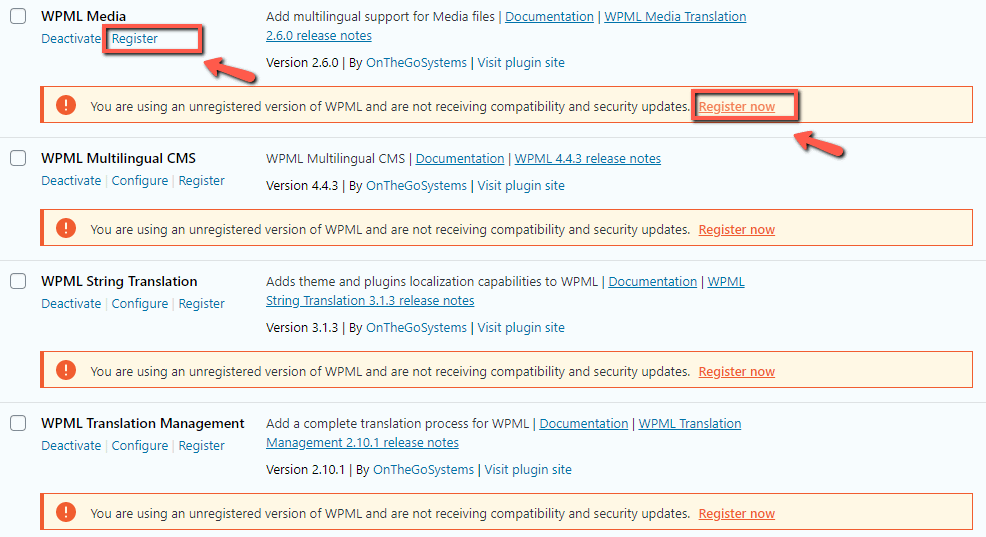
Copy this key, and then go back to the “Installed Plugins” section of the WordPress Admin dashboard, and look for the WPML plugins in the list. Once found, click on one of the available “Register” buttons:
In the newly opened window, click on “Register WPML”:

Now you can paste the registration key previously copied, and click on “OK”:

Set up the WPML Wizard
The next step in the process is setting up the WPML’s setup wizard to add languages to your site.
In your WordPress Admin dashboard look for the newly added WPML section:
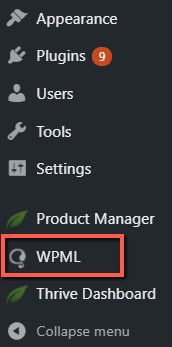
When you first access it, you’ll have to go through a step-by-step wizard and set up the languages for your site.
While setting up the wizard, you have to choose various options, such as the site’s content language, the languages in which you want to translate your site’s content, the order in which you want to have them displayed while switching between languages, etc:

Note: If you haven’t registered your products as described at the beginning of the article, you will have to do that in “Step 5” of the Wizard. When you get there, enter the site key in the corresponding field, and proceed with completing the wizard:

Switch to the Advanced Translation Editor
Before proceeding with actually translating content, access the “Settings” of your WPML dashboard:
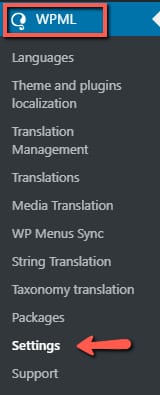
And in the “How to translate posts and pages” section you can select between using the “Classic” or the “Advanced Translation Editor”:

We will use the first option, the “WPML’s Advanced Translation Editor” as this one has more features allowing a faster translation.
Add the translations to your pages/posts
Now you can proceed to the following step, which is adding the translations. You can either translate already existing pages/posts or create new ones.
|
WPML has a feature that allows you to hide the language that is currently being translated. This way, you are making sure that your site’s visitors are not viewing pages that are still in the progress of being translated. In order to activate this feature, click on the WPML section of your WordPress admin dashboard: 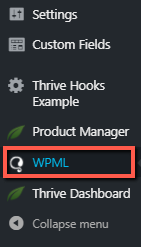 This will take you to the “Languages” dashboard, where you can click on the “Hide languages” jump link, or simply scroll down until you find the “Hide languages” section:  Tick the checkbox next to the language you want to hide, and then click on “Save”:  Now all the pages that are being translated to the selected language will be hidden from both you and your site’s visitors. However, you might still want to view how the translated pages look, as they are being translated. While you are still on the “Hide languages” section of your WPML dashboard, click on the “profile page” hyperlink:  Alternatively, you can also access your profile if you hover over the “Users” section of your WordPress admin dashboard, and select “Profile” from the submenu that opens: 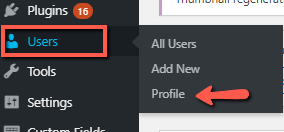 Scroll down to the “WPML language settings” and check the box next to “Display hidden languages”:  Now you will be able to view the page as it’s being translated, but, at the same time, keep it hidden from visitors until the translation is complete. |
For this example, we have created two pages and two posts in the source language, i.e. English.
Note: If you are planning to translate a Landing Page with WPML, it’s worth knowing that given the fact that this is a standalone page, with its own styling, WPML will not recognize it.
We have created a separate article that explains how you can translate a Landing Page with WPML while keeping the original styling.
After you access your page/posts dashboard, you will notice that several new icons and options are available: you can see the translated content and the available translation languages:
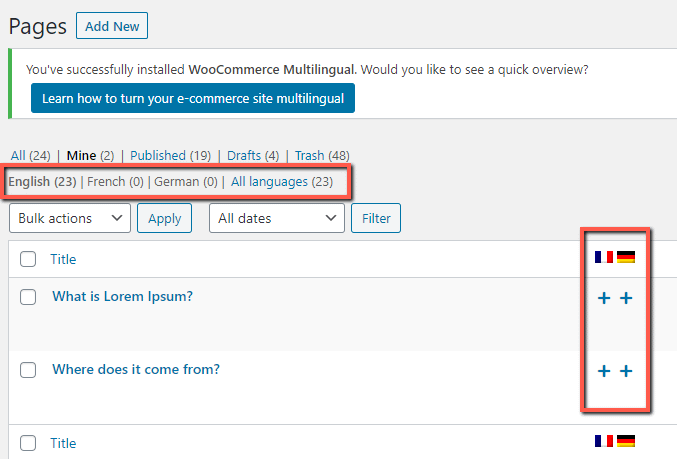
Click on the plus sign next to the target language in which you want to translate the page:

This will take you to the advanced translator editor page where you can add the translation yourself or opt for an automatic translation, and then further edit the translated text as you best see fit.
WPML also has a feature that allows you to “Overwrite from English” when you are editing a translated page. Keep in mind that if you decide to use this feature, it might be faulty and not display the design of the page as it was created with Thrive Architect.
After you’ve finished translating the whole text, click on the “Complete” button next to the progress bar located on the lower side of the page:

This will take you back to the WordPress page dashboard.
Here you will notice that the plus sign has changed to a pencil icon (for the pages which are already translated), letting you know that you can “Edit the translation” if needed:

Note: The “Translate automatically” option is not recommended from our side, as it might bring unwanted modifications to your content (formatting, etc). For this reason, we recommend that you manually translate the content.
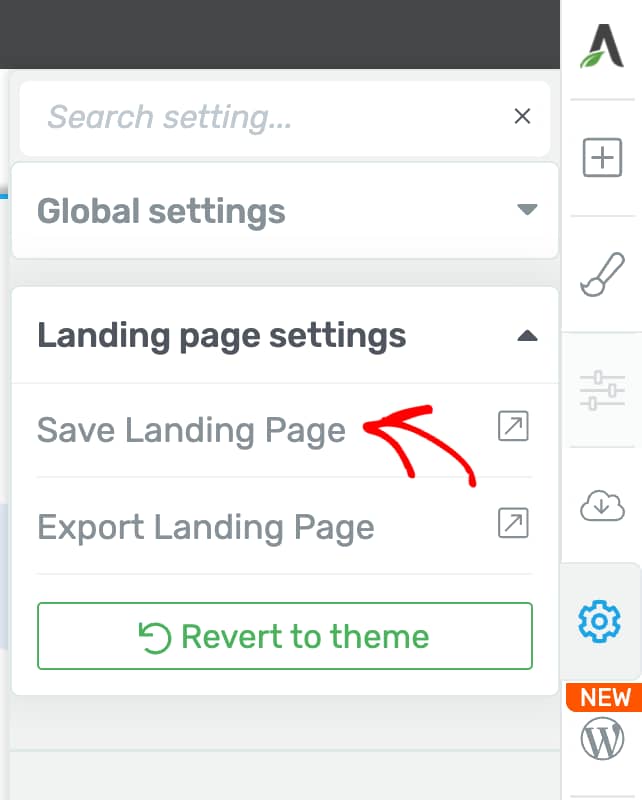
To do so, open the landing page in the Thrive Architect editor, click the Settings in the right panel, click on Landing page settings and click Save Landing Page.
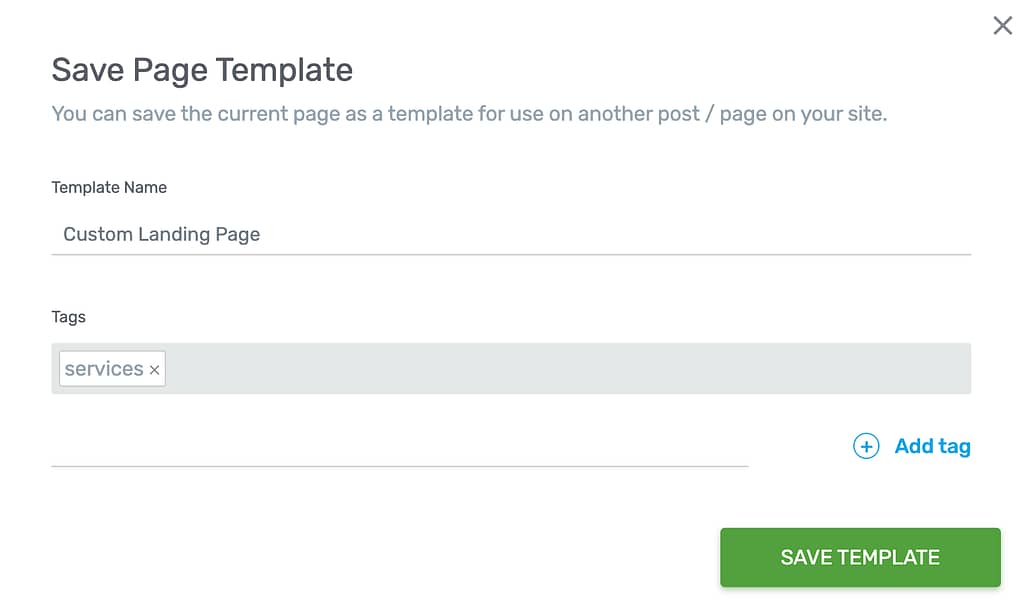
This will open a popup where you enter the name and tag you want to apply to the Landing Page template being saved. On this popup, enter the name and tags and click Save Template.
To understand how saving a landing page and using it as a template works, refer to our document here.
Now, to created a translated page, create a page by clicking Pages >> Add New. On the Pages dashboard, add the new language you want to the newly created page.
Next, open the newly created page in the Thrive Architect editor and apply the template that we just saved above. You can refer to our document here.
Manually translate the strings on this newly created page that’ll act as a translated version of the original page.
Configure your Site’s Menu
The next step in the process is to configure your website’s menu. Adding a menu to your site will allow you to display the language switcher, from where you will be able to change the site’s language.
You can use an already existing menu, to which you can add the translated pages/posts or create a new one.
We do have a separate and more comprehensive article about how to set up and display a menu on your website, which you can find here. We will also describe the process shortly below:
Create a new menu
Go to the Appearance section of your WordPress admin dashboard, and click on “Menus”:

Here, click on “create a new menu”:

Add a name to your menu and click on “Create Menu”:

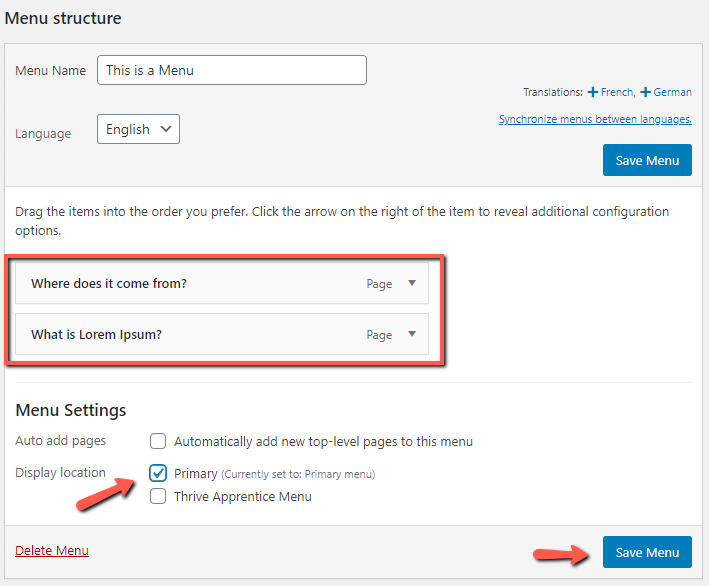
Now add the pages which you have translated to the newly created menu, select where you want to have them displayed, and then click on “Save Menu”:
Add a Menu language switcher
In order to add a “Menu language switcher” to your site, click on the “Add a language switcher” button located on the left side of the “Menus” window:
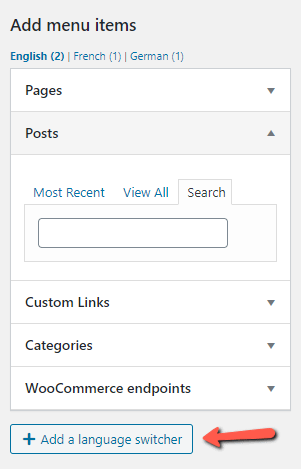
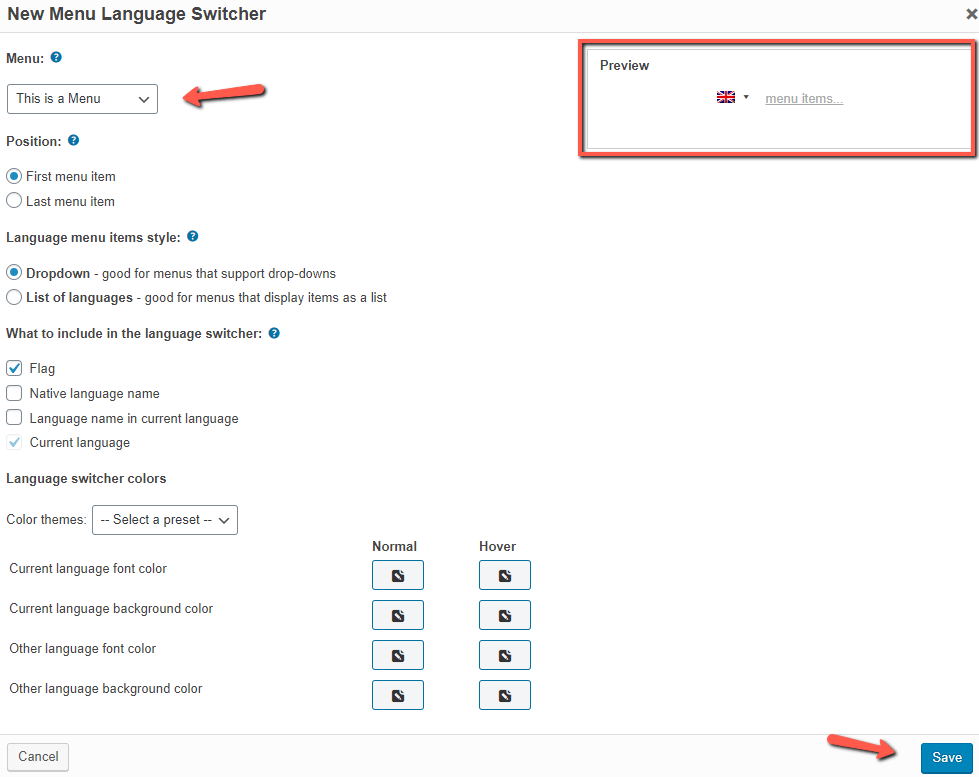
This will trigger a popup with all the available options for the language switcher.
The most important thing here is to make sure to select the correct location of the menu in which you want to have the switcher displayed.
All the remaining options can be previewed live on the right side of the screen. Customize the settings as you best see fit, and then click on the “Save” button to make sure everything is saved:
Adding the Menu to a Thrive Theme Builder Template
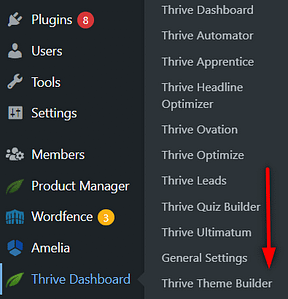
The next step is adding the menu in the header or footer of the page on which you want to have it displayed. For that, go to your Thrive Dashboard and select “Thrive Theme Builder”:
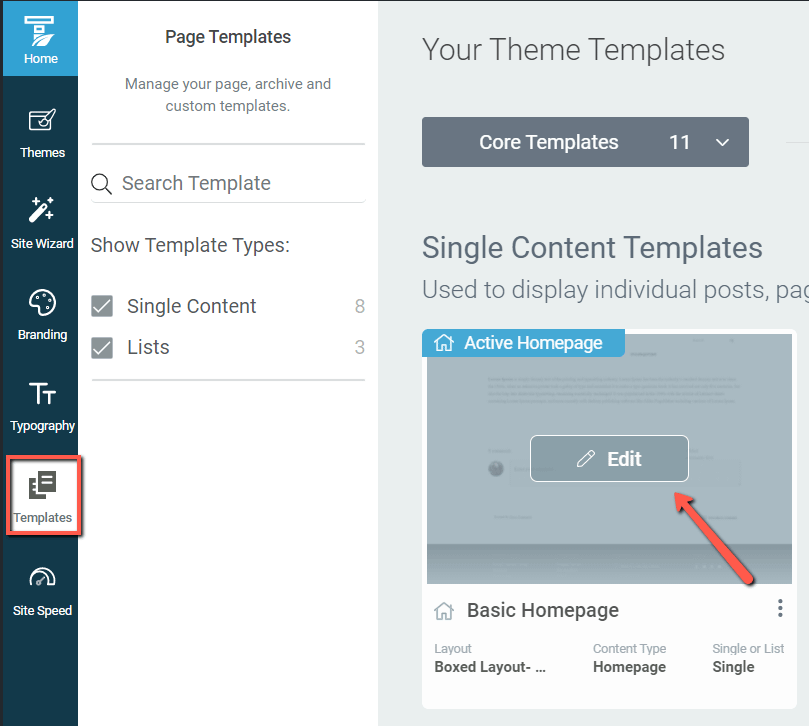
From the “Templates” section select a page or post template:
The menu will be added to the page with the help of the “Custom menu” element, available in the right sidebar:
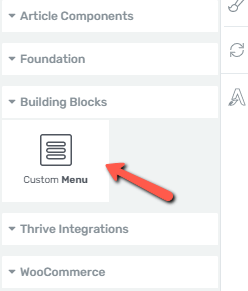
You can choose to either display the menu within your page content or in the page header.
If you are adding the menu within the content, just drag and drop the “Custom Menu” element to your page just like you would do with any other Thrive Architect element.
Should you want to add it to your header, don’t forget to select it and click on “Edit” first in order to be able to edit the template:
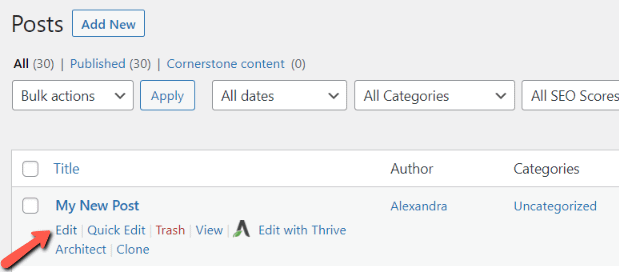
Now drag and drop the “Custom element” to your page, and select a menu type from the list:
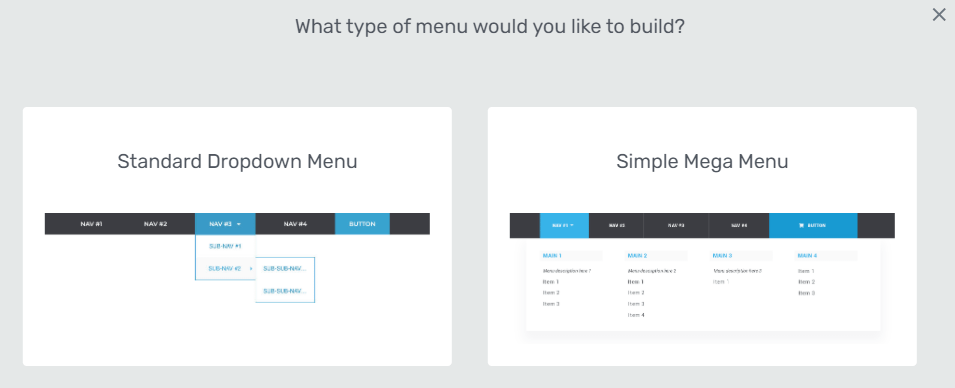
For the menu source, make sure to select “Use a WordPress Menu” source, and from the drop-down list select the menu that you’ve previously created:

Then select the menu template:
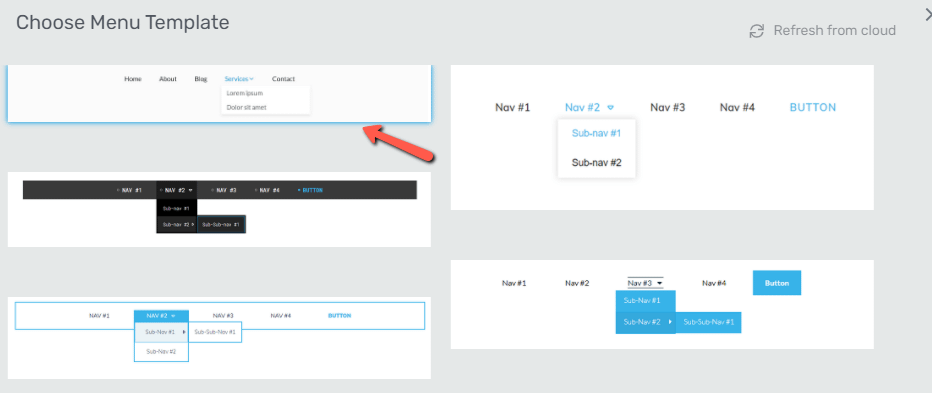
From the left sidebar, you can customize the “Custom Menu” element as needed:
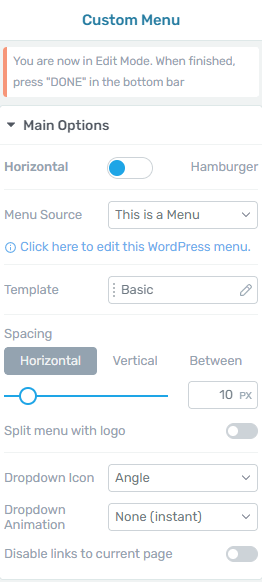
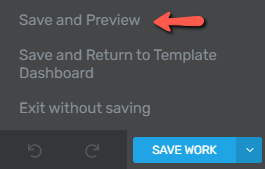
Once the customization is done and you are satisfied with the look for the menu, go ahead and “Save and Preview” your work:
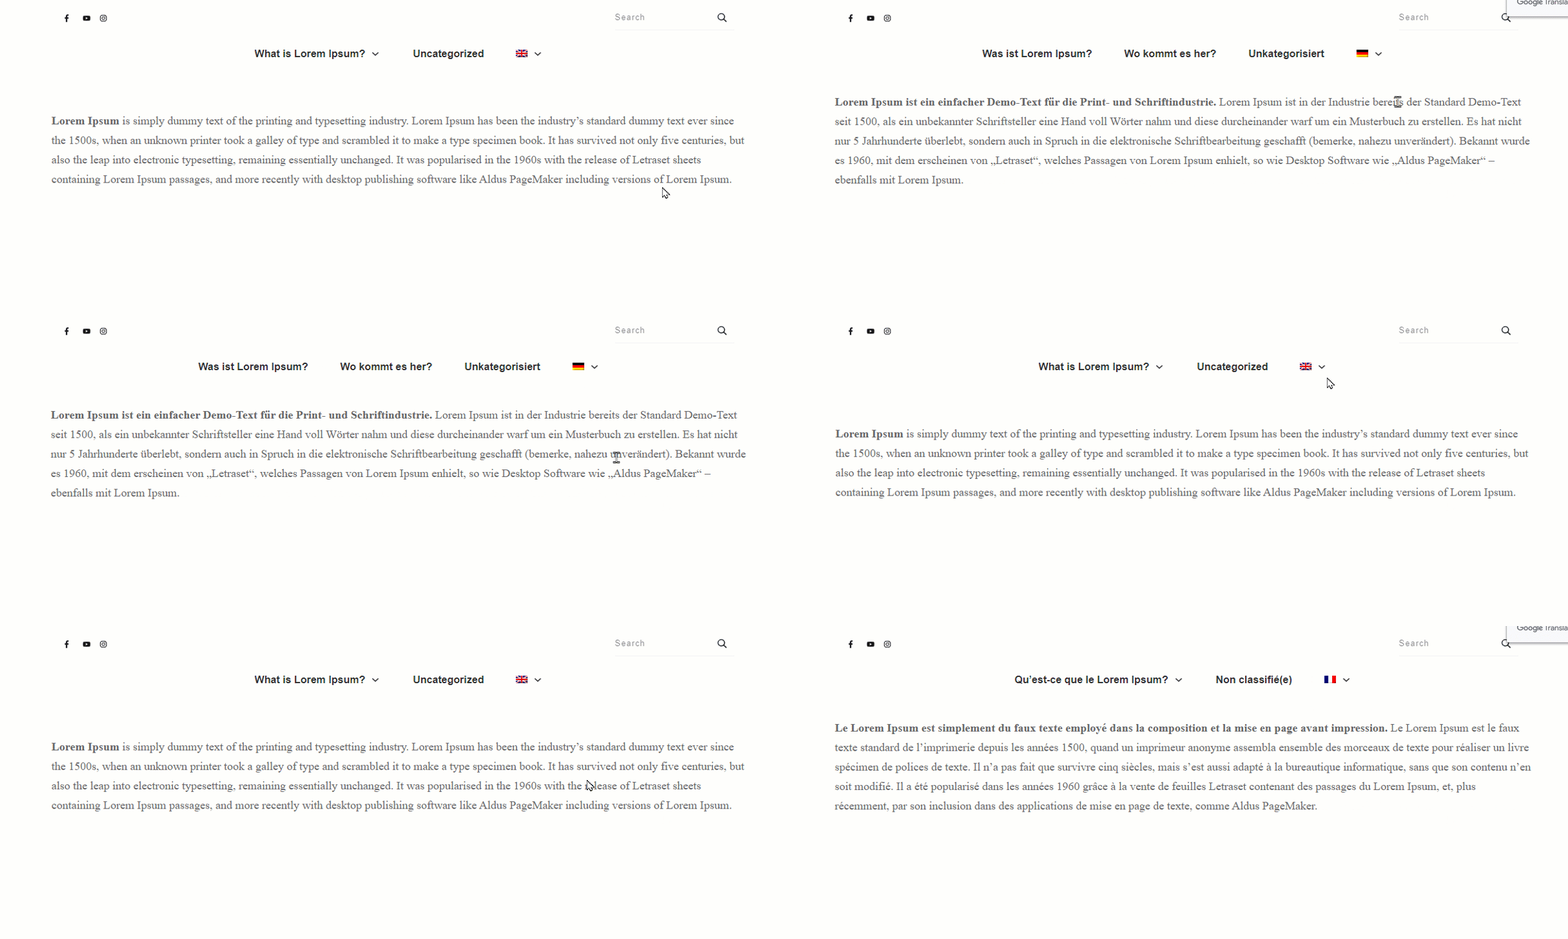
Your page should now show the language switcher and the posts/pages that you’ve set up in your menu:

If you click on the language switcher, you are able to change the language of the page and switch to the translated version of what’s currently displayed:
Note: The WPML plugin can be used just with Thrive Architect as well. In order to display multilanguage menus on your website, follow the steps described above for adding a menu from your “Appearance” section of your WordPress admin dashboard.
These are the steps for activating and using WPML on your website, to translate and display multilanguage menus and content.