If you are looking for a way in which you can translate various strings from your website, you can do that using the “Say What” plug-in.
Note: If you want to translate various elements of Thrive Apprentice, make sure to check out the article that explains how to do that directly from the Thrive Apprentice “Template Settings”, without the need to install a plug-in.
Install and Activate the Plugin
The first thing you need to do in order to use the plug-in is to install and activate it.
Here is how you can do that. In your WordPress Admin Dashboard, go to the left sidebar and scroll down to “Plugins”.
If you click on it, you will be taken to the “Plugins” page, where you can see all the plugins that you have previously installed. You will notice an “Add New” button on the top side of the page. Click on it:

Another way to add a new plug-in is to go to the left sidebar in your WordPress Dashboard, scroll down to the “Plugins” option, and hover over it:
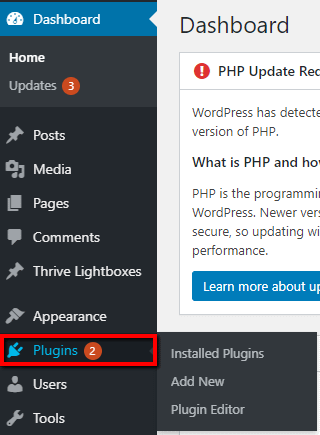
A small sub-menu will open. Click on “Add new”:

Both these methods will take you to the same “Add Plugins” page. To add the “Say What” plug-in, go to the search bar on the right side and type in “Say What”. Then, once you find it, click on the “Install Now” button:

When the installation process is done, instead of the “Install Now” button, you will see the “Activate” button. Click on it:

This will activate the plugin. Once you do that, you will be taken back to the “Plugins” page, and you are all set and ready to start using the plug-in.
Use the Plugin
Now that the “Say What” plugin is up and running, you can start using it to translate various strings. In your WordPress Admin Dashboard, on the left menu, scroll down until you see the “Tools” option. Hover over it to open the submenu with the options:

Click on “Text Changes” from the sub-menu:
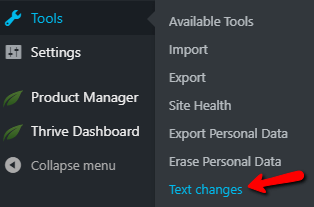
You will be taken to the “Text Changes” page where we can start translating the strings.
As an example, I will translate some Thrive Apprentice sections.
For this product (Thrive Apprentice), you can translate some of the strings directly from the “Template Settings” section of Thrive Apprentice, as shown in this article.
However, not all of the sections can be translated using that method. If you are looking to translate one of the sections that you cannot translate directly from Thrive Apprentice, you can use the following instructions.
In the “Text Changes” page, click on the “Add New” button from the top part:

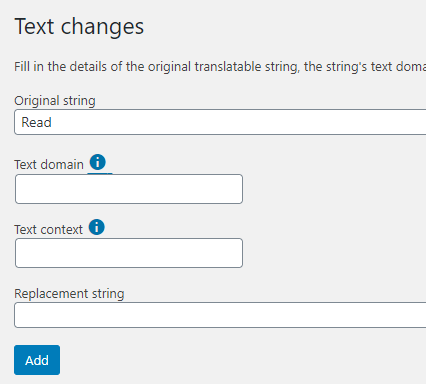
A new page will open, where you have to fill in some fields, as follows:
Original String
The first field that has to be filled in is the “Original String” one. In this field, you have to write the word or phrase to be translated, exactly as it appears in Thrive Apprentice. Here is an example:
Text Domain
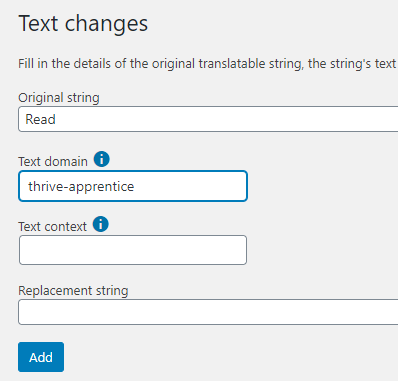
The next field is the “Text Domain” one. Here, you have to write the “Text domain”, which depends on what product you are using. Here is a list of the Thrive Themes domains:
- Thrive Apprentice: thrive-apprentice
- Thrive Architect: thrive-cb
- Thrive Comments: thrive-comments
- Thrive Headline Optimizer: thrive-headline
- Thrive Leads: thrive-leads
- Thrive Ovation: thrive-ovation
- Thrive Quiz Builder: thrive-quiz-builder
- Thrive Ultimatum: thrive-ult
- All Themes: thrive
- Thrive Theme Builder: thrive-theme
In my case, since I want to translate some strings from Thrive Apprentice, I will use the thrive-apprentice text domain:
Text Context
The next field is the “Text Context” one:
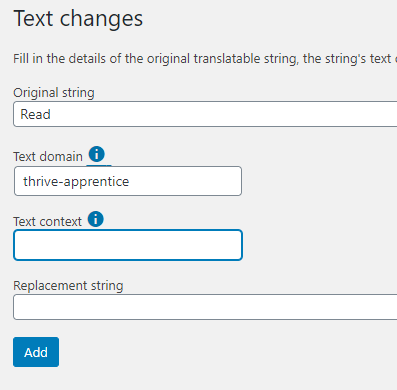
You can provide additional context that you or the translators can use to give more information about the string you are trying to translate. This can be useful in case some of the strings are similar.
Keep in mind that, when translating a string, that doesn’t require you to provide a context. This is why, in this example, I will leave the field empty.
Replacement string
The last field is the “Replacement string” one. This is where you have to write the actual translation of the original string. Here is an example of the translated string:
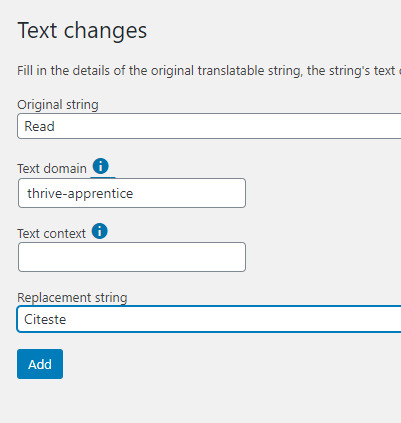
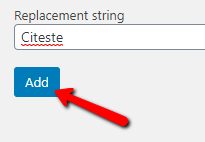
Once you write the translation, click on the blue “Add” button:
You should be taken back to the “Text Changes” page, and you should see the string that you have translated:

Notice that there are two available options for the translation: Edit and Delete. Here is how you can use them:
Edit
If you want to do some changes to one of your translations (for example, the “Replacement string”), you can do that by clicking on “Edit”:

This will take you back to the page with the fields that you had to fill in before:
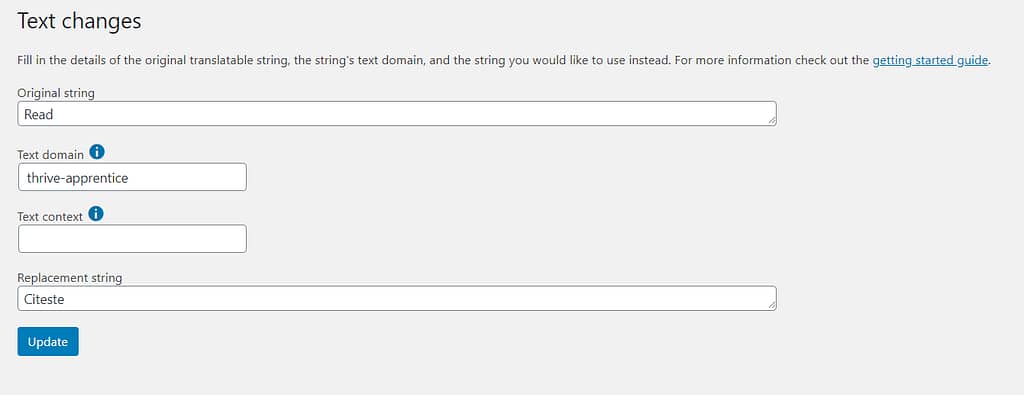
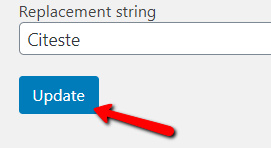
You can make the necessary modifications, and then click on the blue “Update” button:
Delete
In case you don’t find the fit to one of the translations anymore, the other action that you can take, besides editing it, is to delete it. If you want to do that, click on the “Delete” button, next to the “Edit” one:

If you click on it, you will be asked to confirm the action. Click on “Yes” in order to delete it:

And there! The string translation has been deleted.
Those were all the steps that you have to do in order to translate a string using the “Say What” plug-in. Remember that you can add as many string translations as you need, following the steps described above.
If you need more information about various Thrive Themes elements, make sure to check out the articles from our knowledge base.