Important Note: As we continue to grow and expand our product suite at Thrive Themes, we’ve made the strategic decision to retire Thrive Automator and partner up with our sister brand, Uncanny Automator that offers over 195+ integrations, 1000+ triggers and actions, and much more.
Learn more about what this means for you and for Thrive Automator.
The two form actions from Thrive Automator allow you to collect data from the form and make it available inside your automation. In addition to this, you can use the form identifier to only pull in field data from a particular form.
This way you are making sure that when triggered, this automation will not start collecting data from all forms available on your website.
Set up the Form
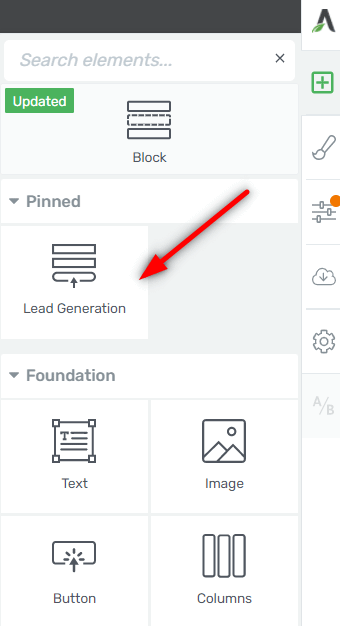
First, add the form on one of your posts and pages. I will use a “Lead Generation” element for this example:
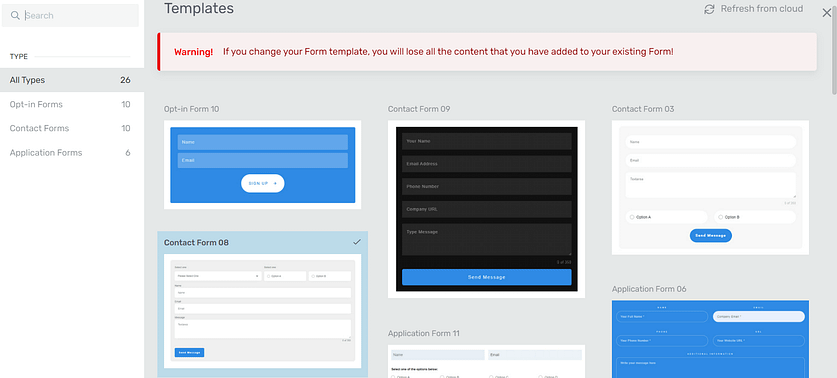
Then pick a template (you can pick a template that already has custom fields added to it by default):
Now you can access the options of the left sidebar and start setting up the custom fields:
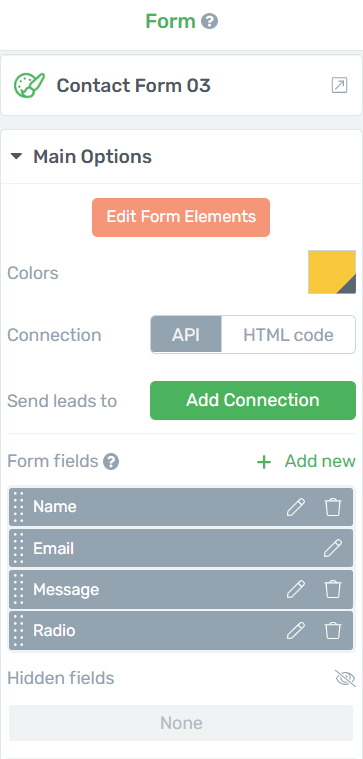
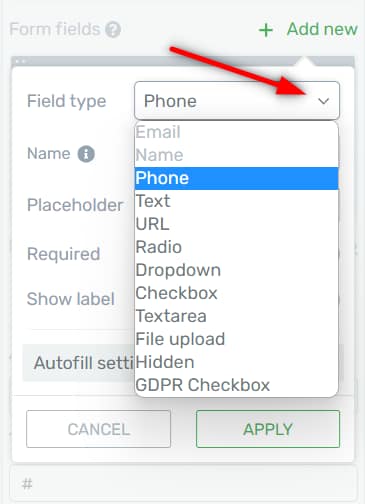
The template that I chose already has two radio buttons added to it by default. However, if you want to add additional ones, you can simply click on the “+Add new” option and select the ones you want from the list:
Check out this article from our knowledge base if you want to learn more about form fields:
So, as already mentioned, our form has radio buttons, where the users can select between two options. Their selection will be collected in Thrive Automator and will be made available inside the automation.
Then, once the custom fields are added to your form, access the “Advanced” section of the same left sidebar:

Expand this section and you will find the unique form identifier assigned to this form:
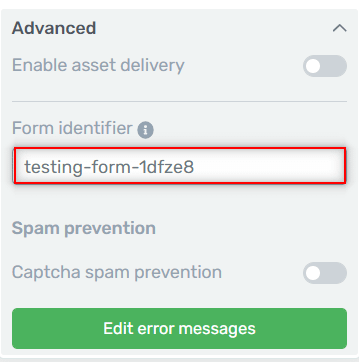
You can copy this one, or type in your own unique identifier, as you will need it in the next step, when we will be setting up the automation.
Set up the Automation
Head over to Thrive Automator from the Thrive Dashboard:

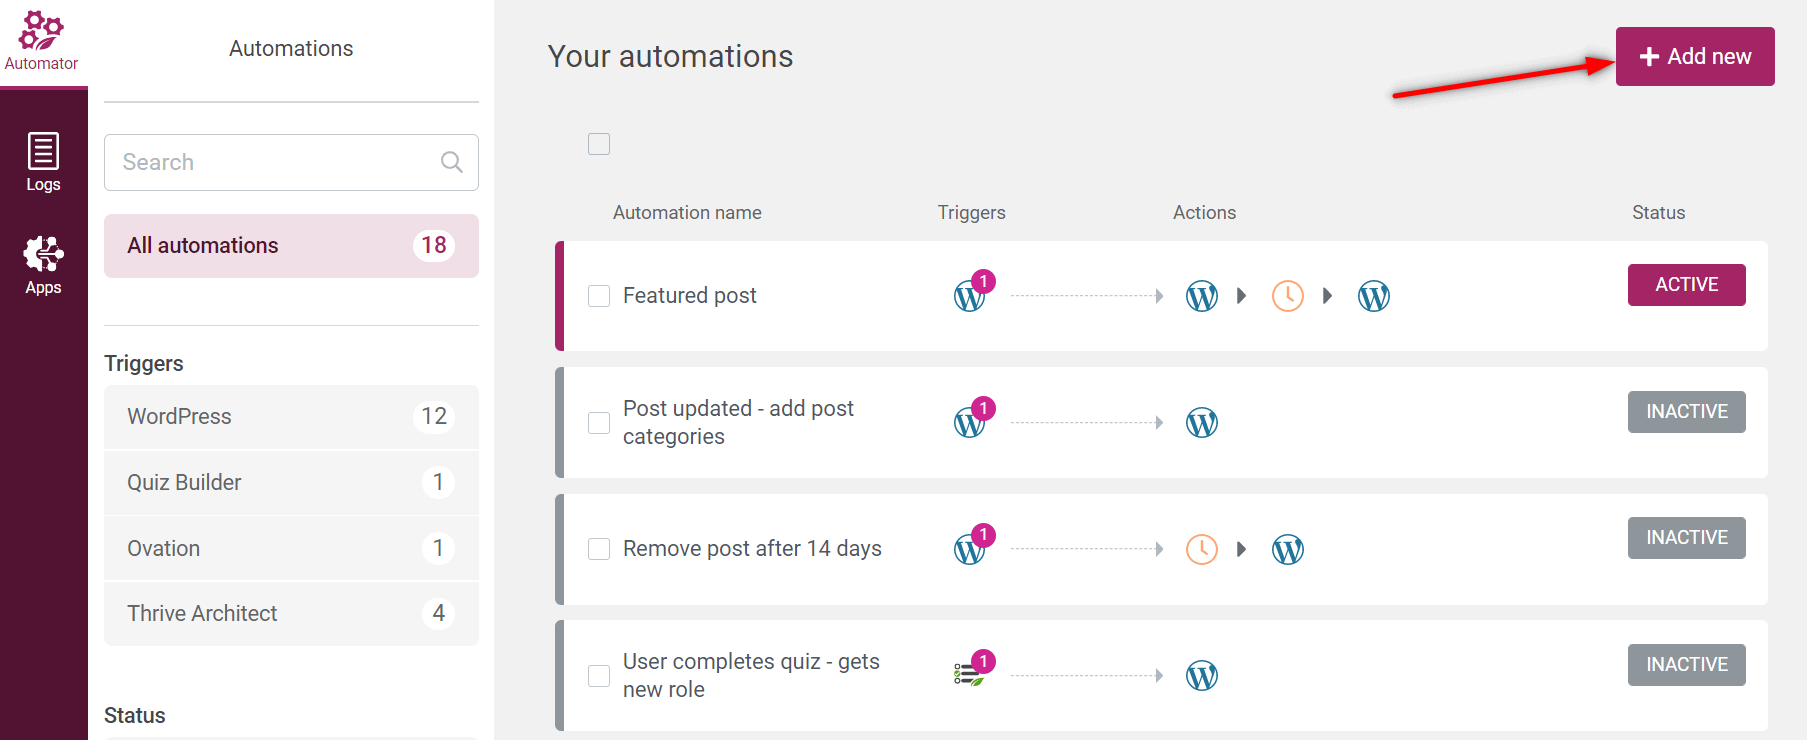
Create a new automation:
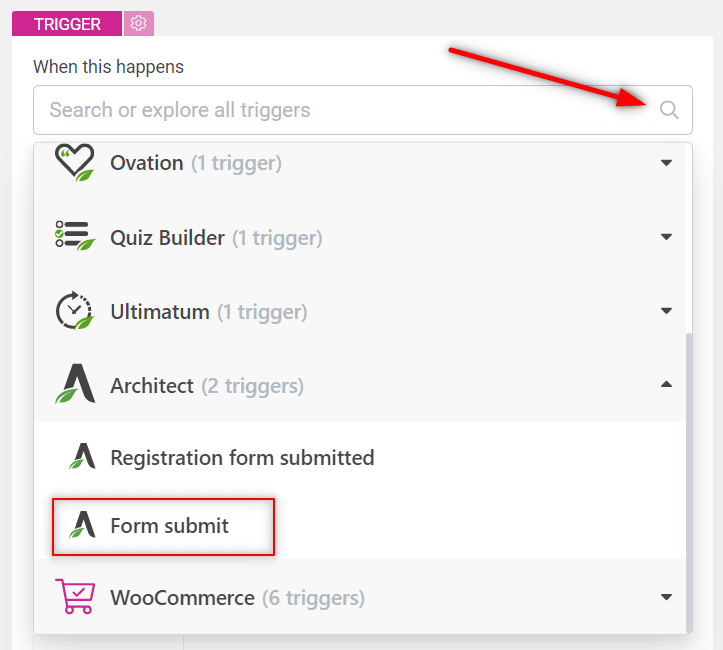
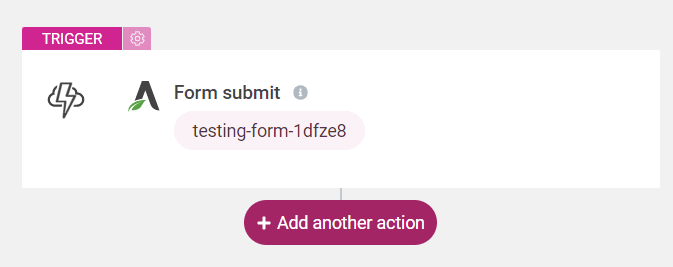
Select the “Form submit” as your start trigger:
Then, in the following field, select (or paste) the unique identifier from your form:

This action allows you to confine this form, and make sure that your automation will only collect data from this one (and not from all forms available on your website).
You are now able to pull in the custom field data and make it accessible downstream in the automation.
|
Important! The previously built custom form fields (so the forms used before this new option was available) will not be visible in this list: 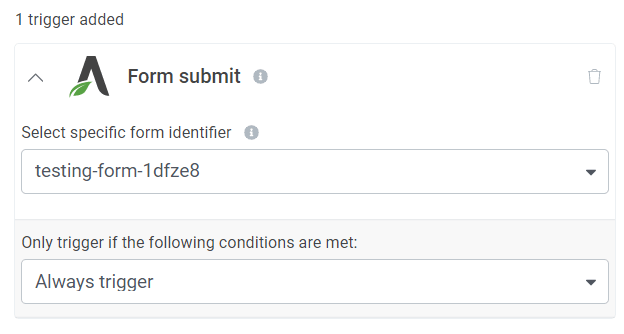 In those instances, if the form you are trying to select here is not available, all you have to do is to open the page where that form exists and simply hit save. Then go back to Thrive Automator, and your identifier should be available in the list. |
Next, we will send a webhook from this website, together with these custom form fields.
Add a new action:
This new action will be in the form of sending a webhook:

Here are more details about this Thrive Automator action:
Now you will have set up the webhook for the platform you are planning to use – so the platform to which you want to send the custom field data:

Lastly, set up the fields and the data that should be sent out to your chosen service:

Map the same fields as the ones available in your form. You can use the dynamic option when mapping them:

Select the form data as your source:
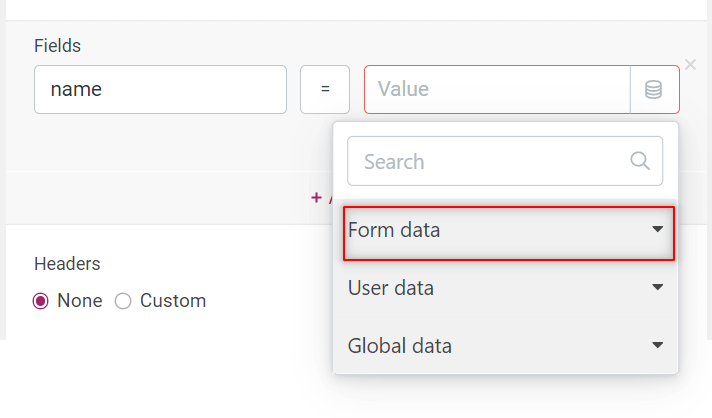
And then look for the corresponding option from the form:

Do the same with the e-mail one:
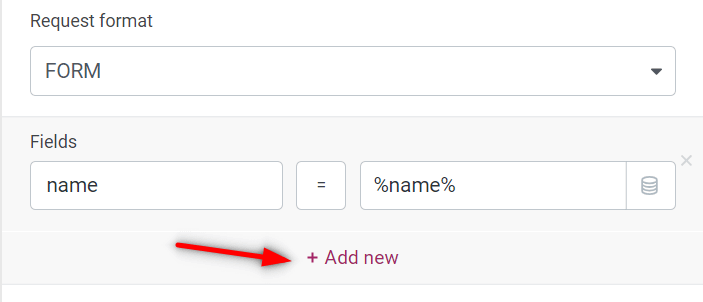
Use the same dynamic data option:

And lastly, do the same for the radio custom field:

Tip
When setting up the form fields, you can type in a name to help you identify what the field is for:
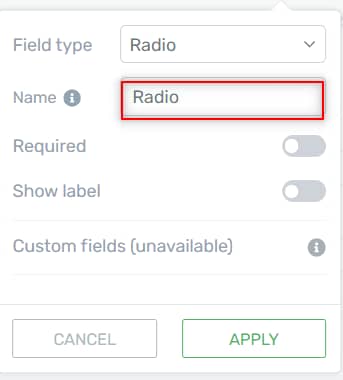
This can be useful when you are mapping data as shown in the above example:

You will get to see the name that you’ve added when setting up the fields, instead of displaying something generic:

As a user inputs values in the form they will be made available inside the Thrive Automator dataset of any downstream action.
With this set up, the only thing left to do is to save and publish the automation.
Now anytime someone will will out the form, and make their selection in the custom fields, this will show up in their user profile information of the third party platform you have used:

Hopefully this tutorial about how to collect the custom field data from a form using Thrive Automator was useful to you.
Out Thrive Automator knowledge base section is one click away if you want to learn more about this plugin: