When using the Advanced Custom Fields plugin, you can create a “Color Picker” type of custom field. If you do this, you will be able to use the Dynamic Colors feature in Thrive Architect.
This article will explain what dynamic colors are and how to use them.
Important!
Please keep in mind that this feature will only be available if you have installed and activated the Advanced Custom Fields plugin.
Before you start, please check out these articles, if you need help understanding how the Advanced Custom Fields plugin works:
- How to Use Fields Set Up with the Advanced Custom Fields Plugin in Thrive Architect
- How to Set Up the Specific Types of Advanced Custom Fields Needed for Thrive Architect Elements
- How to Set Up Custom Fields Using the Advanced Custom Fields Plugin
Set up a color field
In order to use the Advanced Custom Fields “Dynamic Colors” feature, you will first have to set up a color picker field in the plugin.
Add a new “Color Picker” type of field
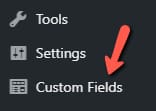
To add a new color field, access the “Custom Fields” section from the left sidebar of your WordPress admin dashboard:
Then, find the field group of your choice, or create a new one, depending on where you want to place the new custom field. Hover over the field group and click on “Edit”:

Then, click on “+Add Field”:

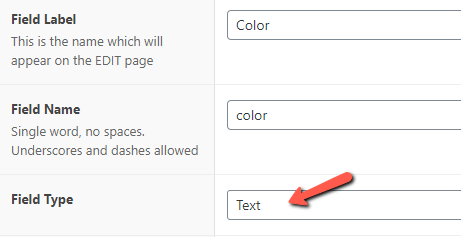
Enter a label and name for the field, and add all the details that you need. Click on the “Field Type” section, to choose the type of field:
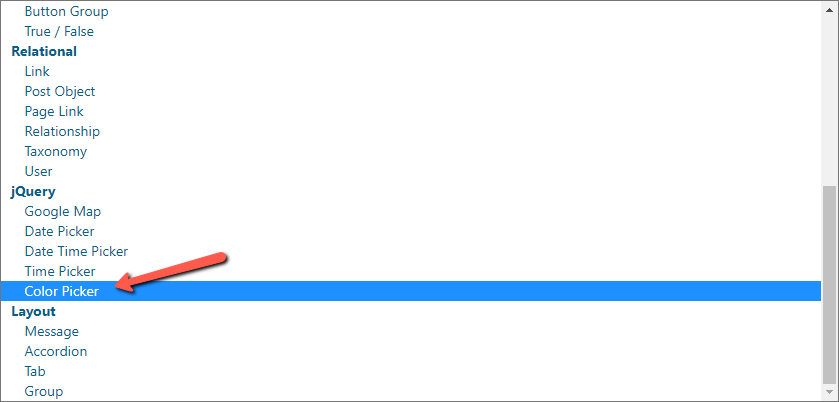
From the list with all of the available types of fields, choose the “Color Picker” one:
Make sure to also set the rules that determine where the field group should appear. In my case, I want to use the field on all of my posts, so I will leave the rule as shown here:

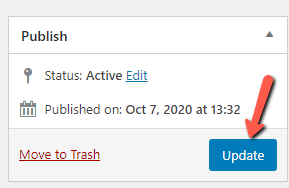
Then, on the top right side of the field group, click on the “Update” button, to save the field:
Assign Values to the Fields on Each Specific Post/Page
After creating the “Field Group” containing the custom fields you will want to use, the next step is to assign a custom value to the custom fields, for each specific post/page, on which you will want the fields and their values to appear.
This is very important and essential because it allows you to assign different values when the same custom field is used on different posts/pages.
This way the actual content of the custom fields will become dynamic, it will change based on which post/page the custom field is displayed/used on.
If you want the custom fields to appear on a post, then access the “Posts” item, whereas, if you want to display the custom fields on a page, then access the “Pages” item, from the left side menu of your WordPress admin dashboard:
In the example I am using, the rule set for the field group was to show the respective group on my posts. Thus, I will have to assign values for the fields on my website’s posts. Naturally, if you have chosen a different type of content and not posts, you should assign values to that content.
Thus, in the admin dashboard, click on the content of choice:

Then, you will be able to assign values to the fields. In this case, I will assign a color to a post. For that, I will have to click on “Edit” on the post where I want to use the dynamic color feature:

In the WordPress editor, scroll down to get to the field group, and you will see a “Color” section. Click on it, to choose the color, as a value for the respective post:
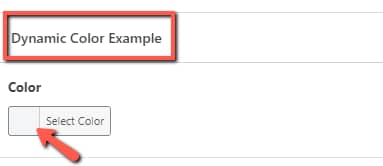
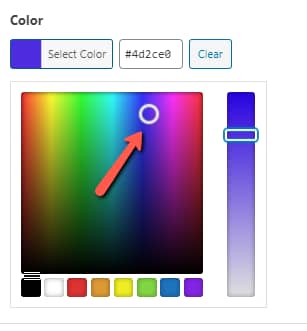
Choose the desired color:
To save everything, click on the “Update” option from the top right side of the post editor:

You’re all set to use the “Dynamic Colors” feature!
Use the Dynamic Colors Feature
Launch Thrive Architect
To get to this option, you will have to open the page/post using Thrive Architect”:

Now, you can go ahead and select any element for which the color can be chosen. For example, you can select any “Text” element and click on the color box from the left sidebar:
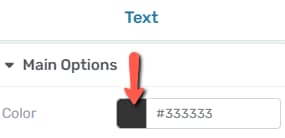
This will open the color picker pop-up. Because you have set up the “Color Picker” custom field, you will have two tabs in this pop-up: the “My Colors” tab, as well as the “Dynamic Colors” tab.
Click on the “Dynamic Colors” tab one:
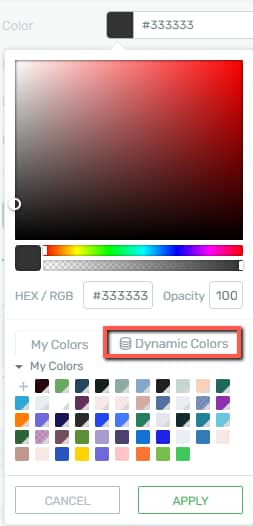
Then, the tab will open, and you will see the color that has been assigned as a value for this post. Click on it, to apply it:
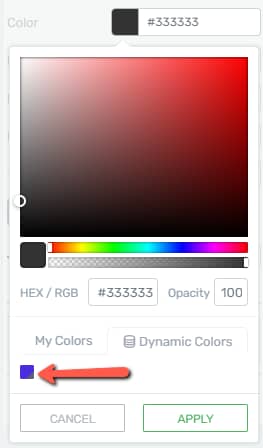
Then, click on “Apply”, to apply the dynamic color to that element:
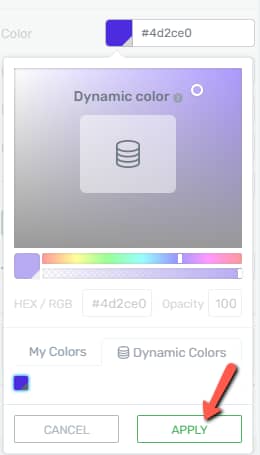
It is very important to know that, since this is a pre-defined value, you will not be able to change the dynamic color from the color picker from Thrive Architect.
The way to change the dynamic color of a certain post is to go back to the WordPress editor for that certain post, and change the color of the assigned value of the custom field:
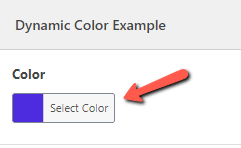
For example, I will change the color from purple to green:
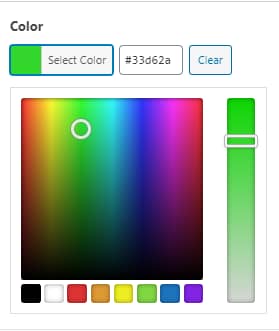
Then, update the post, and, if you go back to the Thrive Architect editor, you will immediately see a change. The color of the element that had the dynamic color applied to it has been modified from purple to green:

What happens if the dynamic color is not available?
In case you want to apply the color to an element for which the dynamic color is unavailable, you will be able to set a “Default Color” to be applied in that situation.
You will see this info message, after choosing a dynamic color:
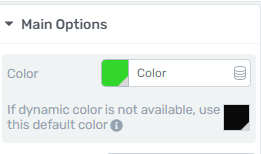
To set the default color, click on this color box:

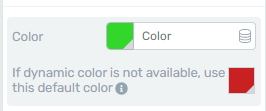
Use the color picker pop-up to choose a color, and click on “Apply”. Now, in case the “Dynamic Color” is not available, the element will use the “Default Color”. In this example, it will be this red color:
These were the ways to use the “Dynamic Colors” when adding custom fields using the “Advanced Custom Fields” plugin.
If you need more information about the plugin, or any other Thrive Themes features, please check out our knowledge base.