Do you want to offer exclusive course content only to your subscribers and grow your email list at the same time? Using the Access Requirements feature in Thrive Apprentice lets you easily create subscribers-only courses, ensuring that only those who sign up can access your premium material.
This is especially helpful if you want people to subscribe to your website before getting full access to a course. With these rules, you can make only email subscribers able to view the entire course.
To do this, first, you can make one or more lessons in your course public. This means anyone visiting your website can see these preview lessons. It gives them a taste of what the course offers and shows its value.
For the rest of the lessons, set them to be available only for logged-in users. To see these, visitors will need to either log in to their account or subscribe/register on your site.
This way, you encourage visitors to sign up as subscribers if they want complete access to your course content.
- Setting Up Access Requirements
- Setting Up Access Restriction Rules
- Adding Restriction Labels
- Previewing Access Restrictions
Using Access Restrictions to Get Subscribers
To begin with, ensure you’ve created a course in Thrive Apprentice and you’ve added it inside a product.
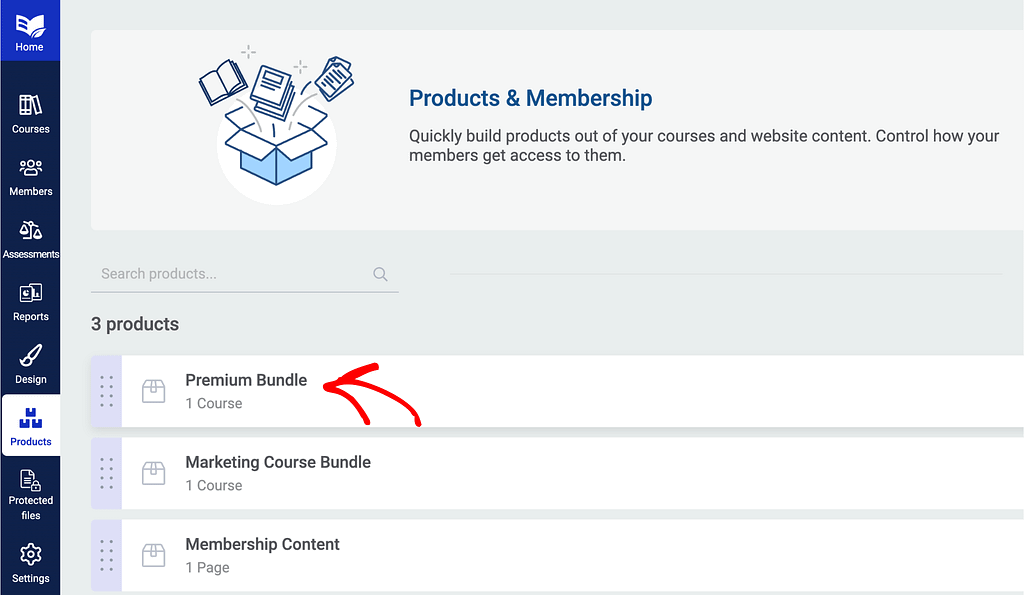
Once done, open the product that contains the lesson by first opening your WordPress admin area, navigating to Thrive Dashboard >> Thrive Apprentice, and click on Products in the left panel.

On the Products page, click to open the product that contains the lesson.
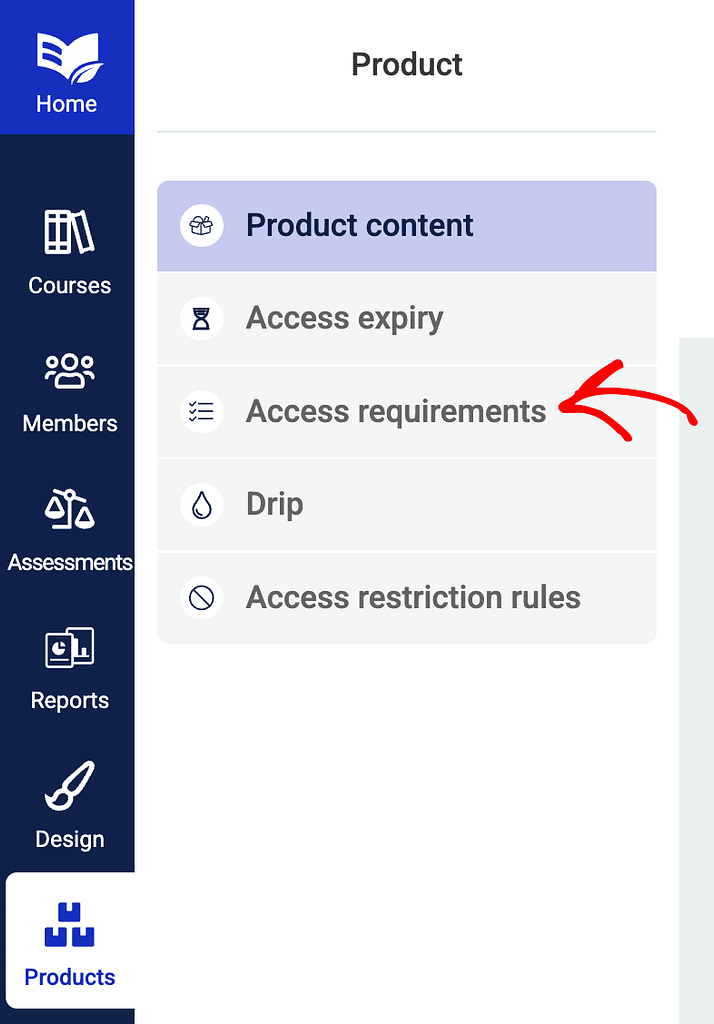
On the individual product page, in the left column, click on Access requirements.
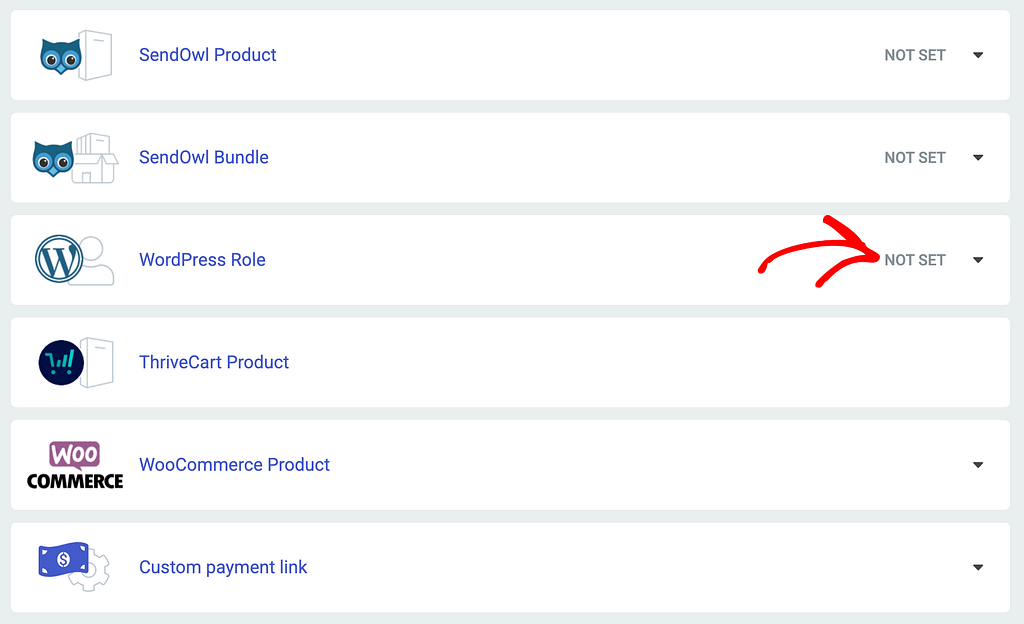
On the Access requirements page, scroll down to WordPress Role and click on Not Set.
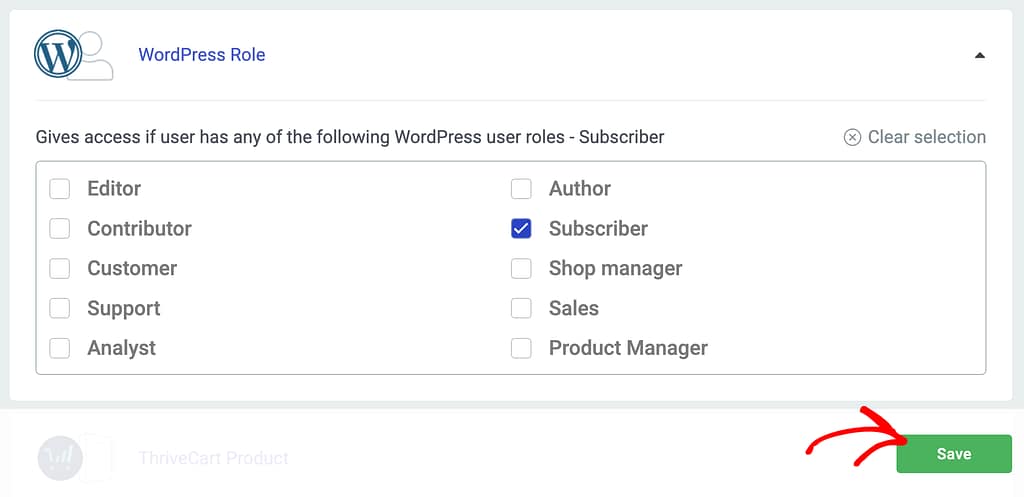
When you click on Not Set inside the WordPress role block, you’ll see a box that contains every user role present in your WordPress admin dashboard. Thus, if you add new ones, they will be displayed here too and you can give access to those specific roles as well.
In this box, select the role(s) you want to give access to, by checking them. For instance, if you want to give access to subscribers, select the “Subscriber” user role here.

After you’ve done this, click the Save button at the bottom of the screen.
Setting Up Access Restriction Rules
After you configure the access requirements rules, you can proceed with setting up the content that will be displayed to anyone who is trying to access the product without having the right permissions.
To set up access restriction rules, on the individual product page, in the left column, click on Access Restriction Rules.
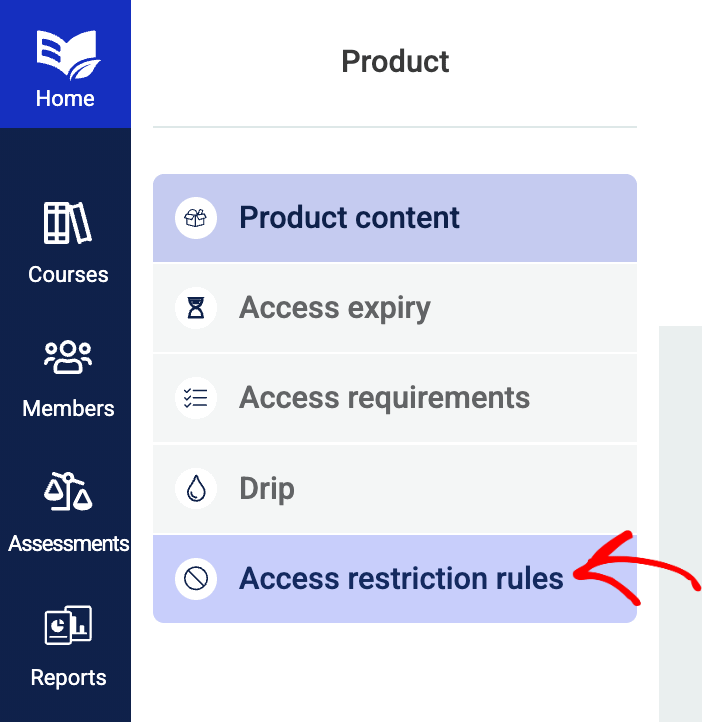
Once on the Access Restriction Rules page, refer to one of these documents to apply the access restriction rules you want to use here.
Adding Restriction Labels
When you have courses for subscribers only, you can add restriction labels to mark them in the front end.
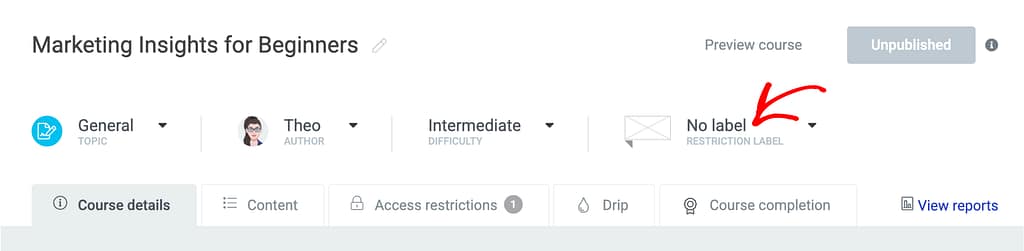
To do so, open the course in Thrive Apprentice.
On the course page, click on No label to open up the label options.
Clicking to add a label will open the labels you can choose from. Here, select Subscriber only.
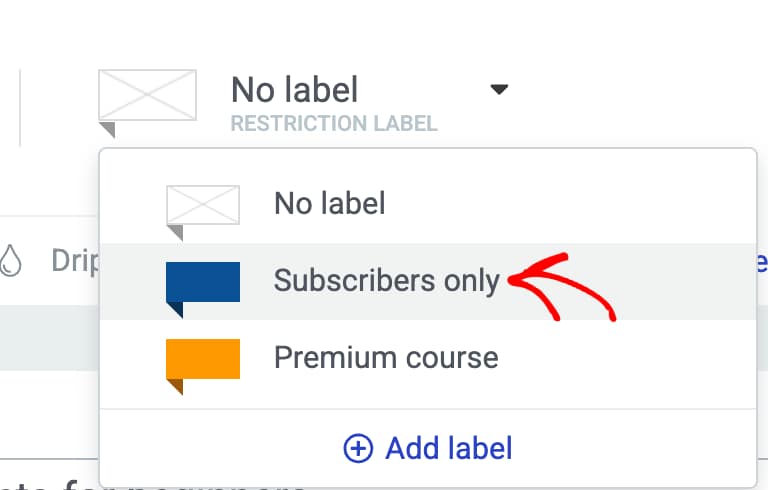
To add any more labels, click on Add label link under the label options and set that further.
We’ve just seen how to use access requirements and the access restriction rules to ensure you have subscriber only courses on your website.
Next, do you want to override access restrictions for logged out users? You can read our document here to know more.