The “Design” section of the Thrive Apprentice allows you to apply different designs to your courses and change their overall aspect in several easy steps.
You can also use the options available here to browse through all the available designs (both published and unpublished), as well as edit, rename, duplicate or remove them.
Here’s how to navigate the “Design” section:
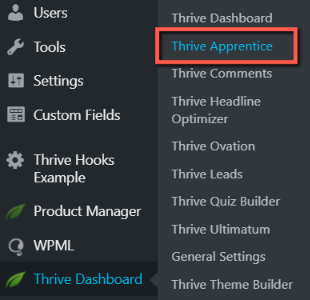
First off, in your WordPress admin dashboard, hover over Thrive Dashboard and select Thrive Apprentice:
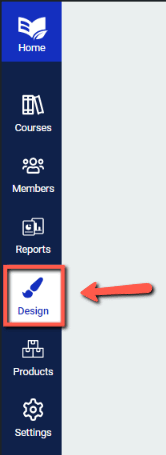
Thrive Apprentice will load the Courses dashboard where you can view all the previously created courses. You will have to navigate to the “Design” section of the left sidebar, in order to view the full list of available designs and their options:
This will open the “Design” dashboard, from where you can add/delete designs, as well as change the currently active one:
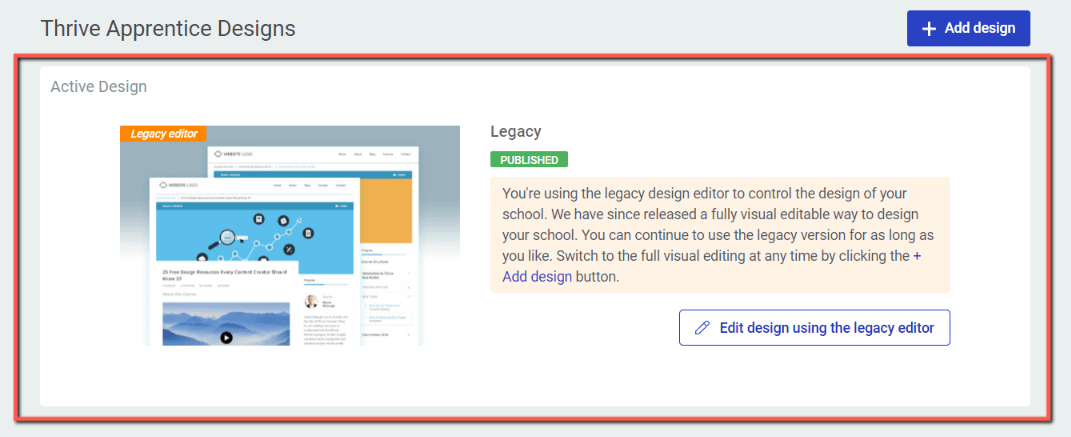
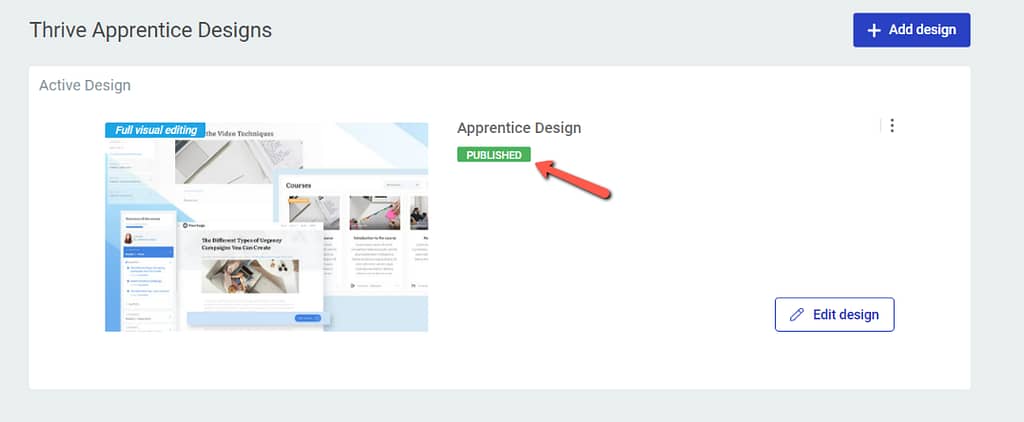
Active Design
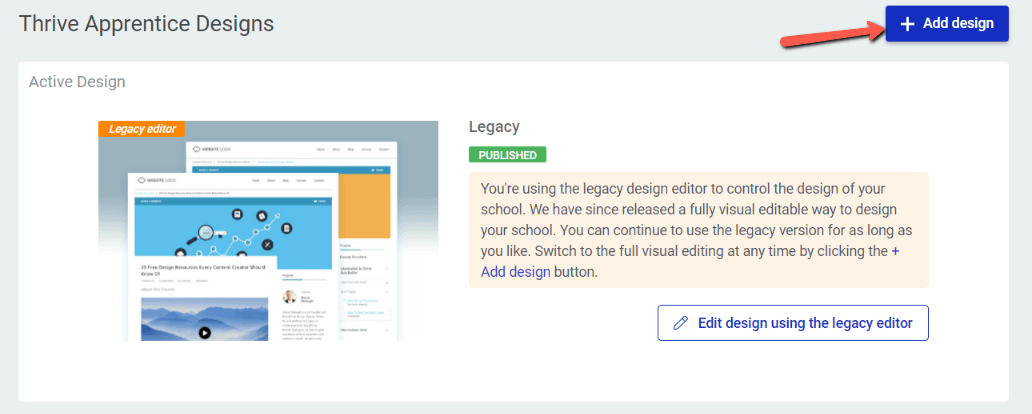
If your active design is the legacy one, the you will be able to edit it from here:
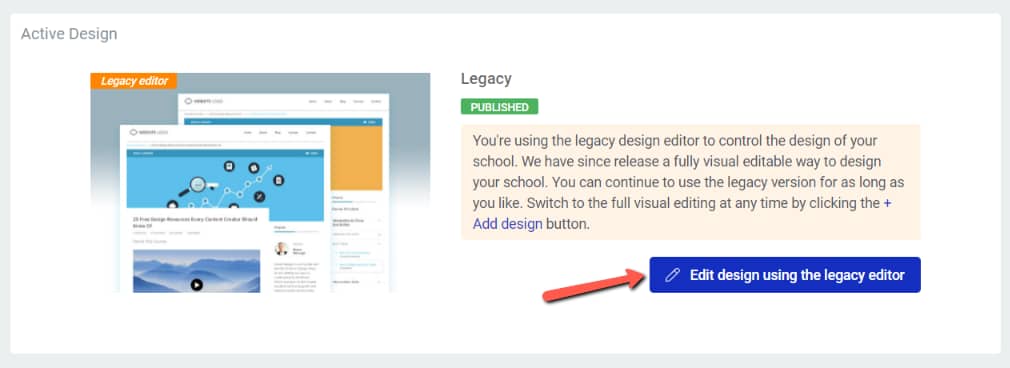
This will take you to this view, where you can use the options from the left sidebar just as described in this article:
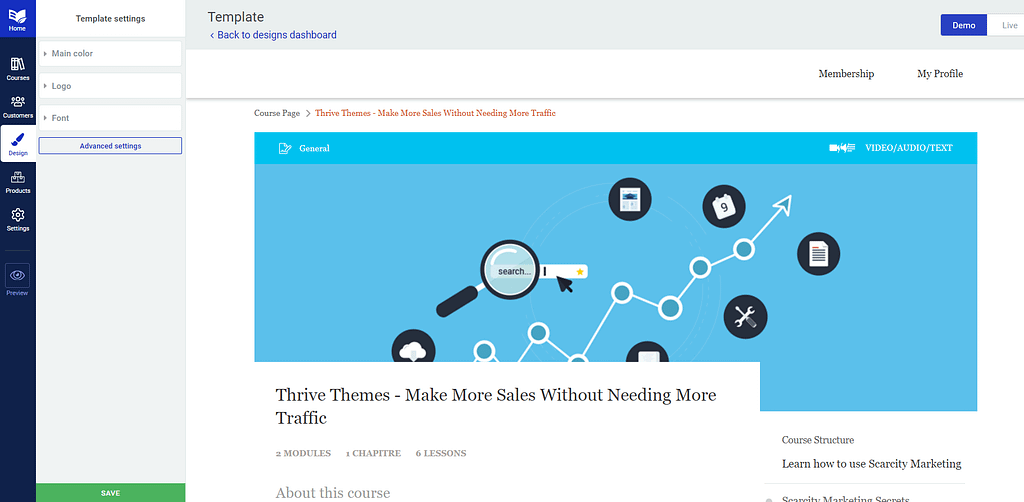
If you are using a most recent version of Thrive Apprentice then you are most likely already using the new visual editor.
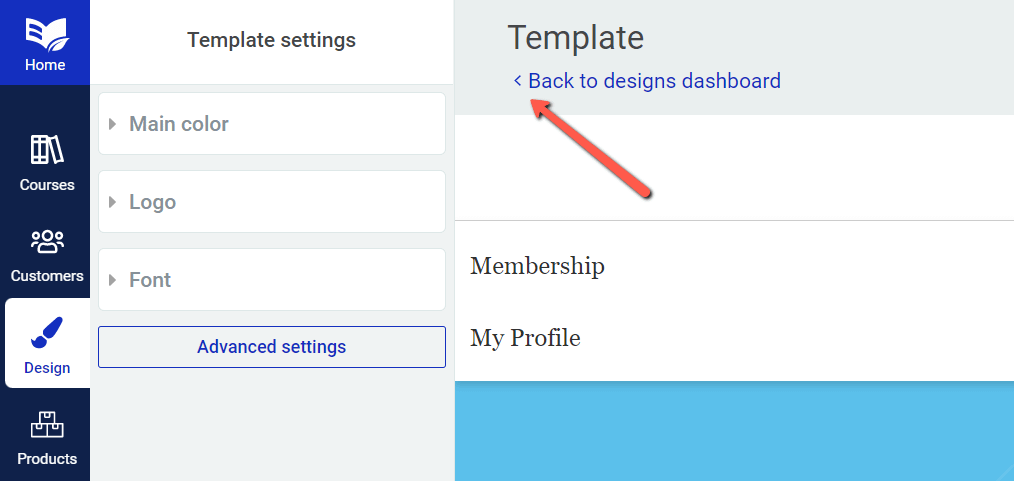
You can always return to the “Design” dashboard by clicking here:
Add design
In order to add a new design, simply click on the “+Add design” button:
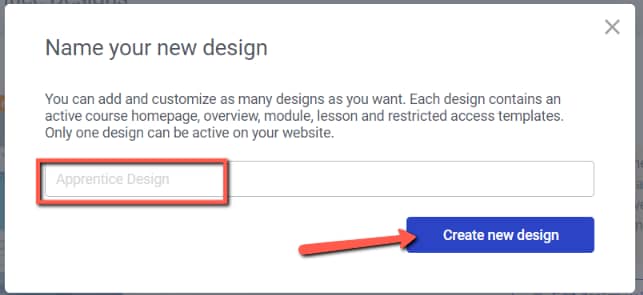
Then, give it a name and click on the “Create new design” button:
The newly added one will be listed under the “Unpublished designs” area:
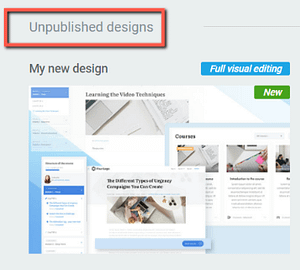
Unpublished designs
In this section, you will be able to view, edit and publish all your designs. Hover over the design you want to use, and these options will become available on the card:
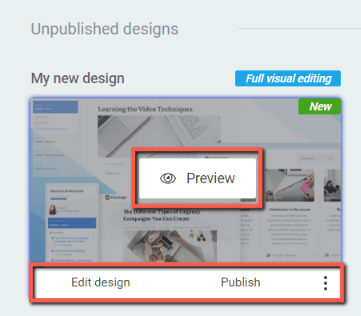
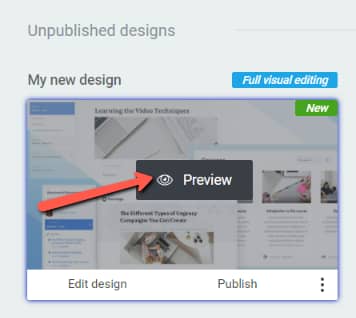
Preview
Click on the “Preview” button if you want to have a glimpse of what the design would look like when applied to your online school:
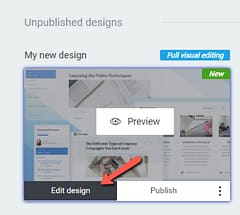
Edit design
If you click on “Edit design” you will be able to bring changes to your design, before publishing it:
Here’s where you will be able to access the Thrive Apprentice start wizard, the template editor, and typography settings:
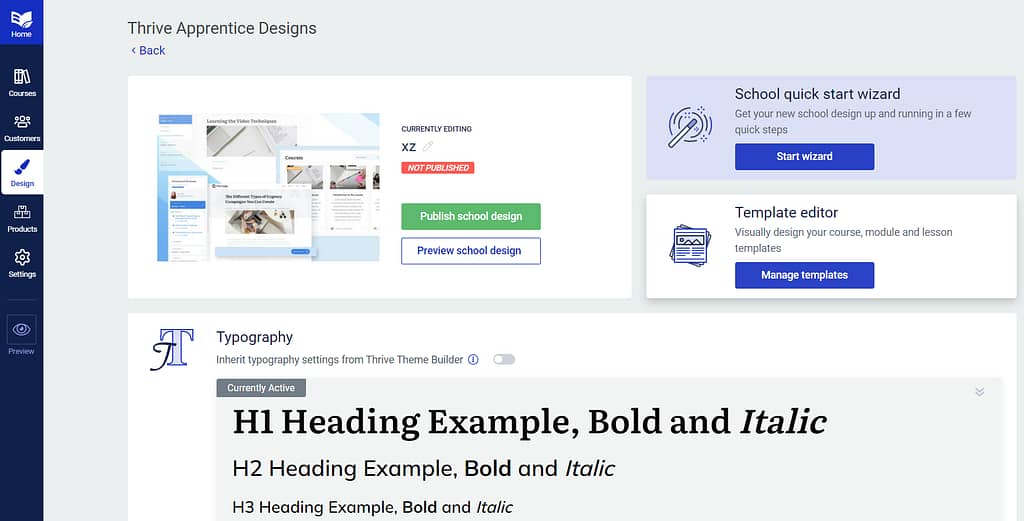
We have separate resources available in our knowledge base which explain in-depth how to use each of these sections:
- Editing a Thrive Apprentice Design
- Creating and Using Thrive Apprentice Templates
- Using the Thrive Apprentice Wizard
- How to Set Up the Typography in Thrive Apprentice
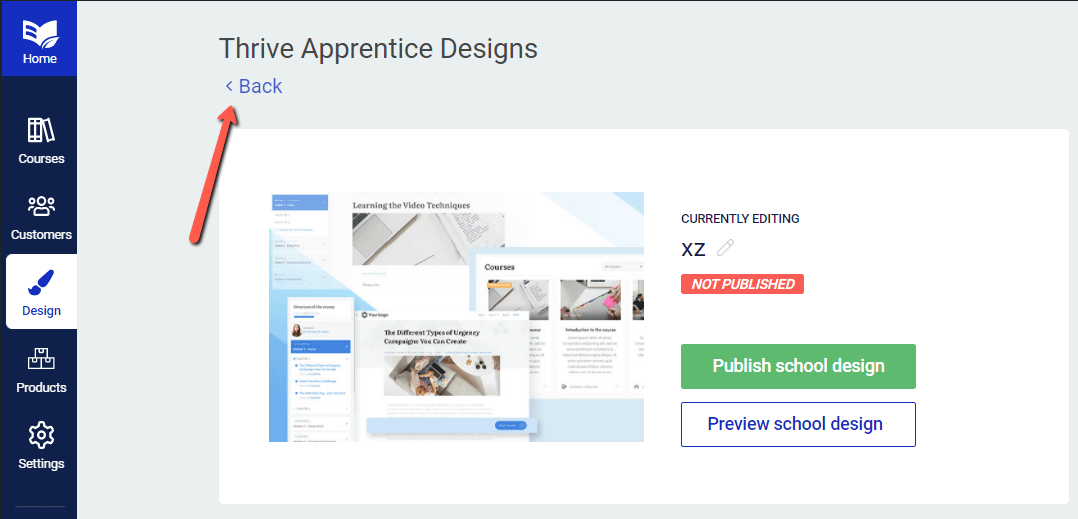
Click on “Back” when you are done with your customization, to return to the “Design” section:
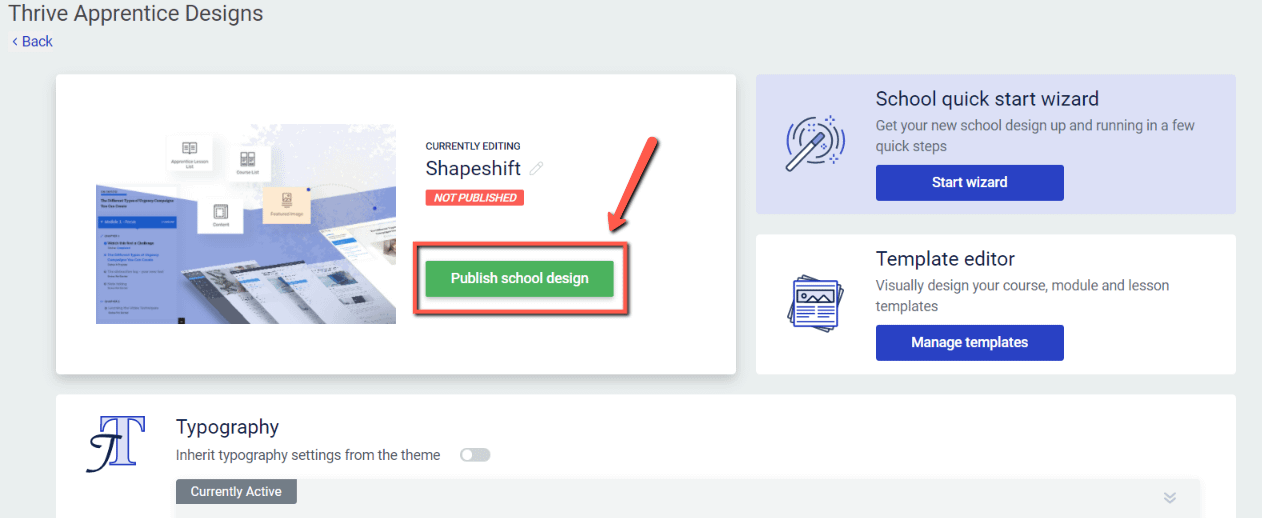
Note: If you have made your changes and would like to publish your design directly from this view, you can do so from this dashboard as well:
Publish
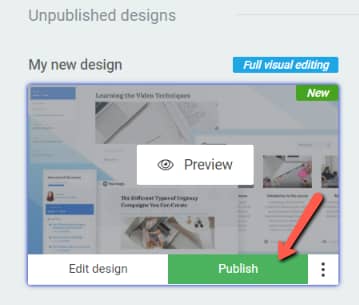
Back in the “Unpublished designs” section, you also have the option of clicking on the “Publish” button for the design that you’ve just imported:
You will next be prompted with this pop-up where you have to confirm that you are ready to publish this design:
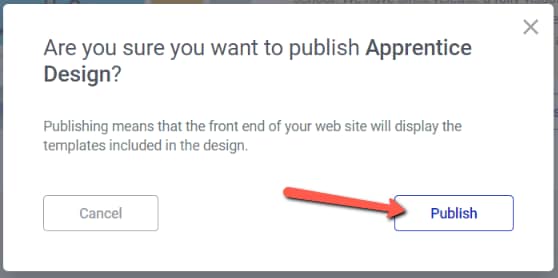
After you click on “Publish”, the new design will become the active one and be applied to your Thrive Apprentice courses:
Additional options
Lastly, the three-dotted line allows you to rename, duplicate or remove a design:
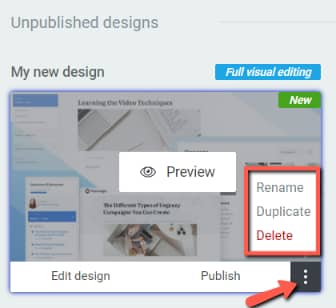
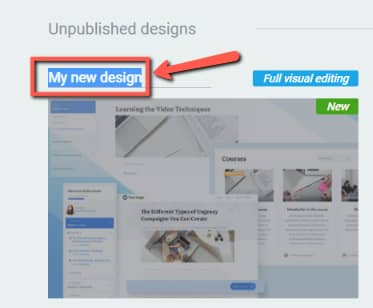
Naturally, clicking on the “Rename” option will mean that you can change the currently available name:
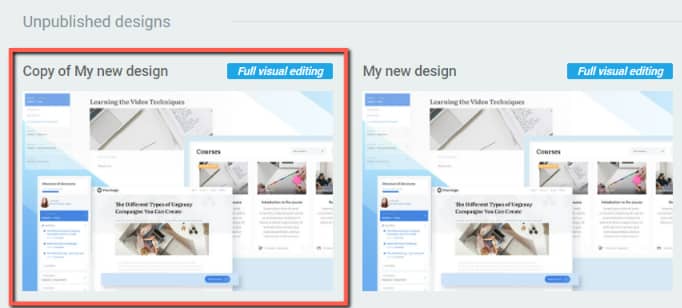
If you choose to “Duplicate” the design, then the duplicate version will appear in the “Unpublished designs” section, as a copy of the original:
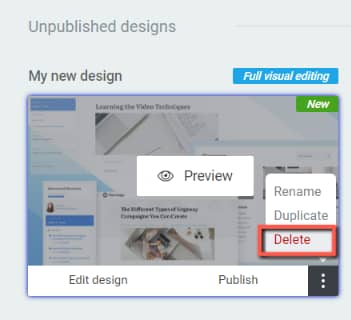
And of course, you can remove the design by clicking on the “Delete” option:
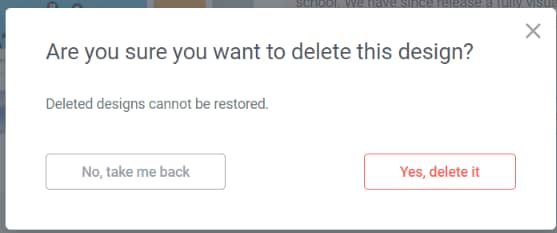
You will be prompted with this pop-up, where you have to confirm that you want to delete the design:
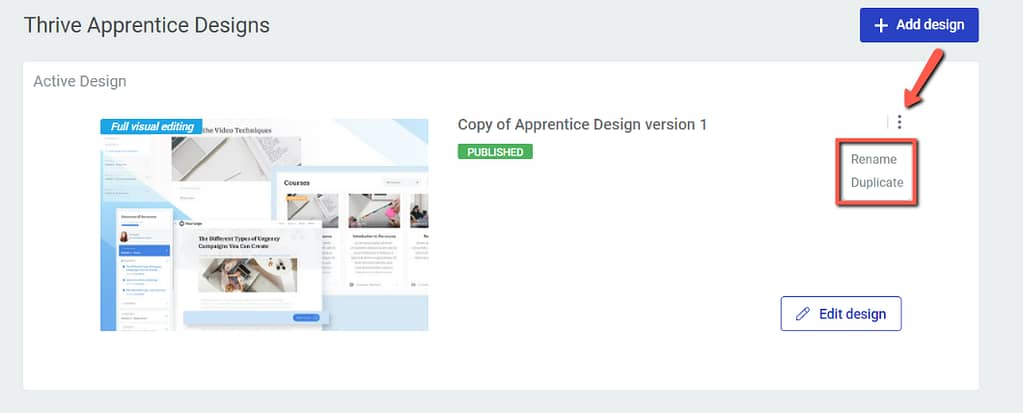
Note: Due to the fact that you cannot remove an active design, the “Delete” option is only available for unpublished designs.
You can still use the “Rename” and “Duplicate” options for an active design, but you cannot remove it:
This is how you can use the “Design” section of the left sidebar of Thrive Apprentice in order to add and edit the design of your courses.