This article is meant to describe what a splash page is, how it displays on a website, and also walk you through the entire process of how to properly use the splash page in Thrive Quiz Builder:
What is a Splash Page?
A splash page is, in a nutshell, an advertisement for your quiz, which you can display anywhere on your website, with the purpose of getting more users to complete your quiz.
If you would not have a splash page, then your quiz will simply appear on the page or post where you want to have it displayed, without any kind of introduction:

On the other hand, if you are using a splash page, then anyone can read a short introduction with regards to what is that quiz about:

Your users will be more interested in taking your quiz, and, by clicking on “Start the quiz”, they will be taken to the first question of your quiz.
How to Set Up your Splash Page
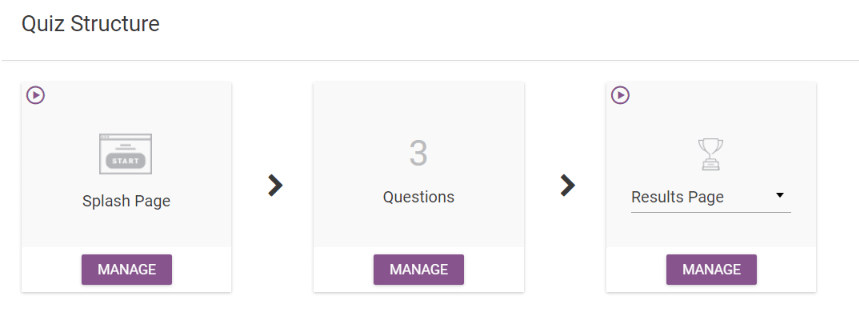
The “Splash Page” can be found in your Quiz Dashboard and can be added after you have completed all of the mandatory steps. It is located in the quiz structure section, on the right-hand side of the screen:

By selecting this option, the “Splash Page” will be added at the beginning of the quiz structure, right before the “Questions”:

If you click on the “Manage” button you will be sent to a page where you can either edit the splash page, or add more of them, and be able to run A/B tests between them.
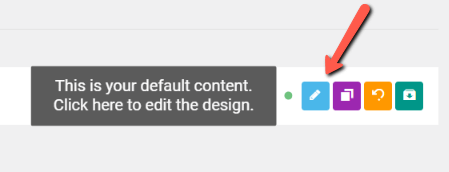
For now, in order to edit your splash page, click on the pencil icon:

After you have selected the icon, you will be able to select a template for your splash page and afterwards use the editor to customize the splash page.
After you have finished editing the design of your splash page it will be added automatically on your website where you have displayed your quiz.
Hopefully, this tutorial was useful to you. Make sure to check out other tutorials from our knowledge base, if you want to learn more about Thrive Quiz Builder. Also, don’t hesitate to rate this article with a smile below, if you found it helpful 🙂