The “Timeline” section in Thrive Ultimatum allows you to display different designs or states depending on how much time is left in the campaign:
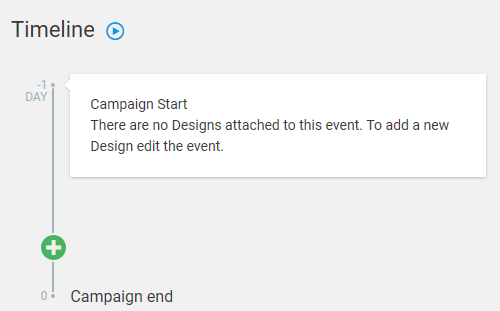
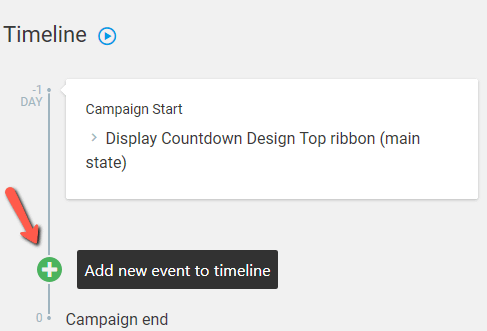
Once you add your first design to your campaign, it will automatically show up in the timeline:
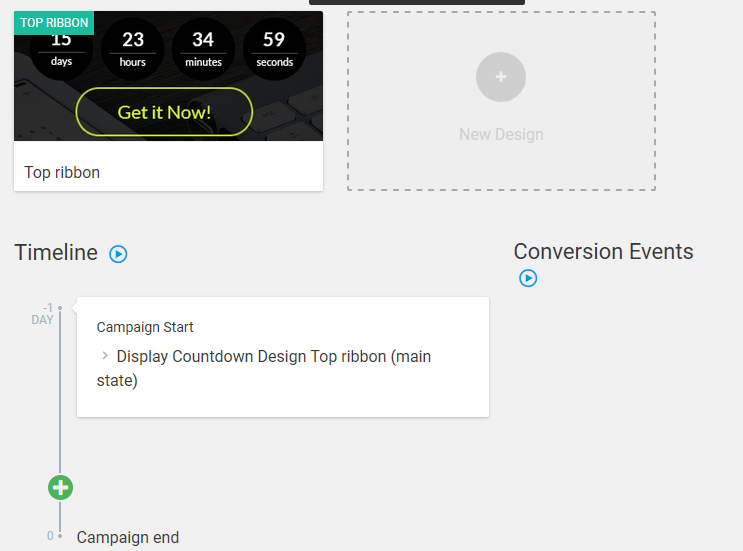
This would be enough to run the campaign, but the timeline gives you the chance to display a different message if, for example, there’s only one day left.
To do this, we will create a new state in our design. The built and use of states is similar to the one in Thrive Leads. You can learn more about states and how they work in this article.
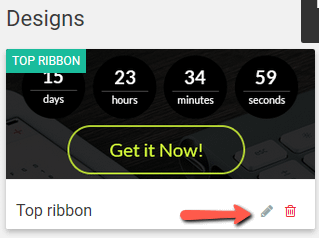
First of all, click on the “pencil” icon to start editing the design:
Then click on the “plus” sign in the bottom right side of the screen:

And in the window that opens, click on “Add New State”:
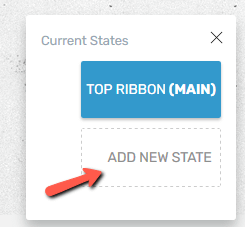
Choose a name for your “state”, depending on what kind of event you want to add on your timeline, and click “Save”:

Then go to the “Timeline” section and add a new event:
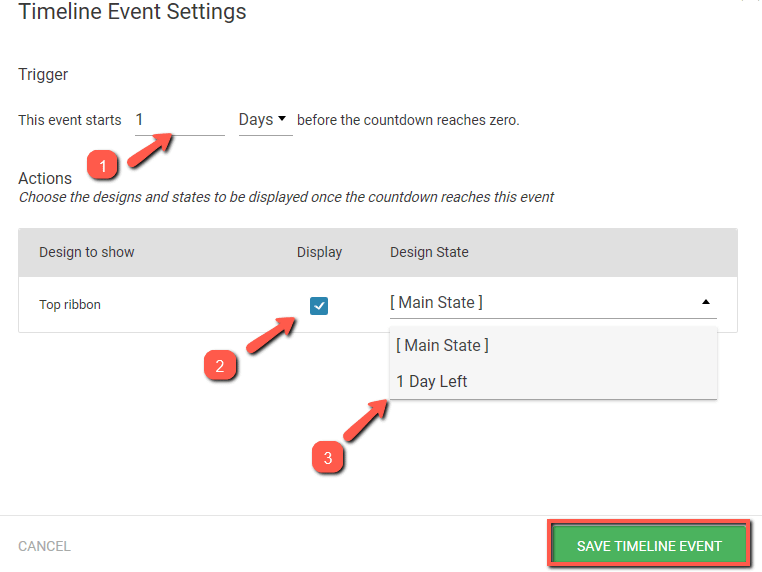
In the window that opens, choose the trigger for the campaign (1), check the display box (2), and select the state that should be displayed (3). Don’t forget to “Save the Timeline event” when all is set:
The new event will be displayed in the “Timeline”:
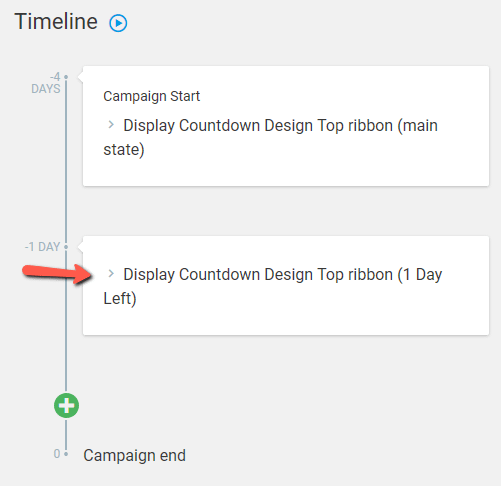
You can set multiple events on the timeline. You can also display more than one design in an event.
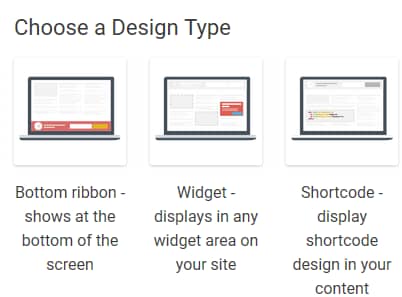
For this, you first need to add a new design and choose one from the predefined list and follow the same steps for adding a new state as already described above:
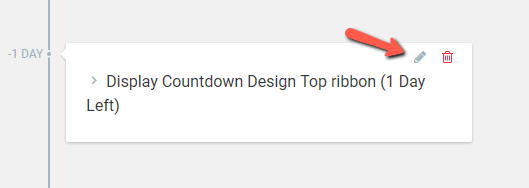
Once this is done, click on the “pencil” icon of the event for which you want to add the design to:
And customize once more the “Timeline Event Settings”:
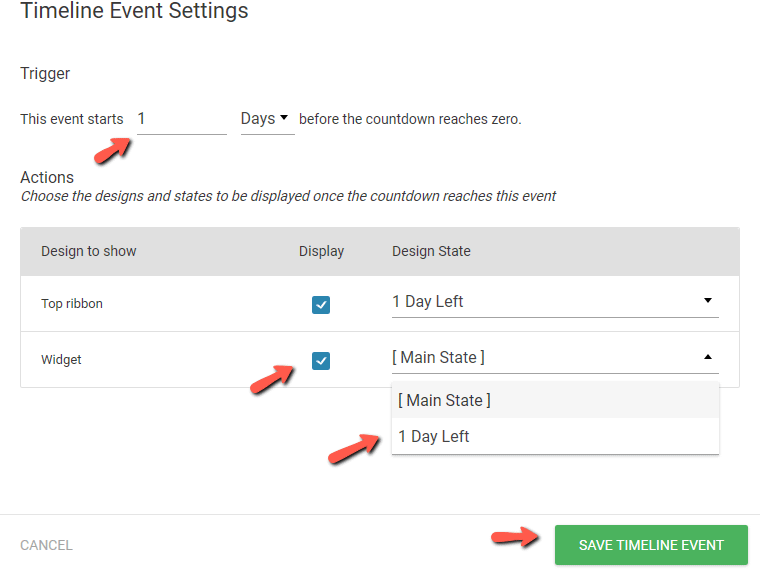
In this case, when the campaign starts the Top Ribbon’s main state will display. When there’s only one day left, the Top Ribbon’s “1 day left” state will start displaying. In addition, the widget (its “1 day left” state) will show up.
These are the steps for setting up different designs and states in the Timeline section of your campaign.
If you need more information about Thrive Ultimatum, make sure to check out our dedicated knowledge base section.
I hope you found this article useful. If so, please make sure to rate it with a smile below 🙂