In this article, you’ll learn how to use Thrive Leads “States” to create multi-step forms, thank you messages, and advanced opt-in experiences.

Video Tutorial
What are Form States?
A single form in Thrive Leads consists of one or more “States”. These are different views of the same form.

- Default State: What the visitor sees initially (e.g., the opt-in form).
- Success State: What they see after submitting the form (e.g., “Thank You! Check your inbox.”).
- Already Subscribed State: What they see if they visit the page again after subscribing (e.g., “Welcome back, subscriber!”).
Creating Multi-Step Forms (2-Step Opt-ins)
Multi-step forms often convert better because the first step (e.g., a “Yes/No” question) allows for a micro-commitment before asking for an email address.
- Design Step 1: In the Default State, instead of adding a form, add buttons (e.g., “Yes, I want the ebook” and “No, thanks”).
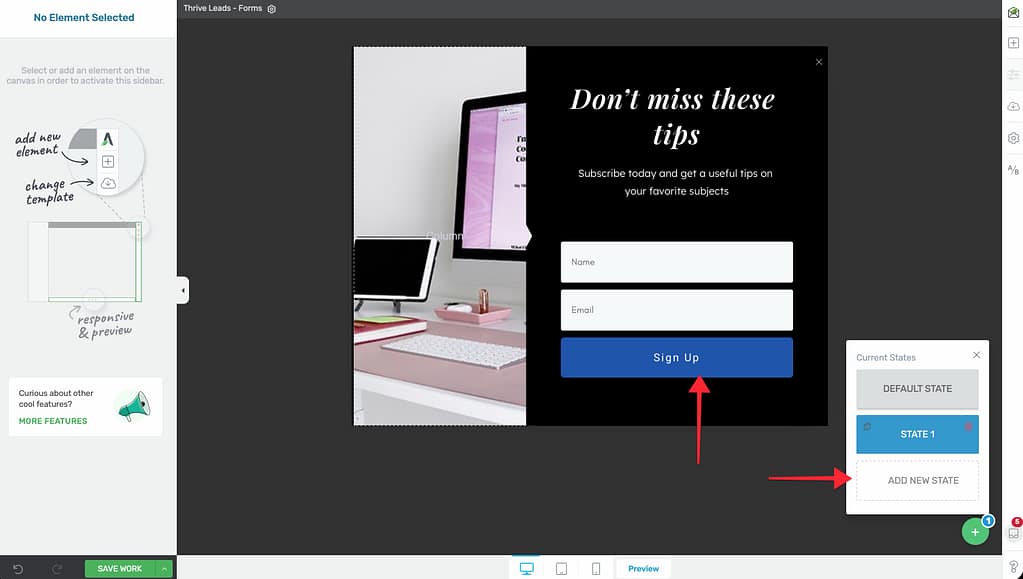
- Create Step 2:
- In the bottom right of the editor, clicked the Plus (+) button near the state bar.
- Select Add New State. Name it “Step 2”.
- In this new state, add your Lead Generation element (name and email fields).
- Link the Button:
- Go back to the Default State.
- Click the “Yes” button.
- In the sidebar, go to Animation & Action.
- Choose Switch State and select Step 2.
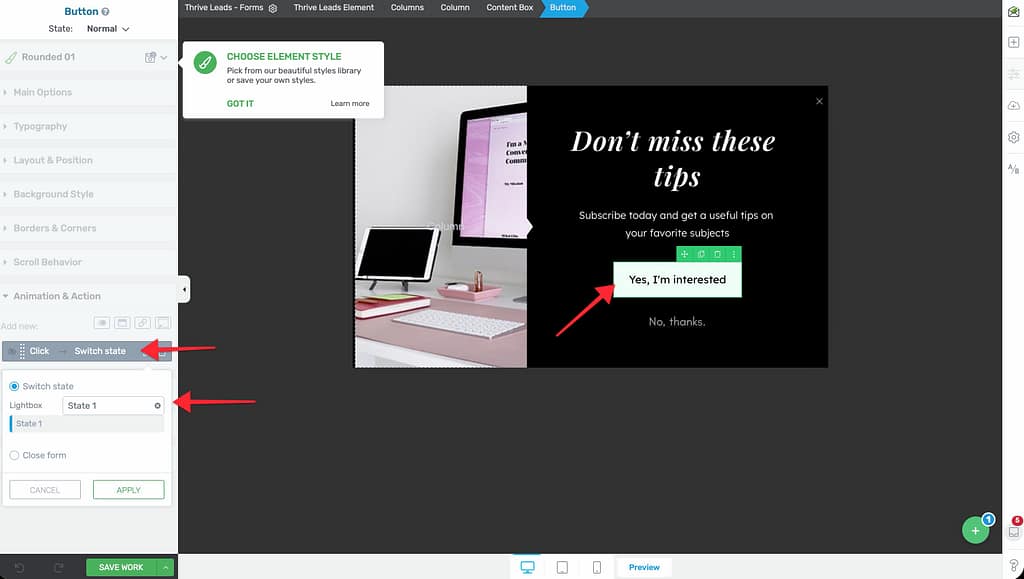
Now, when a user clicks “Yes”, the form transitions instantly to the email input view.
Customizing the Success State
By default, Thrive Leads might simply reload the page or show a success message. You can customize this fully.
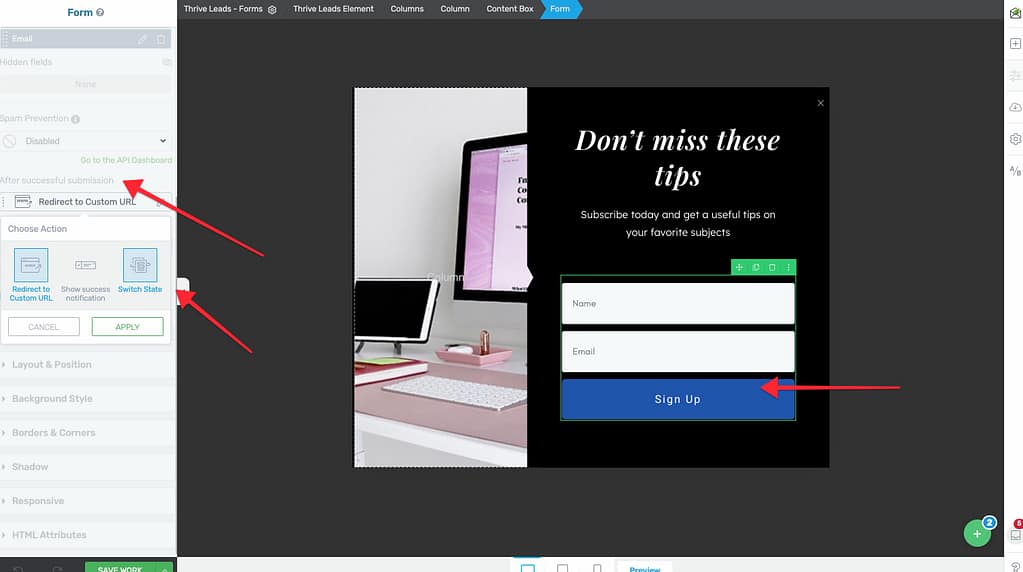
- In the editor, click the Plus (+) button in the bottom right.
- Select Success State.
- Design your thank you message (e.g., add a download button or a video).
- Important: Ensure your Lead Generation element is set to “Show Success Message” or “Switch to State” upon submission, rather than “Redirect to URL”.
Customizing Error Messages
You can translate or customize the text for validation errors (e.g., “Email address is invalid”).
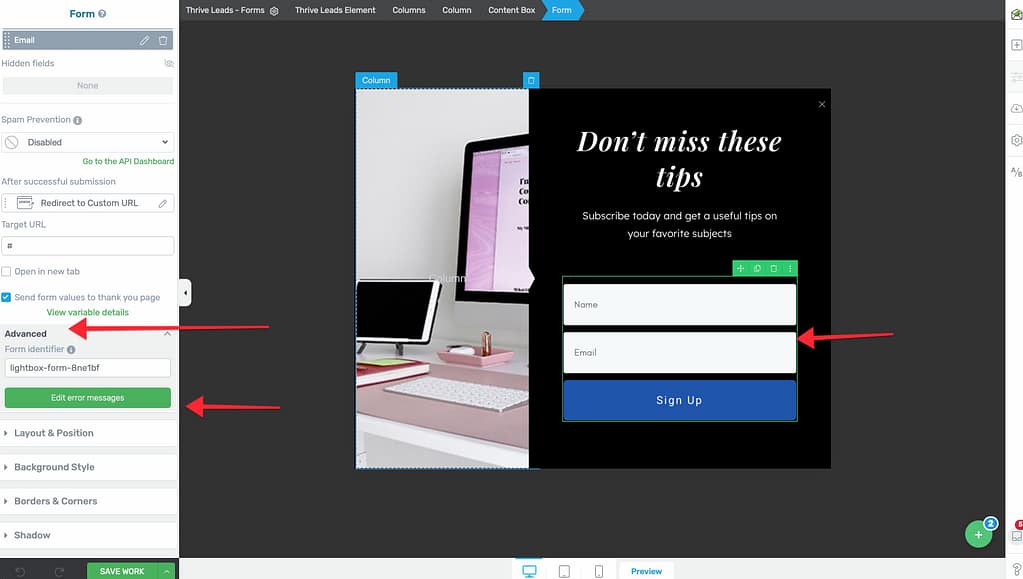
- Select the Lead Generation element.
- In the left sidebar, go to Advanced.
- Click Edit Error Messages.
- Change the text to match your brand’s voice or language.
- Click Save.
That’s it! You’ve successfully created a multi-step experience using States.
Related Resources
- Getting Started: Building and Displaying Your First Form
- Templates: Creating and Using Form Templates