In this article, you’ll learn how to set up your website branding in Thrive Theme Builder—including your logo, favicon, theme colors, typography, and custom fonts. All of these settings are managed from the Thrive Theme Builder dashboard and apply globally across your entire website.
Accessing the Branding Section
- Go to your WordPress admin dashboard.
- Click Thrive Dashboard > Thrive Theme Builder.

- In the left sidebar, click Branding.
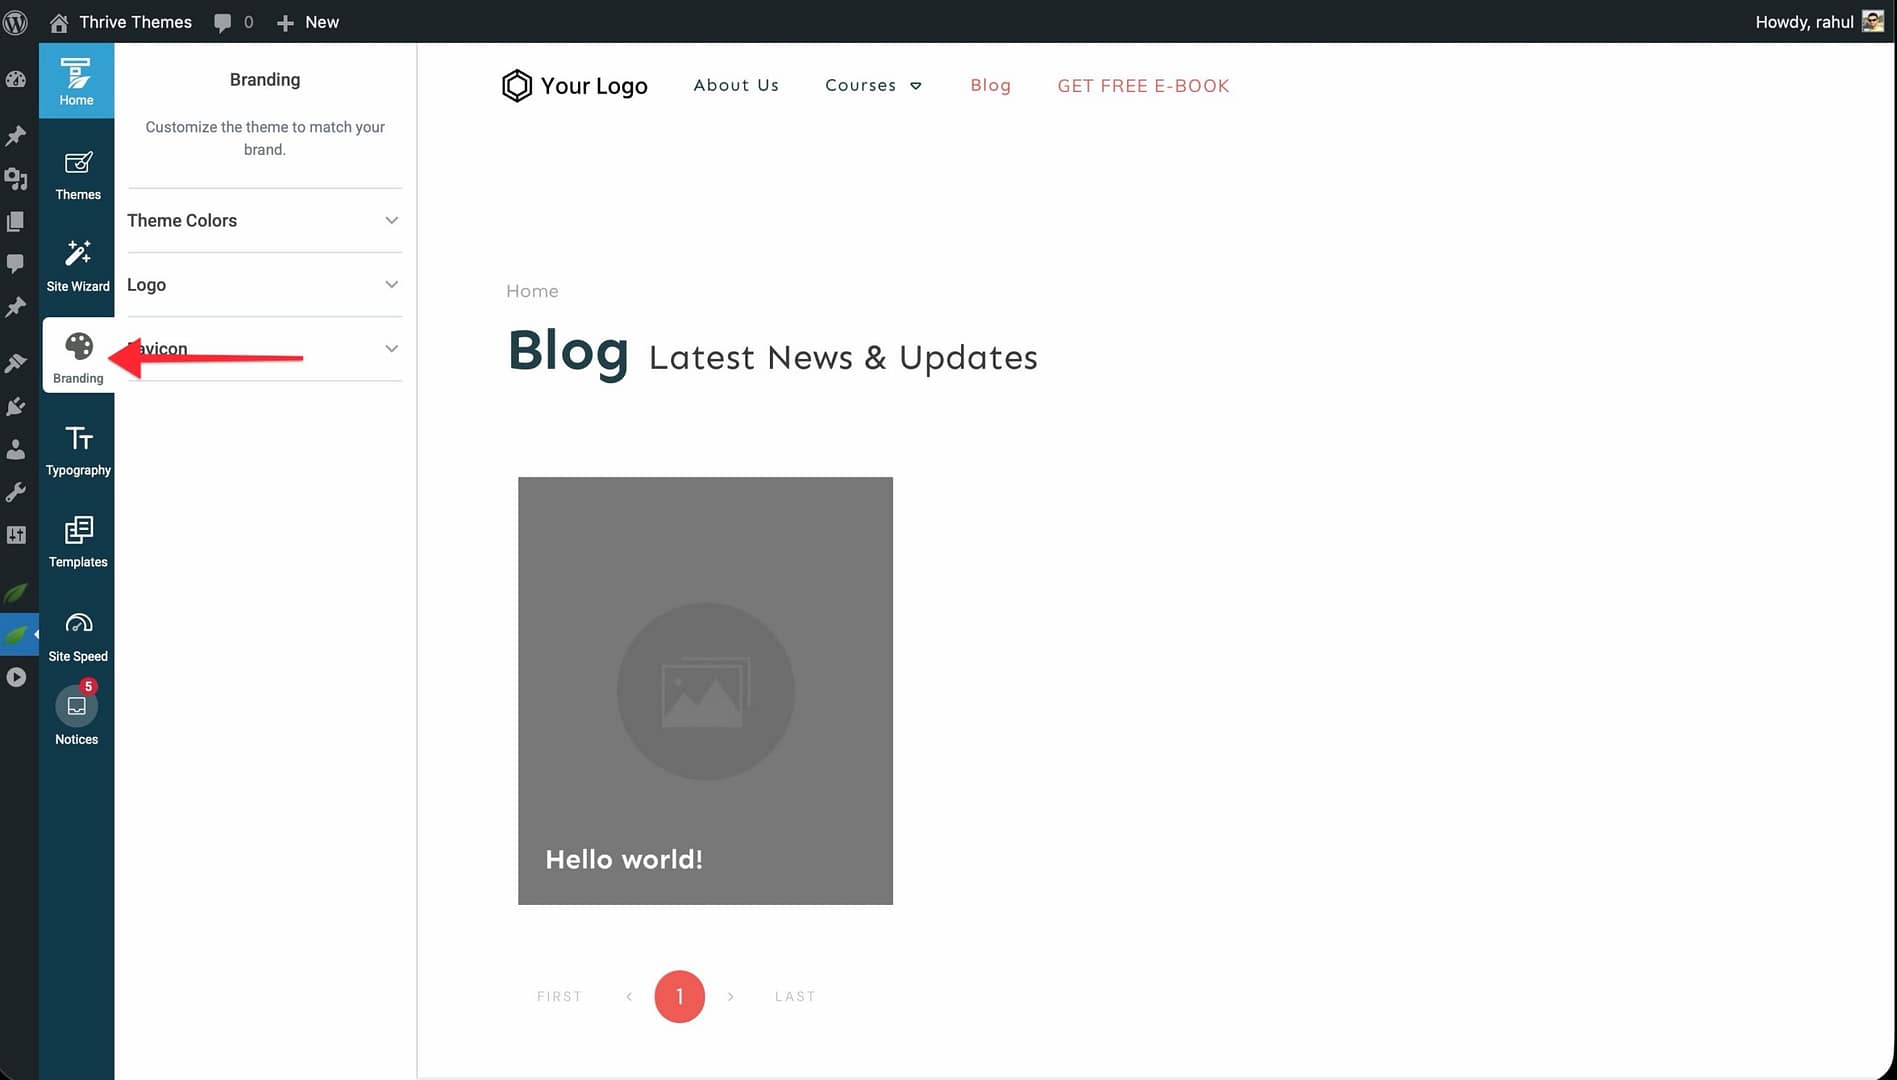
The Branding page displays three sections: Theme Colors, Logo, and Favicon. A live preview of your website appears on the right side.
Setting Up Your Logo
Thrive Theme Builder supports two logo versions—a Dark Version (for light backgrounds) and a Light Version (for dark backgrounds). Uploading both is optional but recommended if your site uses both light and dark sections.
Uploading a Logo
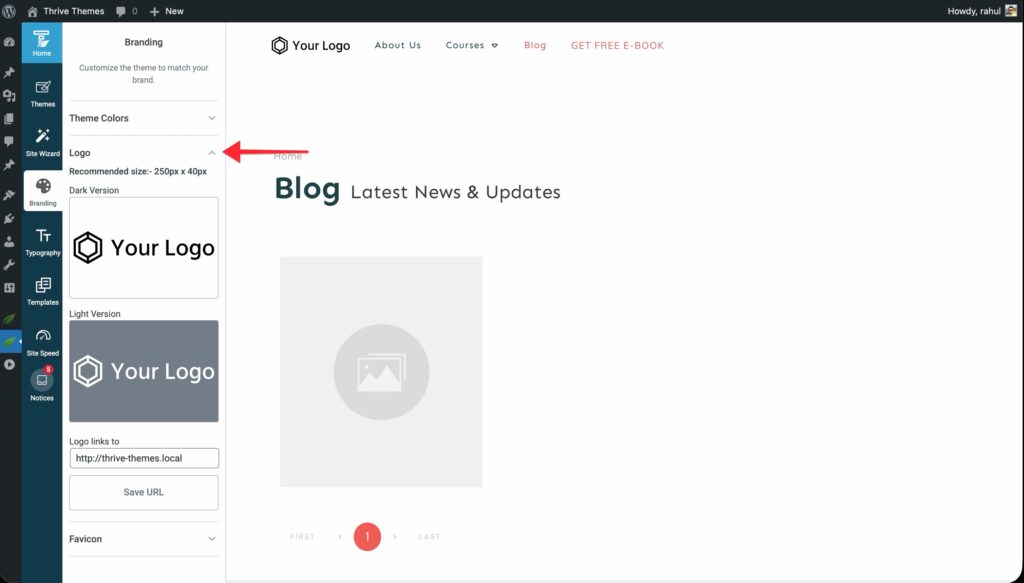
- In the Branding section, click Logo to expand it.

- Click the image placeholder under Dark Version or Light Version.
- The WordPress Media Library opens. Upload or select your logo image.
- Click the Select button to confirm.
- In the Logo links to field, enter the URL the logo should link to (typically your homepage).
- Click Save URL.
Adding the Logo to a Template
After uploading your logo in the Branding section, you still need to add it to your templates:
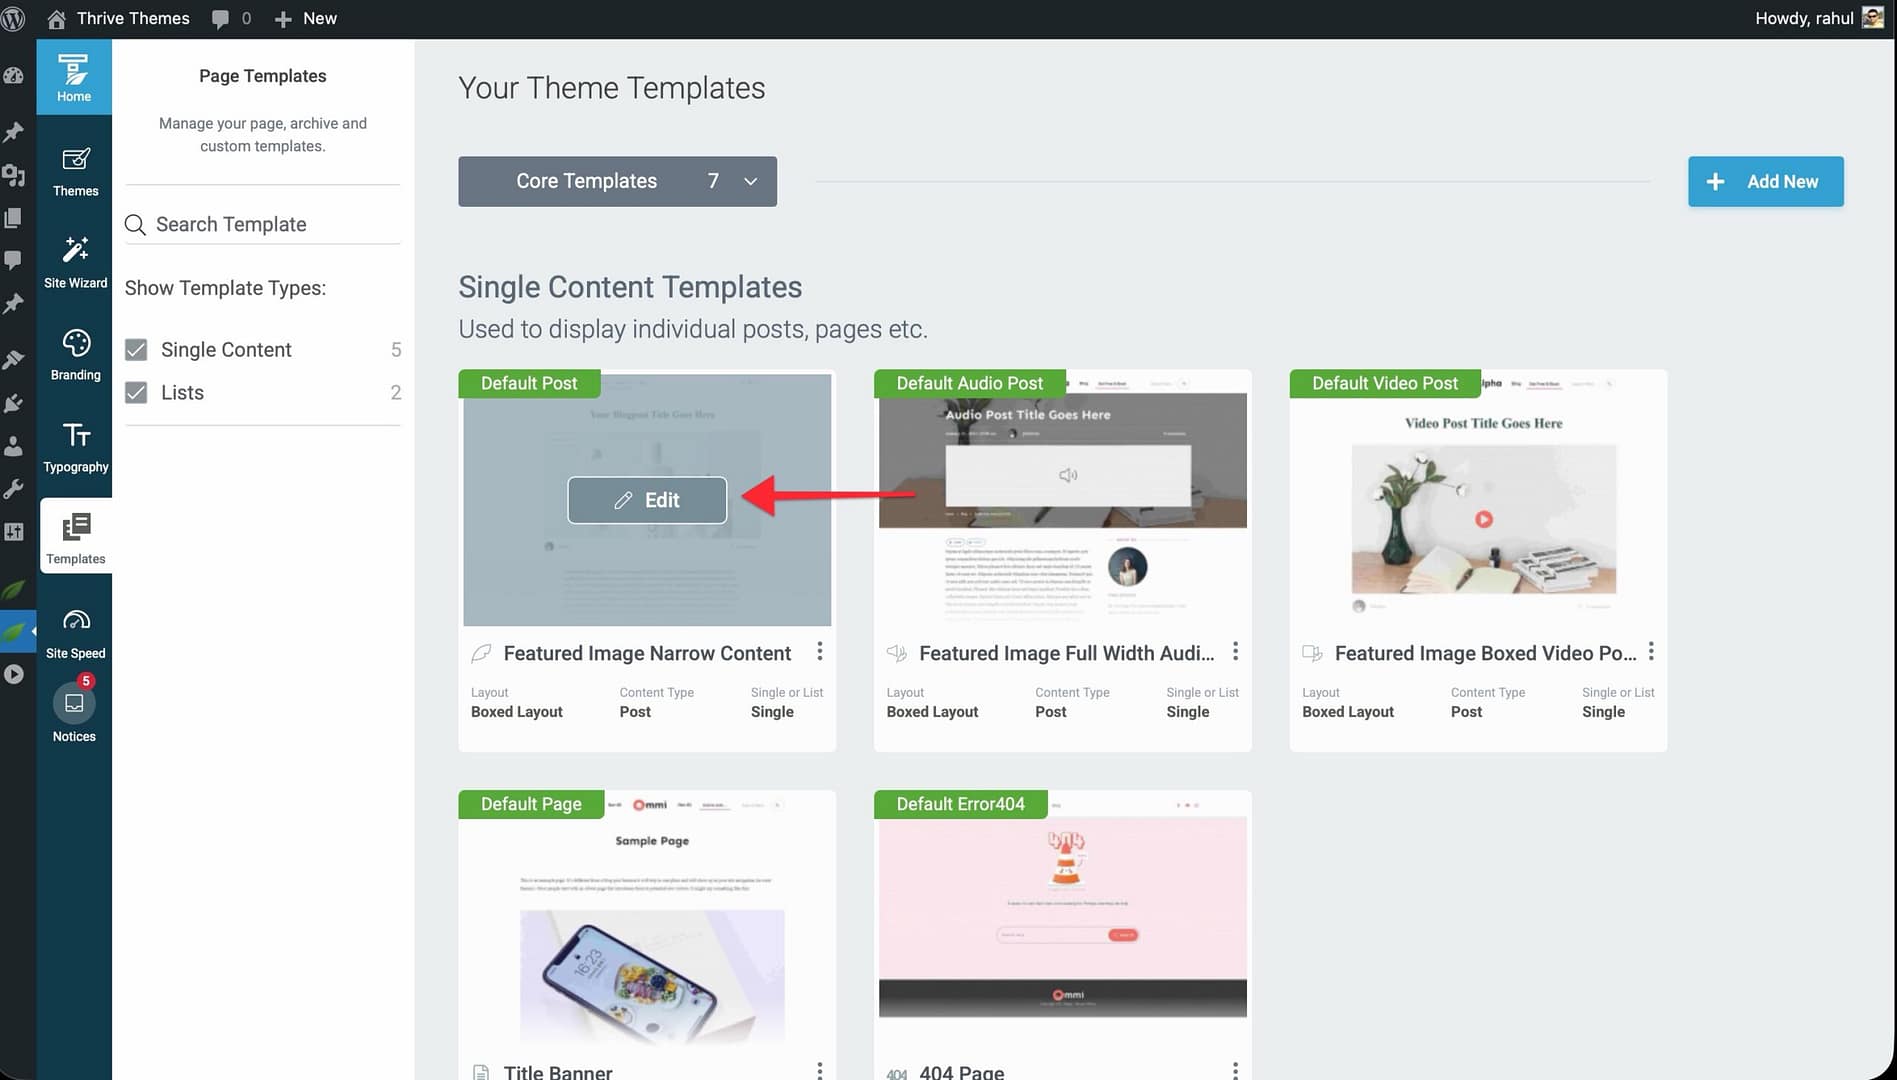
- Go to Templates in the left sidebar and click Edit on a template.
- In the editor, click on a section (e.g., Header) from Main Options in the left sidebar.
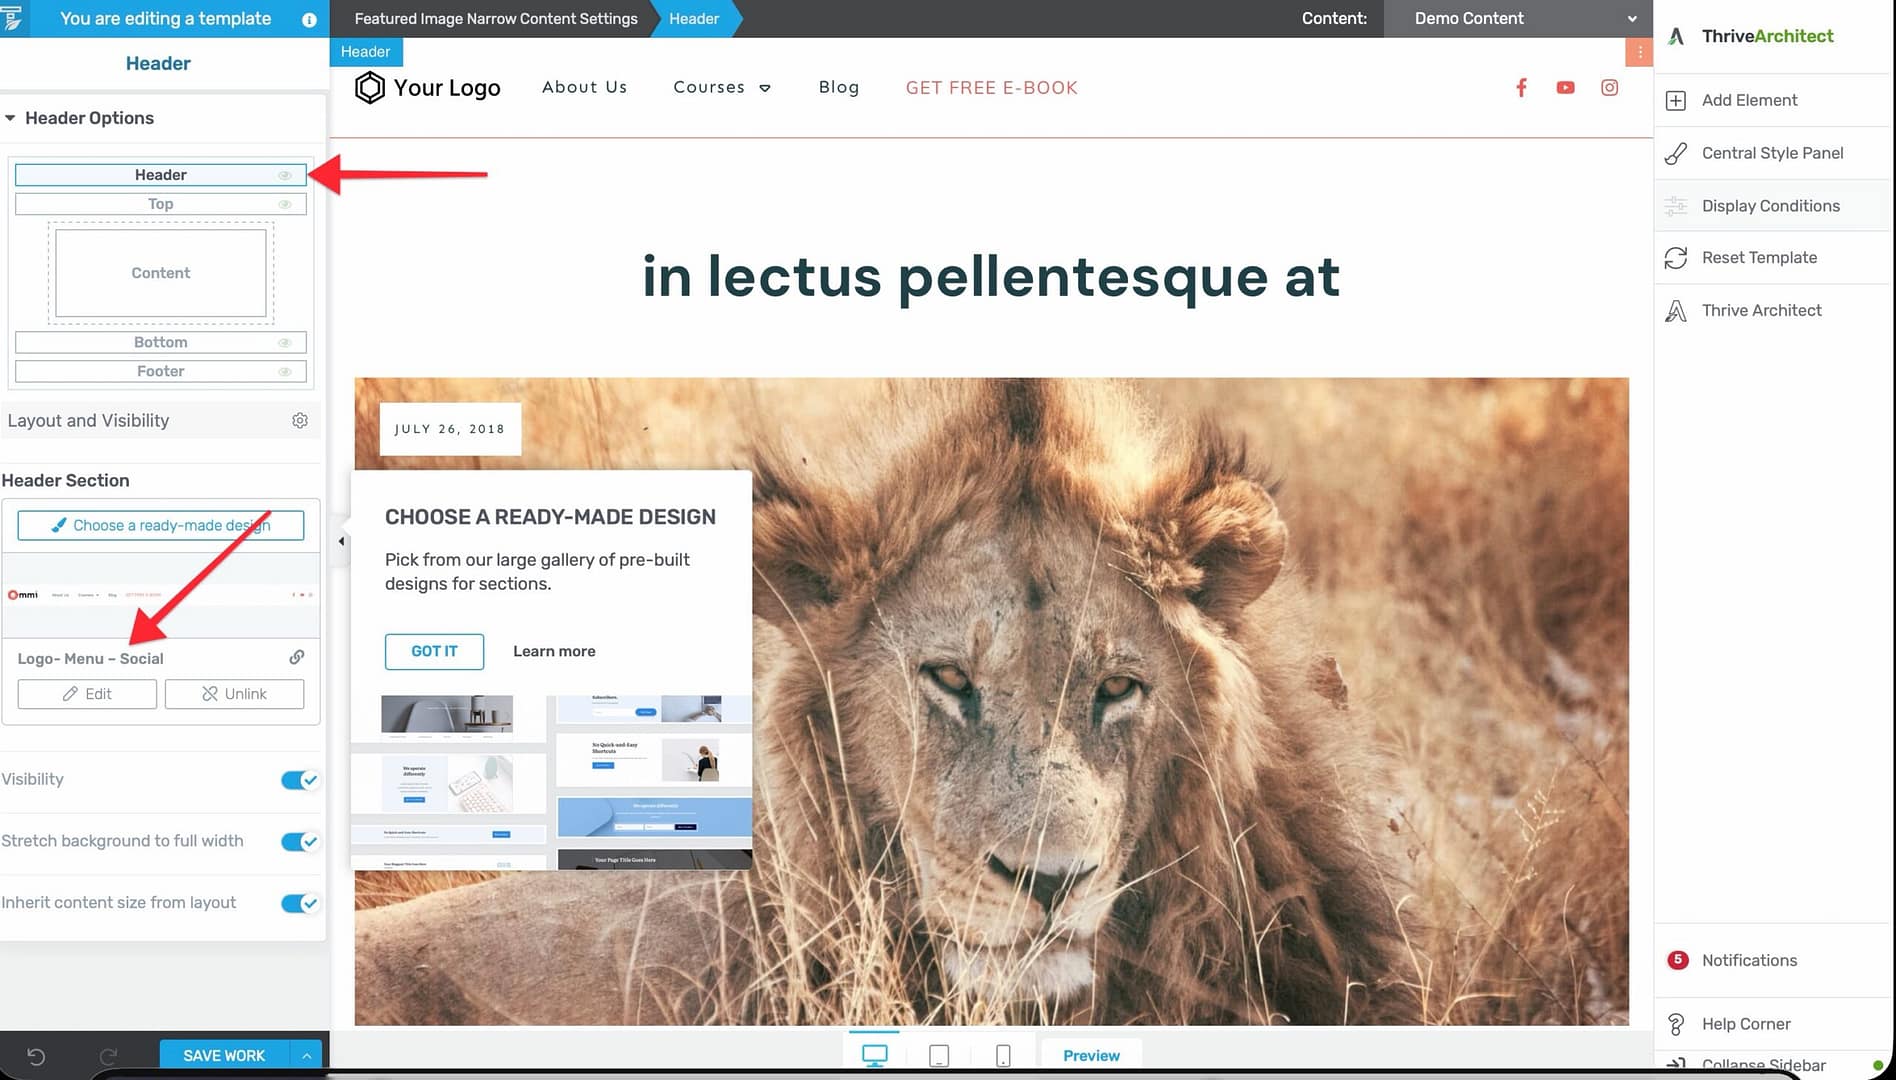
- Click Edit to enter Edit Mode.
- In the right sidebar, click the plus sign to add elements.
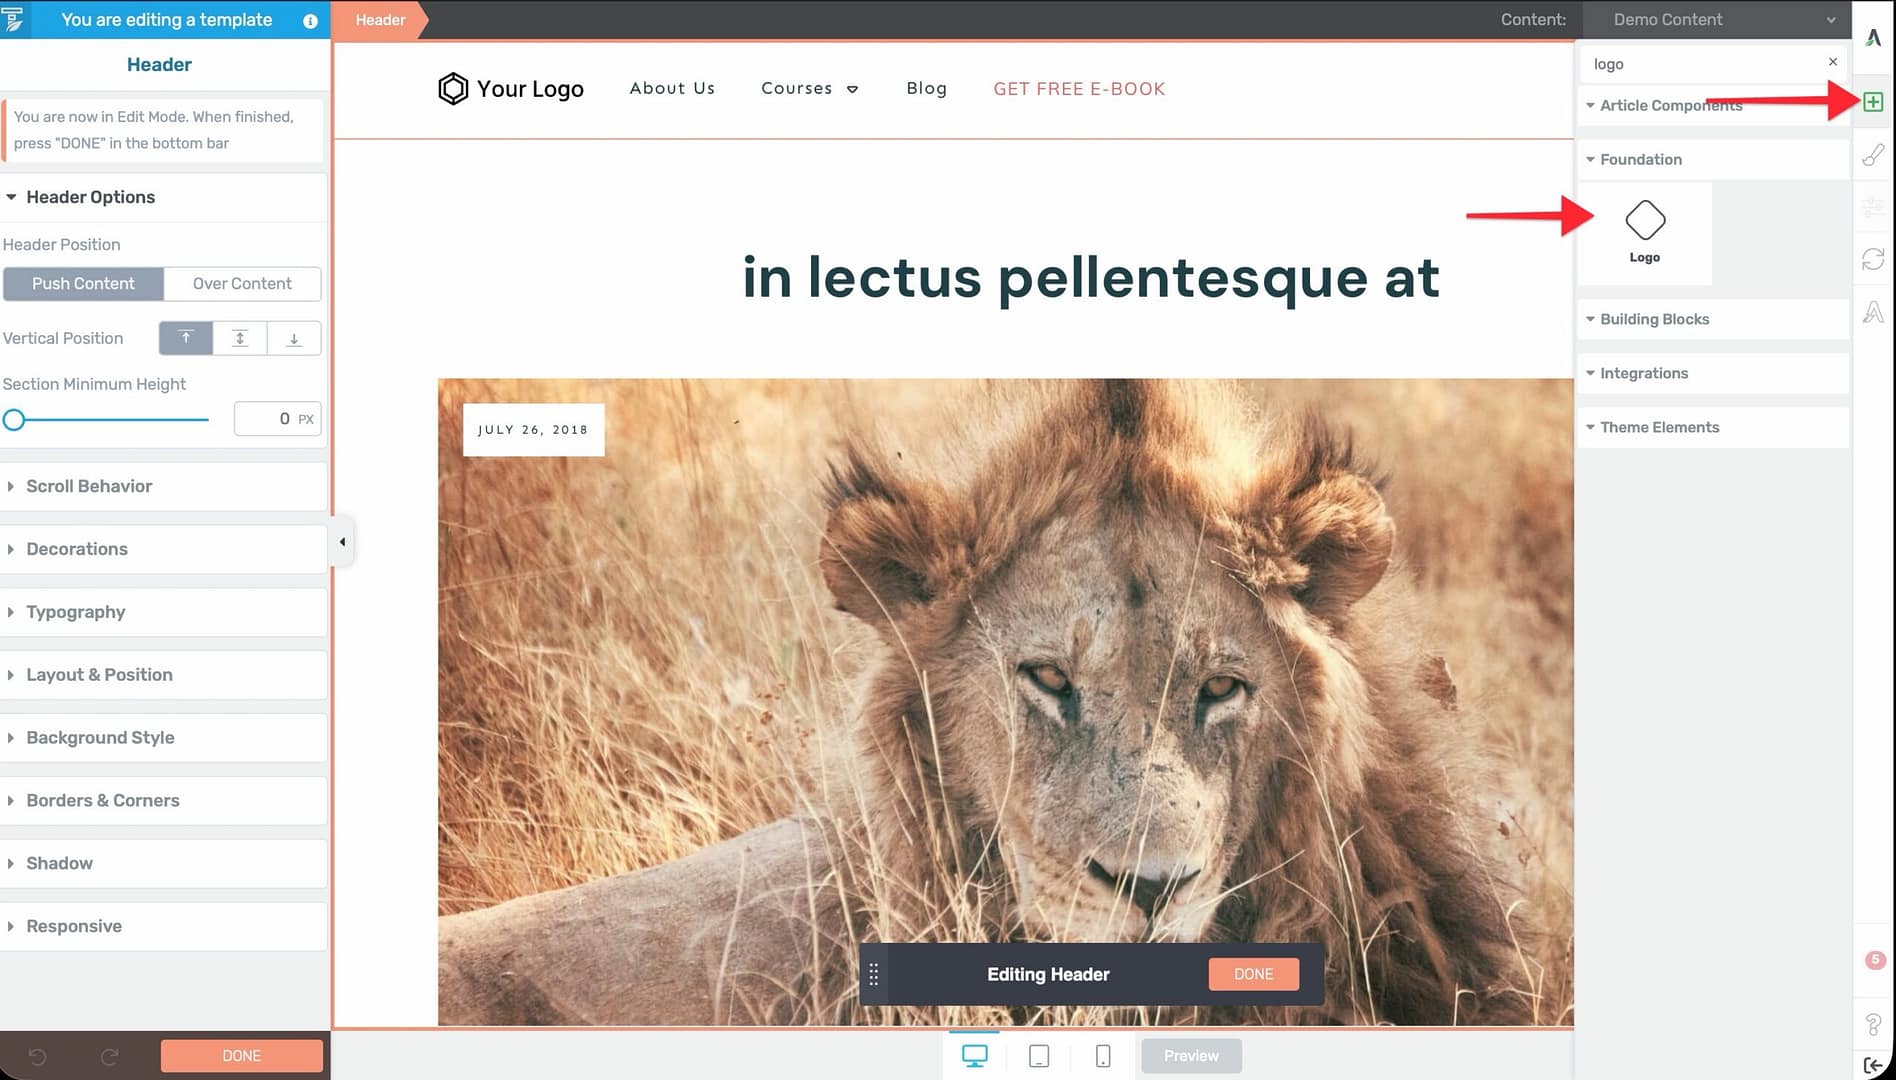
- Search for the Logo element and drag it into the section.
- The uploaded logo is automatically imported. Use the left sidebar to switch between Dark and Light versions.
Setting Up the Favicon
The favicon is the small icon that appears in browser tabs and bookmarks.
Adding a Favicon
- In the Branding section, click Favicon to expand it.
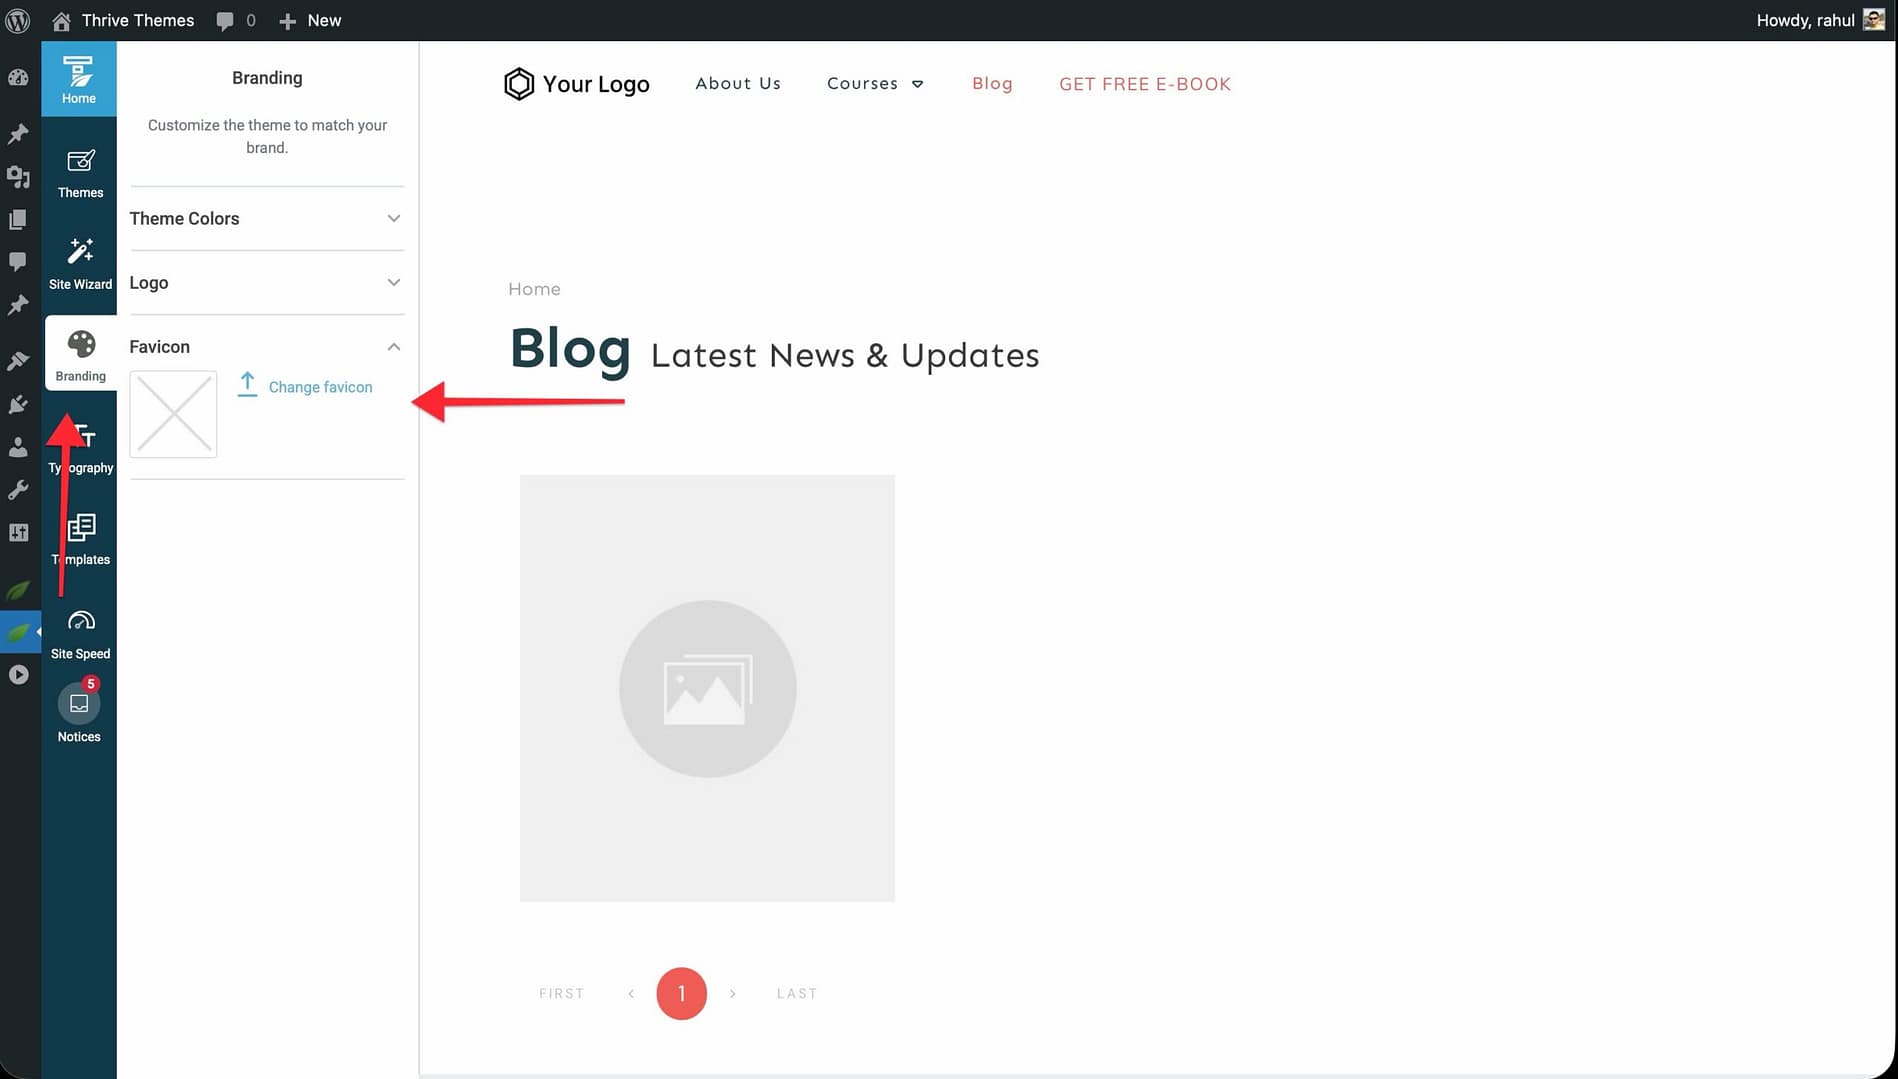
- Click the image placeholder to Change Favicon.
- The WordPress Media Library opens. Upload or select your favicon image.
- The favicon immediately appears in browser tabs.
Changing or Removing the Favicon
- To change the favicon, click Change favicon and select a new image from the Media Library.
- To remove the favicon, click Reset favicon.
Configuring Theme Colors
Each Thrive Theme Builder theme comes with a set of pre-established Theme Colors that are used across all templates for buttons, banners, highlights, and other elements.
Editing Theme Colors from the Dashboard
- In the Branding section, click Theme Colors to expand it.
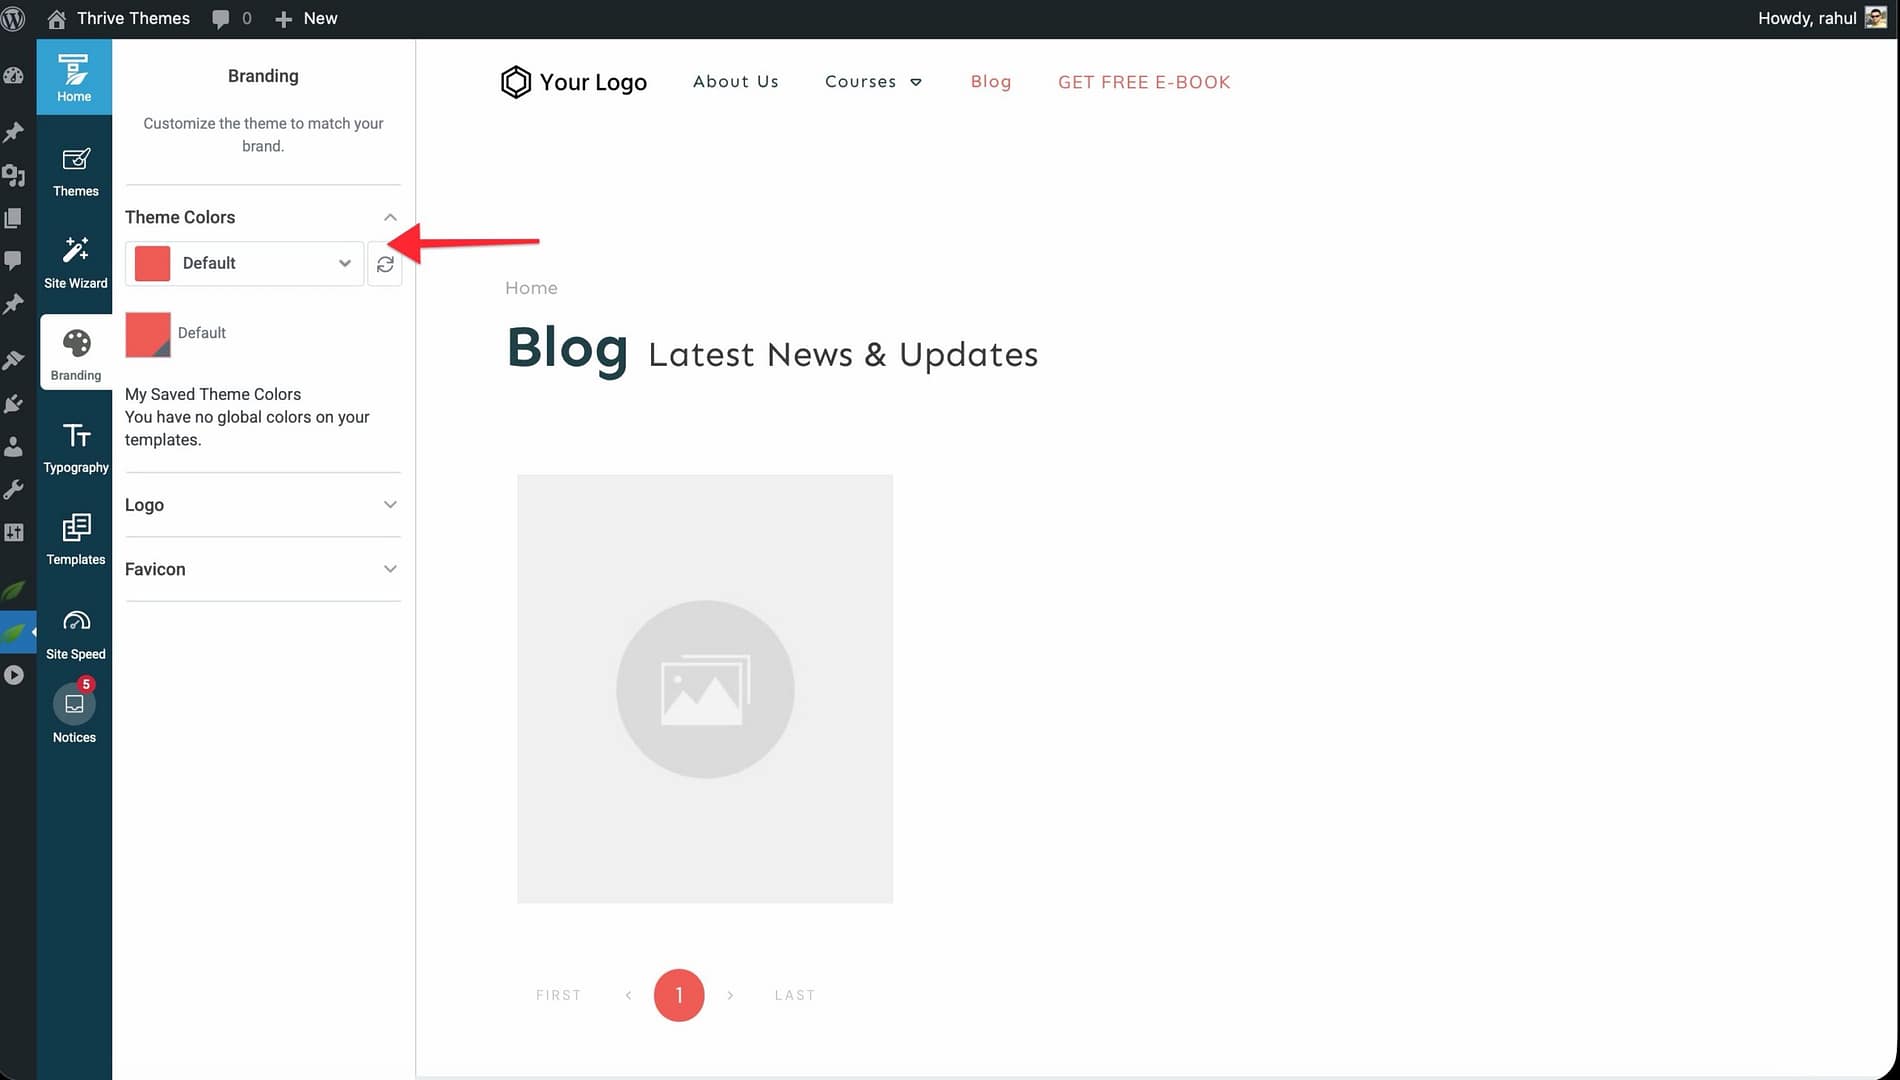
- Click the first field to see the available theme colors (the number varies by theme).
- Select a color and click its color box to open the color picker.
- Choose a new color using the picker, or enter a HEX/RGB code manually.
- Adjust the Opacity if needed (1–100).
- Click Apply.
Editing Theme Colors from the Editor
You can also edit theme colors while working in the template editor:
- Open any template in the editor.
- In the right sidebar, click the Central Style Panel to open the Style Editor.
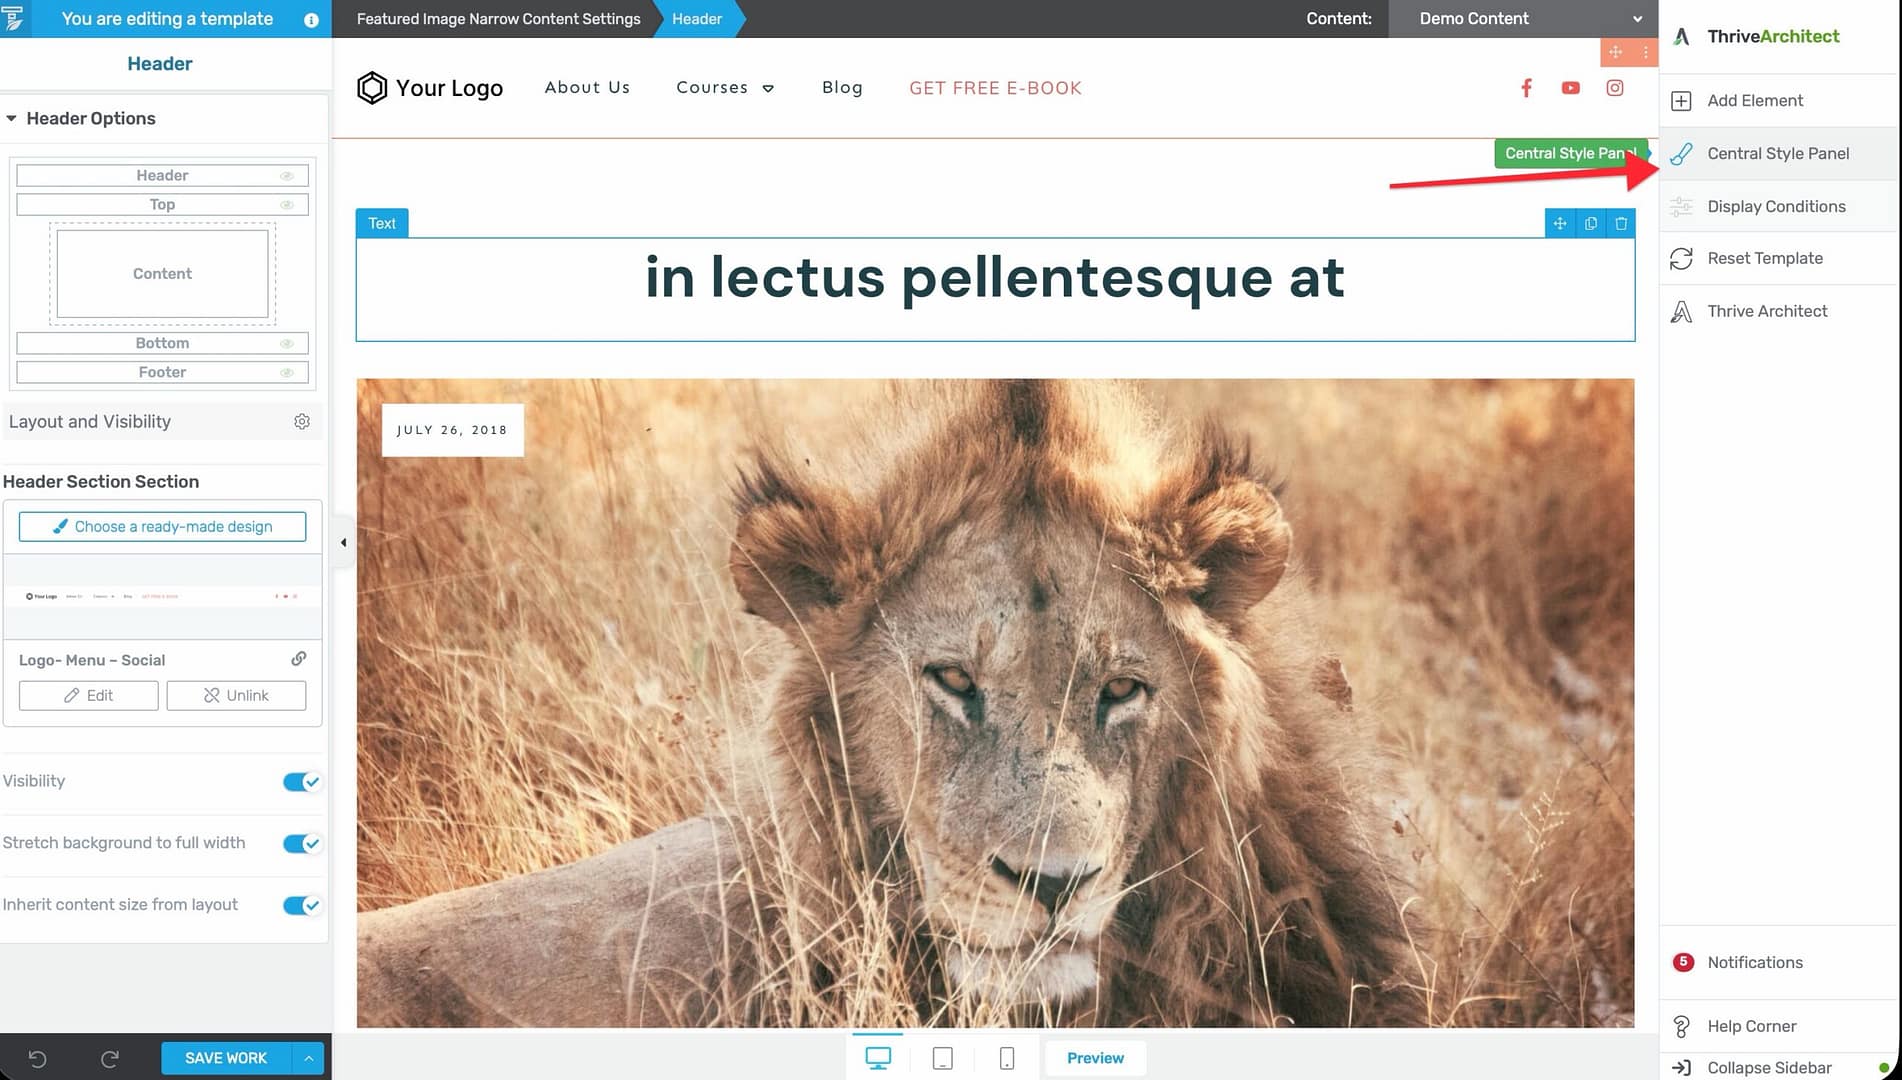
- The Style Editor contains the same theme colors as the Dashboard’s Branding section.
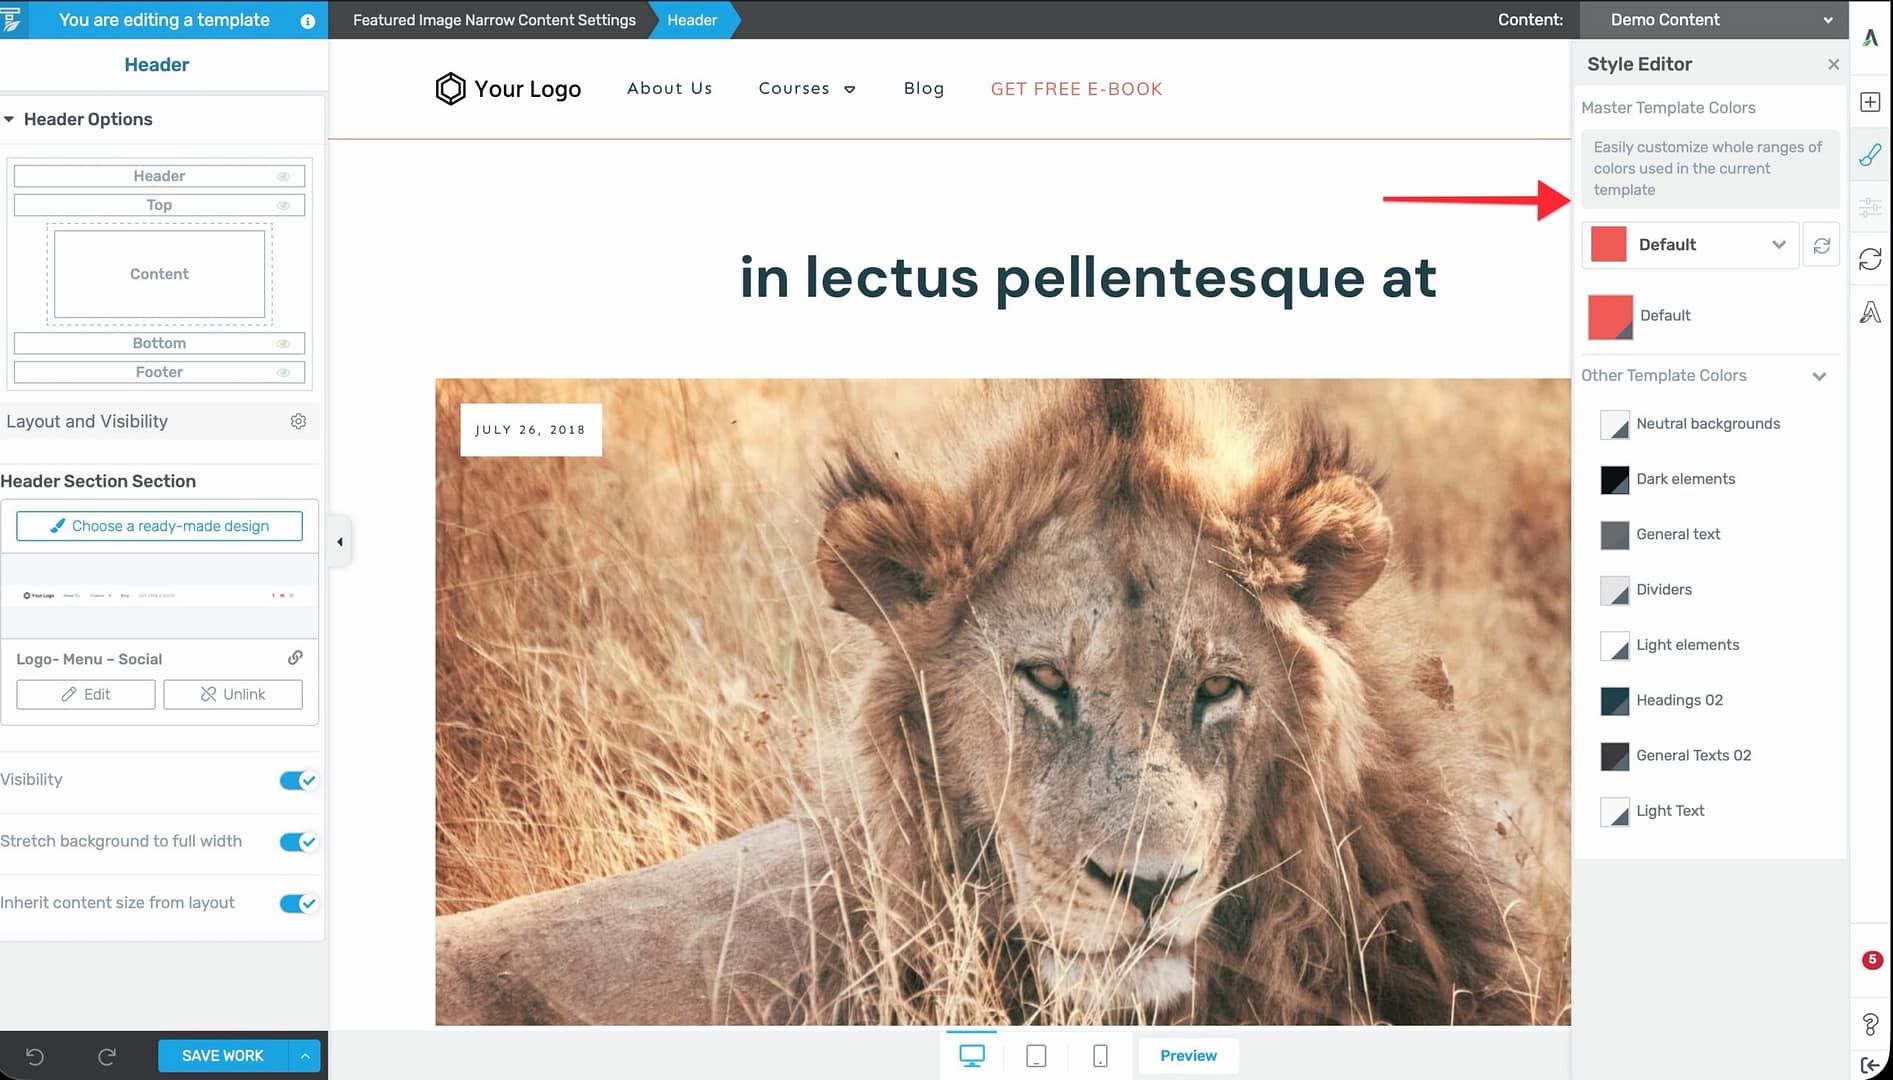
- Changes made here also apply globally.
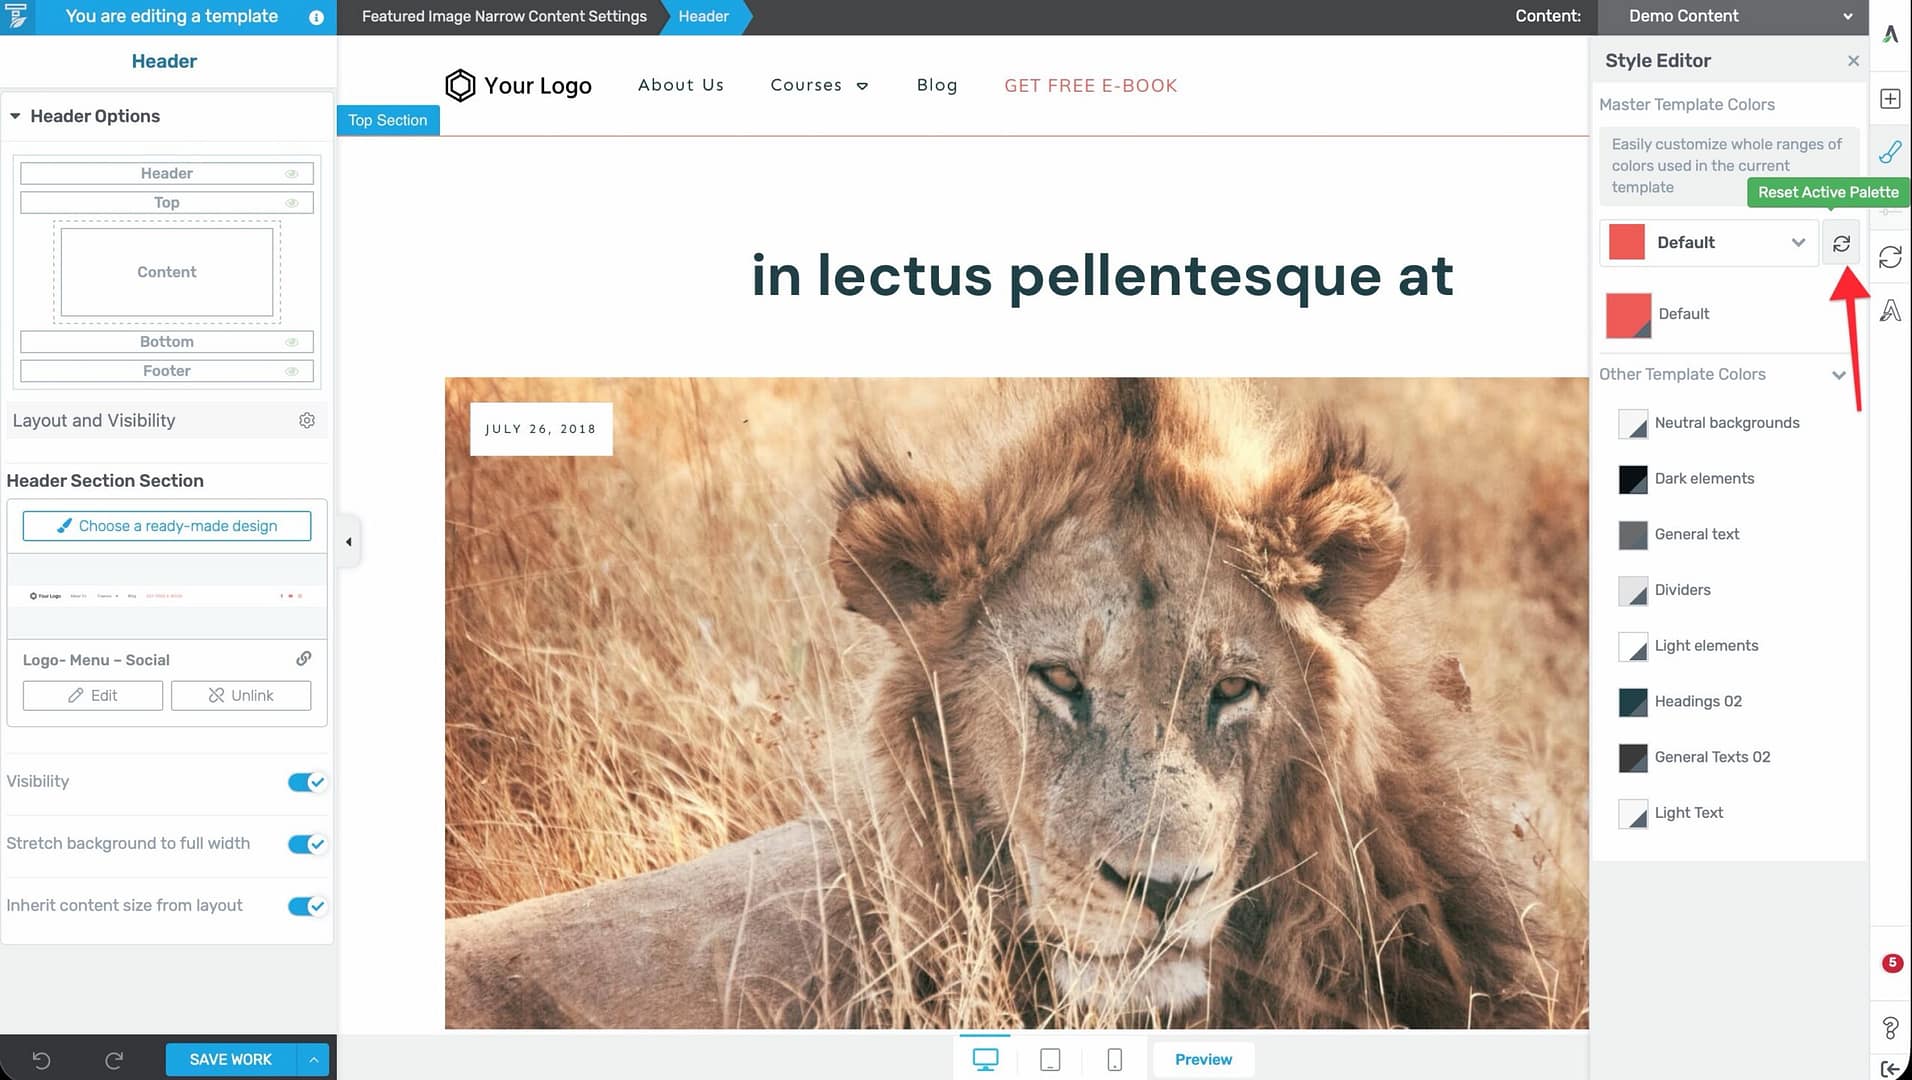
Resetting Theme Colors
To reset all theme colors to their defaults, click the Reset icon in the Theme Colors section and confirm the action.
Setting Up Typography
Typography in Thrive Theme Builder is managed through Typography Sets—predefined collections of font styles for headings, paragraphs, and other text types. Changes to typography apply globally across all templates that use the active set.
Editing the Active Typography Set
- In the left sidebar, click Typography.

- The active typography set is displayed with a preview of each text type.

- Click the pencil icon to edit the set—this opens the Thrive Theme Builder editor in a new tab.
- Click on any text type (heading, paragraph, etc.) to select it.
- Use the Font option in the left sidebar to change the font family.
- Click the green Save Work button when done.
Font changes apply throughout all templates that use this typography set.
Additional Typography Actions
- Rename — Hover over the set name and click the pencil icon next to it. Type the new name and press Enter.
- Expand/Collapse — Click the two arrows in the top-right corner of the set preview to expand or collapse the preview.
- Reset — Click the Reset option next to the Edit icon, then confirm with Reset Set to restore the default styles.
Creating a New Typography Set
- Click Create New Set in the top-right corner of the Typography page.
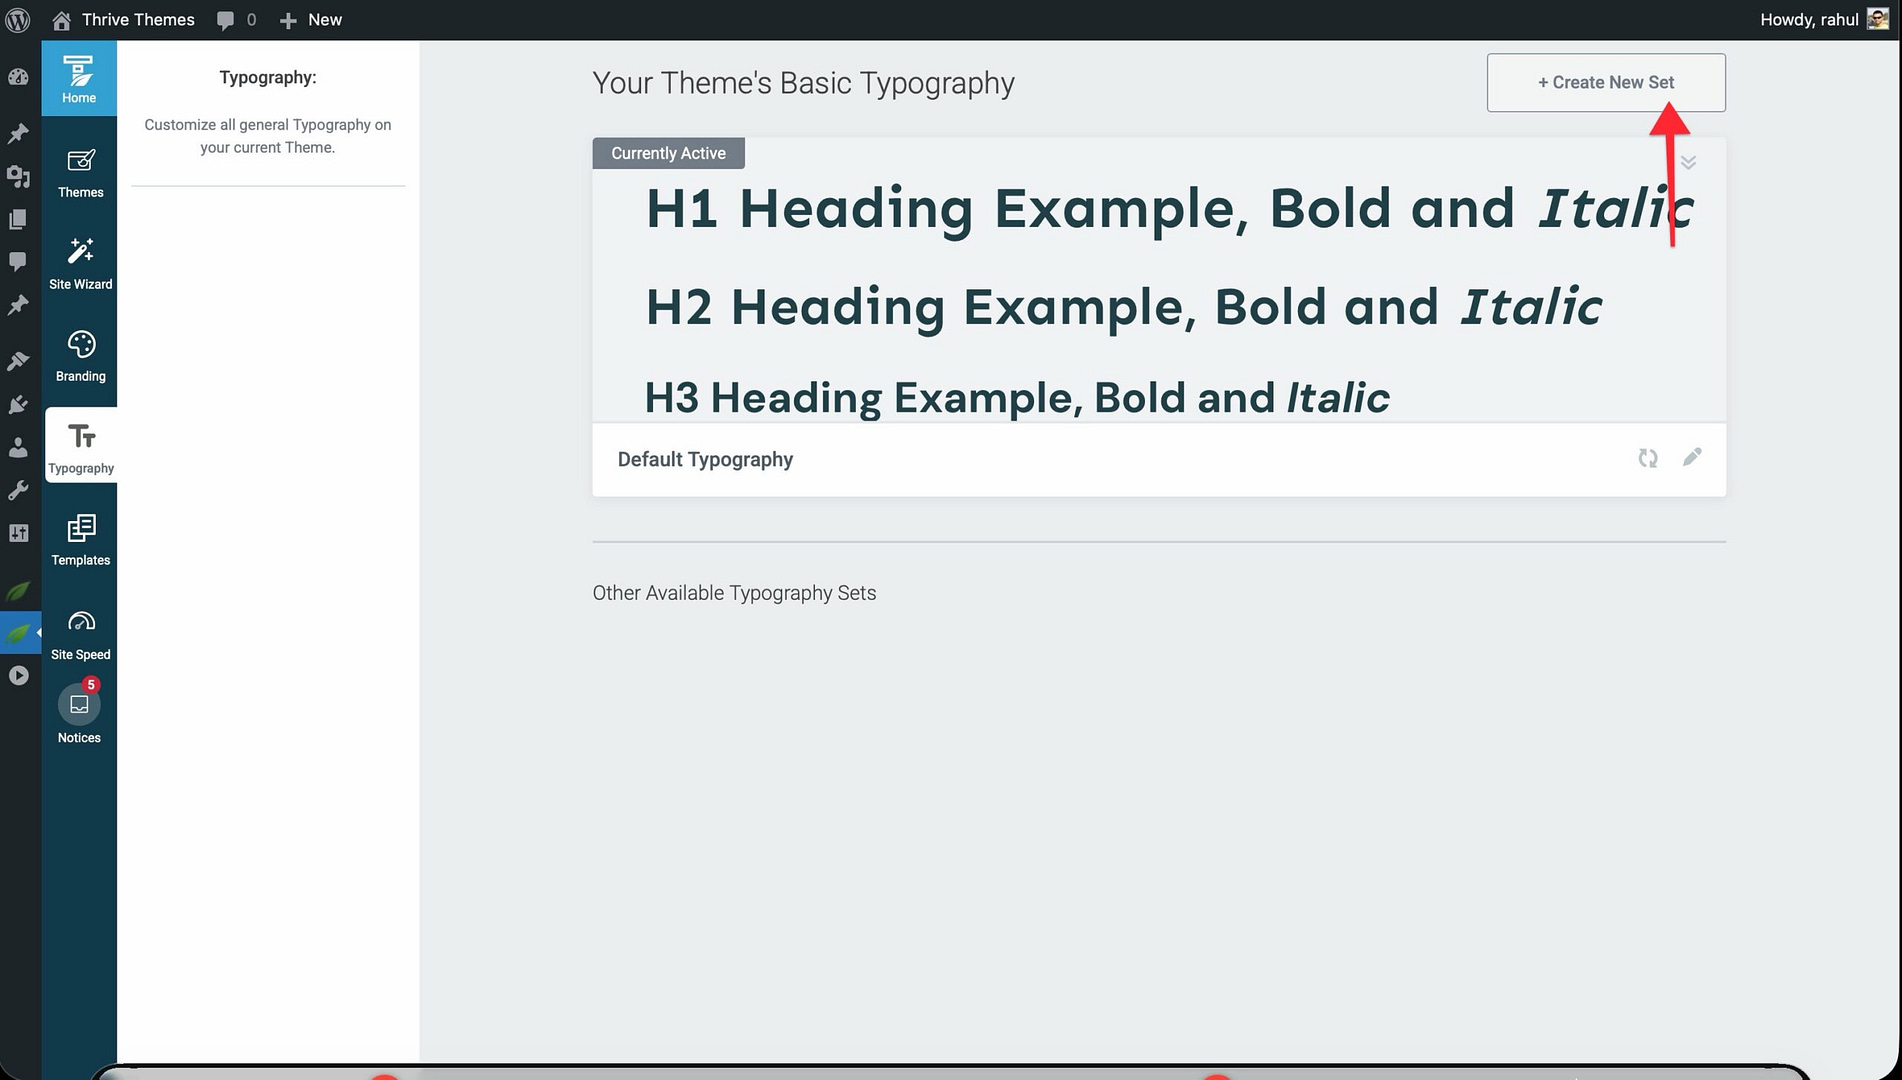
- The new set appears under Other Available Typography Sets.
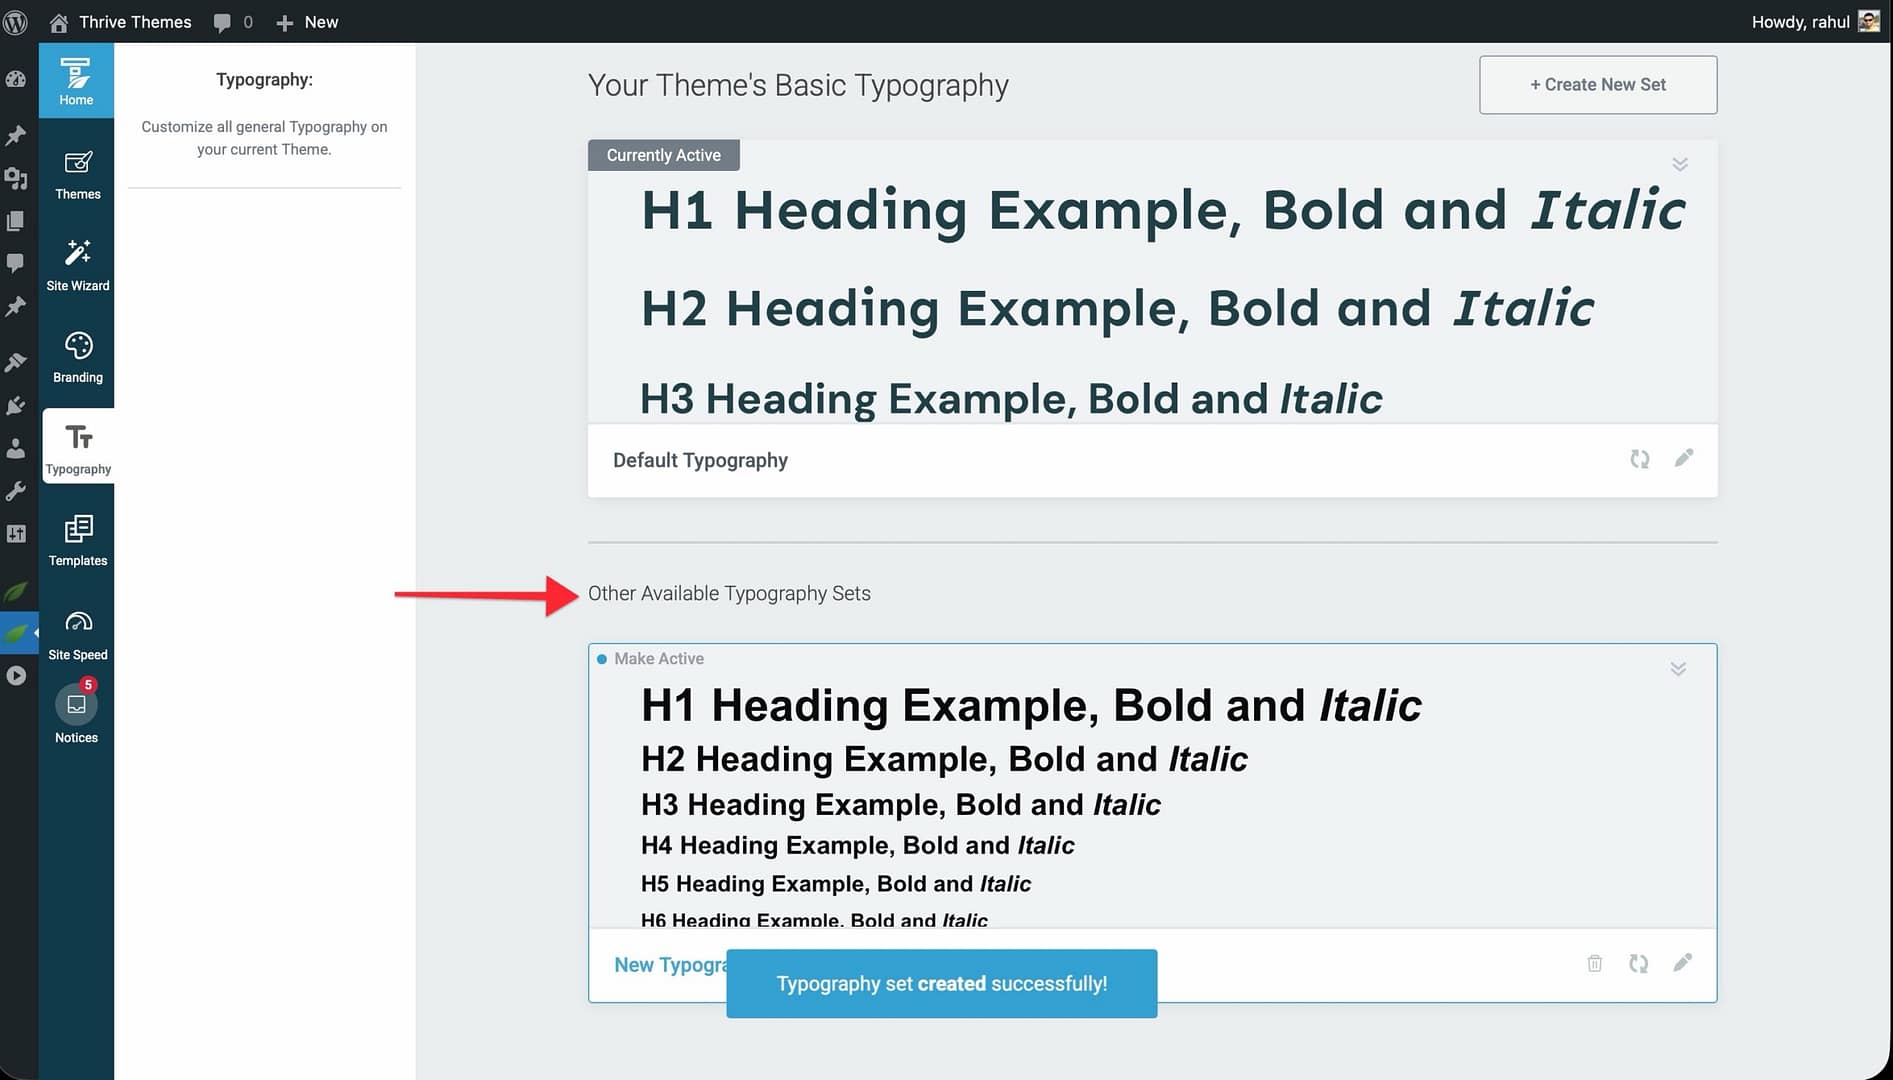
- Customize it using the same editing process described above.
Deleting a Typography Set
Only inactive sets can be deleted. Click the Remove button on an inactive set and confirm the deletion.

Adding Custom Fonts
If you need fonts beyond the standard options, you can upload your own custom fonts or install Google Fonts locally using the Thrive Font Library.
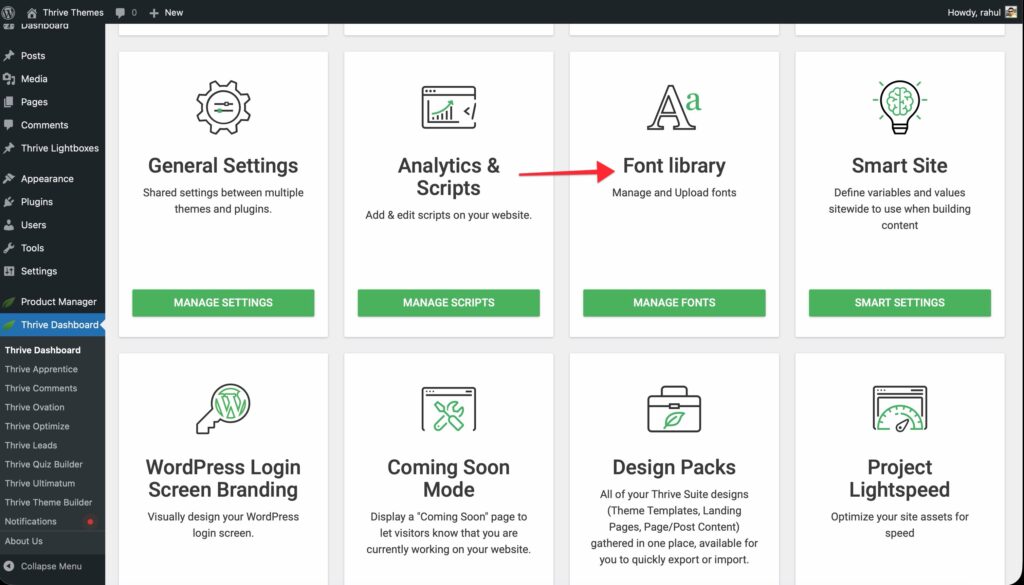
Accessing the Font Library
- Go to your WordPress admin dashboard.
- Click Thrive Dashboard in the left sidebar.
- Click Font Library to open the Thrive Font Library page.
The Font Library has three tabs: Library, Upload, and Google Fonts.
Uploading Custom Font Files
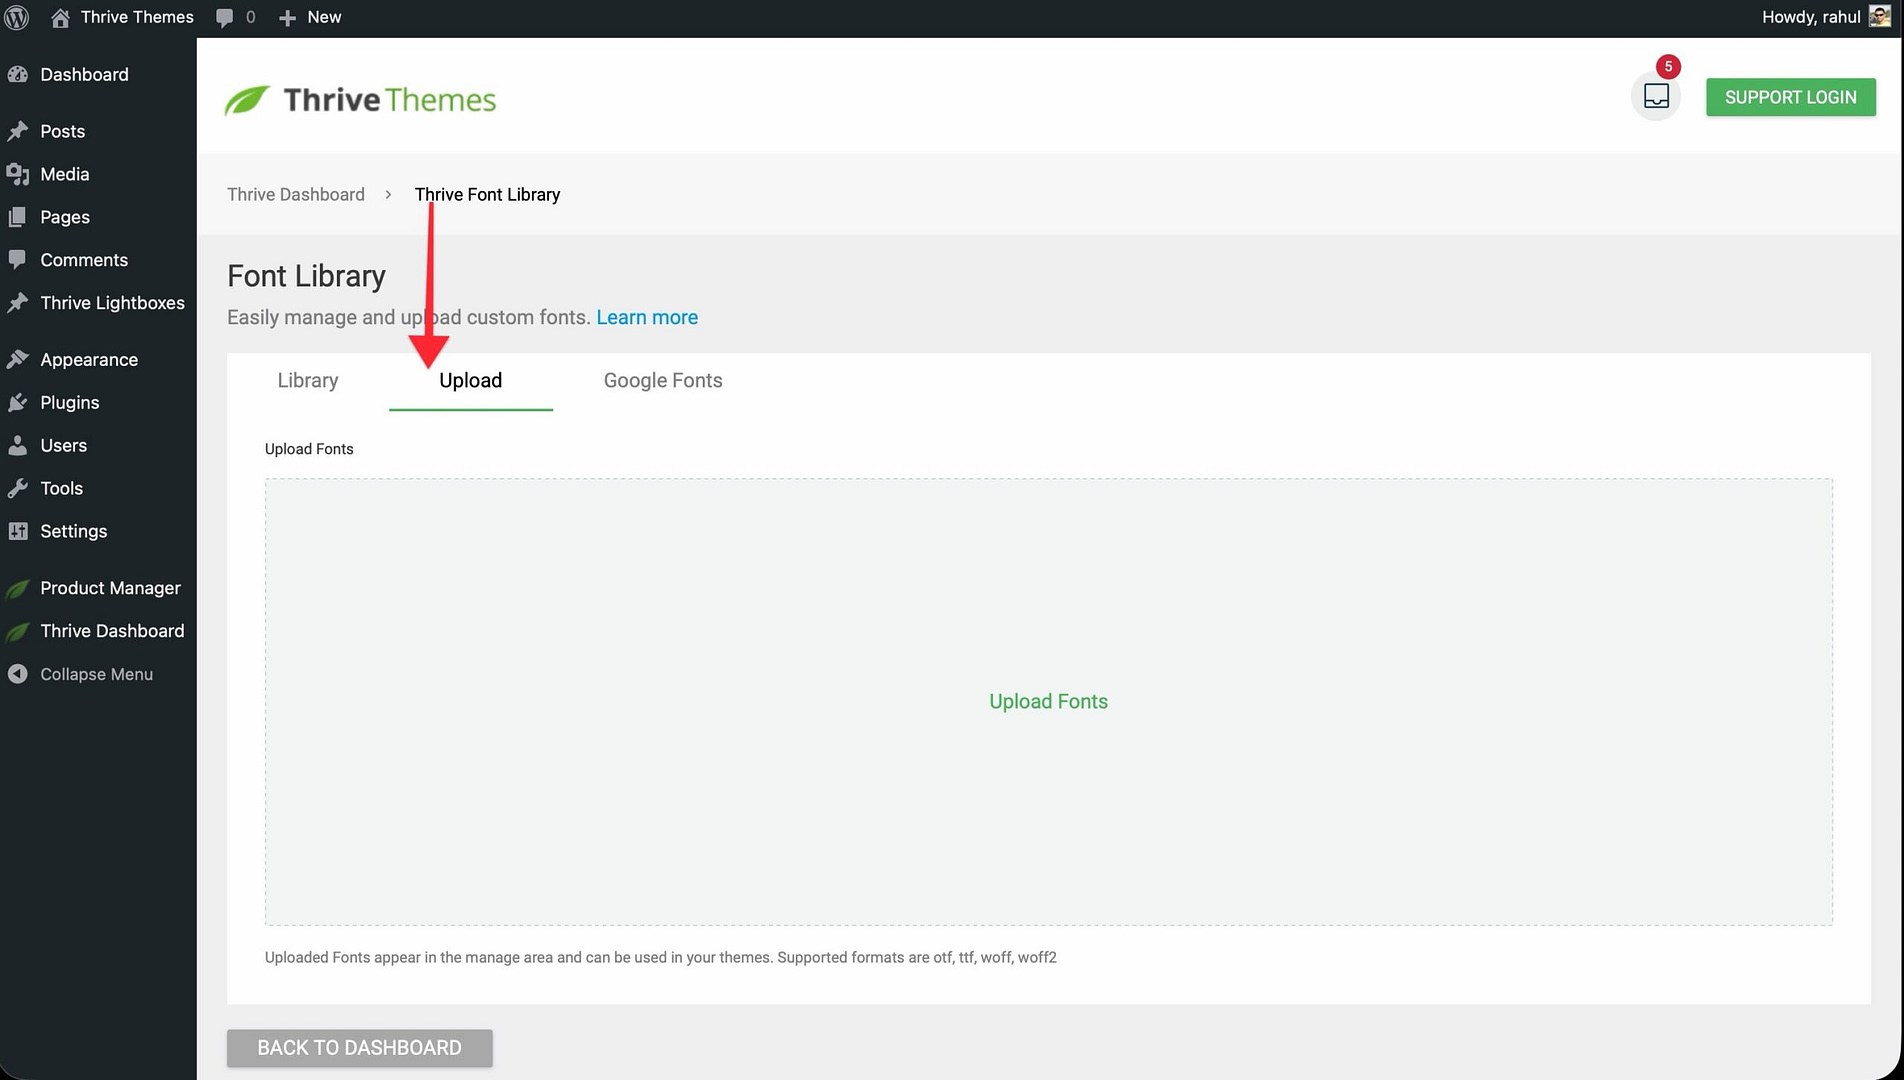
- In the Font Library, click the Upload tab.
- Drag and drop your font files into the upload area, or click Upload Fonts to select files from your computer.
- Uploaded fonts appear in the Library tab and become available in the Thrive Theme Builder editor.
Note: Supported font formats are .otf, .ttf, .woff, and .woff2.
Installing Google Fonts Locally
Instead of loading Google Fonts from external servers, you can install them locally through the Font Library. This serves fonts directly from your website, which helps with GDPR compliance.
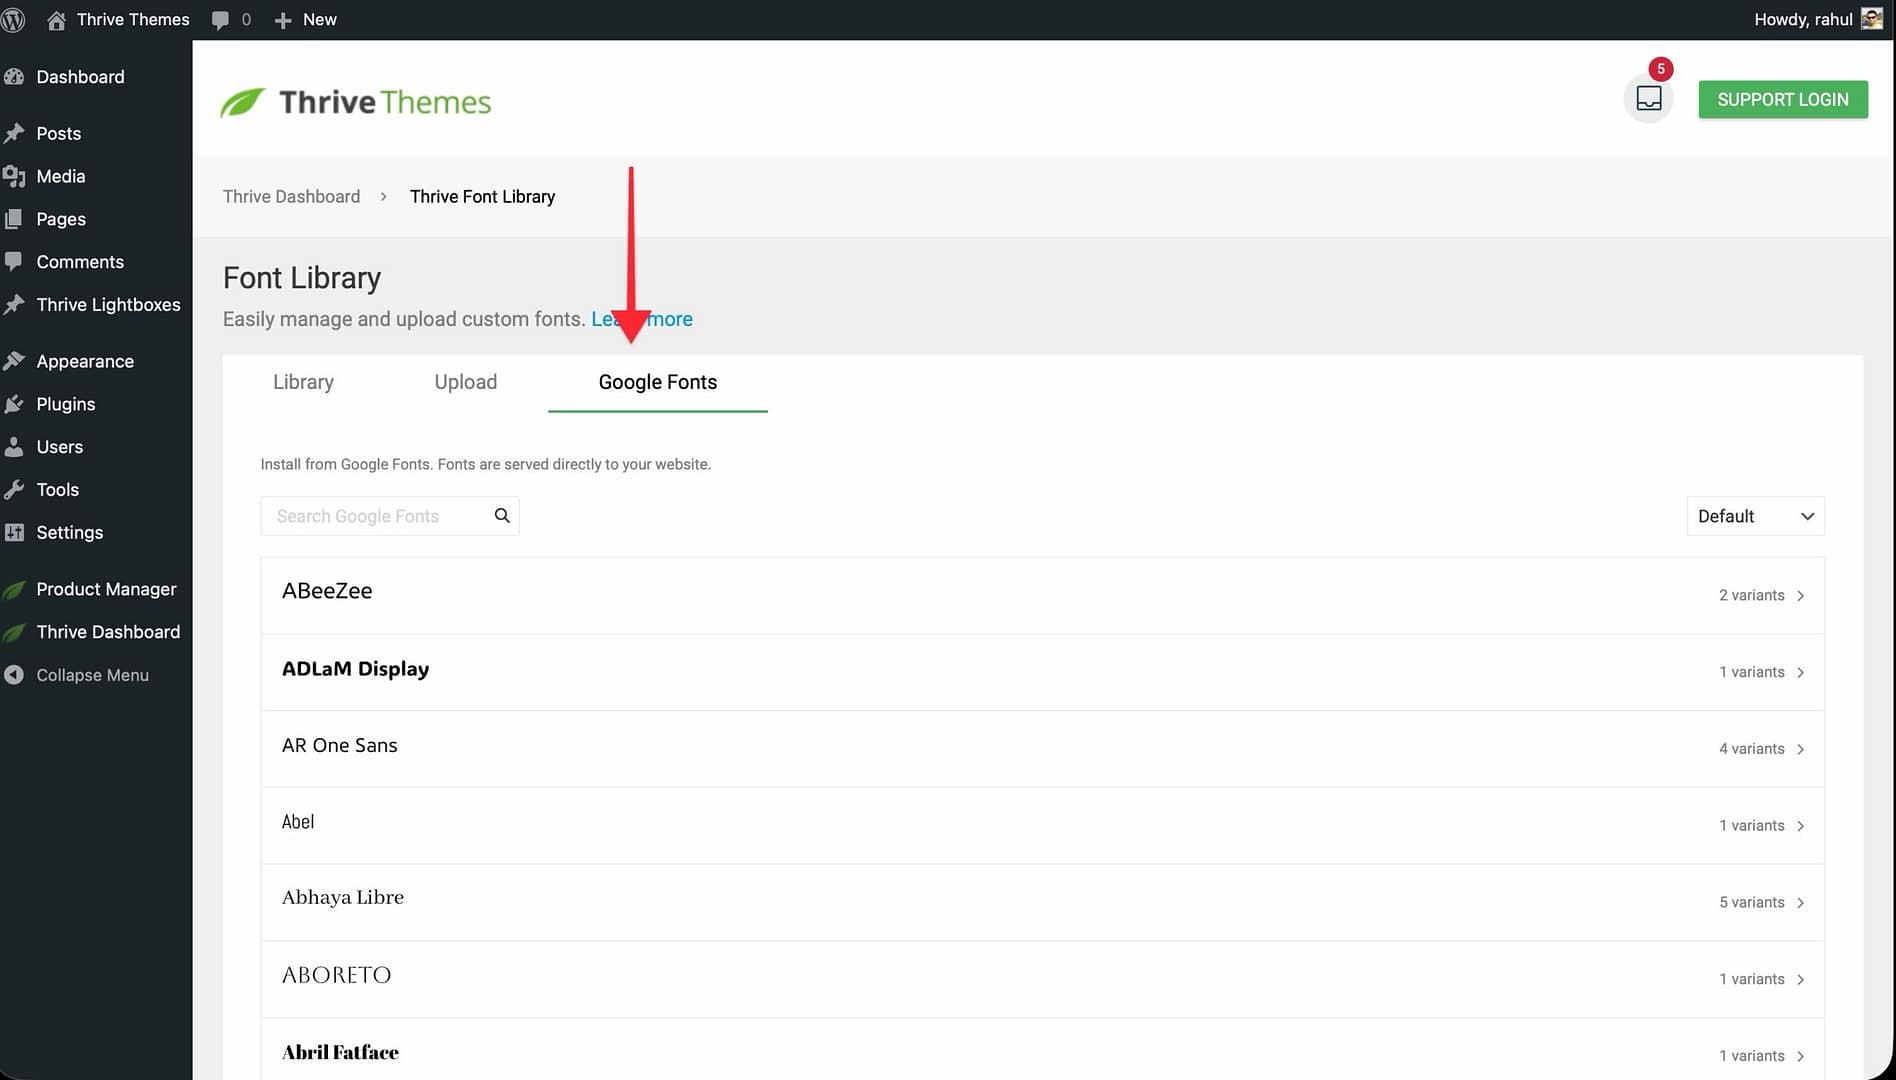
- In the Font Library, click the Google Fonts tab.
- Browse the list or use the Search Google Fonts field to find a font.
- Click on a font to see its available variants.
- Select the variants you want and click Install.
- Installed fonts appear in the Library tab.
Using Custom Fonts in Templates
- In the Thrive Theme Builder dashboard, go to Templates and click Edit on a template.
- Click on a Text element where you want the custom font.
- In the left sidebar, go to the Fonts section.
- Click the field below Source and select Custom Fonts from the dropdown.
- Click the Font field to see your uploaded fonts and select one.
- Click the green Apply button.
Using Custom Fonts in Typography Sets
- Go to Typography in the left sidebar.
- Click the pencil icon to edit a set.
- Select a text type and follow the same process above—change the Source to Custom Fonts, select the font, and click Apply.
- Click the green Save Work button.
Related Resources
- Getting Started: Learn how to get started with Thrive Theme Builder and configure your site.
- Demo Content: Learn how to set up your website with demo content to match the demo.
- Connecting Social Media: Set up your social media profiles for your theme.