Collecting social proof is the core of Thrive Ovation. In this article, you will learn the four different ways to gather testimonials: manual entry, importing from social media, converting WordPress comments, and using the automated “Capture Testimonials” element.
Thrive Ovation lets you collect testimonials through both proactive and reactive methods. Choose the one that best fits your workflow:
1. Capturing Testimonials Automatically
The most efficient way to grow your library is to let your customers do the work for you using the Capture Testimonials element in Thrive Architect.
- Open any page or post with Thrive Architect.
- Search for the Capture Testimonials element and drag it onto your page.
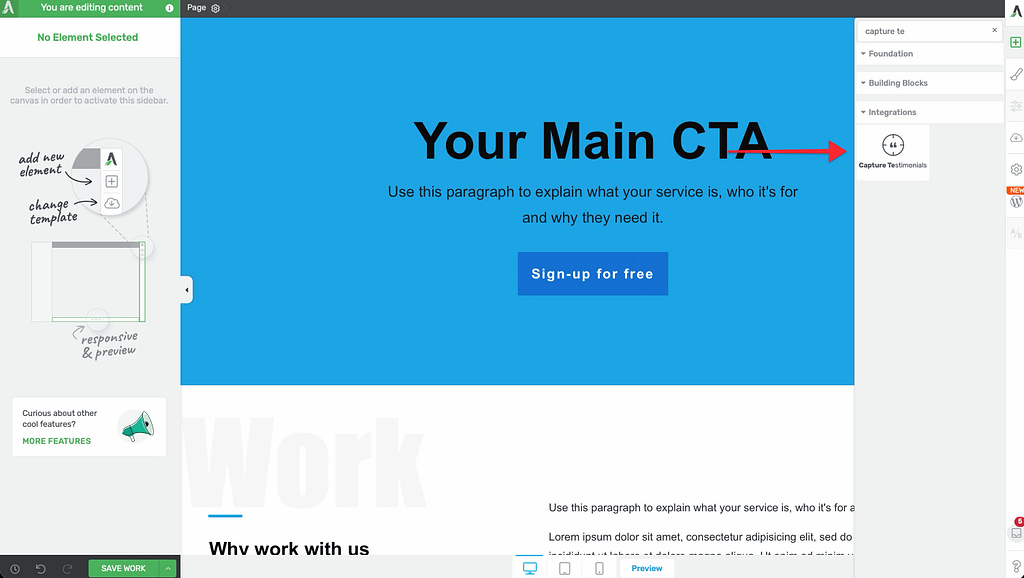
- Choose a template and click Choose Template.
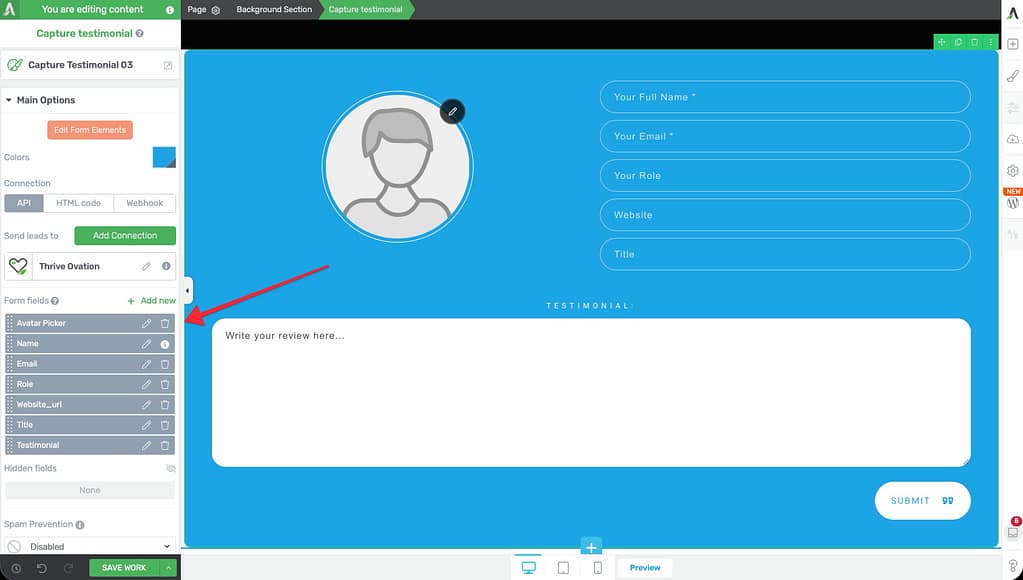
- In the Main Options, you can customize:
- Form Fields: Change the labels for Name, Email, and Testimonial text.
- Add Tags: Automatically apply tags (like “Product A”) to every submission from this form.
- Success Message: Choose to show a message or redirect to a thank-you page after submission.
Note: Testimonials submitted this way will appear in your dashboard with the In Review status until you approve them.
2. Converting WordPress Comments
If you already have great feedback in your blog comments, you can turn them into testimonials with a single click.
- Navigate to your WordPress Comments section.
- Choose the comment you want to save.
- Click the Ovation (+) icon in the ‘Save as Testimonial’ column.
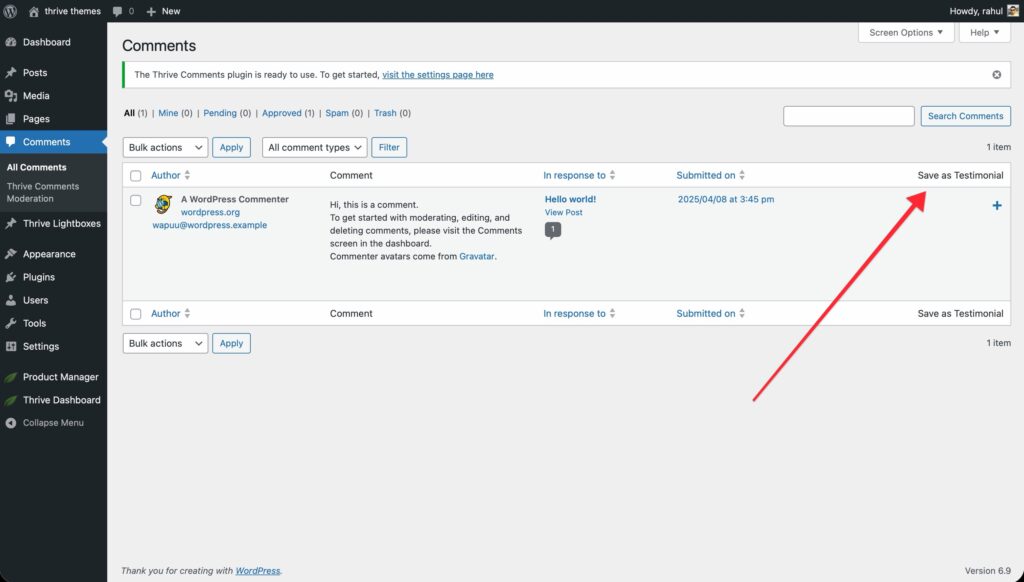
- The comment content and author details will be automatically imported into Thrive Ovation. You can then edit the text or add a tag before saving.
3. Importing from Social Media
You can import positive mentions directly from platforms like Twitter (X).
- From your WordPress dashboard, go to Thrive Dashboard > Thrive Ovation.
- Click Collect Testimonials in the top menu and select Import from Social Media.
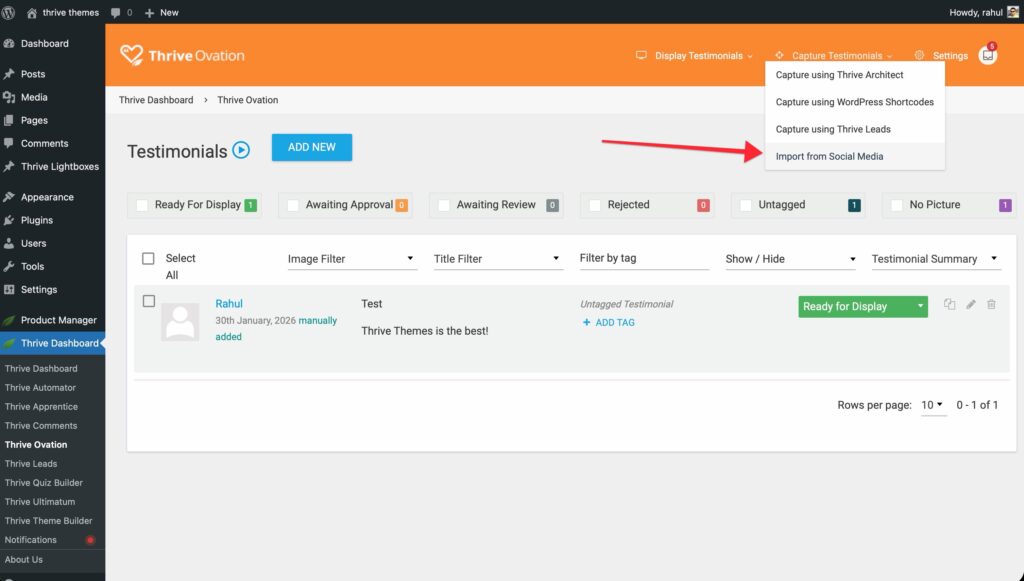
- Paste the URL of the post or tweet you want to import.
- Thrive Ovation will pull the user’s name, profile picture, and the content of the post.
- Review the details and click Save.
4. Adding Testimonials Manually
If you have received praise via email, a support ticket, or an offline conversation, you can enter it manually.
- In the Thrive Ovation dashboard, click Collect Testimonials and select Add New Testimonial Manually.
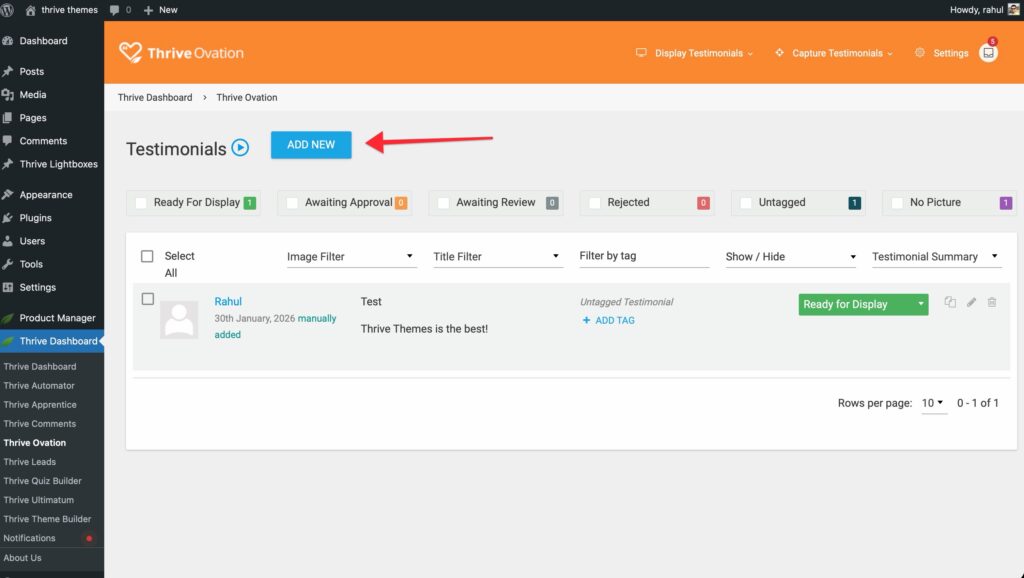
- Fill out the Name, Email, and Testimonial Content.
- (Optional) Upload an image for the customer.
- Assign a Status (Ready for Display, Pending Approval, or In Review) and add any relevant Tags.
- Click Save.
Related Resources
- Getting Started Guide: Learn how to navigate the Thrive Ovation dashboard.
- Settings Guide: Configure custom approval emails and landing pages.
- Display Guide: Learn how to show your testimonials on your site.