If you want to find out how to connect SendFox to a Thrive Leads opt-in form, or a “Lead Generation” element, keep reading this article.
Once you set up the connection, you can either link a “Lead Generation” element to your SendFox mailing list, or you can edit a Thrive Leads opt-in form and add the connection there.
Get the SendFox API key
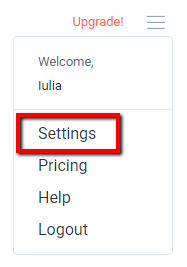
Firstly, you will need to get your API key from the SendFox account. For that, in your SendFox account, go to settings:
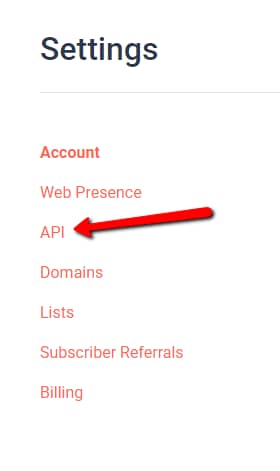
In the left sidebar, click on the API option:
Then, find the “Personal Access Tokens” section and click on “Create New Token”:

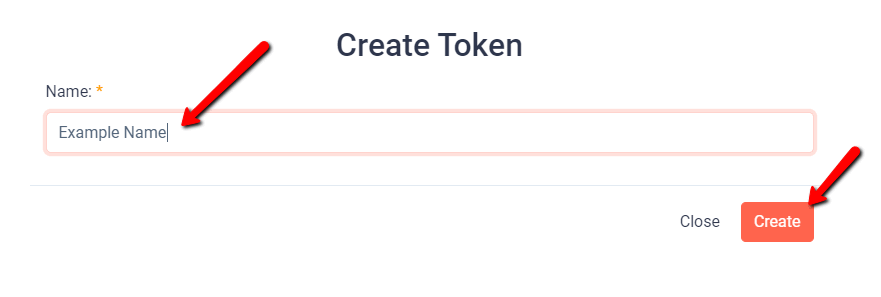
You will have to enter a name, and then click on “Create”:
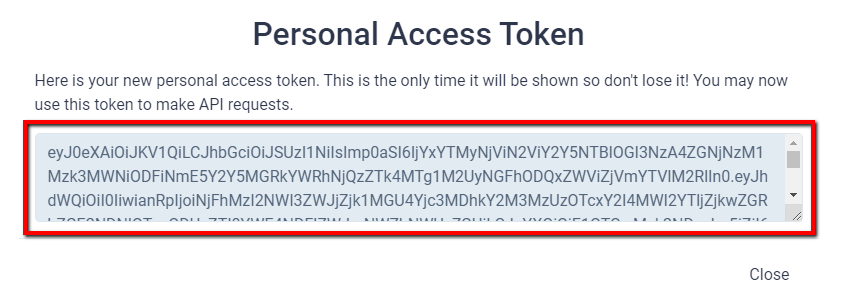
This will generate your token. Select all of this text, and copy it to your clipboard:
Add the keys to your Thrive Dashboard
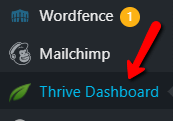
After this, you can go back to your WordPress admin dashboard, and, from the left sidebar, access the Thrive Dashboard:
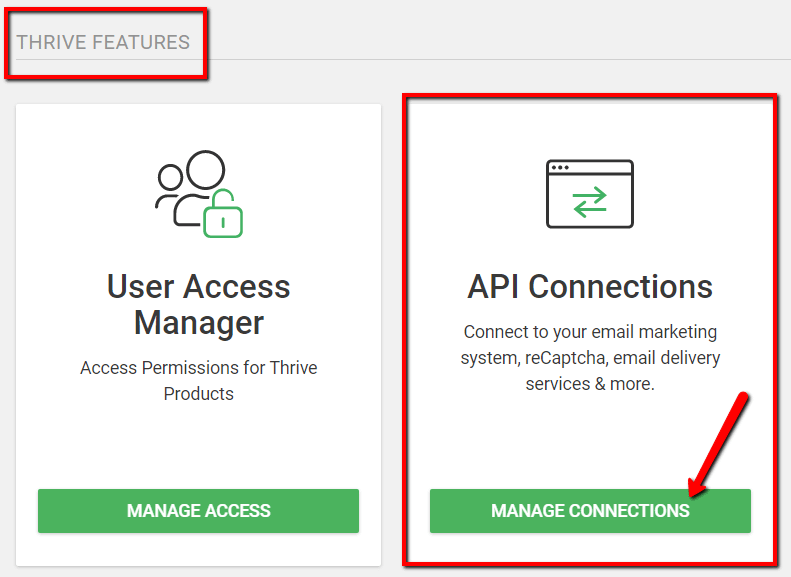
Scroll down, until you see the API Connections card, and click on “Manage Connections”:
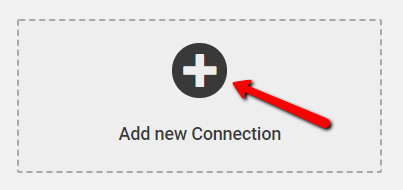
This will open a list with all of the active connections of your dashboard. Click on “Add New Connection”:
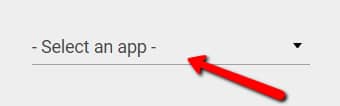
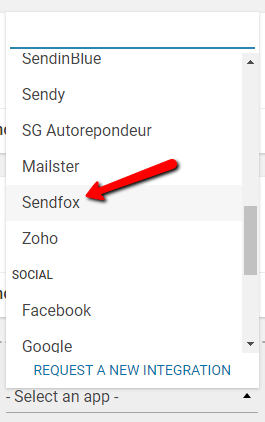
Then, you will have to open a list with all of the available integrations, and for that, click on the “Select an app” field:
This will open the drop-down with the connections. You can start typing “SendFox”, or simply scroll down until you find it, and then click on it:
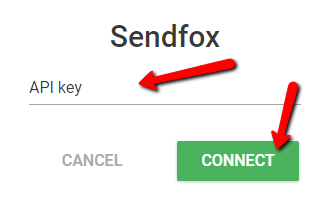
You will be asked to insert the API key for this connection. This is the token that you’ve previously copied, here.
Insert the key in the API key in the field, and then click on “Connect”:
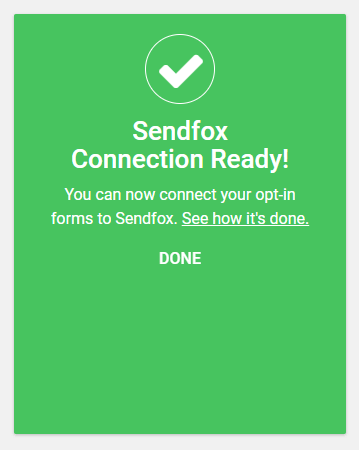
After you’re done, you will see this success notification:
You can edit or remove this connection on the “Active Connections” page.
Connecting SendFox to a “Lead Generation” element
Once the API connection with SendFox has been set, you will be able to connect your Thrive Leads forms and the “Lead Generation” elements to your SendFox account.
We’ll start with the “Lead Generation” element.
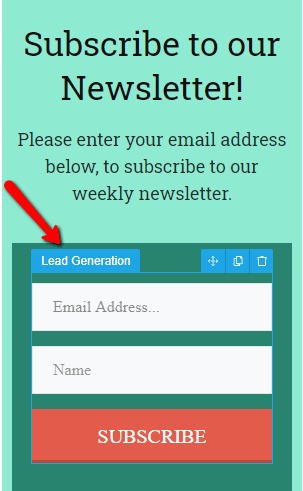
To begin with, you will need to add a “Lead Generation” element to your post/page. For that, click on the plus sign from the right sidebar to open the list of elements. Look for the “Lead Generation” element:

Once found, the element can be dragged and dropped where you want it placed, in the editor. After you add it, its options will appear in the left sidebar. You can use these options to set up and customize the element:
If you need information about how to use all of these options and set up the element, make sure to check out this article.
1. Add Connection
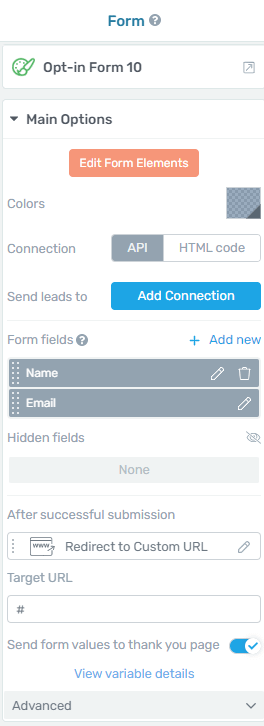
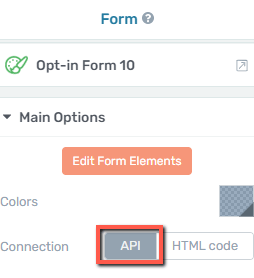
To connect this element to your SendFox lists, make sure to select “API” in the “Connection” section:
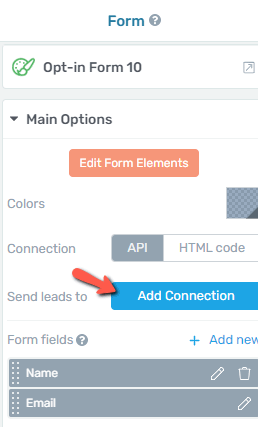
Next, click on “Add Connection”:
When you click here, a pop-up will open, from where you have to choose the API connection that you want to use. Of course, in our case, this is SendFox.
Connection
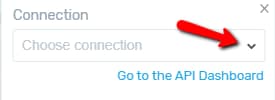
Firstly, you will have to choose SendFox from a list of all the available integrations. Click on the down arrow, or on the “Choose connection” field:
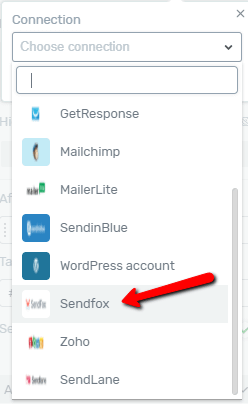
A list will open. Start typing “SendFox”, or scroll down until you find it, and click on it:
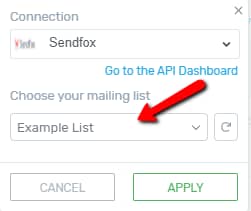
Mailing List
After this, one more field will appear: “Choose your mailing list”. Click on the field below it, to open a drop-down with your SendFox mailing lists, and choose the one you want to use in this connection:
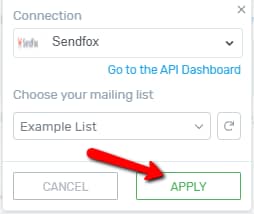
Click on “Apply” when you’re done, to save everything:
2. Set up the form fields
The connection has been made. The next step would be to set up the form fields. You can find out more information about how to do that, in the dedicated section of the “Lead Generation” article, that you can find here.
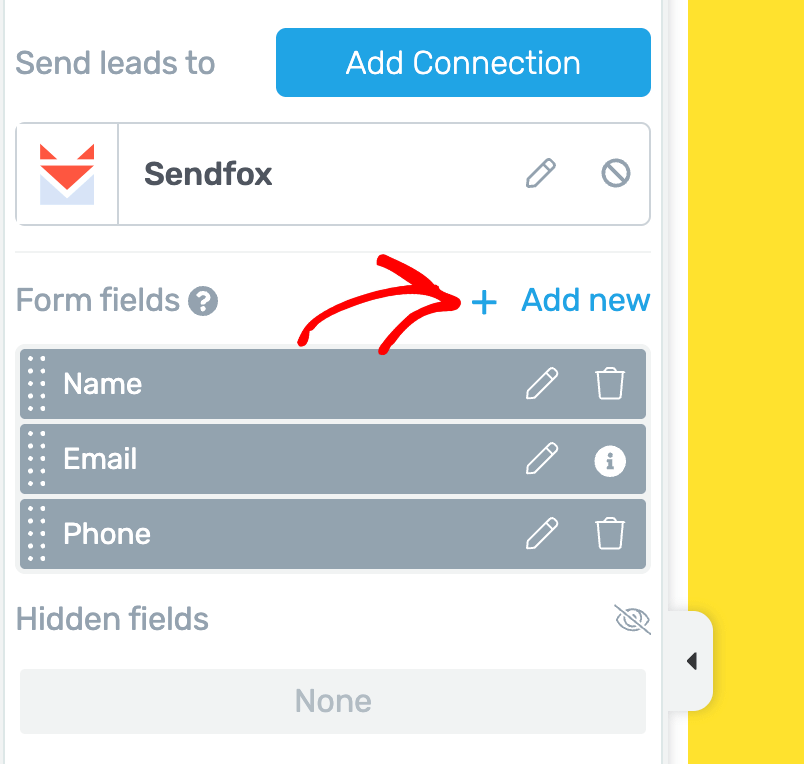
To add a custom field, first under the Form fields section click + Add new.
In this select field type dropdown select the type you want to add. We are selecting a Date/Time for this example.

Once you select the field type, enter the field name and click on the dropdown to select the respective field in SendFox that you want to map this field with.
In this example, we’ve selected birthday. So, the information going through the Date field will be sent to the birthday field in SendFox.

After adding the field and mapping it with the one in SendFox, click the Apply button to add this custom field.

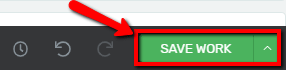
After setting up the fields, you’re all done, and you can start using the connection. Just make sure to save all the changes, so that the API connection to be saved as well. To do that, click on the green “Save Work” button from the bottom left side of the screen:
Connecting SendFox to Thrive Leads
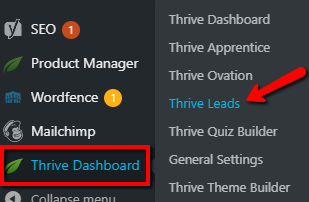
As mentioned earlier, you can also connect your SendFox mailing list to one of the forms created in Thrive Leads. For that, access the Thrive Leads dashboard, by hovering over “Thrive Dashboard”:
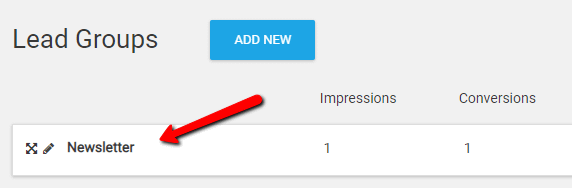
In the dashboard, find the Lead Group, that contains the type of form that you want to add the SendFox connection to, and click on it, to open the list with all of the form types:
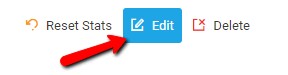
Once you find the form type (in this case, “Widget”), click on “Edit”, from its right side:
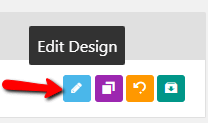
This will open a list with all the “Widget” type of forms. Look for the one that you want to add the connection to, and click on “Edit Design”:
The form will open in the Thrive Architect editor. The form will have a “Lead Generation” element inside it, and you can select it, by clicking on it, in the editor:
The “Lead Generation” options will appear in the left sidebar. The way to set up the SendFox connection is exactly as described above.
You can then set the display settings of the form, and choose on what posts/pages it should appear, and you’re all set.
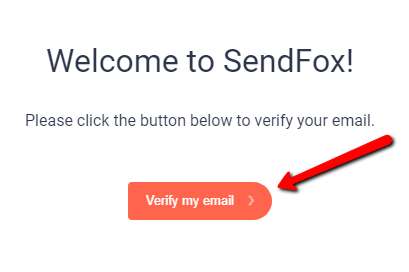
Note: Don’t forget that, whenever someone submits their information using your form, they will have to go to their mail and confirm that they want to sign up/subscribe to your site:
This is it! Now, whenever someone completes the form using the “Lead Generation” element from your site, you should be able to find them in the “Contacts” of the chosen mailing list of your SendFox account.
If you need more information about various Thrive Themes features or products, make sure to check out our articles and tutorials, here.
I hope this article was useful for you. If that’s the case, don’t forget to leave a smile below 🙂