In this article, you’ll learn how to connect your ThriveCart account to Thrive Apprentice using an API key, and then set up access restriction rules so that ThriveCart purchases automatically grant course access to your customers.
Part 1: Generate an API Key in Thrive Apprentice
The connection between ThriveCart and Thrive Apprentice is powered by an API key. You’ll generate this key inside Thrive Apprentice and then add it to ThriveCart.
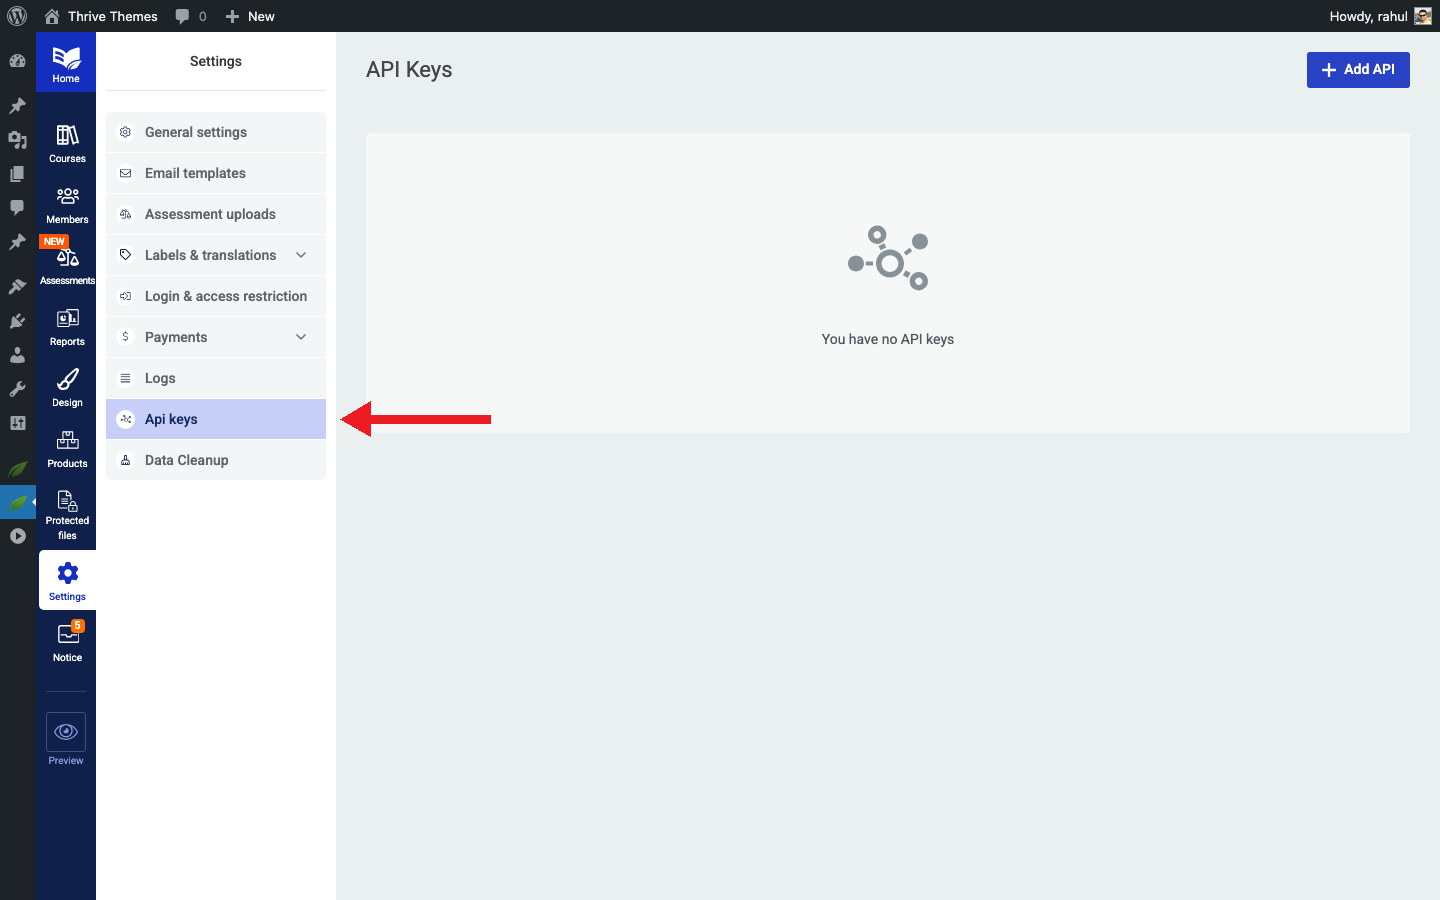
- Go to Thrive Dashboard > Thrive Apprentice.
- Click Settings in the left sidebar.
- Select API keys from the settings menu.
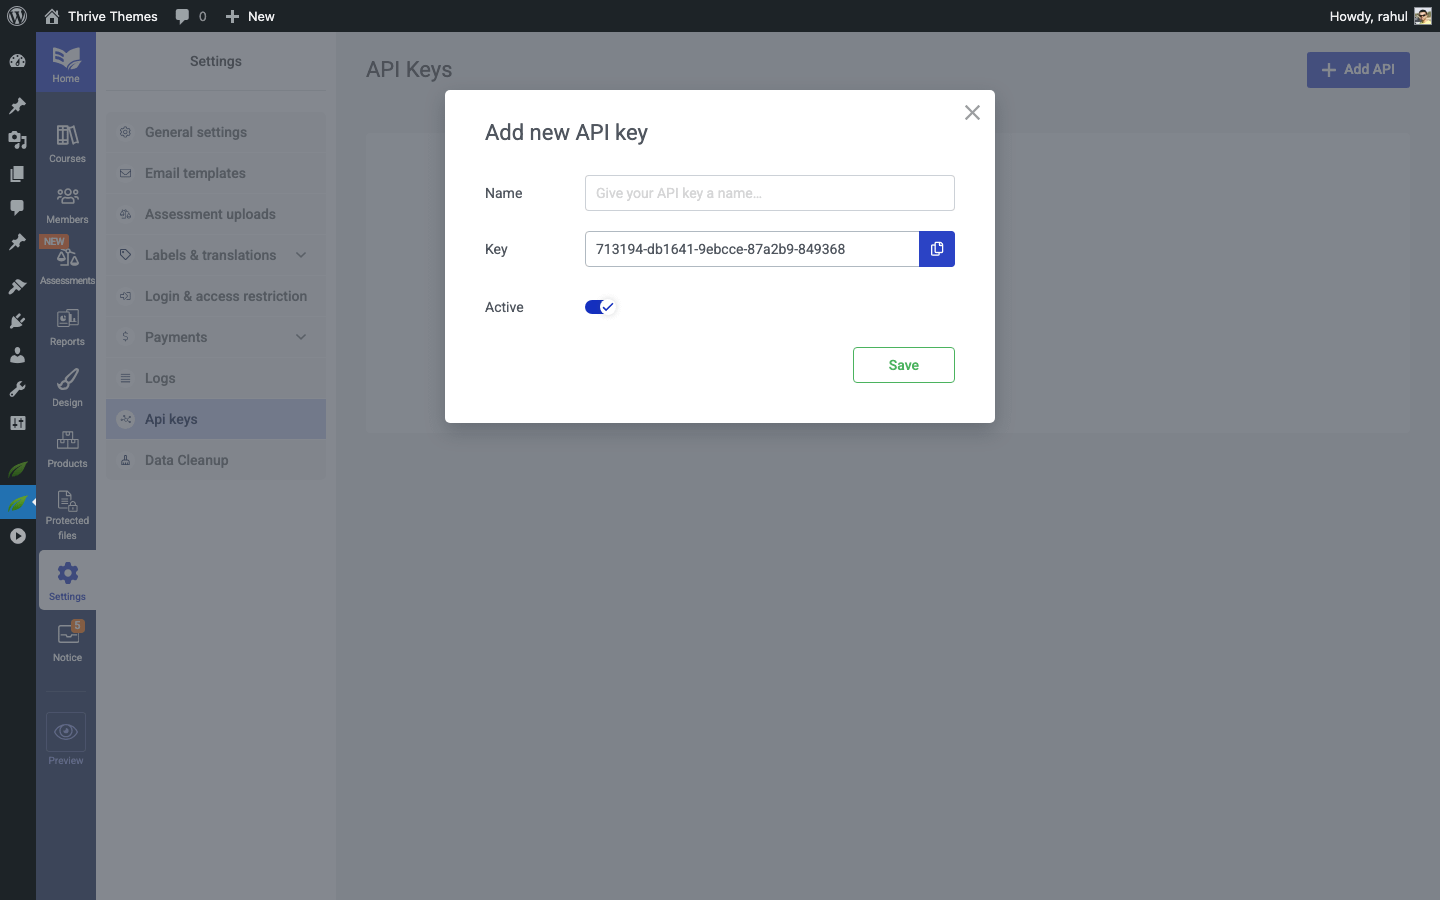
- Click Add API to generate a new API key.
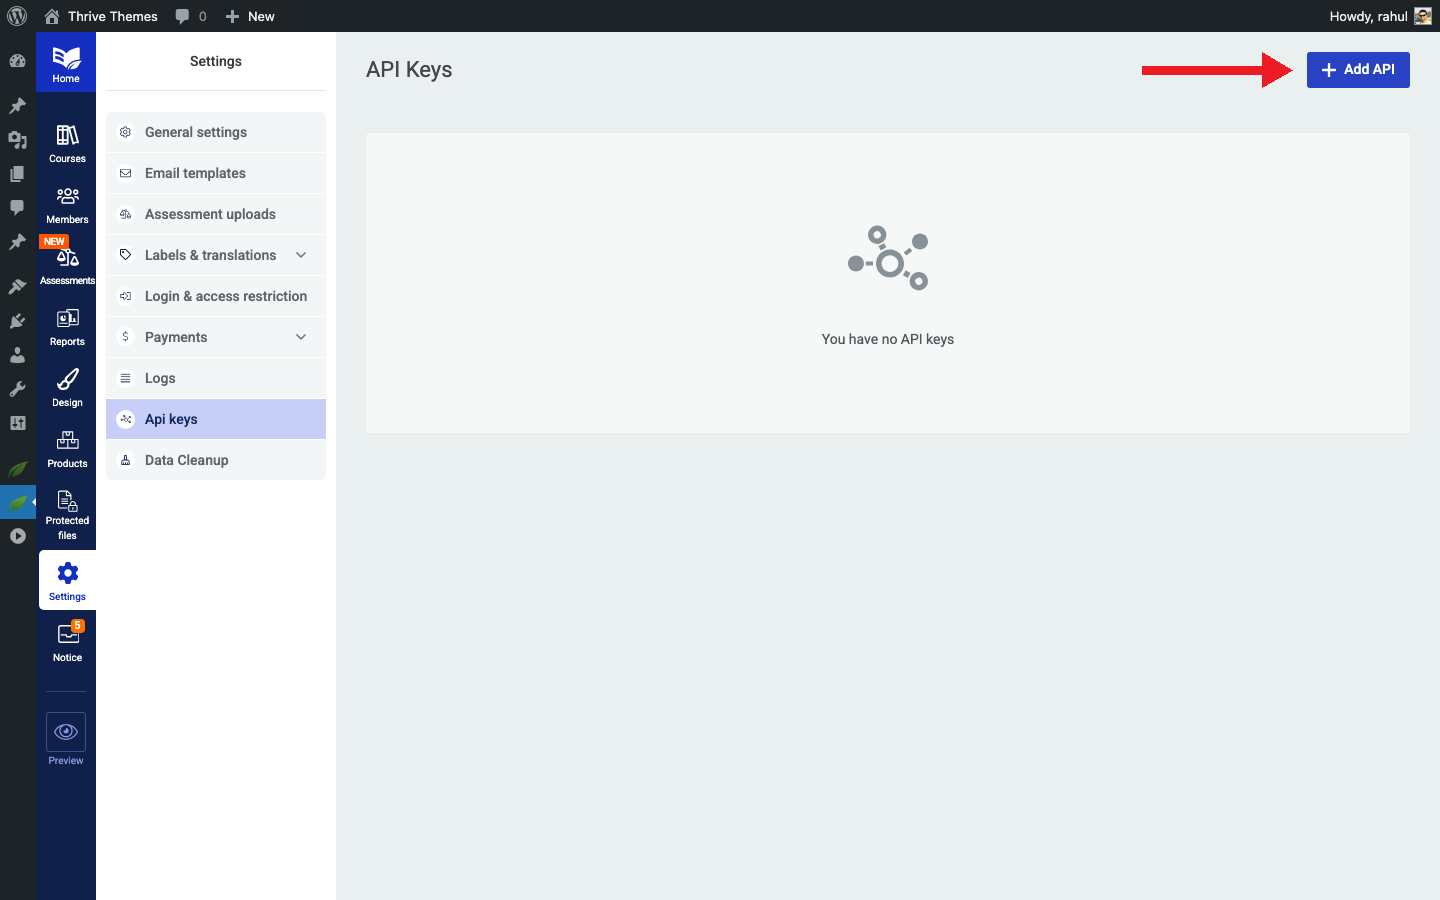
- Copy the generated API key—you’ll need it in the next step.
Part 2: Add the API Key in ThriveCart
Now take the API key you just generated and enter it into your ThriveCart account to establish the connection.
- Log in to your ThriveCart account.
- Navigate to Settings > API & Webhooks (or the equivalent section in your ThriveCart dashboard).
- Look for the Thrive Apprentice integration option.
- Paste the API key you copied from Thrive Apprentice.
- Enter your website URL when prompted.
- Save the connection.
Once saved, ThriveCart and Thrive Apprentice can communicate with each other. When a customer completes a purchase through ThriveCart, the system will notify Thrive Apprentice to grant course access.
Part 3: Set Up Access Restriction Rules
With the connection established, you now need to tell Thrive Apprentice which ThriveCart products should grant access to which courses.
- Go to Thrive Dashboard > Thrive Apprentice.
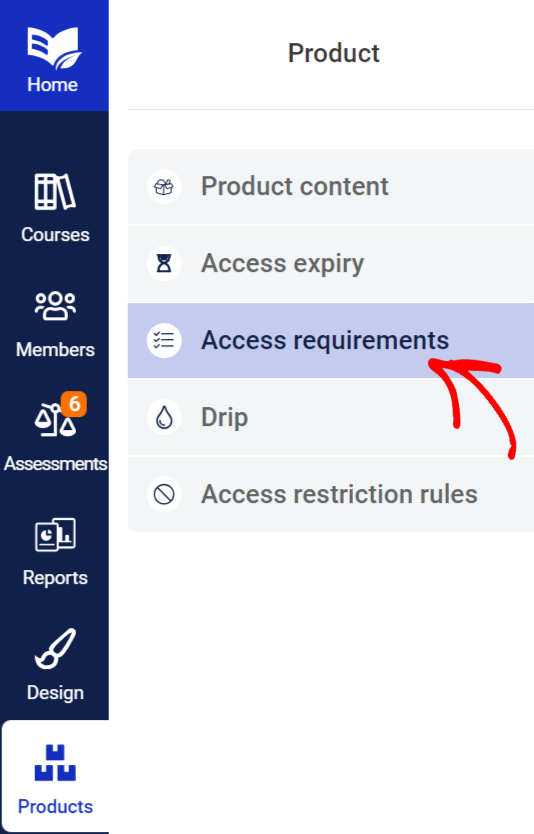
- Click Products in the left sidebar.
- Select the product that contains the course(s) you want to protect.
- Click the Access requirements tab.
- In the access requirements panel, locate the ThriveCart protection options.
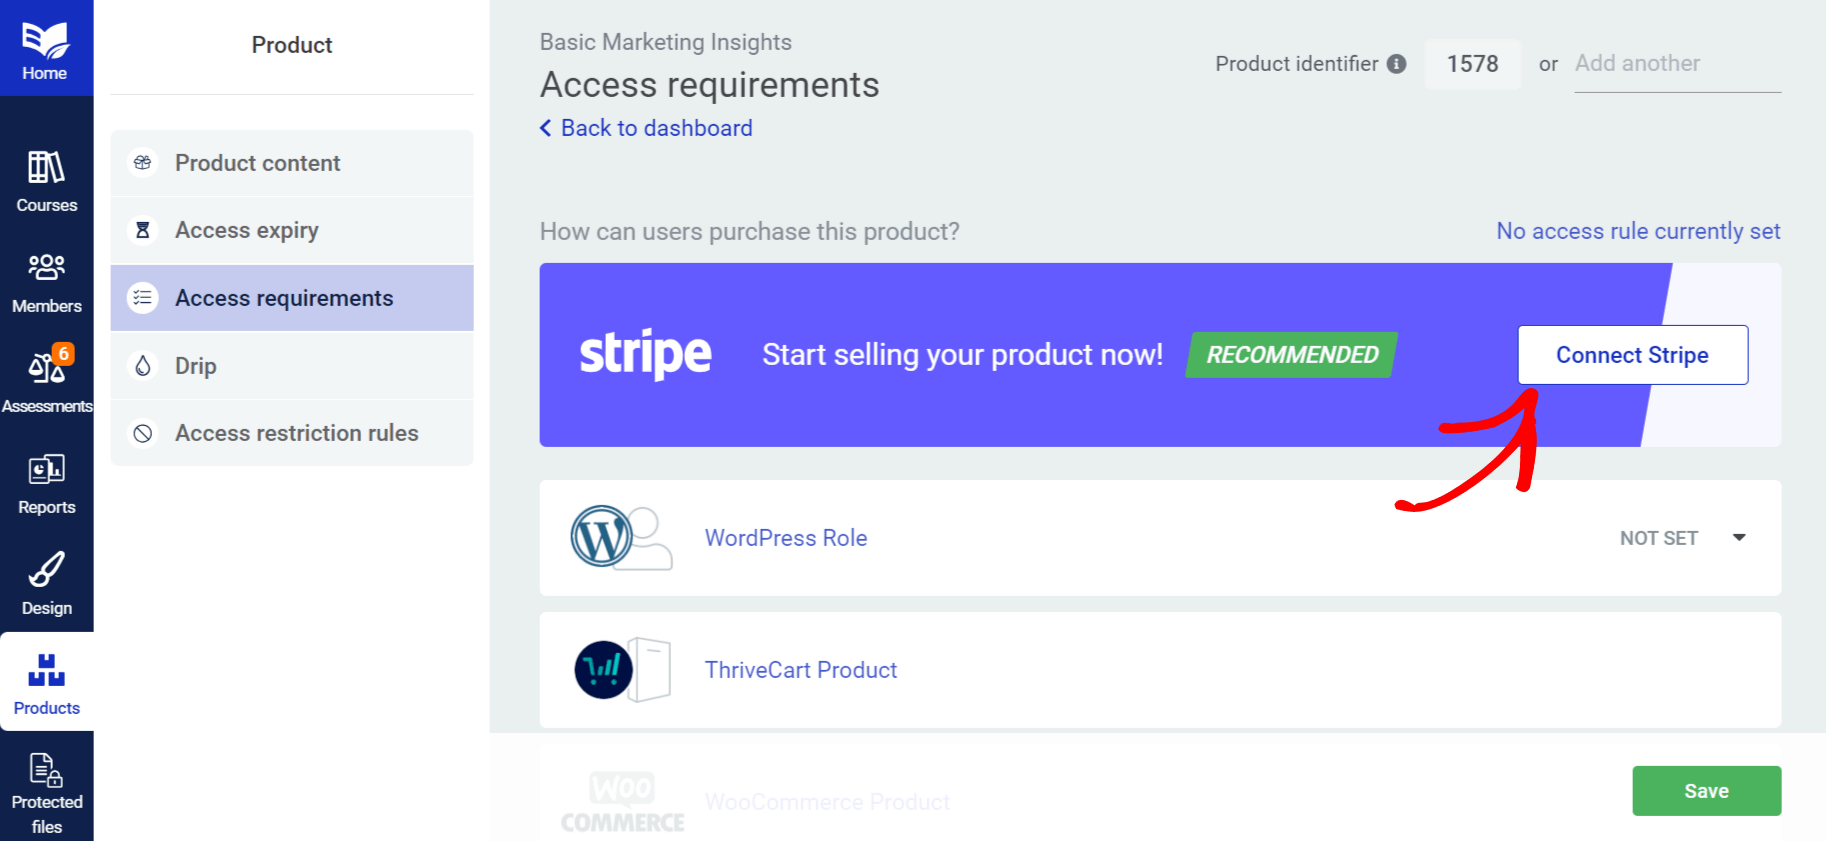
- Select the ThriveCart product that should grant access to this Thrive Apprentice product.
- Save your changes.
This links the two products together. When a customer buys the ThriveCart product, they’ll automatically receive access to the associated Thrive Apprentice course.
How the Access Flow Works
Once everything is configured, here’s what happens from your customer’s perspective:
- The customer visits your ThriveCart checkout page and completes the purchase.
- ThriveCart processes the payment and sends a notification to Thrive Apprentice via the API.
- Thrive Apprentice creates a user account (if one doesn’t exist) and grants access to the linked course(s).
- The customer receives an email with login details and can access the course immediately.
The entire process is automatic—no manual enrollment needed on your end.
Managing Access
ThriveCart handles billing, refunds, and cancellations. When billing events occur:
- Refund processed in ThriveCart: Course access is revoked in Thrive Apprentice.
- Subscription cancelled: Access is removed based on your cancellation settings.
- Subscription renewed: Access continues automatically.
Tip: Test the full flow by making a test purchase through ThriveCart to confirm that access is granted correctly in Thrive Apprentice.
Troubleshooting
- ThriveCart products not appearing in access settings: Make sure the API key is correctly entered in both systems and that the connection is active. Try regenerating the API key if needed.
- Customer didn’t receive access: Check that the ThriveCart product is linked to the correct Thrive Apprentice product in the Access requirements tab. Also verify the customer’s email matches in both systems.
- API connection failed: Confirm your website URL is entered correctly in ThriveCart and that your site is accessible (not in maintenance mode).
That’s it! You’ve successfully connected ThriveCart to Thrive Apprentice and configured access restriction rules so your customers get instant course access after purchase.
Related Resources
- Choosing an integration: How to Choose the Right Integration for Thrive Apprentice
- Stripe setup: How to Set Up Stripe in Thrive Apprentice
- WooCommerce setup: How to Get Started with WooCommerce and Thrive Apprentice
- Square connection: How to Connect Square to Thrive Apprentice