In this article, you’ll learn how to set up Thrive Apprentice for the first time and create your first online course—from initial configuration to publishing your first lesson.
Prerequisites
Before you begin, make sure you have:
- Thrive Apprentice installed and activated on your WordPress site.
- The Thrive Product Manager used to install the plugin (available from your Thrive Themes account).
Accessing Thrive Apprentice
- Log in to your WordPress dashboard.

- Hover over Thrive Dashboard in the left sidebar menu.
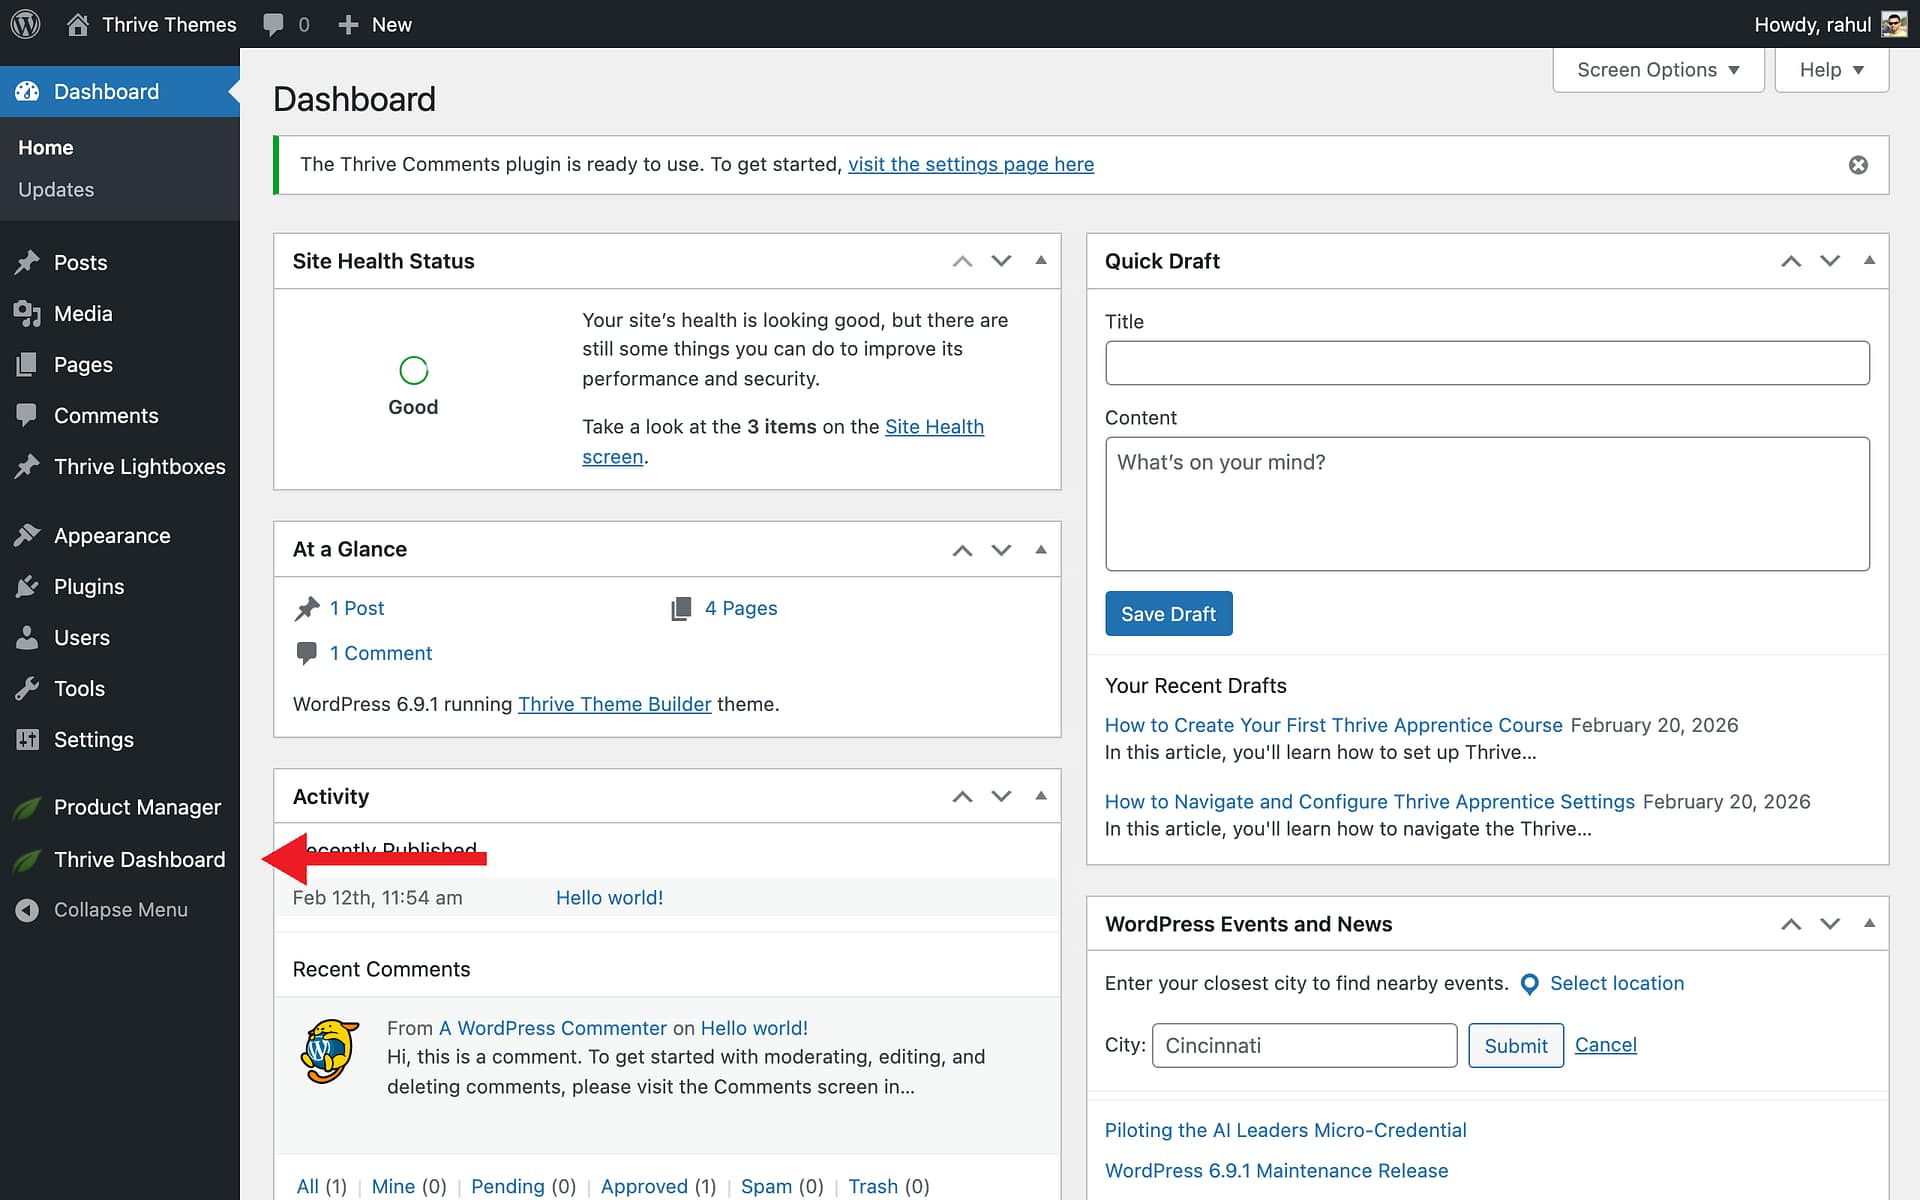
- Click Thrive Apprentice.

Tip: You can also access Thrive Apprentice by navigating to the Thrive Dashboard page and clicking the Thrive Apprentice card.
Running the Setup Wizard
If this is your first time opening Thrive Apprentice, a setup wizard will appear automatically.
- Click Get Started on the welcome lightbox.
- Choose a page where your courses will be listed, or click Add New Page to create one. Then click Continue.
- Enter a name for your school design (e.g., “My School”) and click Create new design.
Creating Your First Course
Once the setup wizard is complete, you’ll land on the Thrive Apprentice dashboard.
- Click the Courses tab in the left sidebar.

- Click the Add course button at the top of the page.

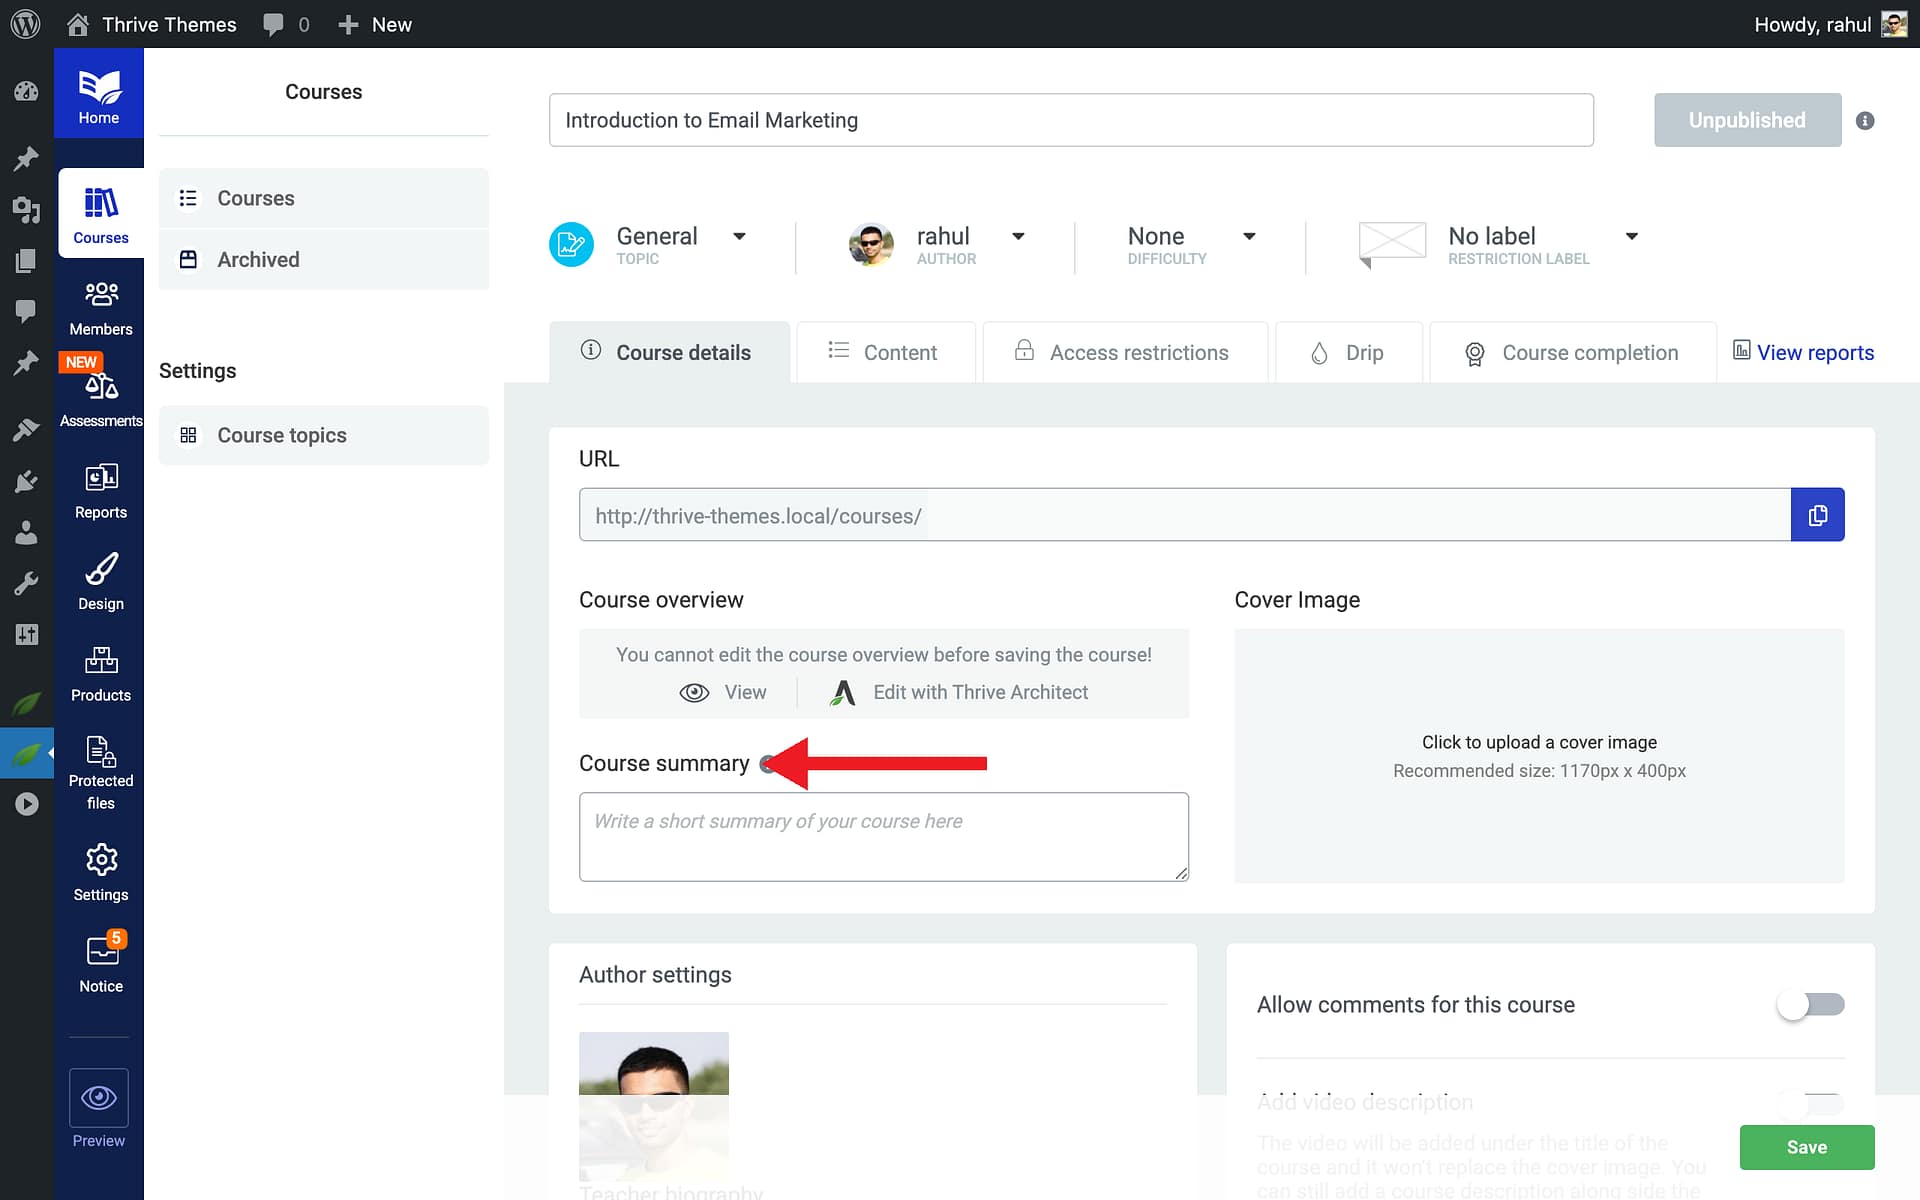
- Enter a Course Title (e.g., “Introduction to Email Marketing”).
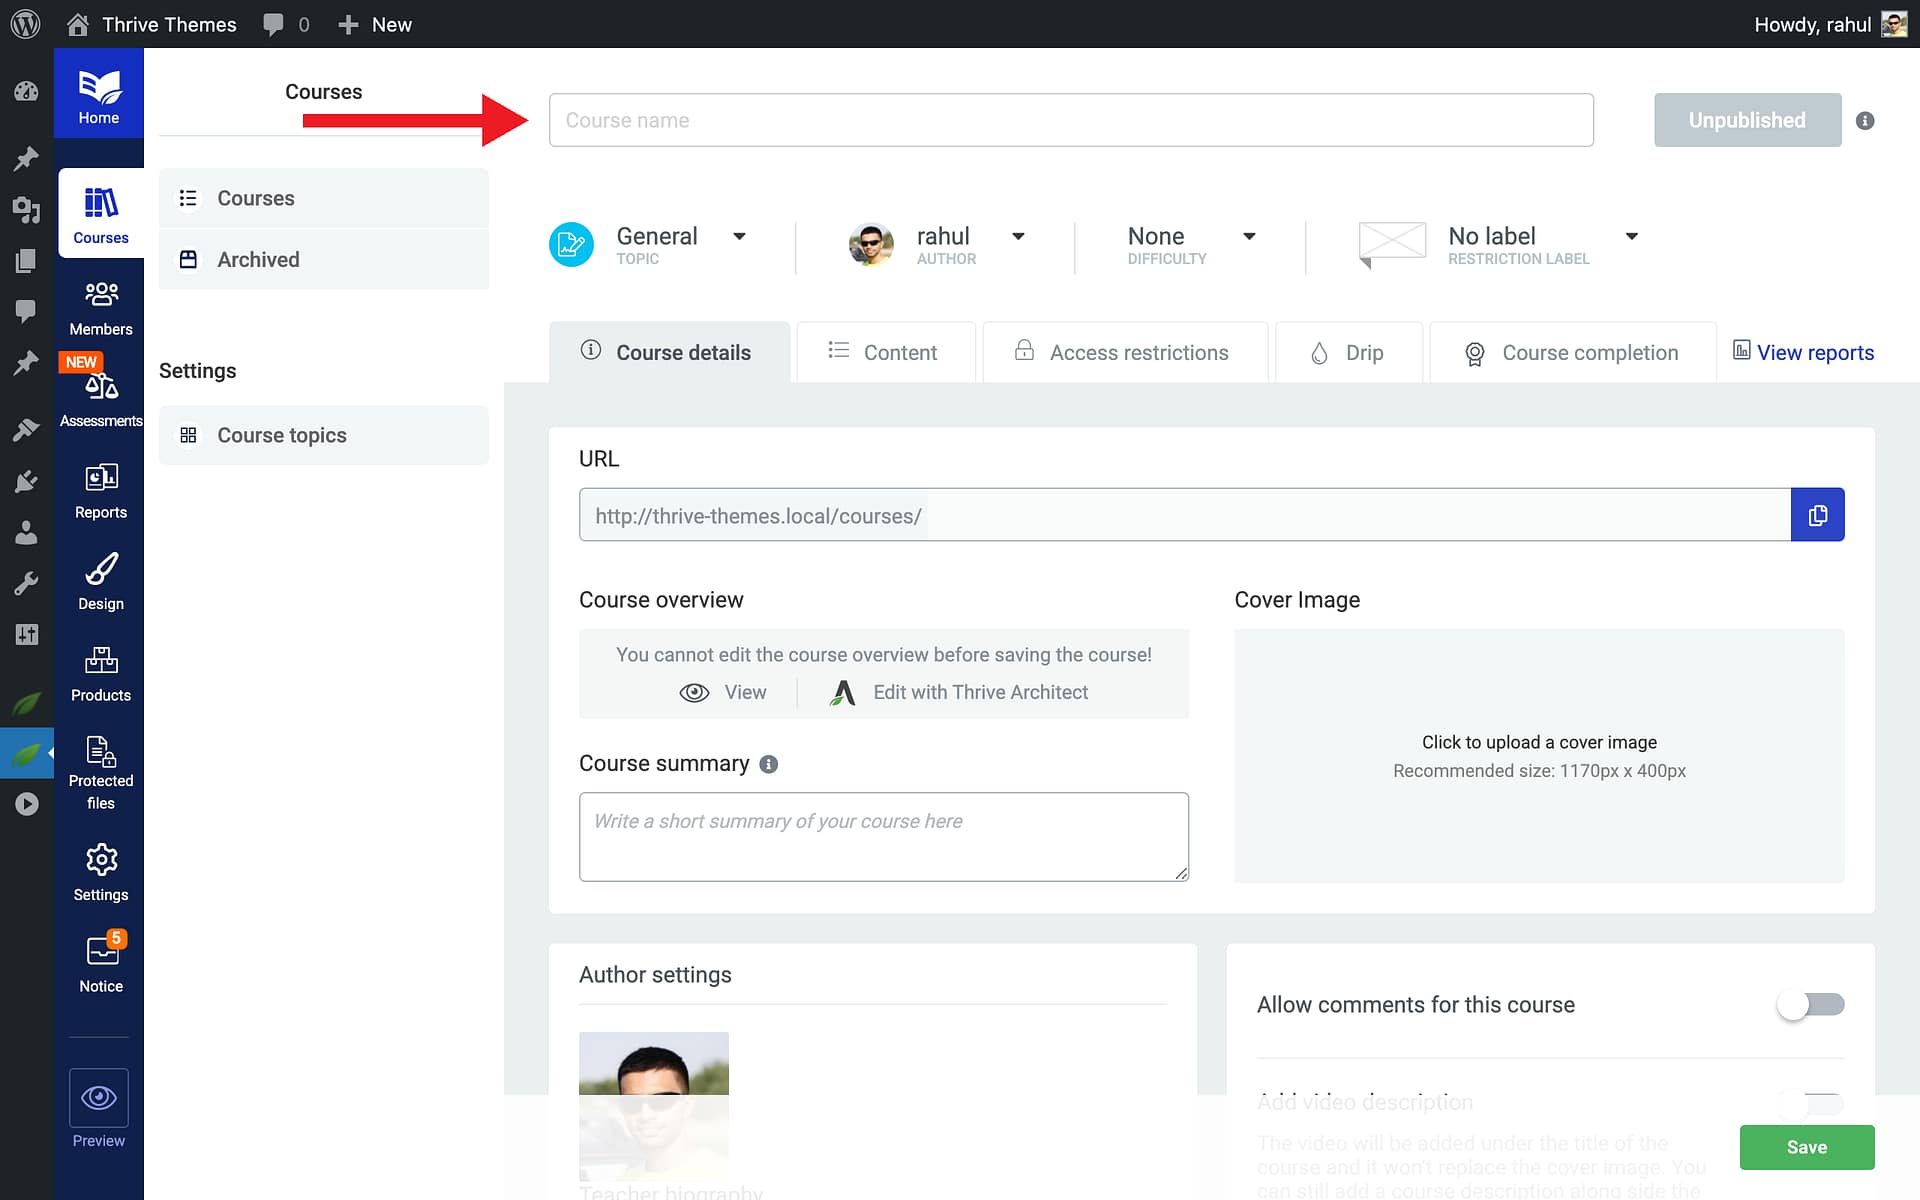
- Optionally, add a Course Description to explain what students will learn.
- Click Save to create the course.
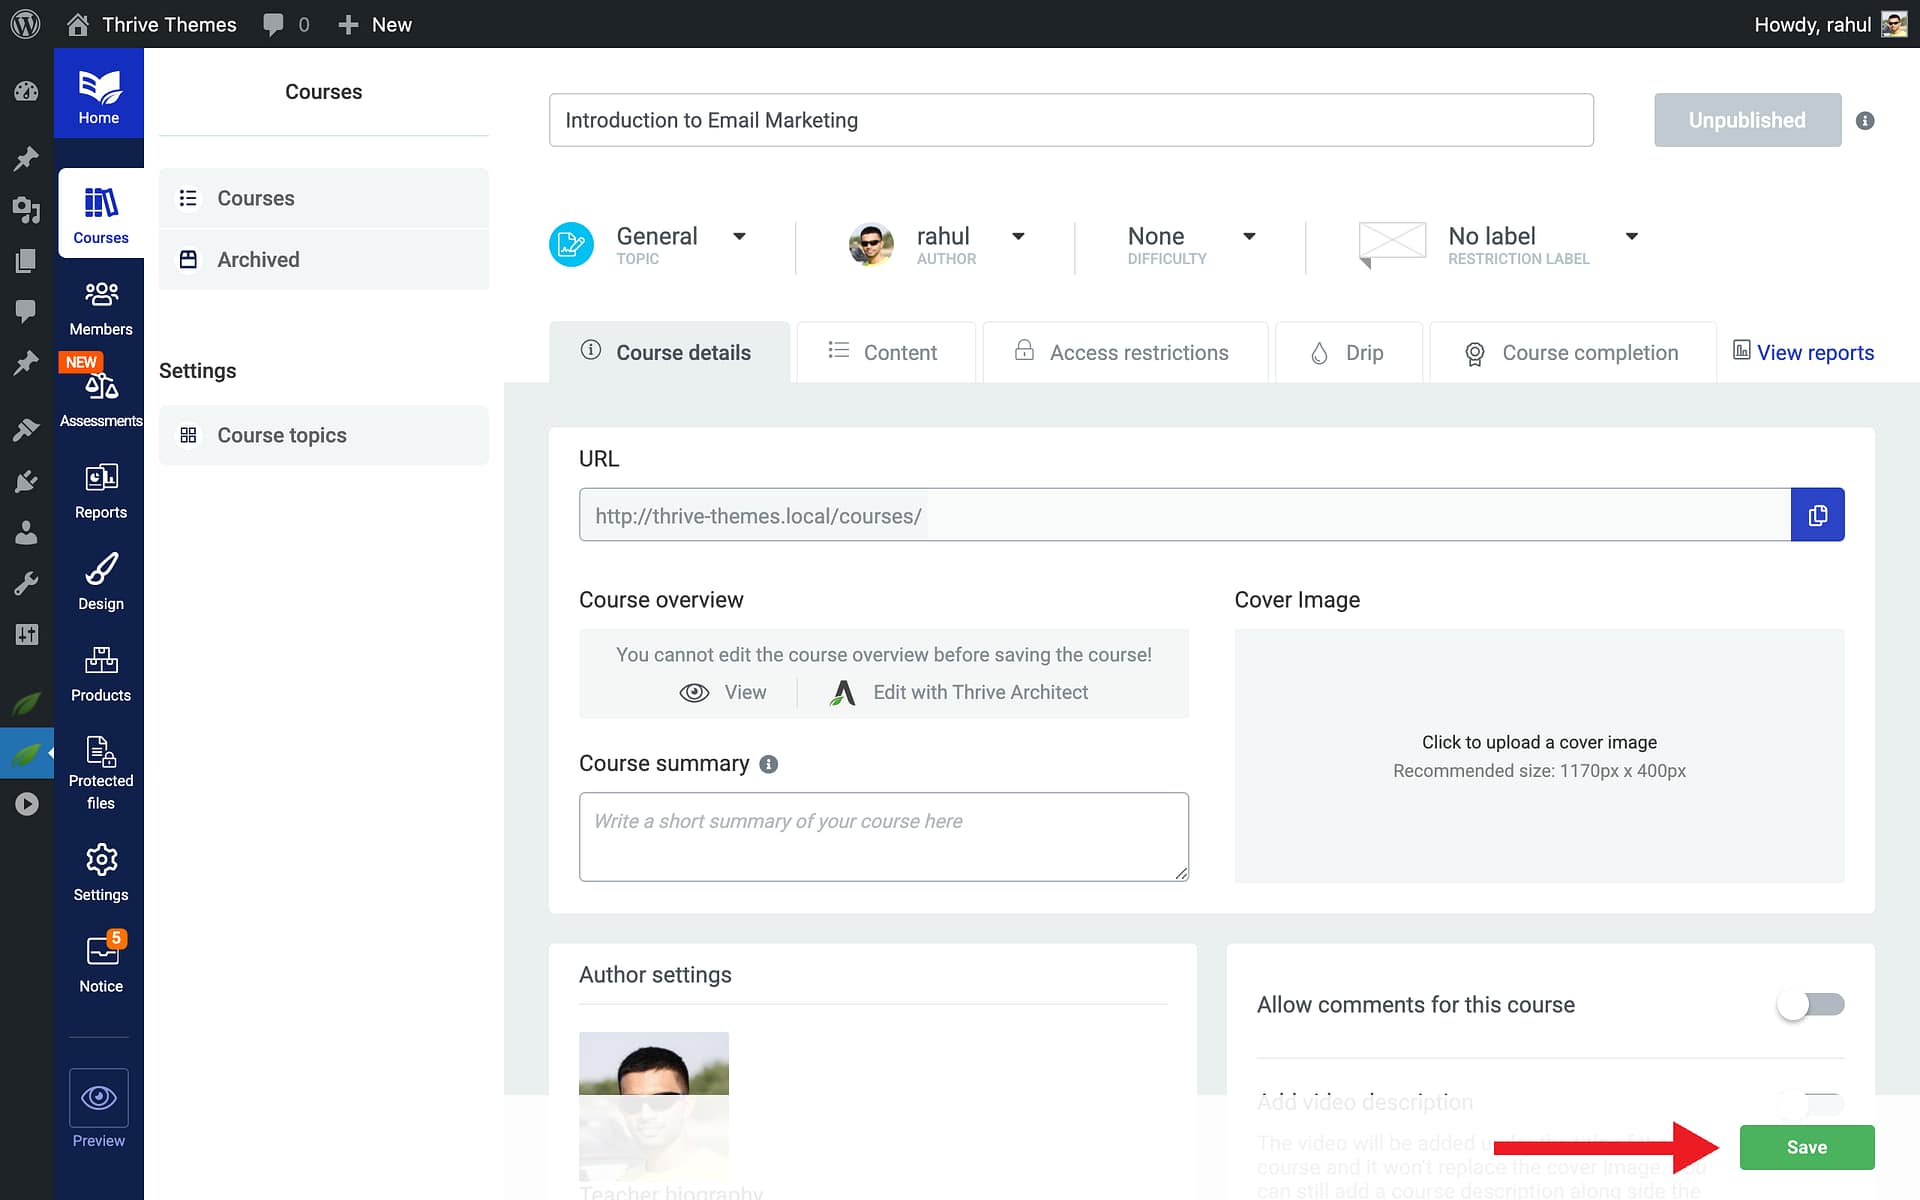
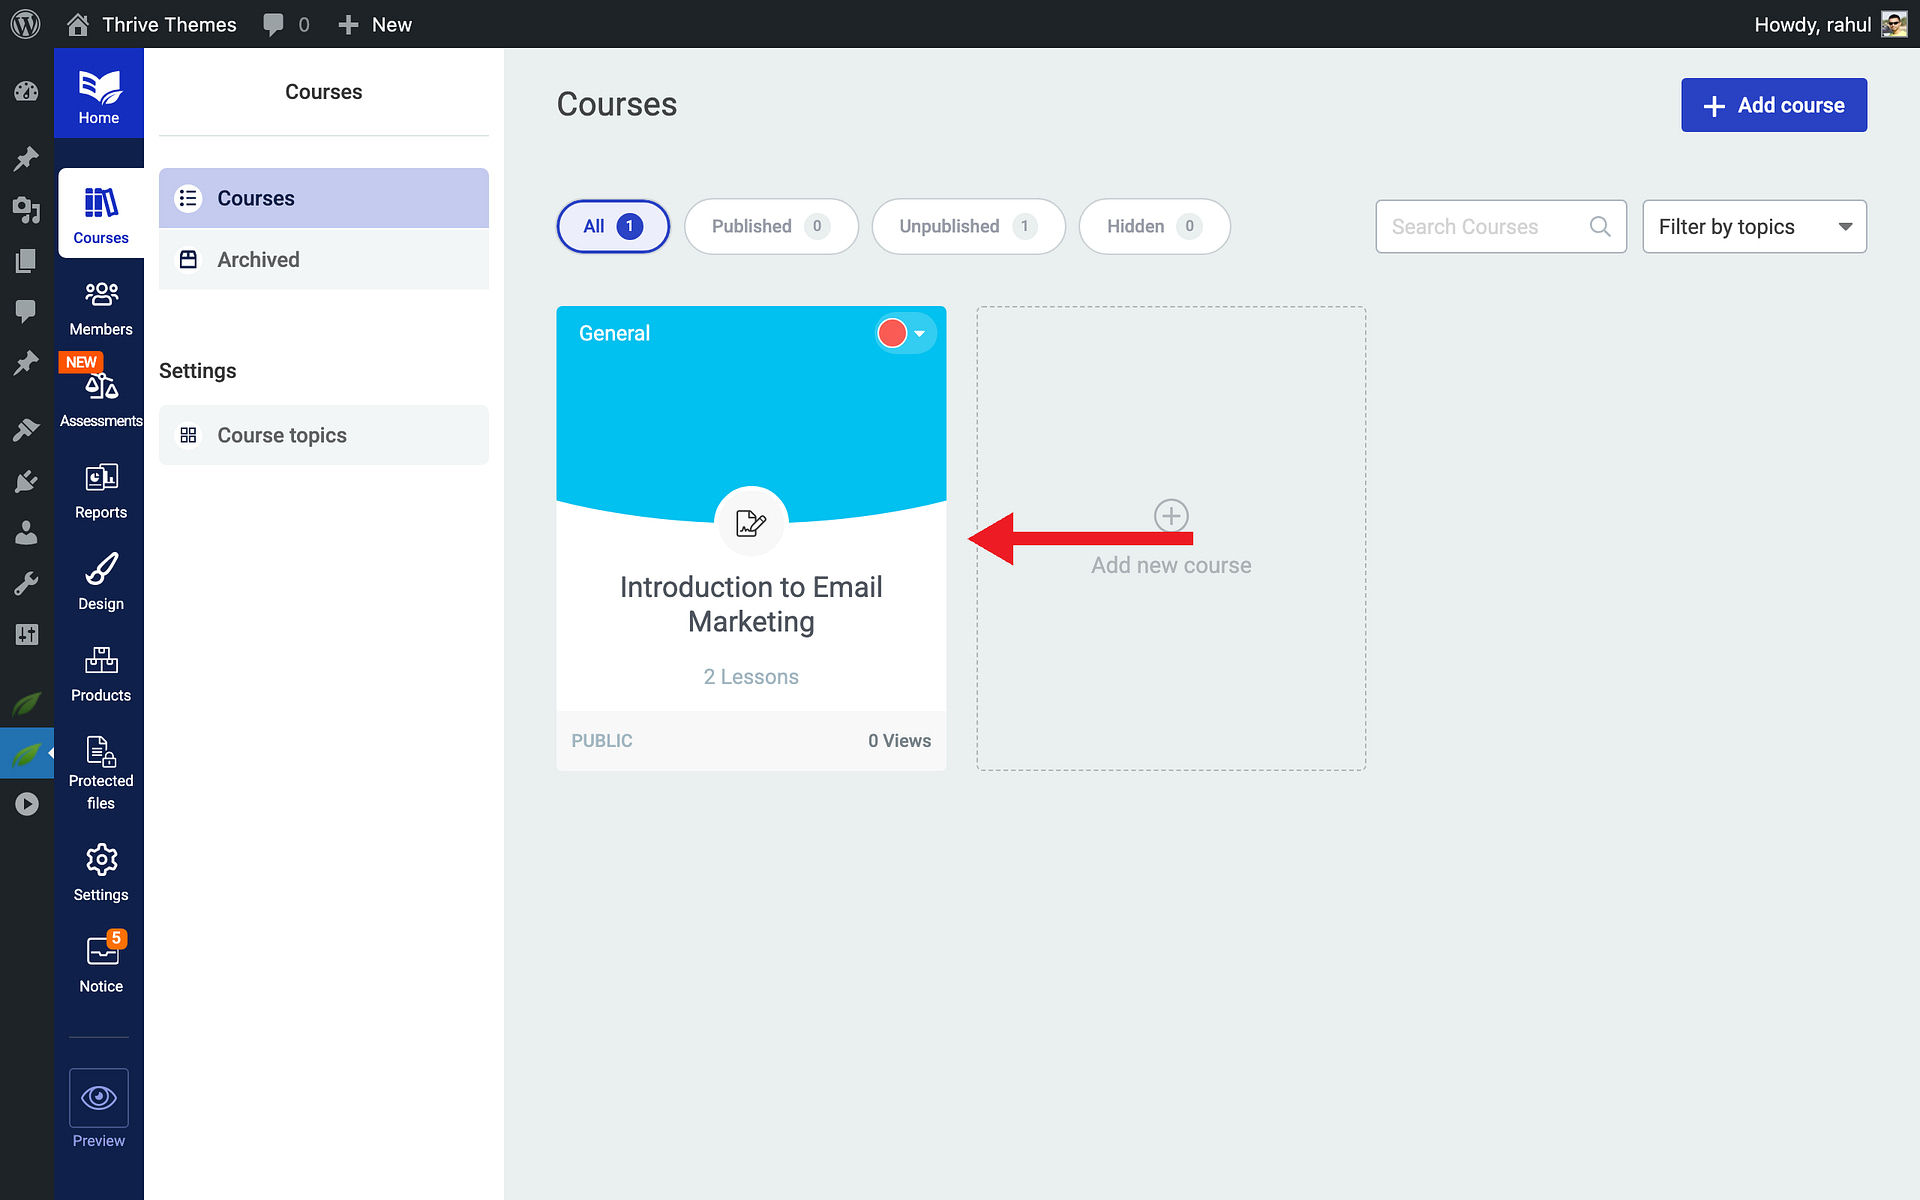
Your new course is now visible in the course list.
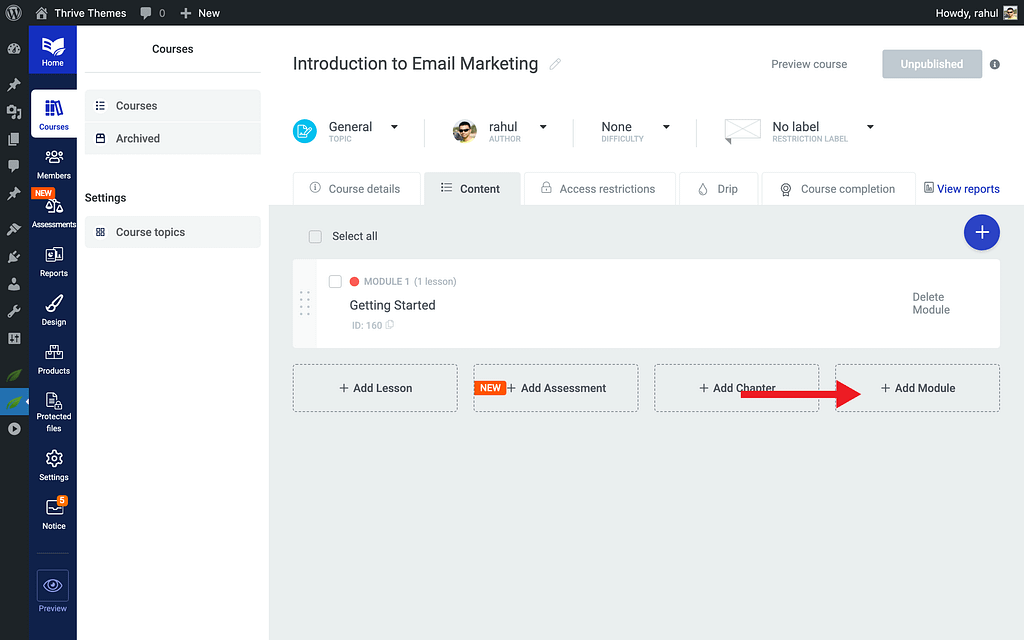
Adding Modules and Chapters
Modules and chapters help you organize your course content into logical sections.
- Open your course by clicking on it in the Courses list.

- Click Add Module to create a top-level section (e.g., “Module 1: The Basics”).
- Enter a Module Title and click Save.

- To add chapters within a module, click Add Chapter underneath the module.

Tip: Modules are optional—you can add lessons directly to a course without modules if your content doesn’t need that level of organization.
Adding Your First Lesson
- Inside your course (or within a module), click Add Lesson.
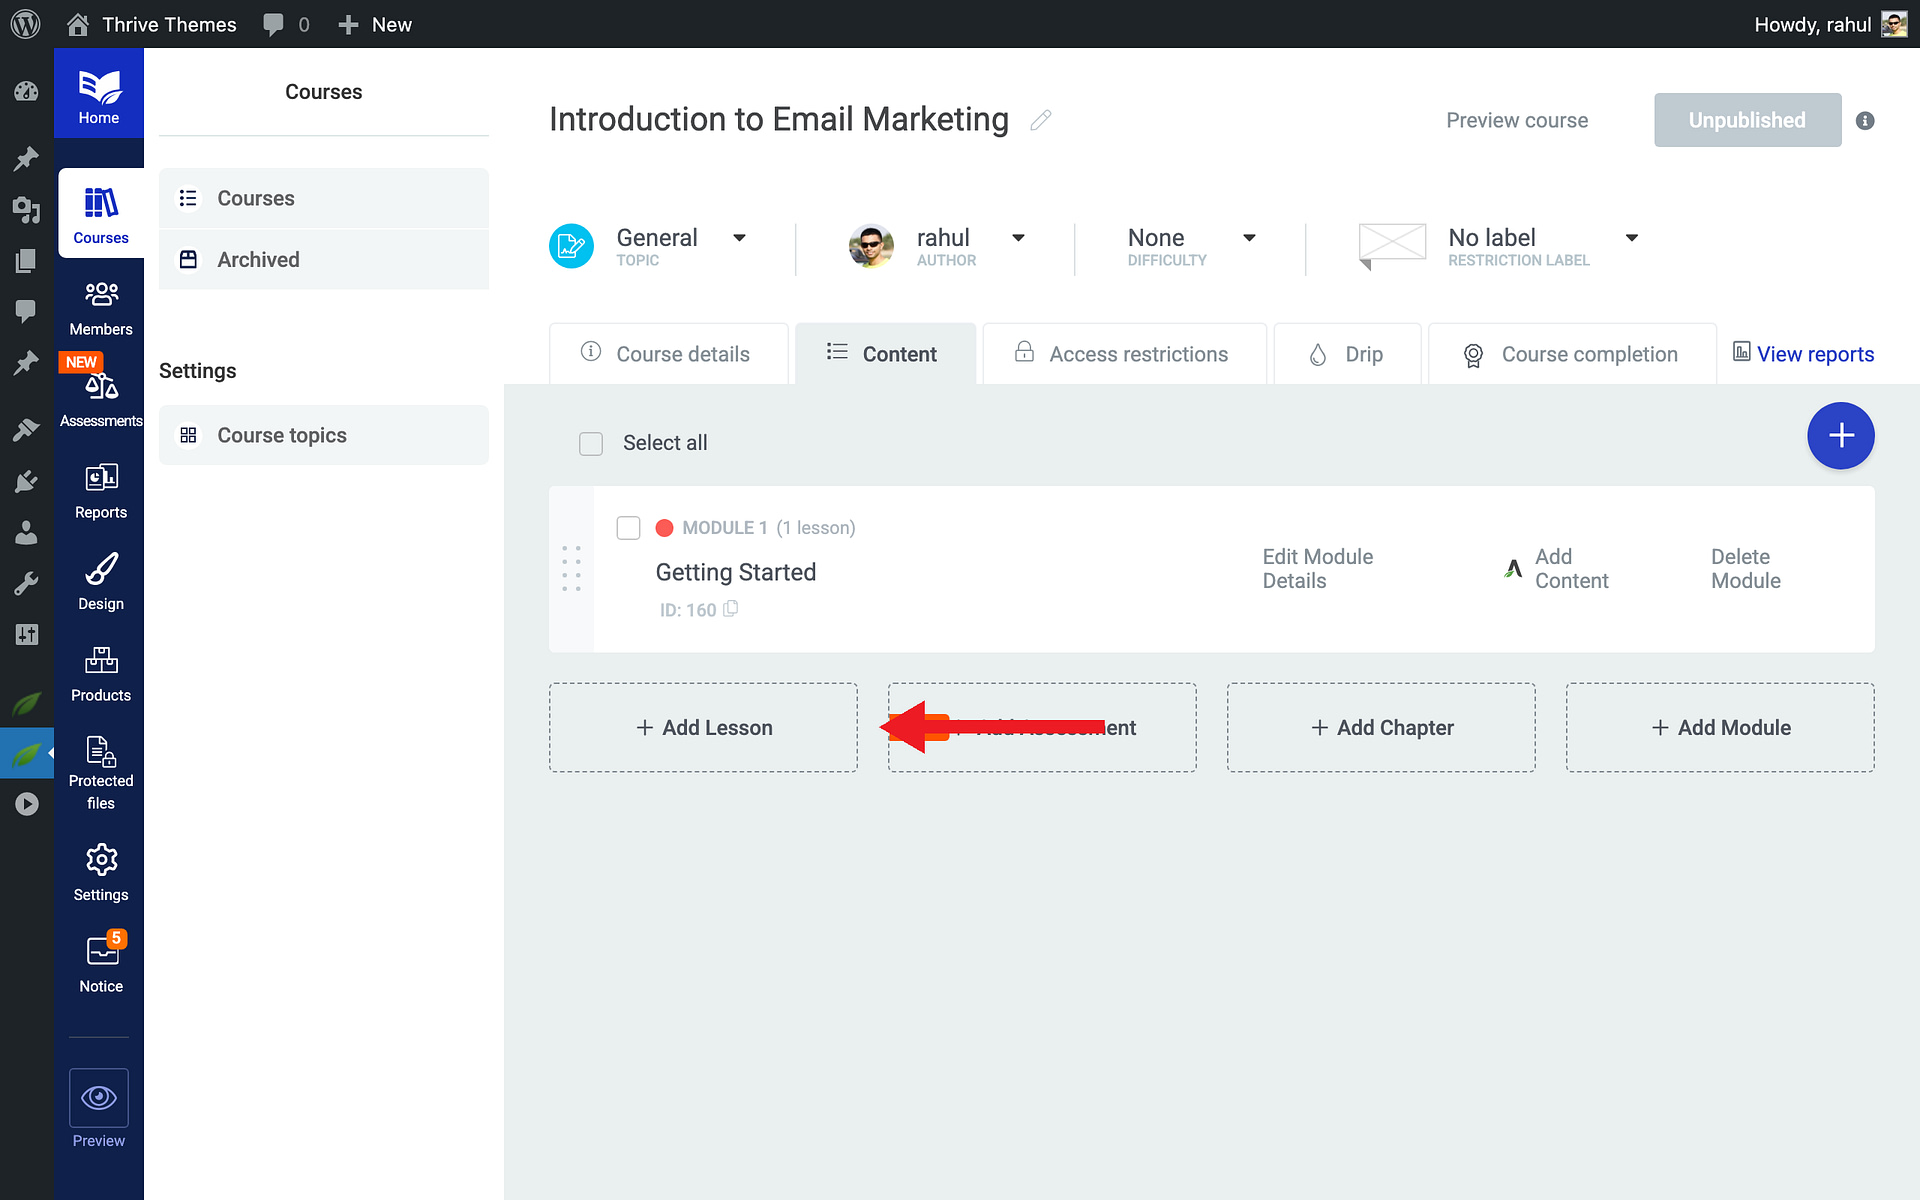
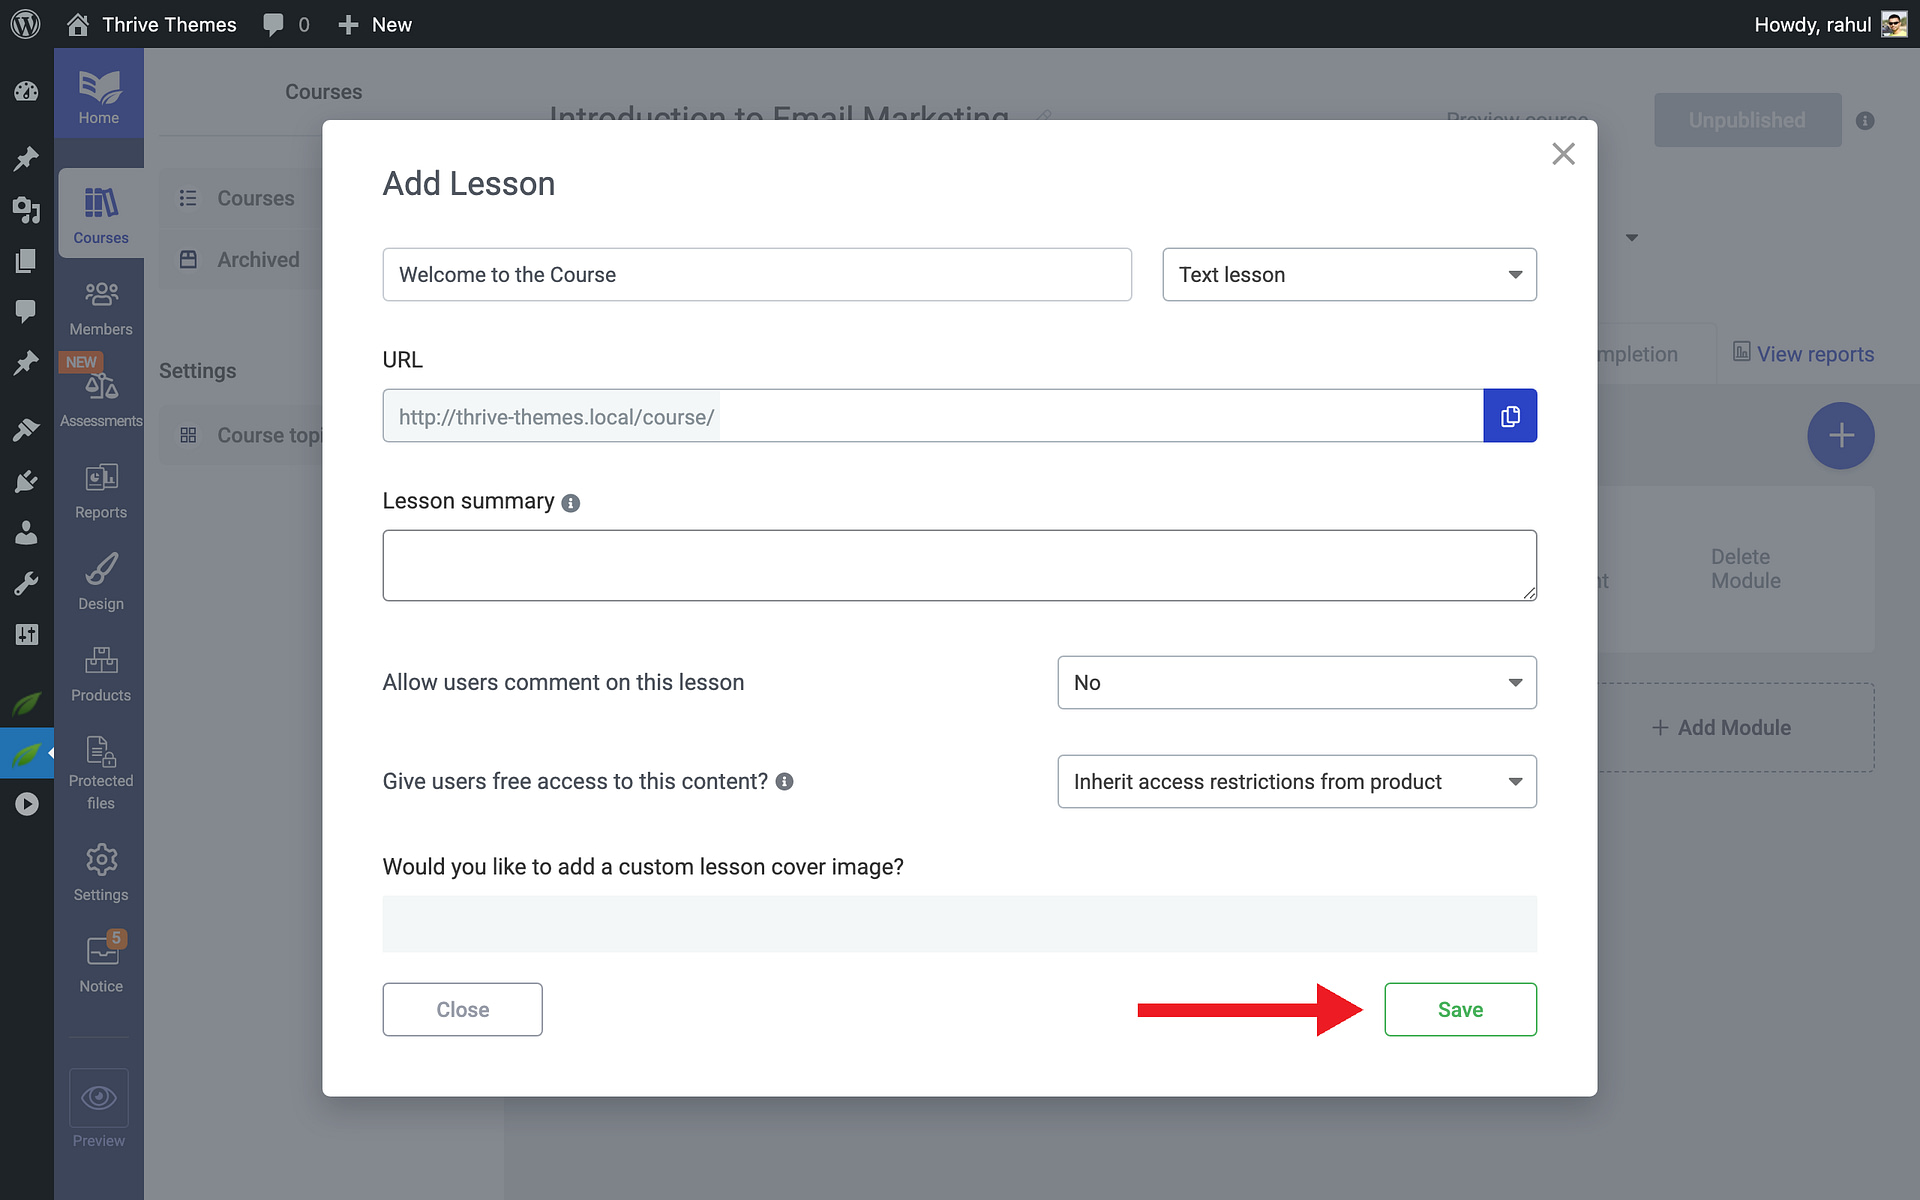
- Enter a Lesson Title.
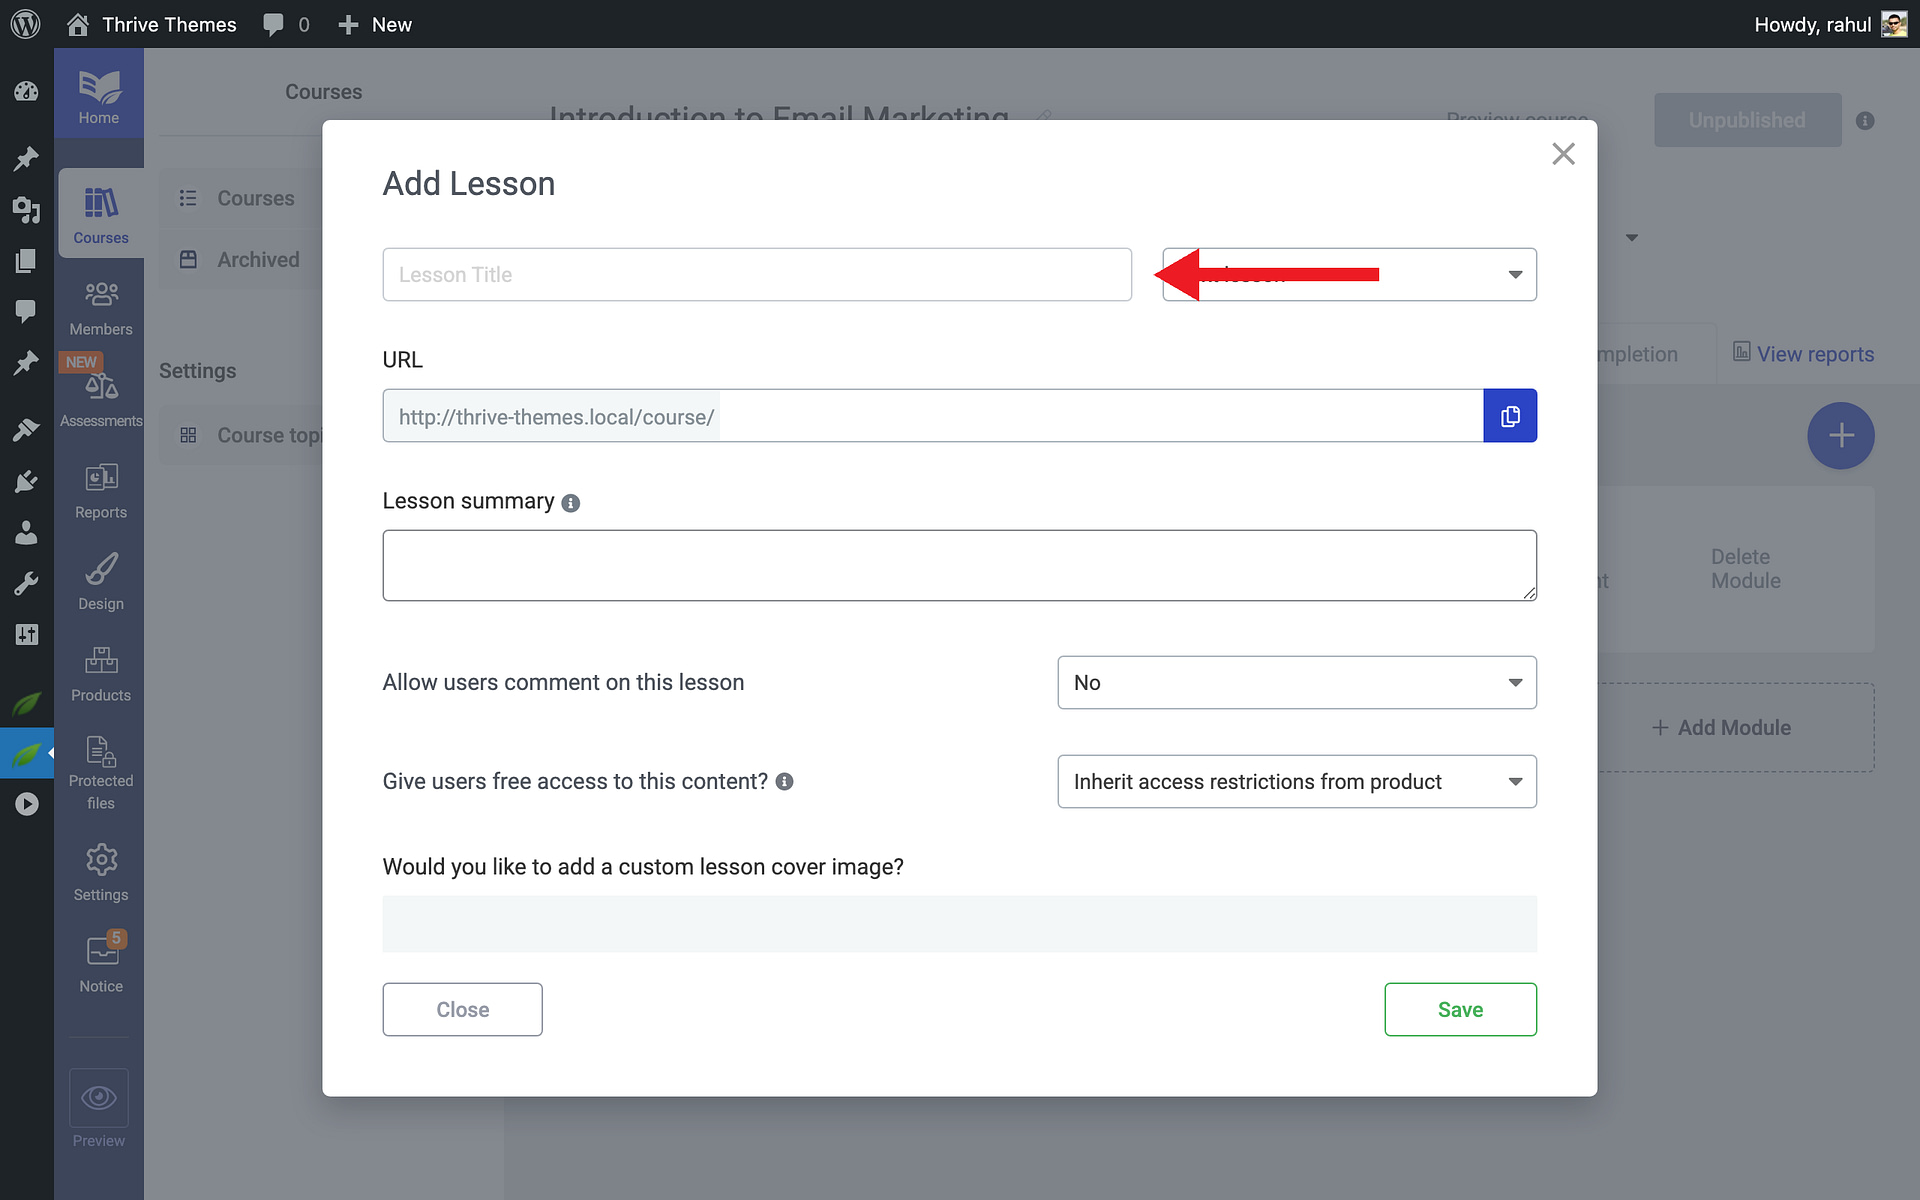
- Click Save to create the lesson.
- To add content to the lesson, click Add content—this opens the lesson in Thrive Architect, where you can add text, images, videos, and other elements.
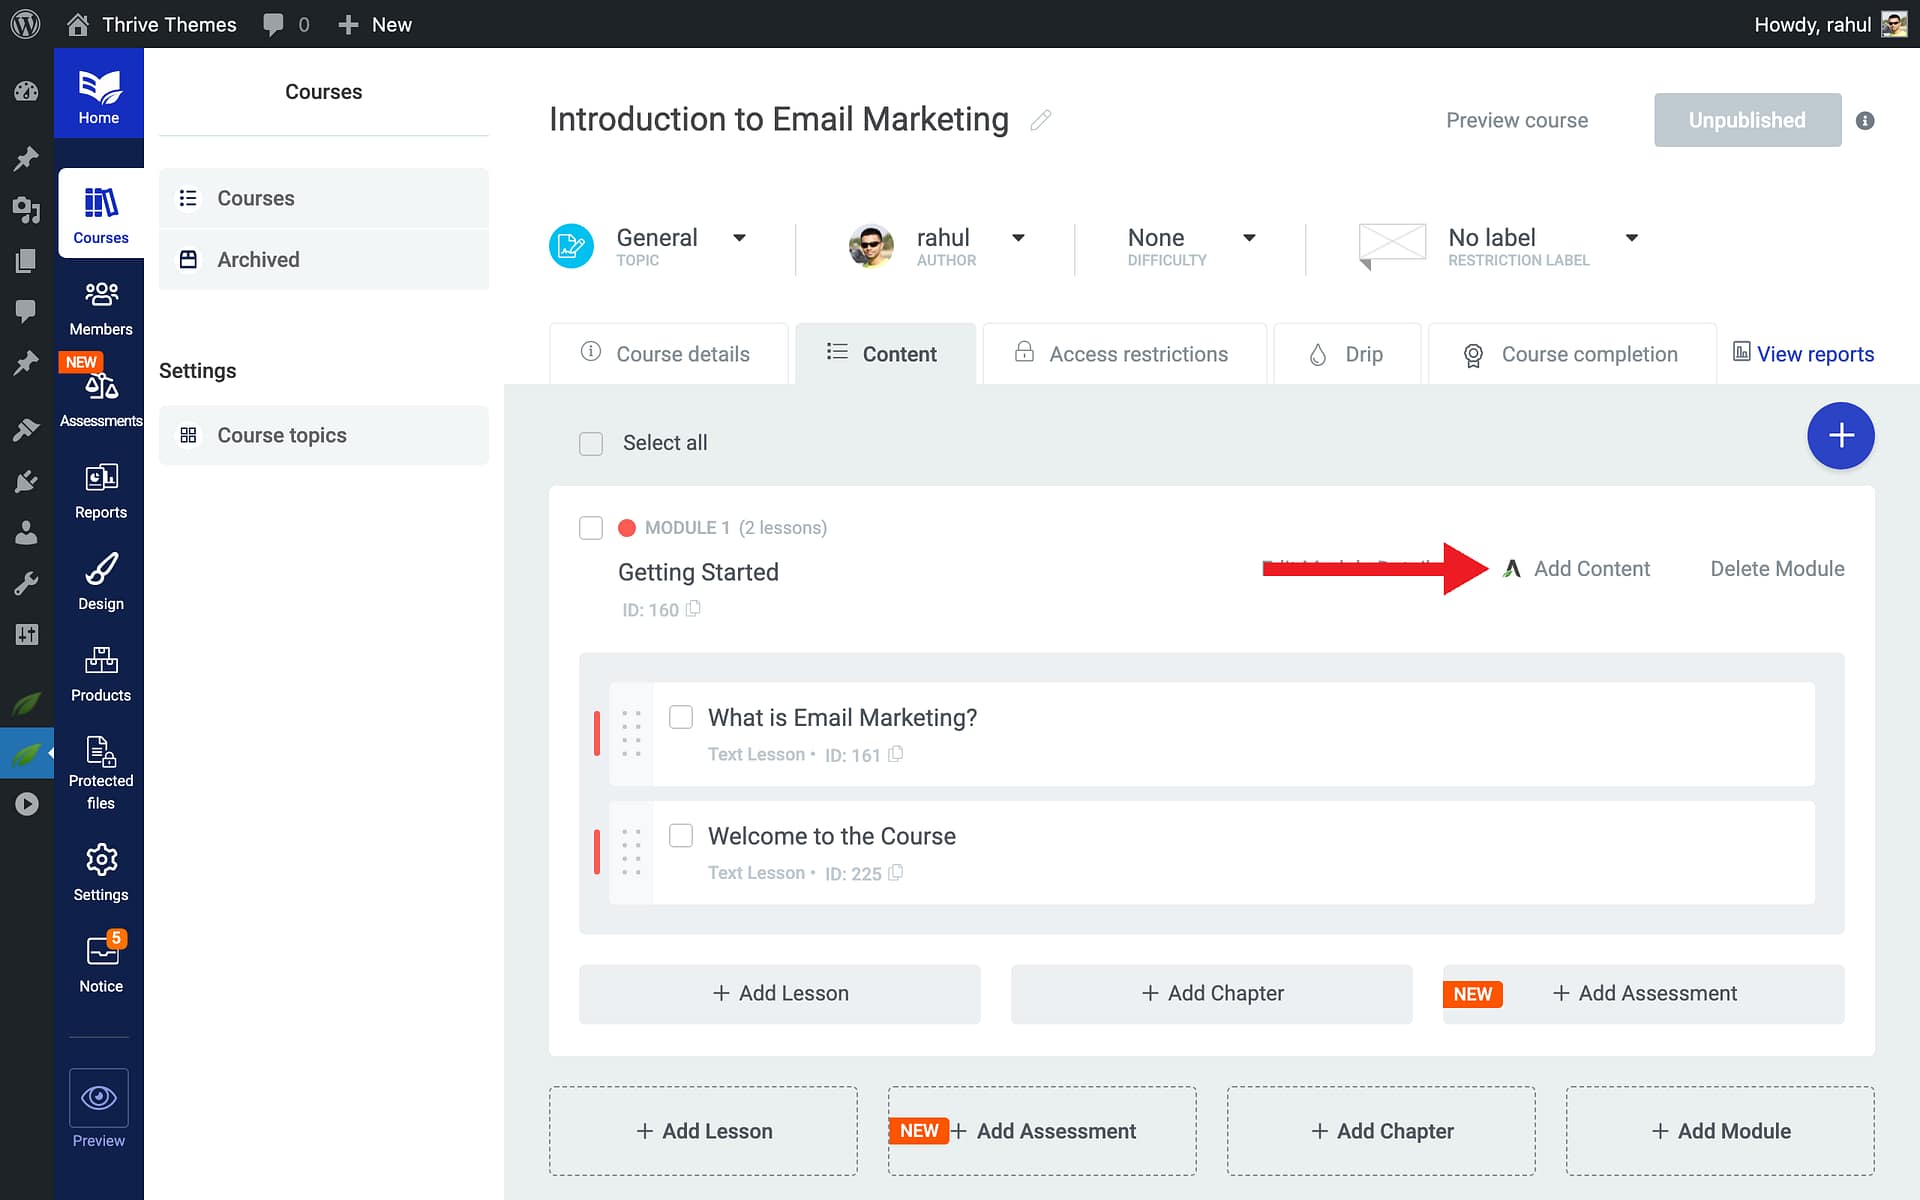
- When you’re done editing, click Save Work in Thrive Architect, then click Done to return to Thrive Apprentice.
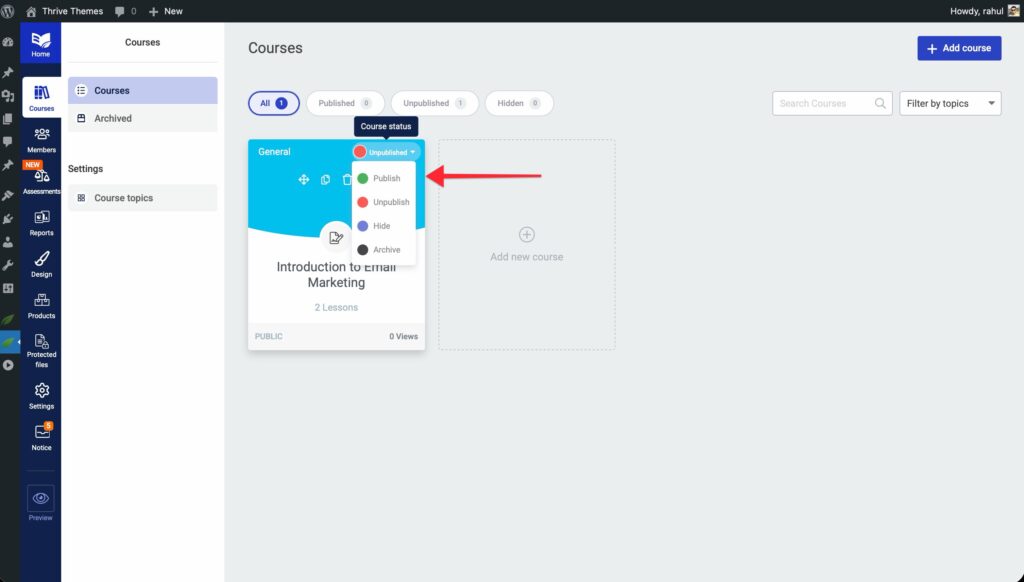
Publishing Your Course
By default, new courses are set to Unpublished status. To make your course available to students:
- Go back to the Courses tab.

- Click on your course to open it.
- Click the Unpublished dropdown in the top-right corner and select Publish.
That’s it! You’ve successfully created your first Thrive Apprentice course, added modules and lessons, and published it for your students.
Related Resources
- Thrive Apprentice Knowledge Base: Explore the full Thrive Apprentice Knowledge Base for more tutorials.
- Course Content Types: Learn about course content types, navigation, structure, and progress tracking to understand how courses are organized.
- Course Bundles: Learn how to create course bundles to package multiple courses together.
- AI Course Generation: Speed up course creation with AI-powered course generation.