Social share badges are dynamic images that summarize a user’s quiz results and encourage them to share their outcome on social media. In this article, you’ll learn how to design these badges and add them to your results page.
Step 1: Design Your Social Share Badge
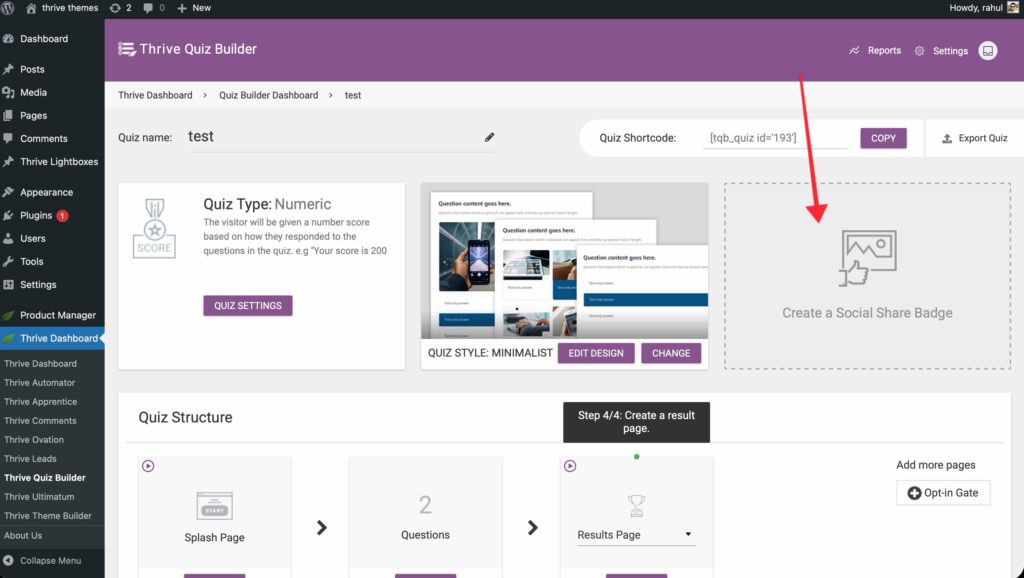
Before you can add a badge to your page, you need to configure its design in the quiz dashboard.
- Go to your Thrive Quiz Builder dashboard.
- Find the Social Share Badge card and click Manage.
- Choose a template to start with.

- Use the editor to customize the background image, colors, and overlays.
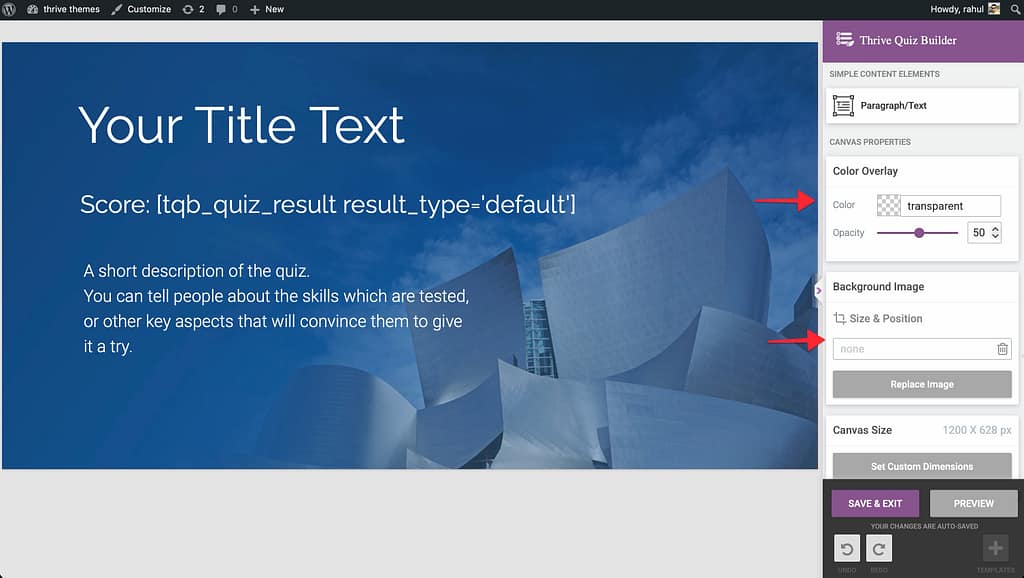
- Important: Use the
%result%shortcode within a text element to dynamically display the user’s score or category on the shared image. - Click Save & Exit.
Step 2: Add the Badge to Your Results Page
Once the badge is designed, you need to place the sharing element on the results page.
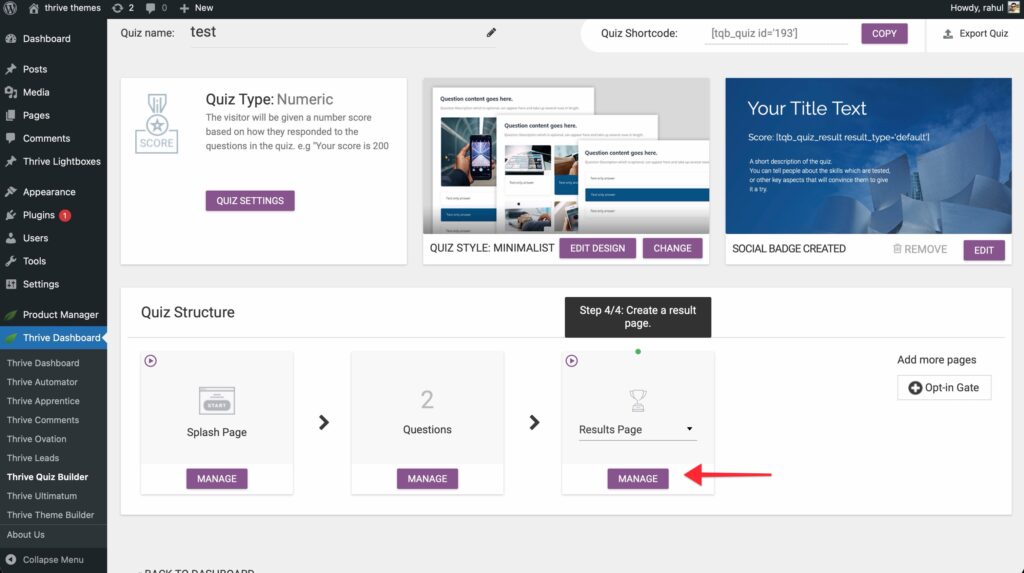
- On the Results Page card in your dashboard, click Manage.
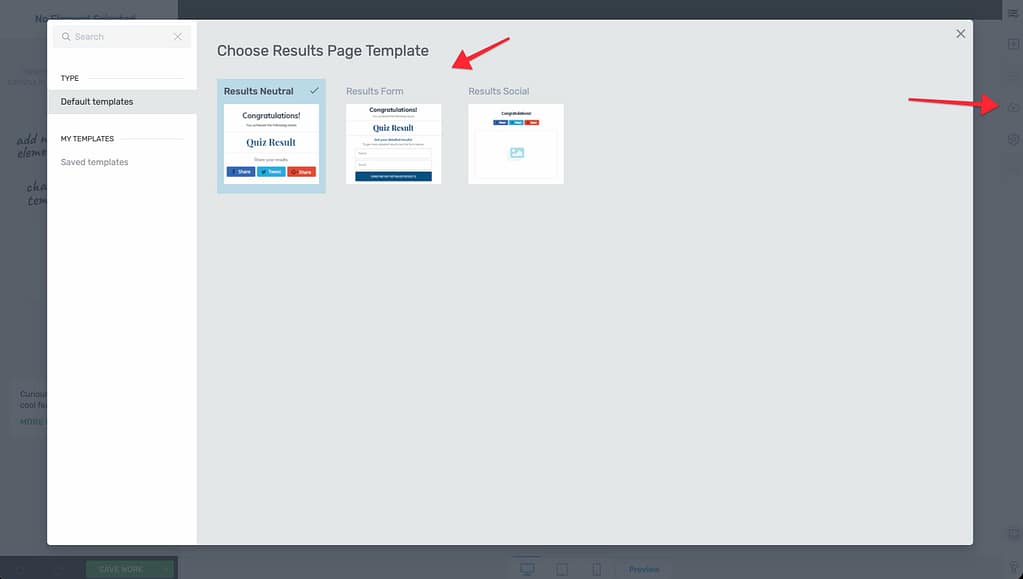
- Open it in the editor and select a template (the Results Social template is recommended as it includes the badge by default).
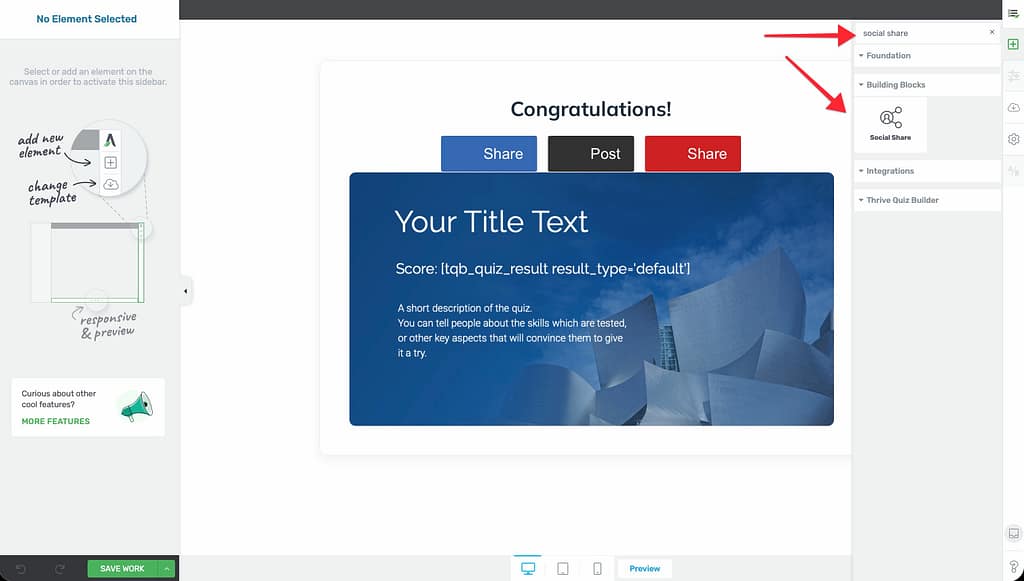
- If adding it manually, search for the Social Share Badge element in the Thrive Architect sidebar and drag it onto your page.
- Note: This element will only work on the Results Page.
Social Sharing Options
When you click on the Social Share Badge element in the editor, you can customize the sharing behavior:
- Social Networks: Choose which platforms to display (Facebook, X/Twitter, etc.).
- Button Style: Adjust the size, shape, and color of the share buttons.
- Share Count: Optionally show how many times the quiz has been shared.
Troubleshooting
If the dynamic result isn’t showing up correctly on social media:
- Preview: Use the Social Share Badge card’s “Preview” link to see how the image looks before sharing.
- Preview: Use the Social Share Badge card’s “Preview” link to see how the image looks before sharing.
- Cache: Social media platforms often cache images. Use the Facebook Sharing Debugger to force a refresh of your quiz’s metadata.
Related Resources
- Templates: Choosing and Customizing Quiz Templates
- Publishing: How to Publish and Display Your Quiz
Thrive Quiz Builder Documentation: Explore the full Thrive Quiz Builder knowledge base