In this article, you’ll learn how to manage your themes in Thrive Theme Builder—including renaming, duplicating, deleting, and organizing the themes in your library.
Accessing the Themes Section
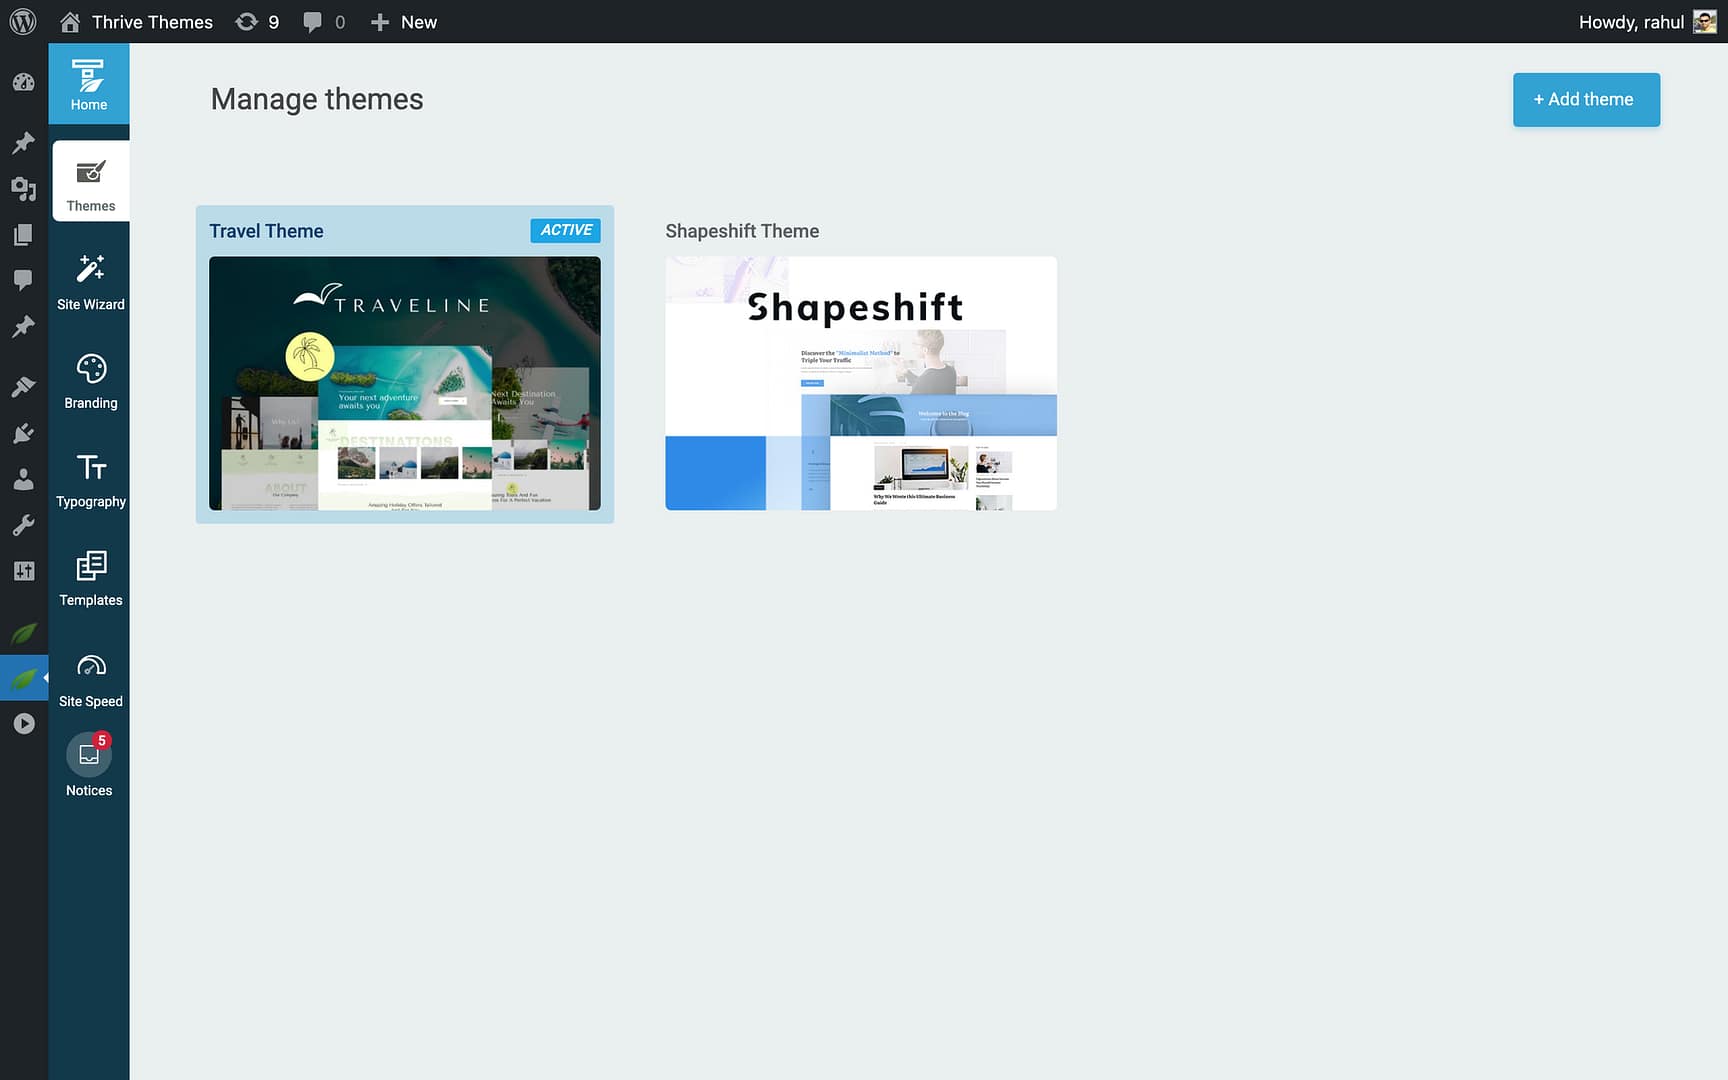
- In the Thrive Theme Builder dashboard, click Themes in the left sidebar.

- The themes list shows all downloaded themes, with the active theme clearly indicated.
Theme Management Actions
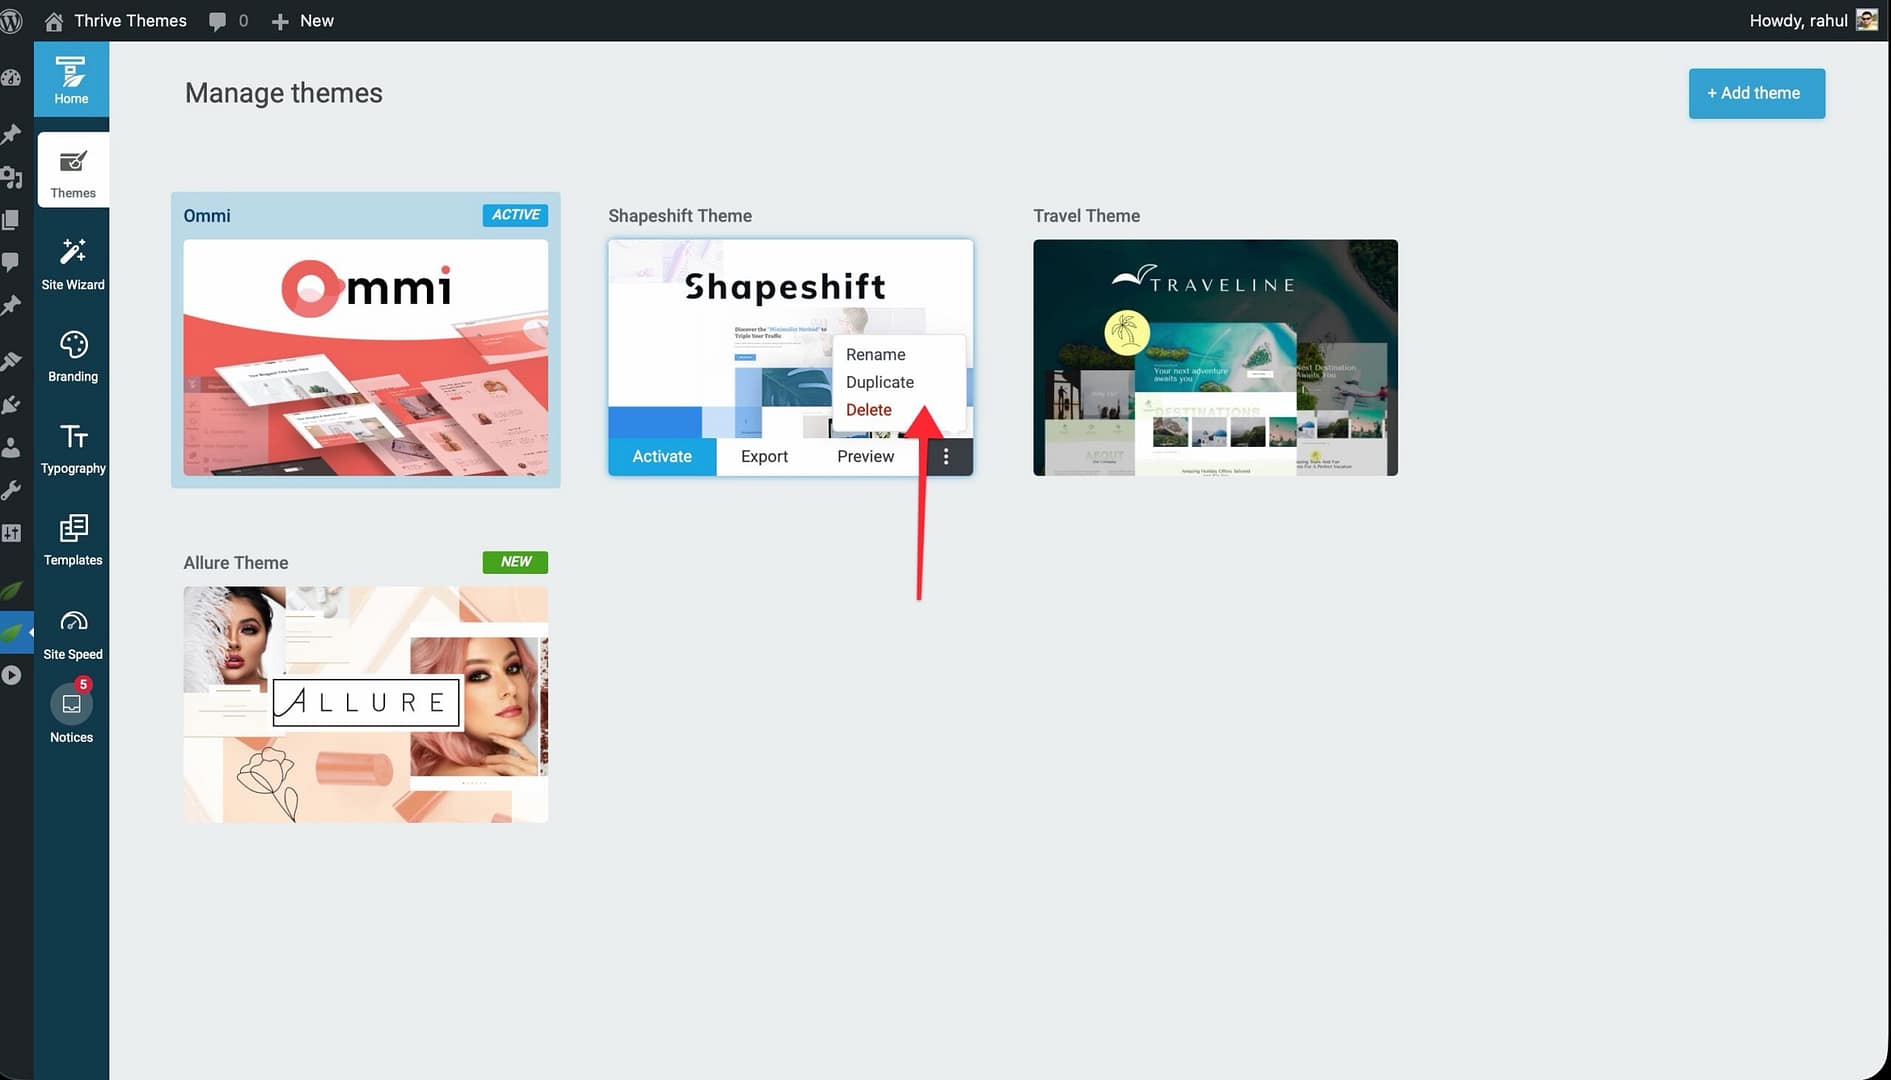
Hover over any theme to see the three-dots icon. Click it to access the available actions.
Renaming a Theme
- Hover over the theme and click the three-dots icon.

- Select Rename.
- Type the new name and confirm.
Theme names must be unique—if you enter a name that already exists, a number is appended automatically.
Duplicating a Theme
- Hover over the theme and click the three-dots icon.

- Select Duplicate.

- A complete copy of the theme is created, including all templates, layouts, typography, color palettes, and sections.

Note: Duplicated themes are independent—changes to the copy do not affect the original, and vice versa. There is no inheritance between themes.
Deleting a Theme
- Hover over an inactive theme and click the three-dots icon.
- Select Delete.
- Confirm by clicking Delete theme in the confirmation pop-up.
Deleting a theme permanently removes all of its templates, layouts, sections, and typography. This action cannot be undone.
Using Themes on Other Websites
Themes customized in Thrive Theme Builder are tied to the website where they were created. To use a customized theme on another website, you need to export it and then import it on the target site.
For details, see Importing and Exporting Themes.
Tips for Organizing Your Themes
- Keep unused themes to a minimum — Each theme stores templates, typography, and styles in your database. Delete themes you no longer need.
- Duplicate before experimenting — If you want to try design changes, duplicate your active theme first so you can easily revert.
- Use descriptive names — Rename themes to reflect their purpose (e.g., “Holiday Campaign Theme” or “Minimal Blog v2”).
Related Resources
- Installing a Theme: Learn how to download themes from the cloud.
- Adding and Switching Themes: Learn how to add and activate themes.
- Importing and Exporting Themes: Transfer themes between websites.