In this article, you’ll learn what chapters are in Thrive Apprentice, how they differ from modules, how to create and manage chapters, and best practices for structuring your course content so students can navigate it easily.
What Are Chapters?
Chapters are organizational containers within a Thrive Apprentice course that group related lessons together. They help you structure your content clearly so learners can navigate and progress through your course more smoothly. Think of chapters as sections within a book—each one covers a specific topic or theme and contains the individual lessons that teach that topic.
Chapters vs. Modules
Thrive Apprentice supports a hierarchical course structure with two levels of organization:
- Modules — The top-level organizational unit. A module represents a major section or phase of your course. For example, in a photography course, modules might be “Camera Basics,” “Composition,” and “Post-Processing.”
- Chapters — A subdivision within a module. Chapters break a module into smaller, more focused groups of lessons. For example, under the “Camera Basics” module, you might have chapters like “Understanding Exposure,” “Choosing Lenses,” and “Shooting Modes.”
The hierarchy works like this: Course > Module > Chapter > Lesson. You don’t have to use all levels—if your course is simple, you can skip modules and organize lessons directly into chapters, or skip chapters entirely and place lessons directly inside modules.
Tip: Use modules for broad topic areas and chapters for narrower sub-topics within each module. This two-tier structure keeps even large courses easy to navigate.
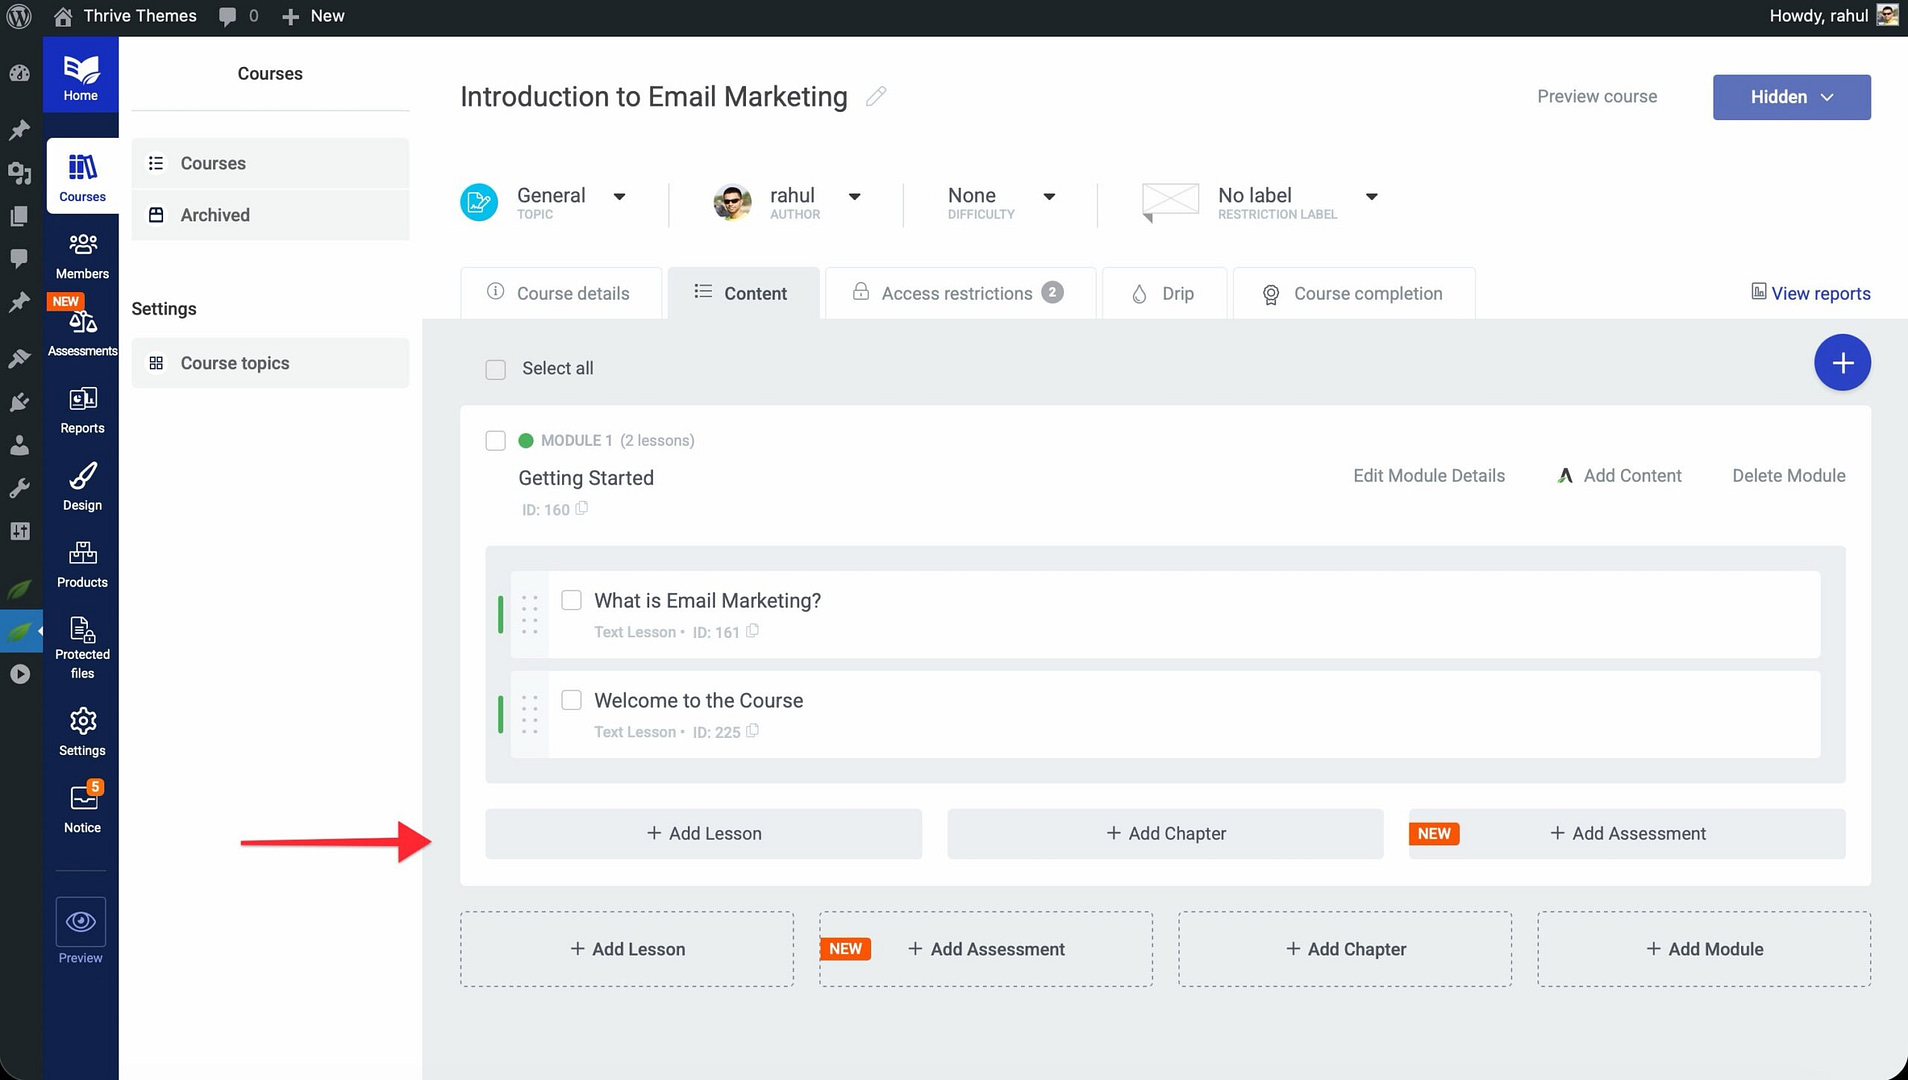
Adding Chapters to Your Course
- Navigate to Thrive Dashboard > Thrive Apprentice.
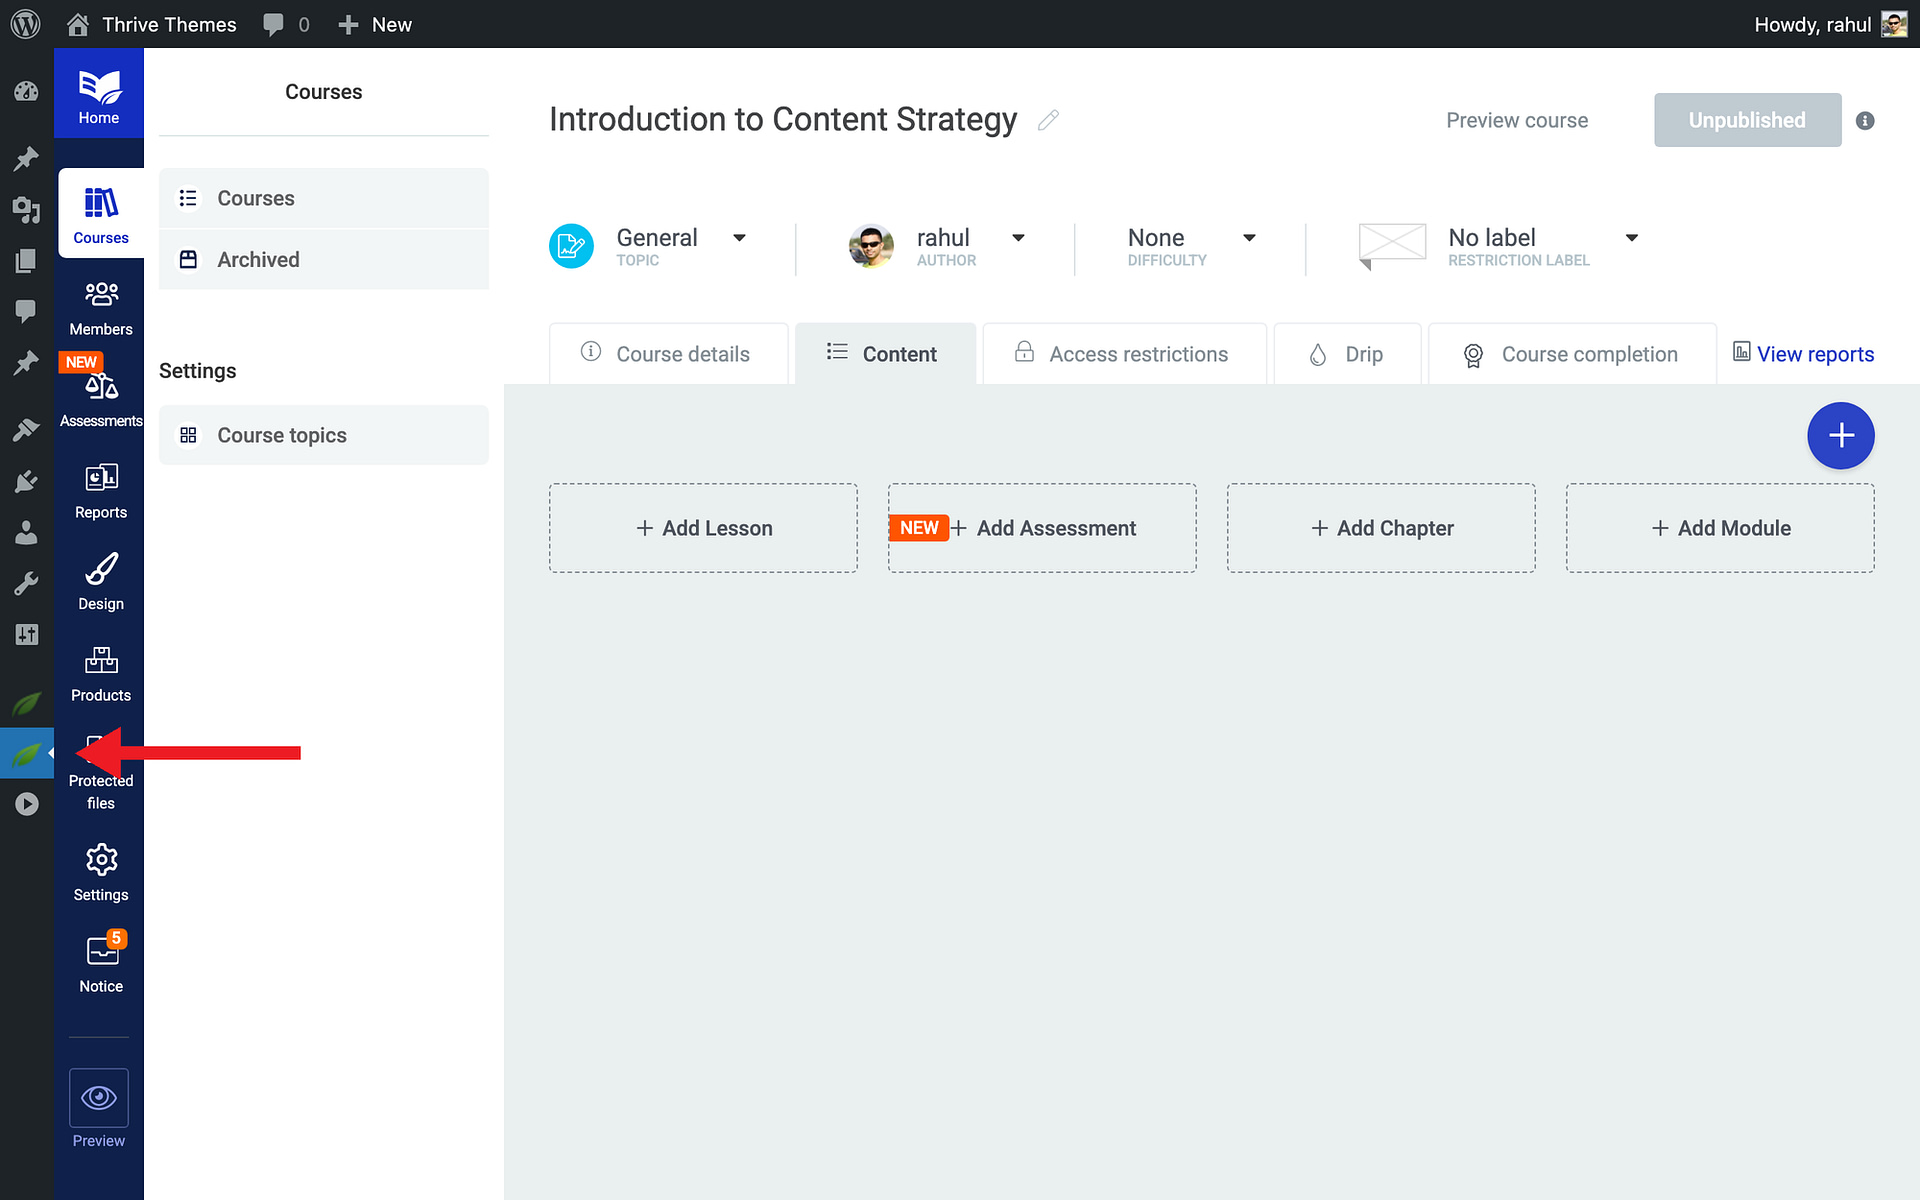
- Click Courses in the left sidebar and select the course you want to organize.
- Open the Content tab inside the course of your choice

- If you’re adding a chapter inside a module, click on the module first to expand it.
- Click the Add Chapter button.
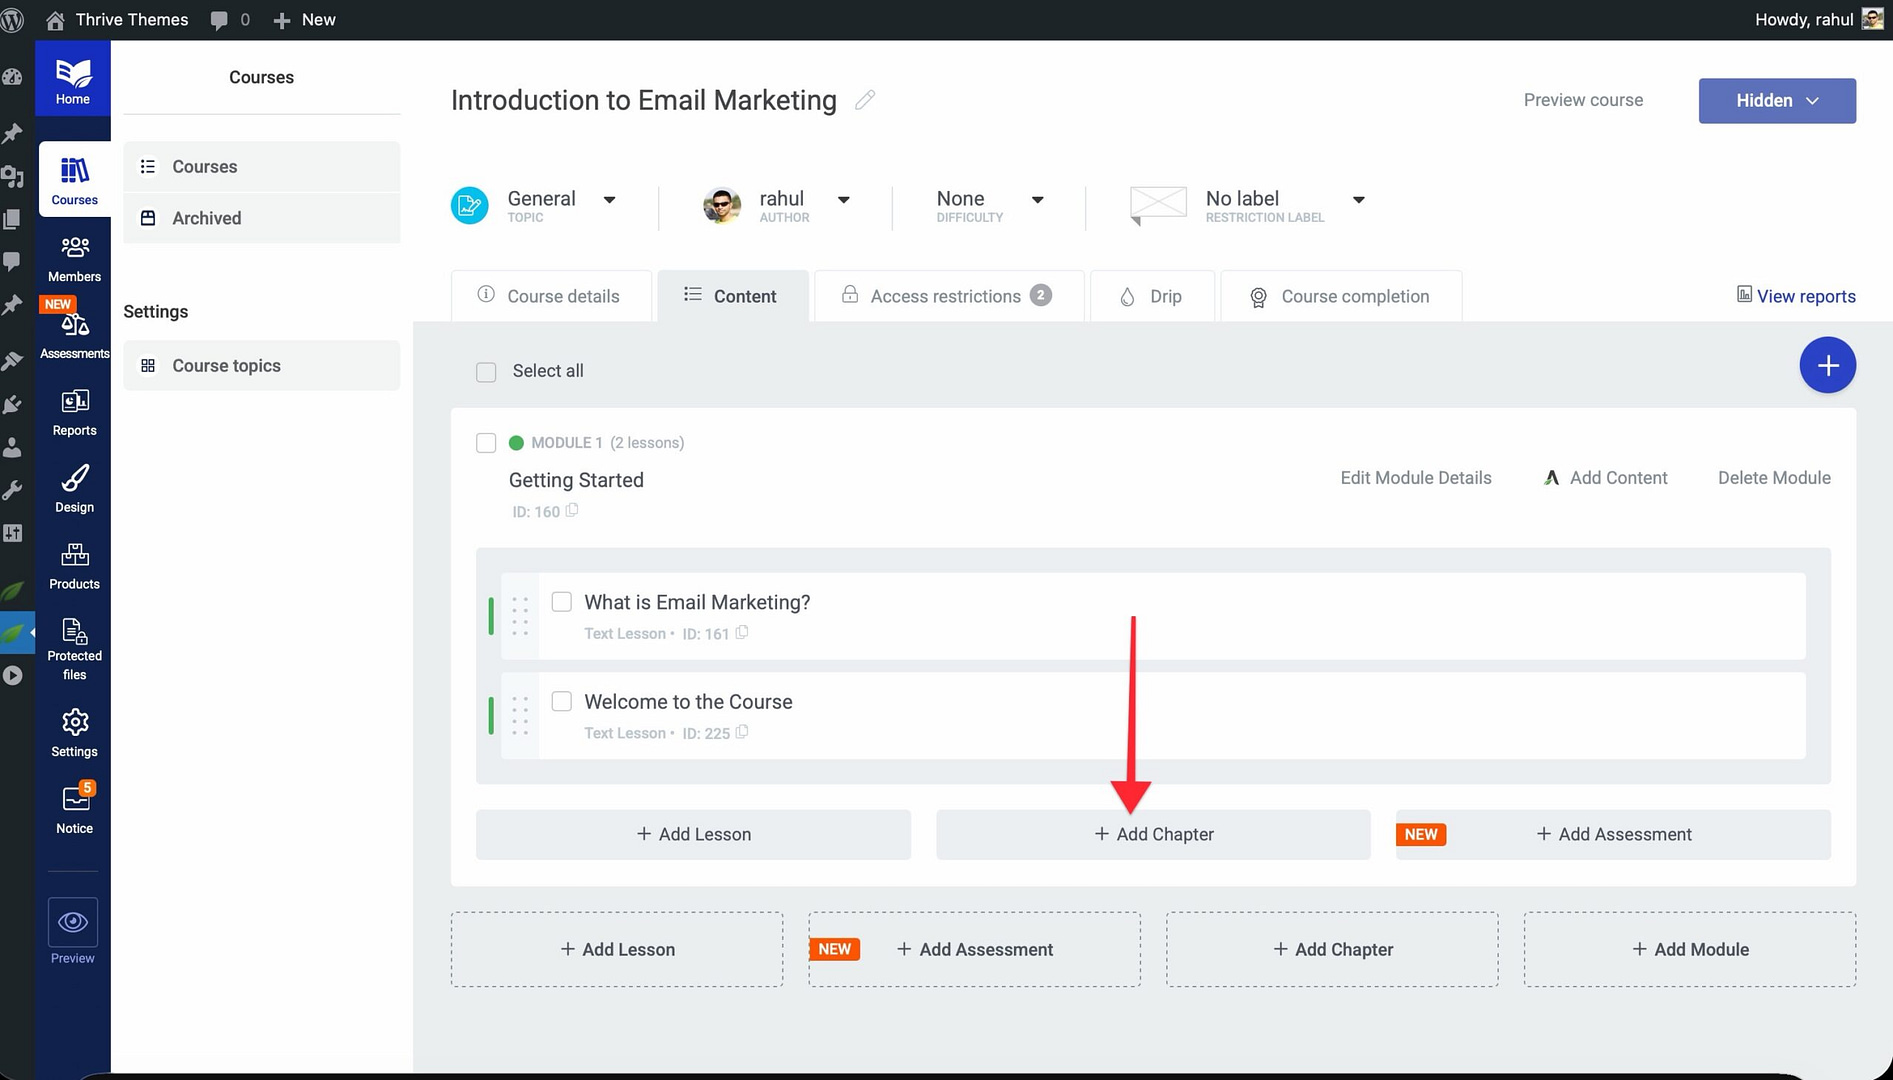
- Enter a name for your chapter—choose something descriptive that tells students what they’ll learn in this section.
- Click Save to create the chapter.
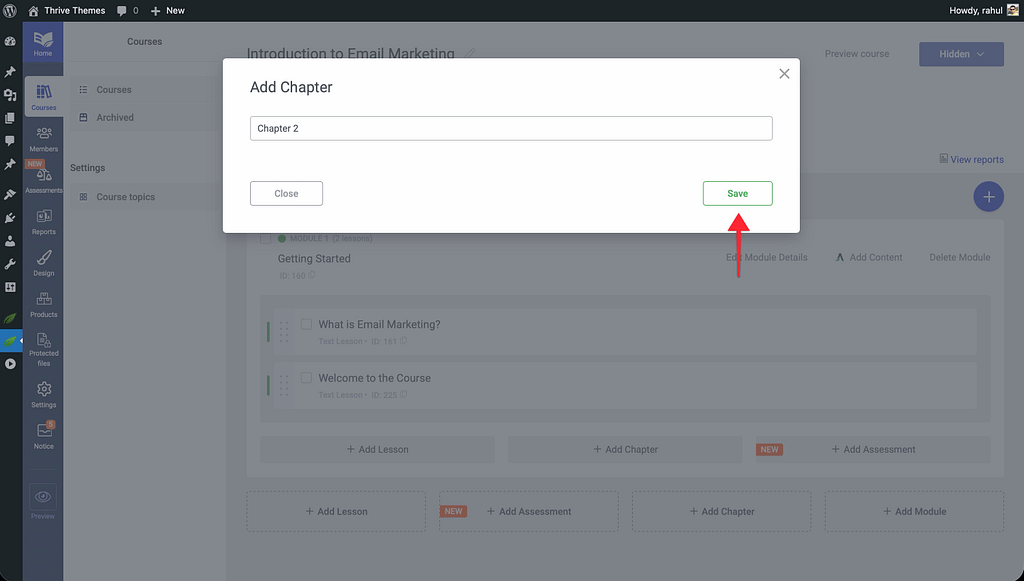
The new chapter appears in your course structure, ready for you to add lessons to it.
Adding Lessons to a Chapter
- Click on the chapter to expand it.
- Click Add Lesson inside the chapter.
- Enter the lesson name and configure the lesson type (Text, Video, or Audio).
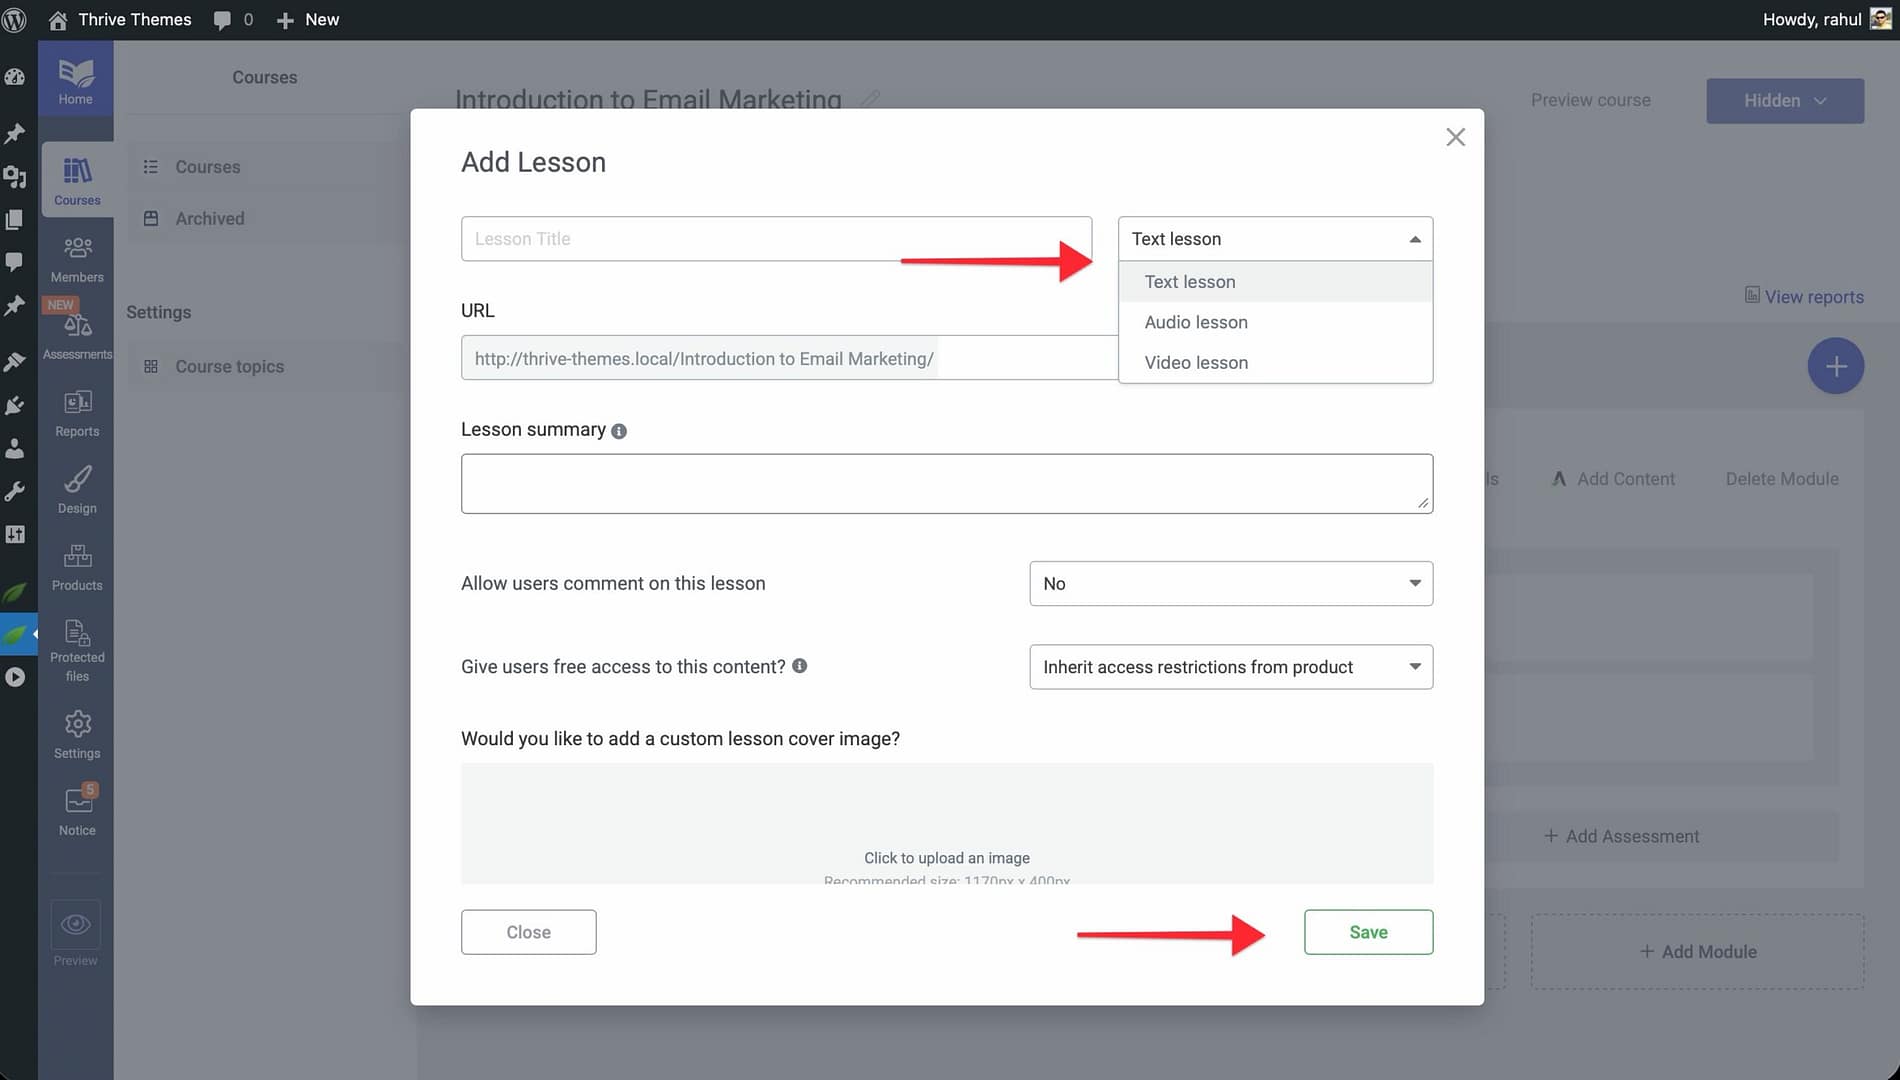
- Click Save.
You can also move existing lessons into a chapter by dragging and dropping them from another location in the course structure.
Reordering Chapters and Lessons
Thrive Apprentice uses a drag-and-drop interface to make reordering simple:
- Open the Content tab of your course.
- Hover over the chapter or lesson you want to move until you see the drag handle (the icon with horizontal lines).
- Click and hold the drag handle, then drag the item to its new position.

- Release to drop it in place.
You can reorder chapters within a module, move lessons between chapters, or rearrange lessons within the same chapter—all with drag and drop.
Renaming and Deleting Chapters
To rename a chapter:
- Hover over the chapter in the Content tab.
- Click the Edit icon (pencil) that appears.
- Update the chapter name.
- Click Save.
To delete a chapter:
- Hover over the chapter you want to remove.
- Click the Delete icon (trash can).
- Confirm the deletion when prompted.
Important: Deleting a chapter also removes all lessons inside it. If you want to keep the lessons, move them to another chapter or module before deleting.
Best Practices for Course Structure
A well-organized course keeps students engaged and reduces dropout rates. Here are some guidelines:
- Keep chapters focused. Each chapter should cover one specific sub-topic. If a chapter has more than 8-10 lessons, consider splitting it into two.
- Use descriptive names. Chapter titles should clearly communicate what the student will learn. “Setting Up Your Workspace” is more helpful than “Chapter 1.”
- Follow a logical progression. Arrange chapters so each one builds on the previous. Start with foundational concepts and work toward advanced material.
- Be consistent. Maintain a similar structure across modules—if one module uses chapters, the others should too. Consistency helps students know what to expect.
- Don’t over-nest. While the Course > Module > Chapter > Lesson hierarchy is powerful, not every course needs all four levels. Use only what makes sense for your content’s complexity.
Conclusion
That’s it! You’ve successfully learned how to create chapters, add lessons to them, reorder your course content, and apply best practices for course organization. A clear structure makes your course more professional and helps students stay on track from start to finish.
Related Resources
- Lesson types — How to Change the Lesson Type in Thrive Apprentice
- Course management — How to Manage Course Status and Bulk Actions
- Settings overview — How to Navigate and Configure Thrive Apprentice Settings