How you deliver results determines how users engage with your data. In this article, you’ll learn how to display results on your site, send them via email to participants, and bridge the gap between the Opt-in Gate and the Results Page.
Method 1: On-Page Result Display
The most common way to deliver results is directly on your website’s Results Page.
- Standard Results: Use the Dynamic Text tool in Thrive Architect to display the
{quiz_result}tag. This shows the final score or category assigned to the user. - Detailed Overviews: You can also use the Dynamic Content element to show specific paragraphs of text or videos based on the user’s performance.
Method 2: Sending Results via Email
You can automatically email the results and individual answers to each participant once they finish.
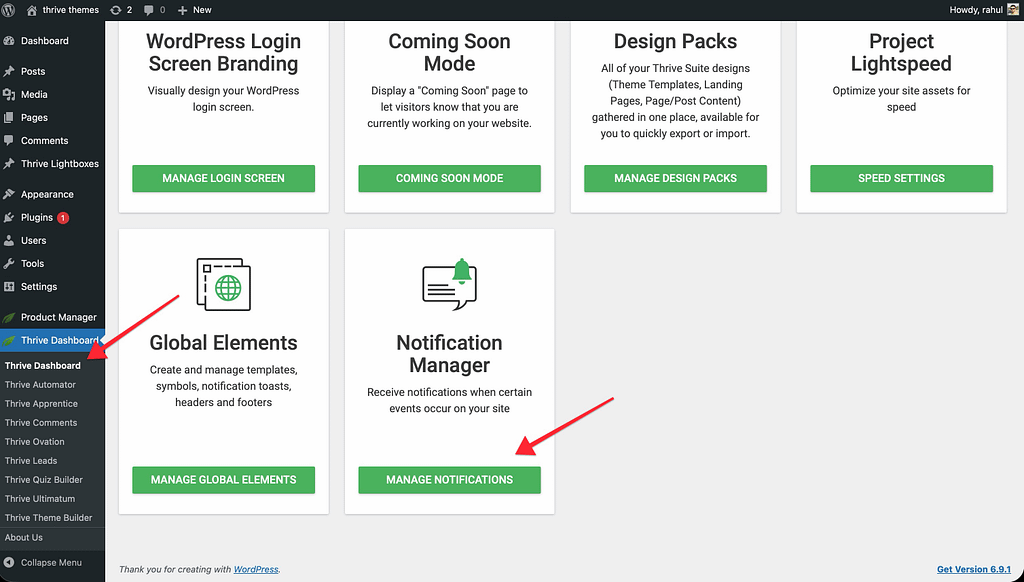
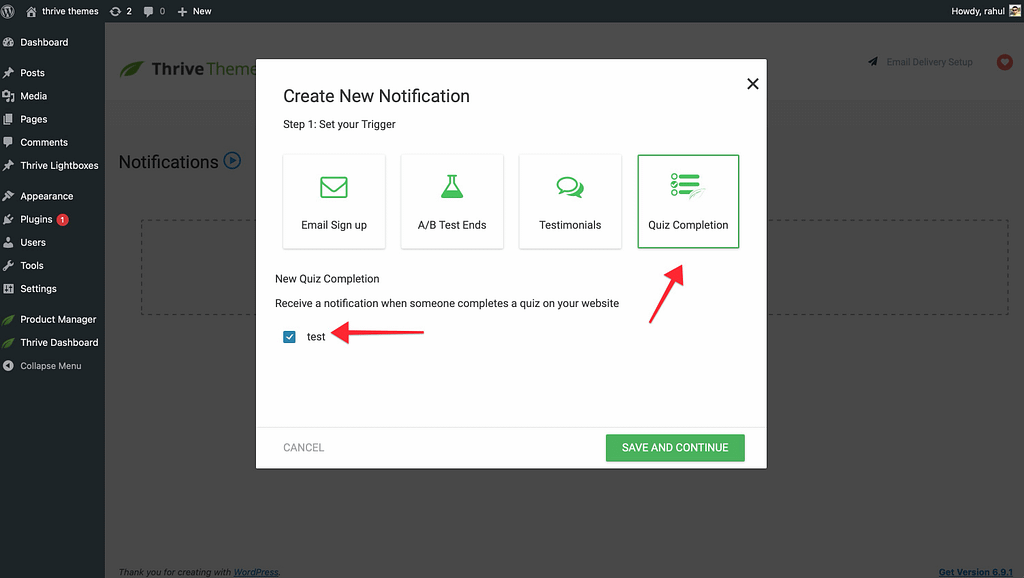
- In your Thrive dashboard, find the Notification Manager.
- Click on Add New and then Quiz Completion as a trigger and select the Quiz of your choice.
- Draft the Message: Use dynamic shortcodes like
[quiz_result],[quiz_score], and[quiz_answers]to personalize the email.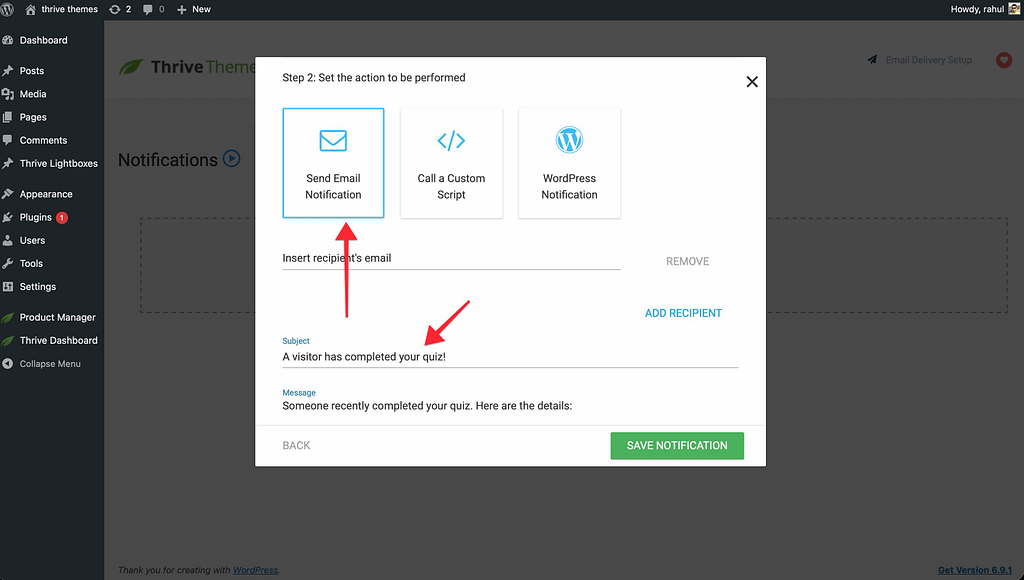
- Delivery: The email will be sent to the address provided by the user in the Opt-in Gate.
Method 3: Bridging the Opt-in Gate to Results
If you are using an Opt-in Gate, the delivery of results occurs in a two-step process.
- Lead Capture: The user enters their email address.
- Redirection: Upon successful form submission, the user is redirected to the Results Page.
- Dynamic Transfer: If you want to show the user’s name on the Results Page, ensure you are passing the form data through. In the Lead Generation settings, enable Pass data to next step to use the user’s name in dynamic text elements.
Best Practices for Result Delivery
- Instant Gratification: Ensure the Results Page loads quickly so users don’t drop off after opting in.
- Detailed Feedback: If the quiz is educational, use the email to provide a link back to a resources page or a breakdown of which specific questions they got wrong.
- Segmentation: Use the data captured during delivery to segment your users in your email marketing service (see our guide on Connecting to Email Services).
Related Resources
- Results Customization: How to Customize Your Quiz Results Page
- Opt-in Gates: Using the Opt-in Gate in Thrive Quiz Builder
- Email Notifications: Setting Up Automated Email Notifications
- Thrive Quiz Builder Documentation: Explore the full Thrive Quiz Builder knowledge base