While building a template with Thrive Theme Builder, you have the possibility to use the “Author Social Links” element. With the help of this element, you can link pages/posts to the social media profiles of the authors from your website. Here is how you can do that:
Set up the social profiles
Before using the “Author Social Links” element you should make sure that the social profiles of the authors/users who wrote posts on your website are set in the “Thrive Social URL Settings”, or in case they are not, then you should set them.
Access the user’s profile
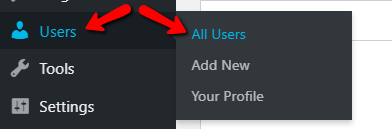
In order to do this, go to your WordPress admin dashboard, hover over the “Users” item, from the left-side menu and click on “All Users” from the little sub-menu that opened:
This will open the page with all the users from your website. Look for the user(s)/author(s) whose social links you will want to use for the “Author Social Links” element.
When you have found the user, hover over his/her username and click on the “Edit” option, from the ones that appeared below the username on hover:

Access & set up the Thrive Social URL Settings
This will open the Profile page of the user. Scroll down on the page, until you see the “Thrive Social URL Settings”:
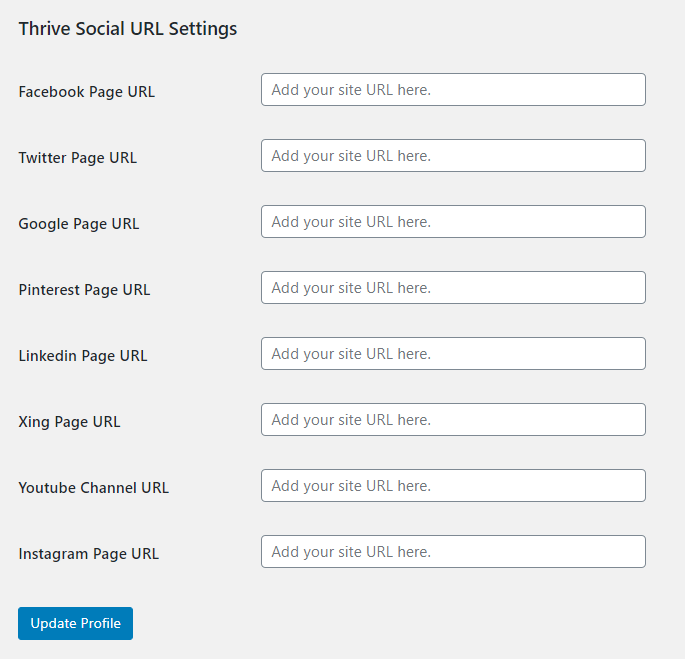
This section is where you can complete the Social URLs, the links to the user’s social profiles/accounts.
The “Author Social Links” element can use the Facebook, Twitter, Xing, LinkedIn or Pinterest profiles; so you should complete whichever of these you will want to use in the element.
Moreover, you are welcome to fill in any other URL here that you think will be necessary when you use Thrive products.
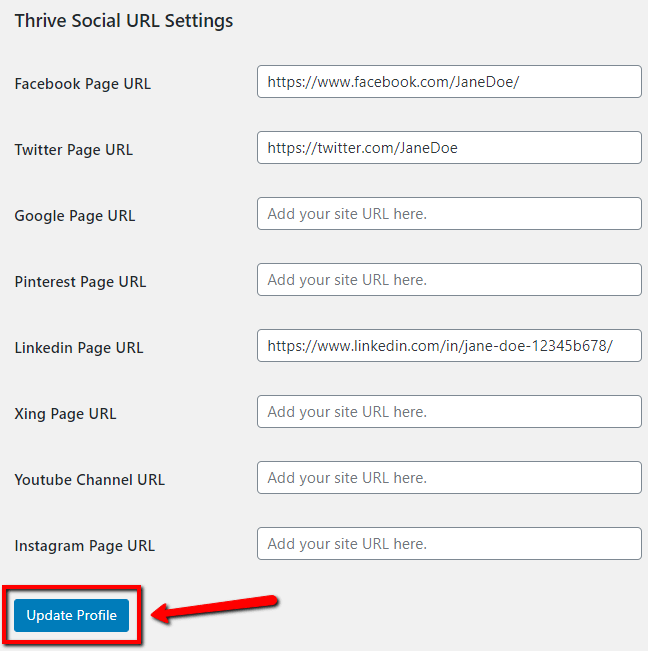
Once you have finished completing the “Thrive Social URL Settings”, click on the “Update Profile” button, from the bottom-left part of the page, to save the URLs:
You can repeat this process for any user on your website who has written posts; if you will want to link to their social profiles using the “Author Social Links” element.
Add the Author Social Links element
After you have set up the social profiles, go to the “Templates” section of the Thrive Theme Builder dashboard and edit the template you want to use the “Author Social Links” element on.
Then, click on the plus sign from the right sidebar of the Thrive Theme Builder editor:

The list of available elements will open. Look for the “Author Social Links” element from the list and when you have found it, drag and drop it to the desired place on the template:

Customize the element
When you add the element to the template, you will see its options appear in the left sidebar of the editor:
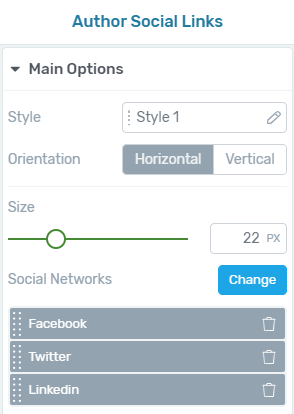
You can use these options to customize the element to your liking, as follows:
Style
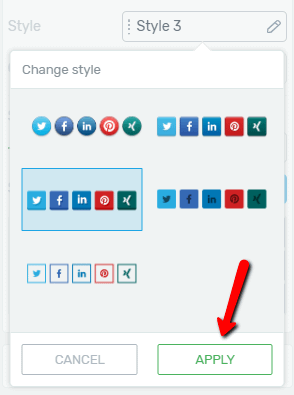
The “Style” option lets you decide how the social links will look like on the template. In order to choose a different style for your element, first, click on the field with the current style from the “Style” section:

Then, a drop-down will open with the available styles. Select the style you would like to apply to your element by clicking on it:

Note: If you click on any of the styles from the drop-down, you will see how they look like on the template, directly in the editor. This way, you can preview them, before actually selecting the one you consider to be the most suitable.
After you have selected the style you want to use, click on the “Apply” button from the drop-down to apply it to the “Author Social Links” element:
Orientation
This option allows you to position the element, meaning the icons representing the social links of the author, horizontally or vertically. Simply click on either the “Horizontal” or the “Vertical” position from the “Orientation” section to select it:

Size & Align
You can adjust the size and alignment of the “Author Social Links” element using the following option. To adjust the size, either drag the slider under the option or enter a value manually, in the field next to the slider and the size will be modified accordingly:
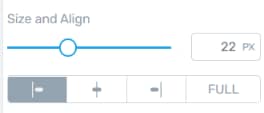
Also, use the buttons under the slider if you want to set the placement of the elment to the left, center, right, or to full width.
Common Button Width
This toggle will allow you to adjust the width between the buttons:

If you activate the toggle and then adjust the size of the buttons from the previously mentioned slider, then you’ll notice that the space between the buttons will be kept the same regardless of how you are resizing them:
Social Networks
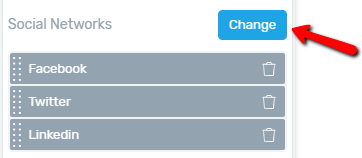
In the “Social Networks” section you will find the options related to managing the social network links that will appear in the “Author Social Links” element.
Manage networks
You will see that by default, the “Facebook”, “Twitter” and “LinkedIn” networks are added to the element. If you want to modify this and display links to other networks in the element, click on the “Change” button from the “Social Networks” section:
This will open a drop-down with the networks you can choose from:
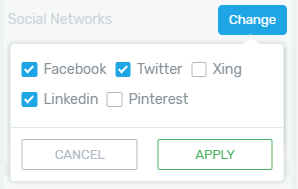
To select and display one of the networks, just check the checkbox next to its name. If you do not want to use a network, make sure the checkbox next to it is not checked.
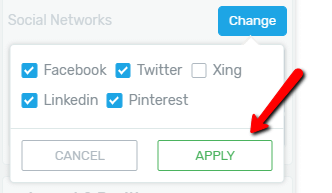
After you have finished choosing which networks to display, click on the “Apply” button from the drop-down to apply the changes to the element:
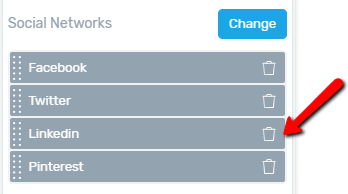
Delete networks
If you want to delete one of the social networks from the “Author Social Links” element, all you have to do is to click on the “Remove” option (little trash icon) next to them and they will be deleted:
General options
Besides the “Main Options”, some of the more general options are also available, in the left sidebar for the “Author Social Links” element:
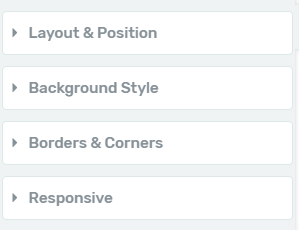
These options, such as the “Layout & Position” or the “Borders & Corners” options allow you to customize the element even further.
In case you need detailed information on how to use the general options, please check out our Knowledge Base, because we have separate tutorials on each of them.
After you have finished customizing “Author Social Links” element, make sure to save the template, using the “Save Work” button, from the bottom-left part of the editor. Then, you can preview the template using the “Preview” option from the bottom-middle part of the page.
When previewing the template, you can see that the icons in the “Author Social Links” element are clickable. If everything was set up correctly, then whenever a visitor of the post/page(where you will apply this template to) will click on the links, he/she will be taken to the social profiles/accounts of the author of the post.
You might also be interested in this article, explaining the ways in which you can set up the “About the author” element.
If you want to find out more about various Thrive Theme Builder features and elements, take a look at our knowledge base section here.
Hopefully, this article was useful to you. If so, please reward it with a smile below 🙂