The “Post Meta” element allows you to incorporate basic information about posts/pages (such as their category, post date, or author) into the templates you are creating, in a fast and easy manner. Follow the detailed information below to see how to use the “Post Meta” element.
Add the Post Meta element
First, you will have to add the “Post Meta” element, when you are editing a “Post Template” or a “Page Template”. To do that, click on the plus sign from the right sidebar of the editor:

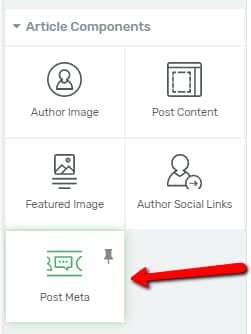
If you do that, the list with the available elements that you can add will open. Look for the “Post Meta” element, and when you have found it, drag and drop it to the desired place on the template:
Customize the element
After you have dragged and dropped the element to the template, you will notice that the “Post Meta” element consists of a “Text” element with dynamic text parts inserted in it.
This is why the options of the “Text” element will appear in the left sidebar when the “Post Meta” element is added to the template:
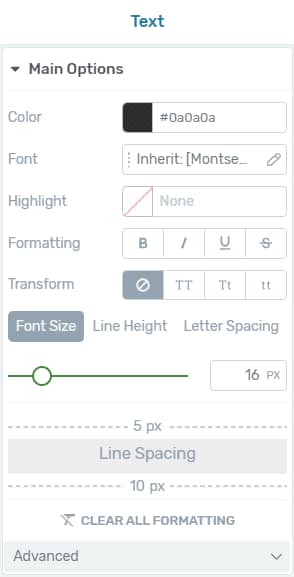
You can use the “Main Options” of the “Text” element to customize the “Post Meta” information as follows:
Color
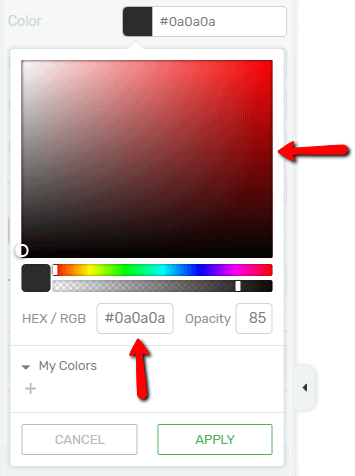
The “Color” option allows you to change the color of the text from the “Post Meta” element. If you want to do this, click on the box with the color from the “Color” section:

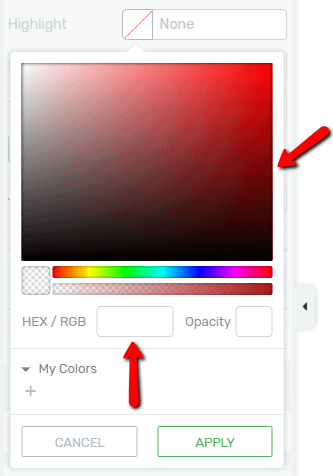
This will open a drop-down with the color picker. You can either pick a color using the color picker directly, or you can enter the HEX/RGB code of the color you want to use in the corresponding field, below the color-picker:
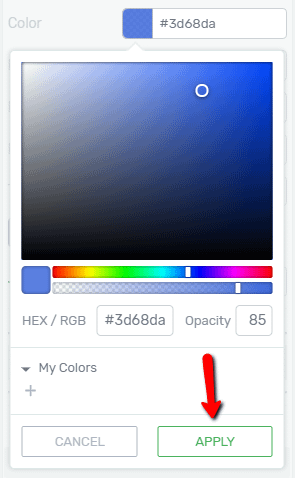
After you have picked a different color, all you have left to do is to click on the “Apply” button from the drop-down, and the newly selected color will be applied to the text of your “Post Meta” element:
Font
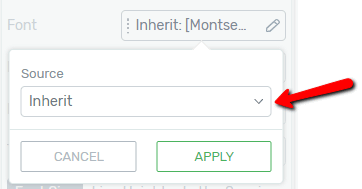
With the help of this option, you can change the font of the text from the “Post Meta” element. If you want to do that, click on the field with the name of the font that is used at the moment, in the “Font” section:

This will open the drop-down where you can select the new font from. First, click on the “Source” field from the drop-down:
Then, choose one of the three available sources that will appear in the “Source” drop-down:
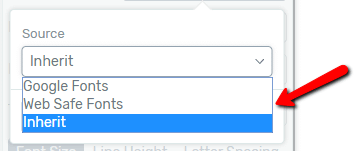
Google Fonts
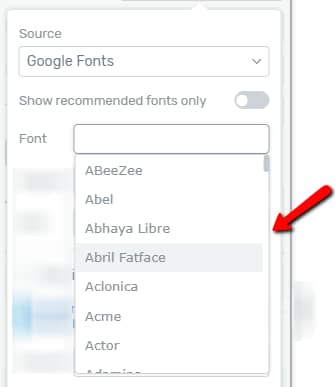
If you choose “Google Fonts” as the source for the new font, the drop-down will expand, displaying additional options you can use to set up the font:

First, you should choose the font, by clicking on the “Font” section from the drop-down and selecting the font you want to use from the ones that appear:
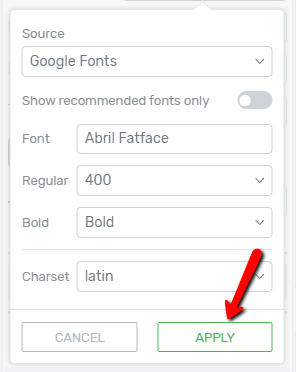
Then, based on the font you have chosen, you will have other options (for e.g. the “Regular” or the “Bold” options) to set up different aspects of the font as well.
Once you have done that, click on the “Apply” button from the drop-down and the new font will be applied to the text of the “Post Meta” element:
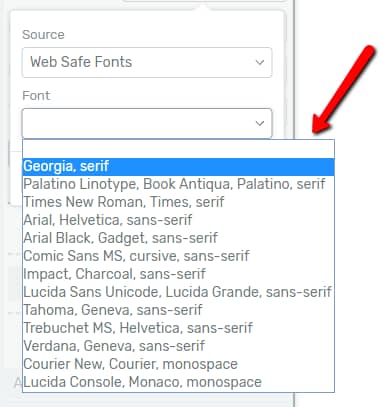
Web Safe Fonts
If you choose “Web Safe Fonts”, another section will appear with the “Font” drop-down. You can click on it to open it and then, choose the font you want to use from the ones that appear:
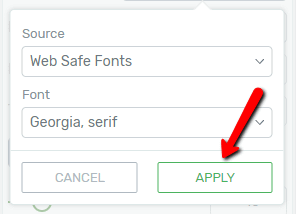
After you have chosen the “Web Safe Font”, you can click on “Apply” and the new font will be applied to the text:
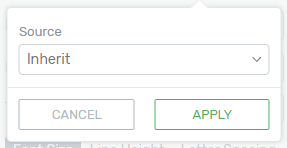
Inherit
If you leave the “Inherit” source selected and click on the “Apply” button from the drop-down, then the text will inherit its font from the template, just as it does by default (if you do not change the font):
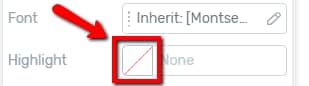
Highlight
The “Highlight” option allows you to add a highlight (a background color) to the text, or part of the text, from the “Post Meta” element. By default, there is no highlight added to the text. In order to change this, click on the box that is crossed over from the “Highlight” section:
This will open a drop-down with the color picker. From there, you can either select the color you want as a highlight directly or enter its code in the “HEX/RGB” field:
The process of selecting a highlight color is exactly the same as selecting a color for the text, described above.
After you have chosen a highlight color for the text, simply click on the “Apply” button from the drop-down and the text will be highlighted with the respective color.
Note: If you do not want the entire text of the “Post Meta” element to be highlighted, but only parts of it, then first you should select the parts of the text you want to be highlighted. Then, you can click on the box from the “Highlight” section and follow the previously mentioned steps to choose and add the highlight color.
Formatting
Just as the name says, the “Formatting” options help you format the text. You can make the text “Bold”, “Italic” and you can also “Underline” it, or apply “Strikethrough” on it.
If you want to format just part of the text from the “Post Meta” element, then first select that part on the template. If you want to format the entire text, then skip this step and proceed with the following step.
Then, click on the icon representing the “Formatting” option you want to use, from the “Formatting” section of the left sidebar:

This way the respective “Formatting” option will be selected and applied to the text. If you change your mind and you do not want a “Formatting” option to be applied to the text anymore, simply click on it again to deselect it.
Transform
With the “Transform” option, you can turn the text (or parts of the text, if you select them first) from the “Post Meta” element into ‘all uppercase’, ‘normal text’, or ‘all lower-case’. In order to do that, simply click on the icon representing the option you want to use, from the “Transform” section, to select and apply it:

Font Size, Line Height & Letter Spacing
These options will let you adjust the “Font Size”, the “Line Height” and the “Letter Spacing” of the text from the “Post Meta” element.
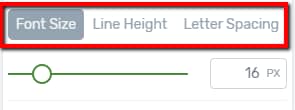
First, you will have to select the option you want to use, by clicking on it. The selected one will have a dark grey background:
Then, you can either use the slider under the option or enter a value manually in the field next to the slider, to adjust the “Font Size”, “Line Height” or “Letter Spacing”:
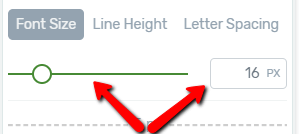
You can adjust all three of these in the same way, using the slider, or the field that appears below them, after you select them.
Line Spacing
The “Line Spacing” before and after the text of the “Post Meta” element can also be adjusted easily. Among the options of the element in the left sidebar, you can see the “Line Spacing” section.
Depending on which line spacing you want to adjust, hover over the values in pixels that are above or below the “Line Spacing”:
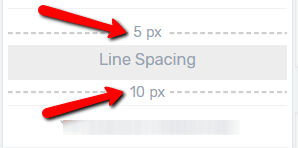
An arrow will appear on hover. You can click and drag the value up or down with the arrow, in order to adjust the line spacing above or below the text.
Advanced
An “Advanced” option is also available when you use the “Main Options” from the left sidebar. In order to see this option, click on the “Advanced” section first to open it. When the section opens, you will see that you can add a “Typefocus Animation” to the text from here:
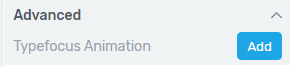
To do that, click on the “Add” button and set up the animation in the drop-down that opens:
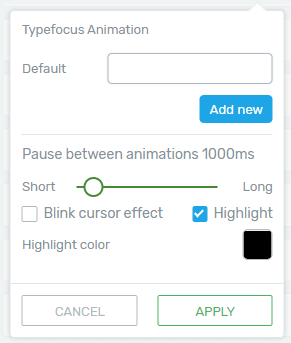
This tutorial contains detailed information on how to use the “Typefocus Animation” option.
General options
Besides the “Main Options”, the more general options, such as the “Layout & Position” or the “Borders & Corners” options are also available in the left sidebar. You can use these to further customize the text of the “Post Meta” element.
If you need detailed information on using these options, please check out our knowledge base, because we have separate tutorials on each of them.
Customize the content of the element
After you have customized the element, you can also check and customize its actual content. When you add the “Post Meta” element to your template, it consists of simple texts and dynamic texts as well.
When the element is selected, you can see that the dynamic texts have a green dashed underline:

The dynamic texts that the “Post Meta” element contains by default are the following: “Post Categories”, “Published Date”, “Author Name” and “Comments Number”.
After you will apply the template with the “Post Meta” element to one of your posts/pages, these will display the dynamic data corresponding to the post/page automatically.
Modify dynamic texts
In case you want to modify these dynamic texts, you can do so, using the “Dynamic Text” option from the “Panel Options”.
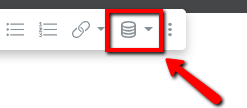
The “Panel Options” appear whenever your “Post Meta” element is selected in the upper-middle part of the editor:

You can use them to customize various aspects of the text of your elements, like its format, position, or linking. These are explained in detail in this article.
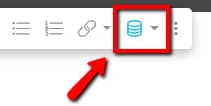
As previously mentioned, if you want to modify the dynamic texts, you will have to use the “Dynamic texts” option from the “Panel Options”.
First, click on the dynamic text that you want to modify, from the “Post Meta” element, and then click on the “Dynamic Texts” option (next to the “Linking” option) from the panel:
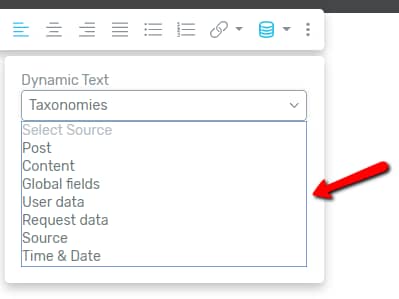
Next, click on the first field from the drop-down that appeared to see the dynamic text sections:
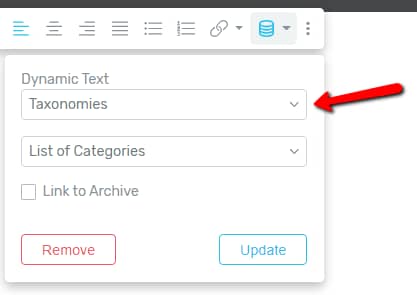
This will open the list with the available dynamic text sections you can choose from. Select one of these, by clicking on it:
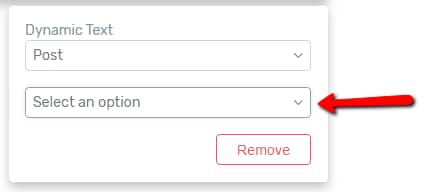
Then, click on the second field where you can “Select an option”:
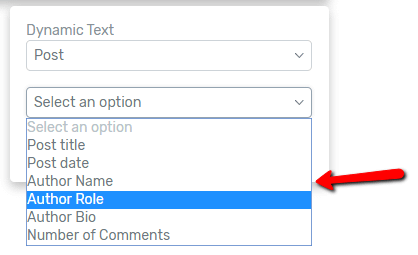
This will open a list with the available dynamic text options you can choose from, based on the section you have previously selected. Select the option you want to use by clicking on it:
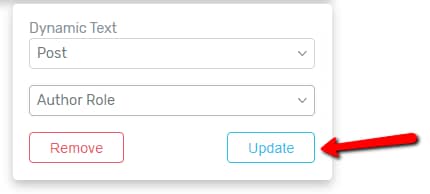
Then click on the “Update” button from the drop-down to change the selected dynamic text, in the “Post Meta” element, to the one you have just selected:
Insert new dynamic texts
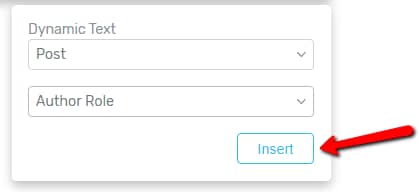
You can also insert additional, new dynamic texts to the text of the “Post Meta”, besides the ones you already have in it, if you wish. First, you need to write in the text that will be the placeholder for the dynamic text in the text of the element and select it. For example, I have added the word “author role”:

Then, select the “Dynamic Text” option from the “Panel Options”:
This will open the drop-down that you can use to select and insert the dynamic text, following the same steps as described above. The only difference is that, in this case, the button you will have to click on will be an “Insert” button, not an “Update” one:
Note: Besides inserting dynamic texts, there is another way of adding such information to your template.
If you click on the plus sign to open the list of available elements again, you can use some of the other elements, besides the “Post Meta” one, from the “Article Components” section of the list:
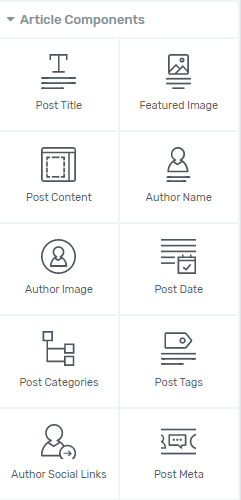
As you can see, some of the elements from here, like the “Post Categories”, the “Post Date”, “Post Tags”, or the “Author Name” represent the information you would insert as dynamic text.
Therefore, if you want to use this method, you can add the element to the template that represents the information you will want to be displayed on it.
These elements will have the options of a “Text” element in the left sidebar, after you add them to the page, just as the “Post Meta” element. Thus, you will be able to customize them the same way as you customized the “Post Meta” element.
After you have finished customizing every aspect of the “Post Meta” element, you can save the changes you made to the template using the “Save Work” button, from the bottom-left part of the editor.
As mentioned previously, after the “Post Meta” element is added and saved on a template, the information from it will be displayed automatically, when you will apply the template to one of your posts/pages, saving you time and effort.
For more information about various Thrive Theme Builder features and elements, check out our knowledge base section here.
Hopefully, this article was useful for you. If so, please reward it with a smile below 🙂