In this article, you’ll learn how to use WooCommerce widgets within Thrive Theme Builder templates and how to style WooCommerce Product Add-Ons.
WooCommerce Widgets
When WooCommerce is installed alongside Thrive Theme Builder, additional WooCommerce-specific widgets become available for use in your templates.
Accessing WooCommerce Widgets
- Open a template in the Thrive Theme Builder editor.
- Add a Widget Area element from the element panel.
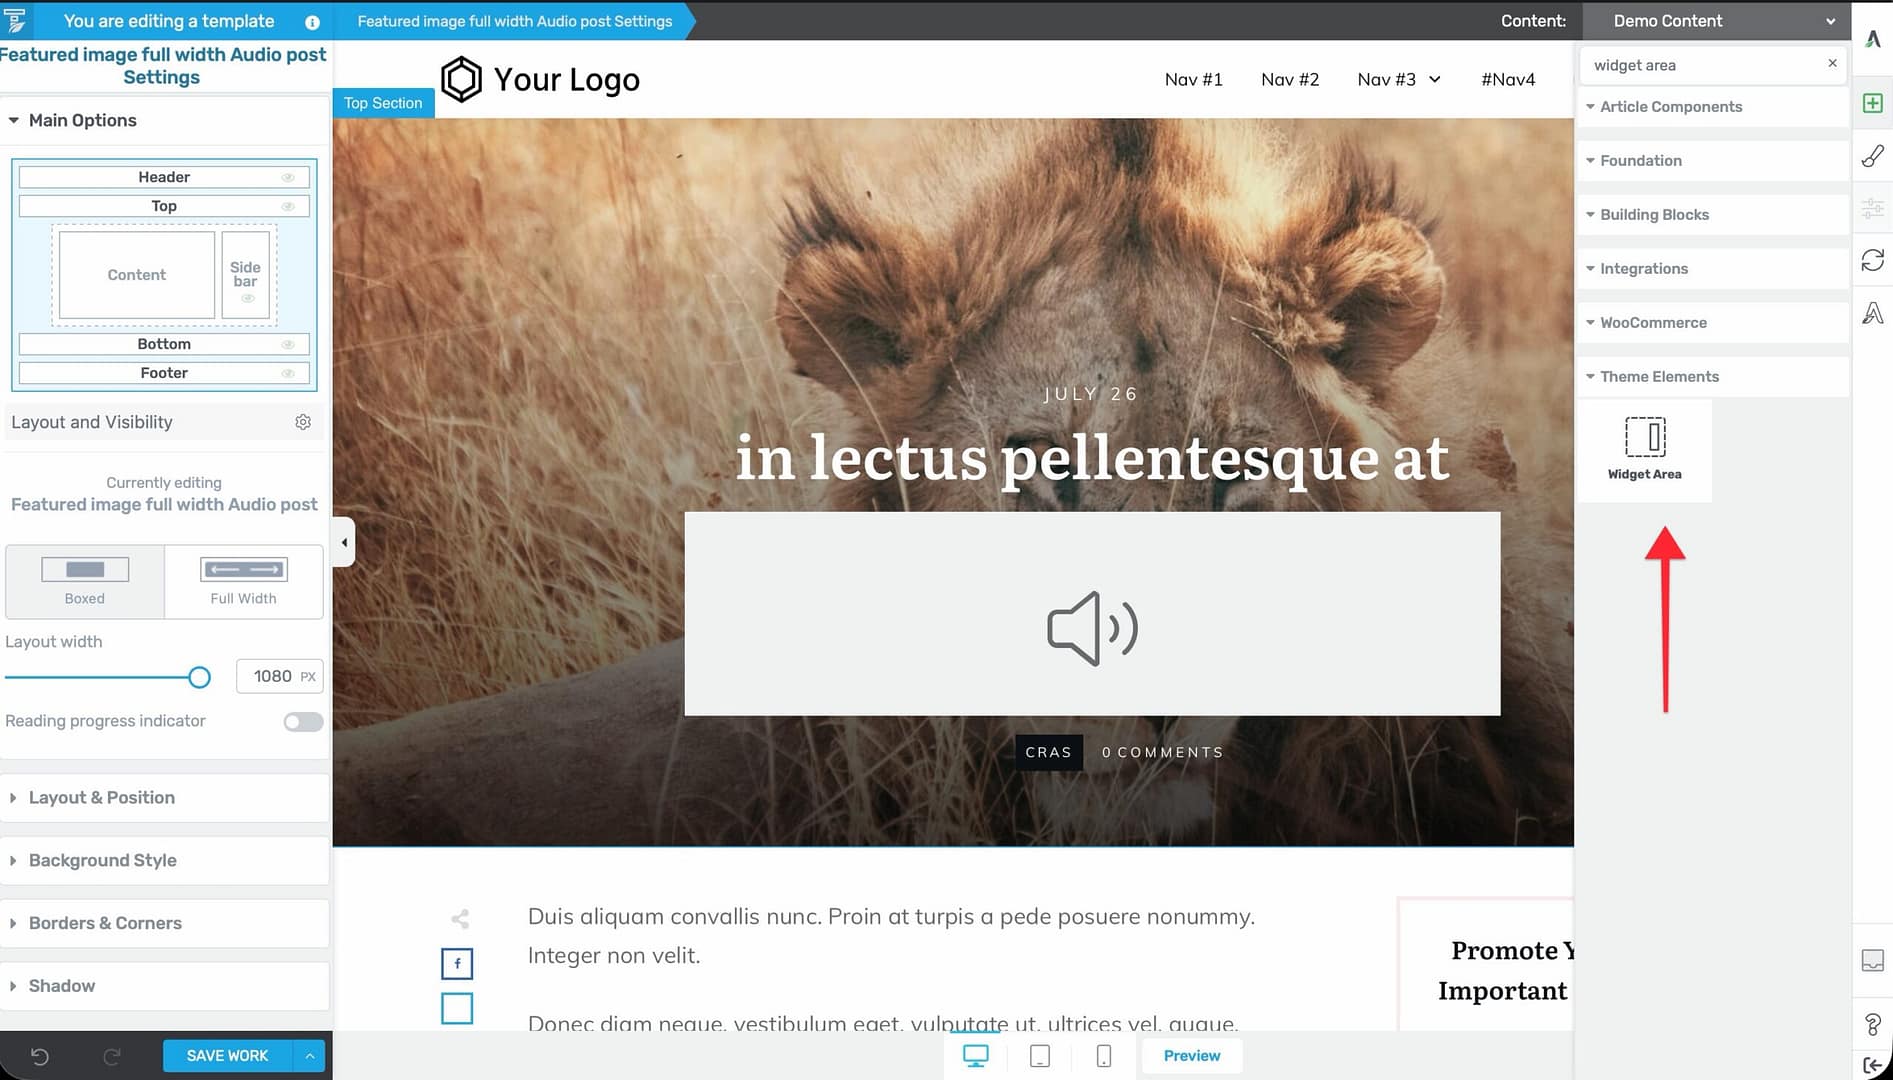
- Configure which WordPress widget area to display.
- Go to Appearance > Widgets in the WordPress admin.
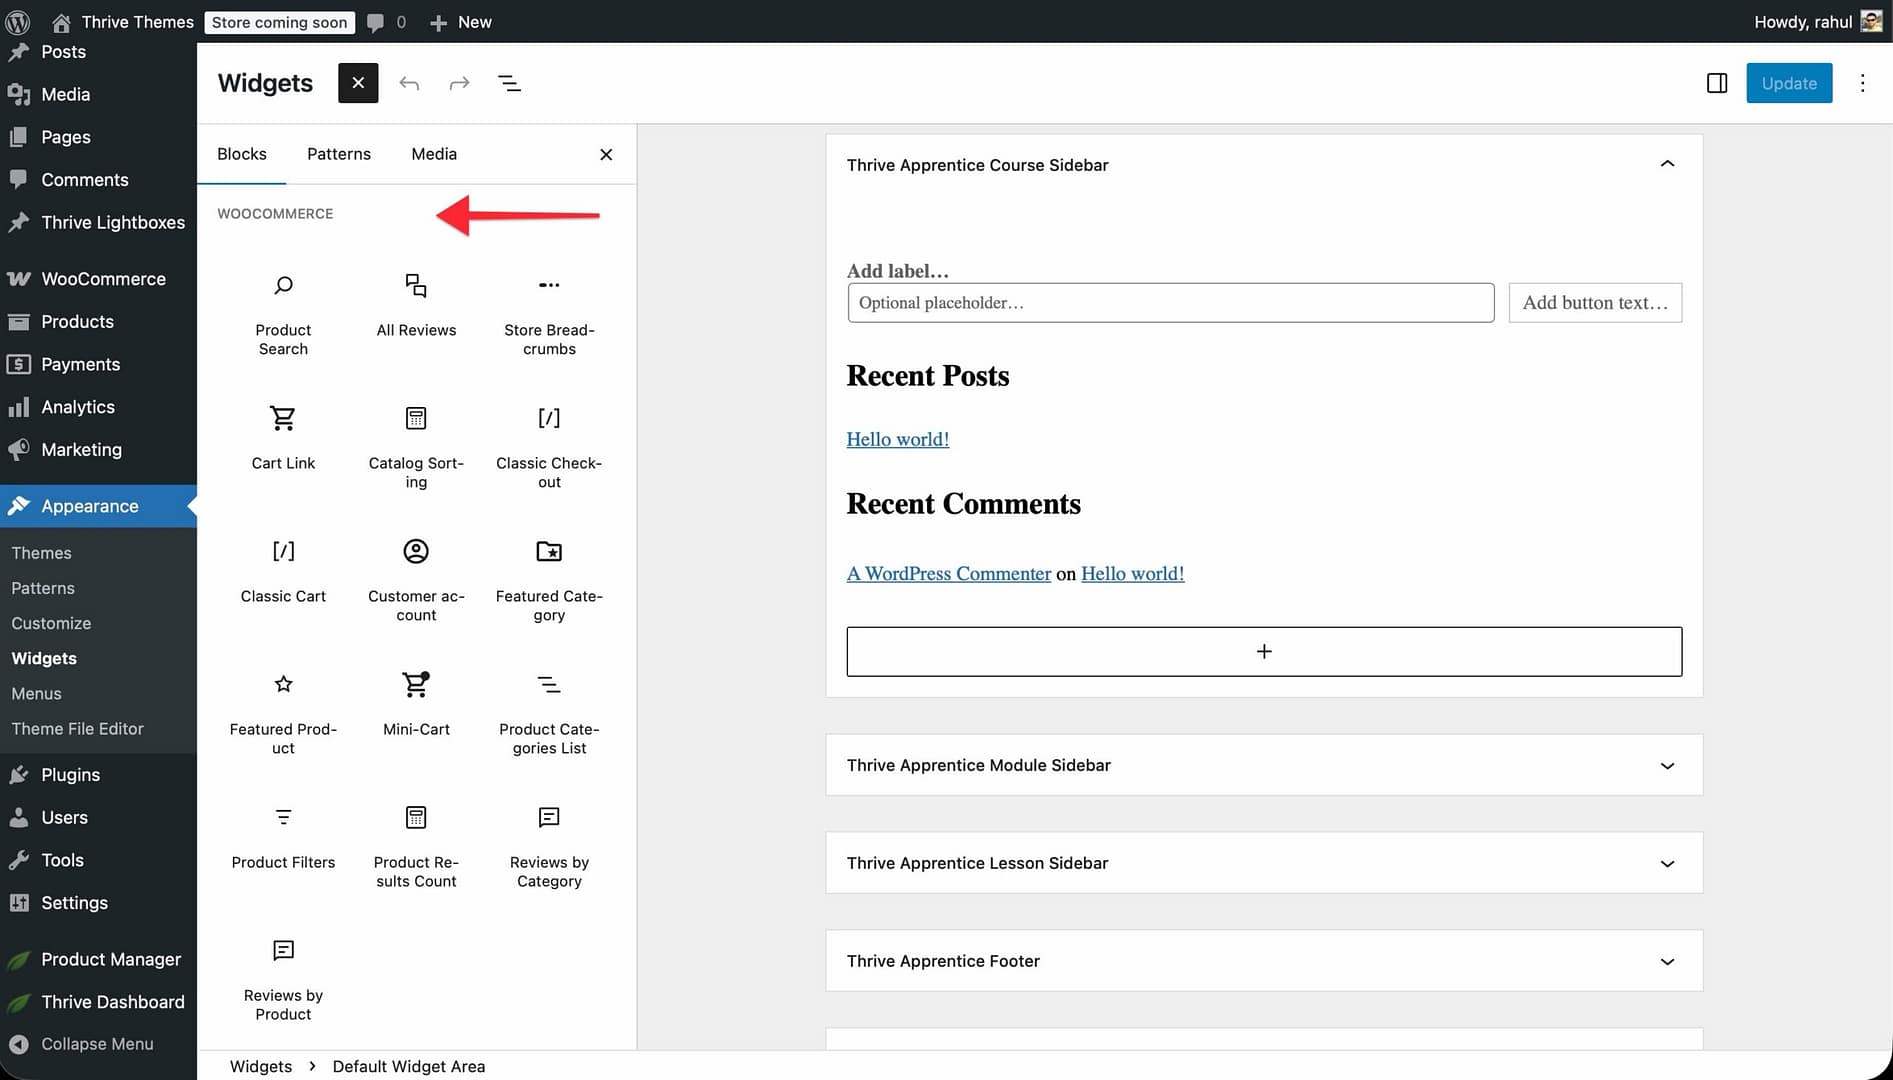
- Add WooCommerce widgets to the appropriate widget area.
Available WooCommerce Widgets
WooCommerce provides several widgets you can add to your templates via the Widget Area element:
- Product Categories — A list or dropdown of product categories.
- Product Search — A search bar specifically for products.
- Products — Display products by type (recent, featured, top rated, on sale, or best selling).
- Top Rated Products — Your highest-rated products.
- Recent Reviews — The latest product reviews.
- Recently Viewed Products — Products the visitor has recently viewed.
- Cart — A mini shopping cart widget showing cart contents.
- Product Tag Cloud — A tag cloud of product tags.
Where to Use WooCommerce Widgets
- Shop template sidebar — Add category navigation, price filters, and attribute filters.
- Blog sidebar — Display featured products or recent products alongside blog content.
- Footer — Show product categories or featured items in the footer.
Shop Filter Sub-Elements
When editing a Shop or Archive template in Thrive Theme Builder, WooCommerce filter sub-elements become available for styling. These are not drag-and-drop widgets—they are built-in sub-elements that appear on the template when WooCommerce’s filter functionality is active.
The available filter sub-elements include:
- Attribute filter — Displays a list or dropdown of product attributes for filtering (color, size, etc.).
- Price filter — Shows a slider or input fields for setting a price range.
- Rating filter — Displays star rating options for filtering.
You can style these filter components individually:
- Filter titles
- Filter attribute items
- Filter dropdowns
- Price filter buttons
- Rating filter stars
Note: These filter sub-elements only appear when editing Shop or Archive templates in Thrive Theme Builder. They are not available as standalone elements in Thrive Architect.
WooCommerce Product Add-Ons Extension
The WooCommerce Product Add-Ons extension allows you to add custom fields to your products—such as gift message text boxes, custom engraving options, or checkbox upgrades with variable pricing.
Prerequisites
The WooCommerce Product Add-Ons plugin must be installed and activated. Thrive Theme Builder automatically detects the plugin and makes add-on styling elements available in the editor.
Supported Add-On Field Types
When editing a Product template in Thrive Theme Builder, you can style these add-on field types:
- Short text field — Single-line text input for brief customizations.
- Long text field — Multi-line textarea for longer messages or descriptions.
- Dropdown — A select menu with predefined options.
- Radio buttons — Single-choice options displayed as radio buttons.
- Checkboxes — Multiple-choice options that customers can select.
Styling Add-On Fields
- Open the Product template in the Thrive Theme Builder editor.
- The add-on elements appear as sub-elements within the product area.
- Click on individual add-on elements to customize their appearance:
- Title styling — Font, size, and color of the add-on field label.
- Description styling — Text formatting for field descriptions.
- Input styling — Appearance of text fields, dropdowns, and selection controls.
- Price display — How add-on pricing appears next to options.
- Character counter — Style for the remaining character count on text fields.
Best Practices
- Use filter widgets on the shop page — Product attribute, price, and rating filters help visitors find what they’re looking for quickly.
- Don’t overload with widgets — Include only the most useful widgets for your store type. A clothing store needs attribute and price filters; a digital product store may only need category navigation.
- Style add-on fields consistently — Customize add-on field styling to match your product template design for a seamless shopping experience.
- Test filter functionality — After adding filter widgets, test them on the live site to make sure they correctly filter products.
Related Resources
- Getting Started with WooCommerce: Learn how to set up WooCommerce with Thrive Theme Builder.
- Customizing WooCommerce Shop & Product Templates: Learn how to customize shop and product templates.
- Using the Widget Area Element: Learn about the Widget Area element.