You can set Featured Images for your posts as well as pages at an individual level and at a global level for your blogs.
Setting Featured Images on Individual Posts or Pages
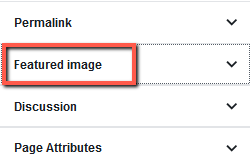
Open the standard WordPress editor of the post or page where you want to display your image and click on the “Featured image” section from the right sidebar:
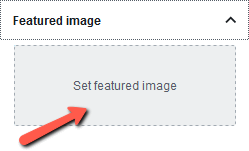
Then, click on the “Set featured image” option that appears in the drop-down:
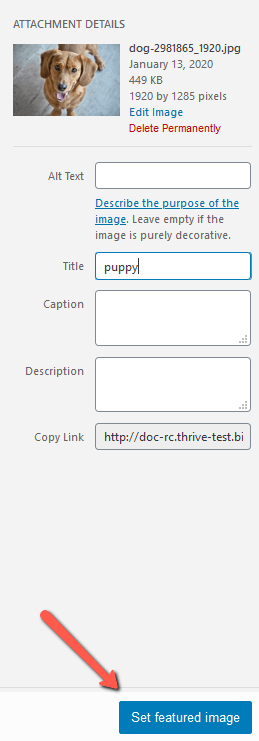
Choose an image from the Media Library, or click on the “Upload Files” tab to add a new image to your library. Then, click on the “Set featured image” button in the bottom right corner of the window:
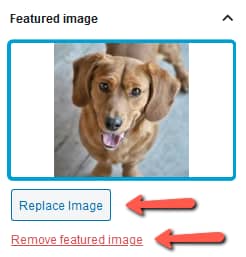
After you select the image, it will be set and you will be able to see it in the right sidebar of the editor.
If you will want to replace the image with another one or remove it altogether, you can use the “Replace image” and the “Remove featured image” options, that are displayed below the image:
When you are done with setting the featured image, click on the “Update” button from the upper-right corner of the editor, in order to save the changes that you have done to the page:
Setting Display Options to Featured Images
In case you are using a Thrive Theme, then you can also set display options to your featured image.
If you scroll down a bit on the same page, that you have set the featured image to, in the WordPress editor, you will see the “Thrive Themes Options”. You will have to open the “Display Options”:
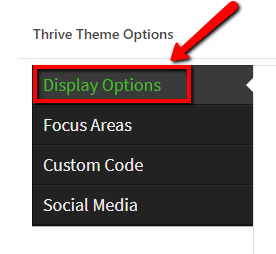
Here you can choose how your featured image will be displayed. You can choose between more types of images:

Setting Featured Images Globally
In blog view, Featured Images have a uniform style. You can set this style by opening the options of your Thrive Theme.
Legacy Themes
When using one of our Legacy Themes, the steps of setting a “Featured Image” globally are as follows: first, click on the “Thrive Dashboard” from the left-side menu of your WordPress admin dashboard:

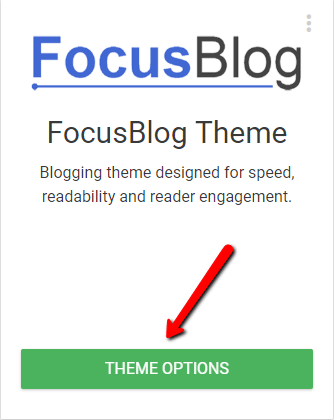
In the “Thrive Dashboard”, look for the card of the theme you are using (in this example, “FocusBlog”), and click on the “Theme Options” button from it:
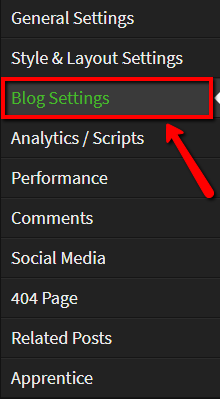
In the “Theme Options” page, choose the “Blog Settings”:
Then you will see the “Featured Image” settings:

From here you can select the type of featured image to show on your blog posts. You can choose between “Wide”, “Thumbnail” or “No image”. This will apply to both the single post and the blog/archive view.
Furthermore, you can also choose whether or not the featured image should appear in Single Posts as well.
Note: Please keep in mind that the settings you choose for the featured image on an individual page level, will overwrite the ones you choose on a global theme level.
Once you are done setting your preferences for the uniform style of the featured image, click on the “Save All Changes” button from the bottom-left part of the page:
Thrive Theme Builder theme
If you’re using a Thrive Theme Builder theme, you will be able to use the “Featured Image” element, add it to your templates, and customize it just like all of the other elements. Here are some resources about it:
These were the ways to set up “Featured Images” on individual posts/pages, as well as globally, on the entire theme.
Hopefully, this article was useful for you. If so, please give it a smile below 🙂