In this article, you’ll learn how to navigate the Thrive Apprentice Settings page, configure general settings for your online school, and customize dynamic labels to match your brand’s voice.
Accessing the Settings Page
To open the settings area, navigate to Thrive Dashboard > Thrive Apprentice and click Settings in the left sidebar. This takes you to a centralized hub where you can manage every aspect of your online school’s configuration.
Understanding the Settings Page Layout
The Settings page is organized into clearly labeled sections, each dedicated to a specific area of your Thrive Apprentice setup. You’ll find the following tabs along the top or in the left-hand navigation:
- General — Core settings such as your course page, URL slugs, auto-login, and comment preferences.
- Login & Access Restriction — Controls for login pages, registration, and who can view your content.
- Comments — Enable or disable comments on courses, lessons, and modules.
- Email Templates — Customize automated emails sent to students upon enrollment, completion, and other events.
- Assessment Uploads — Manage settings for student assignment submissions.
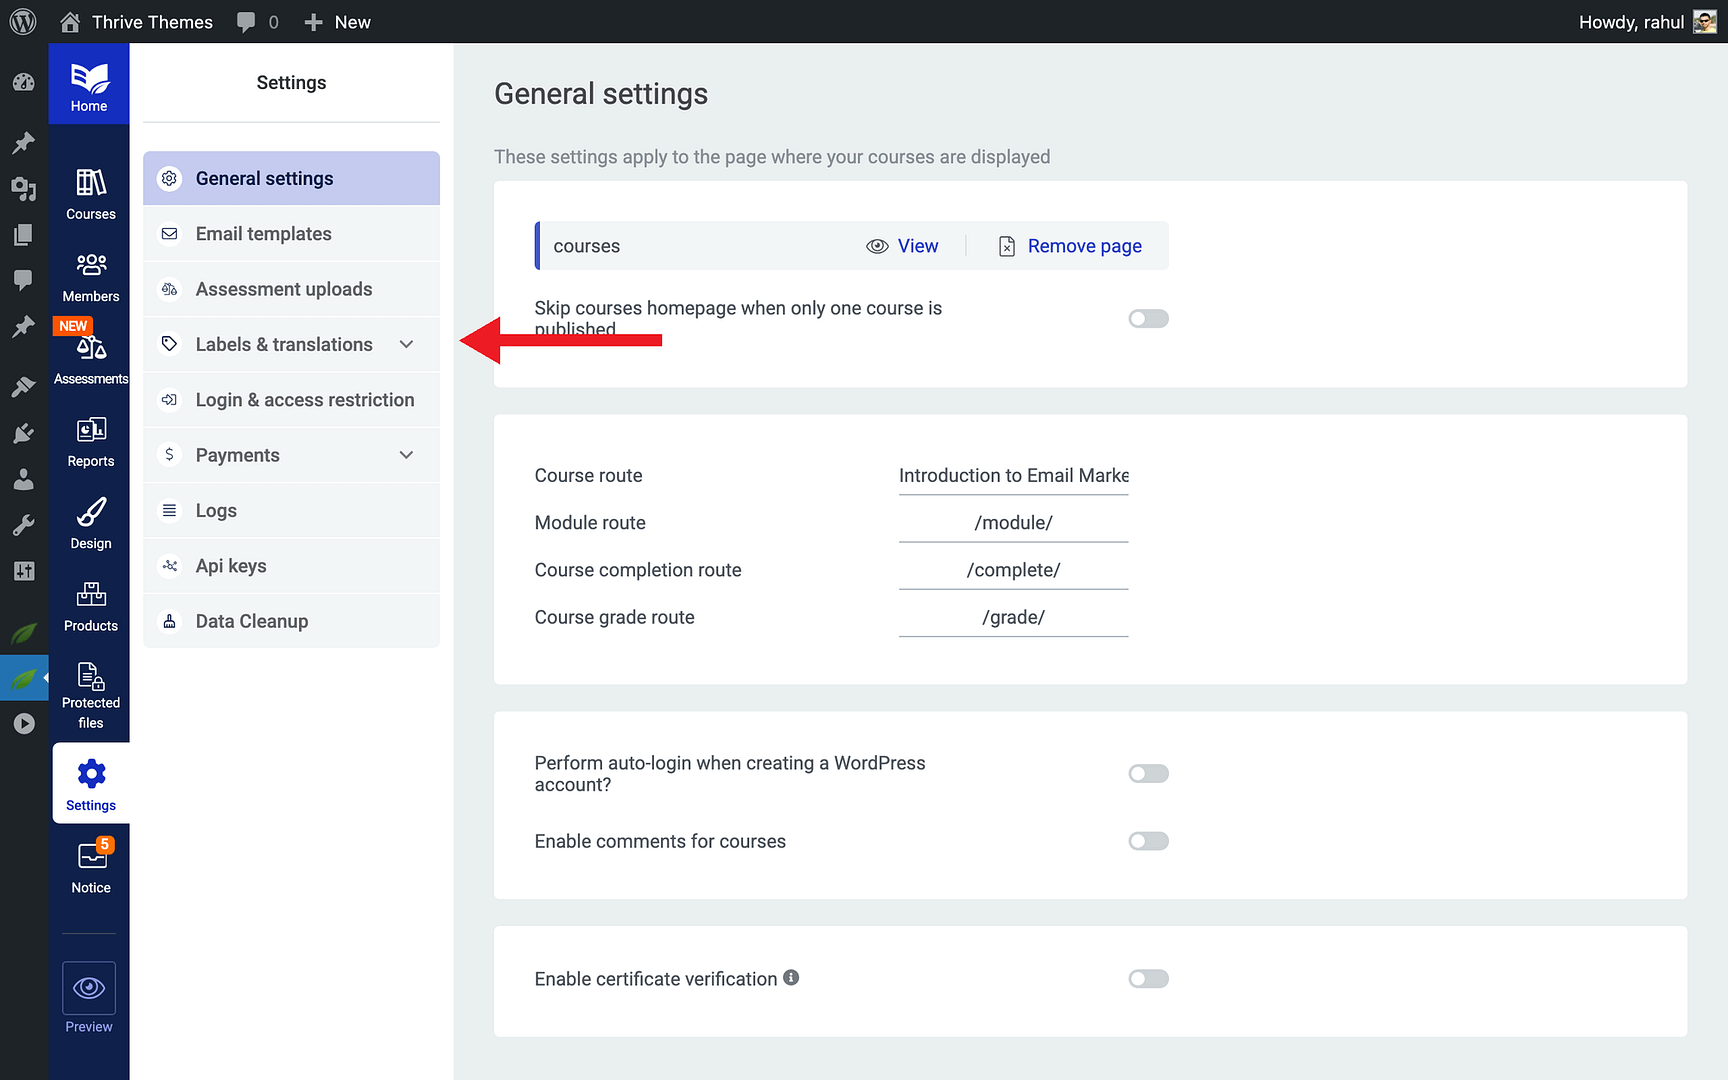
- Labels & Translations — Adjust the default text and dynamic labels displayed throughout your courses.
Tip: You can jump directly to any section by clicking its name in the navigation. Each section saves independently, so you don’t need to configure everything at once.
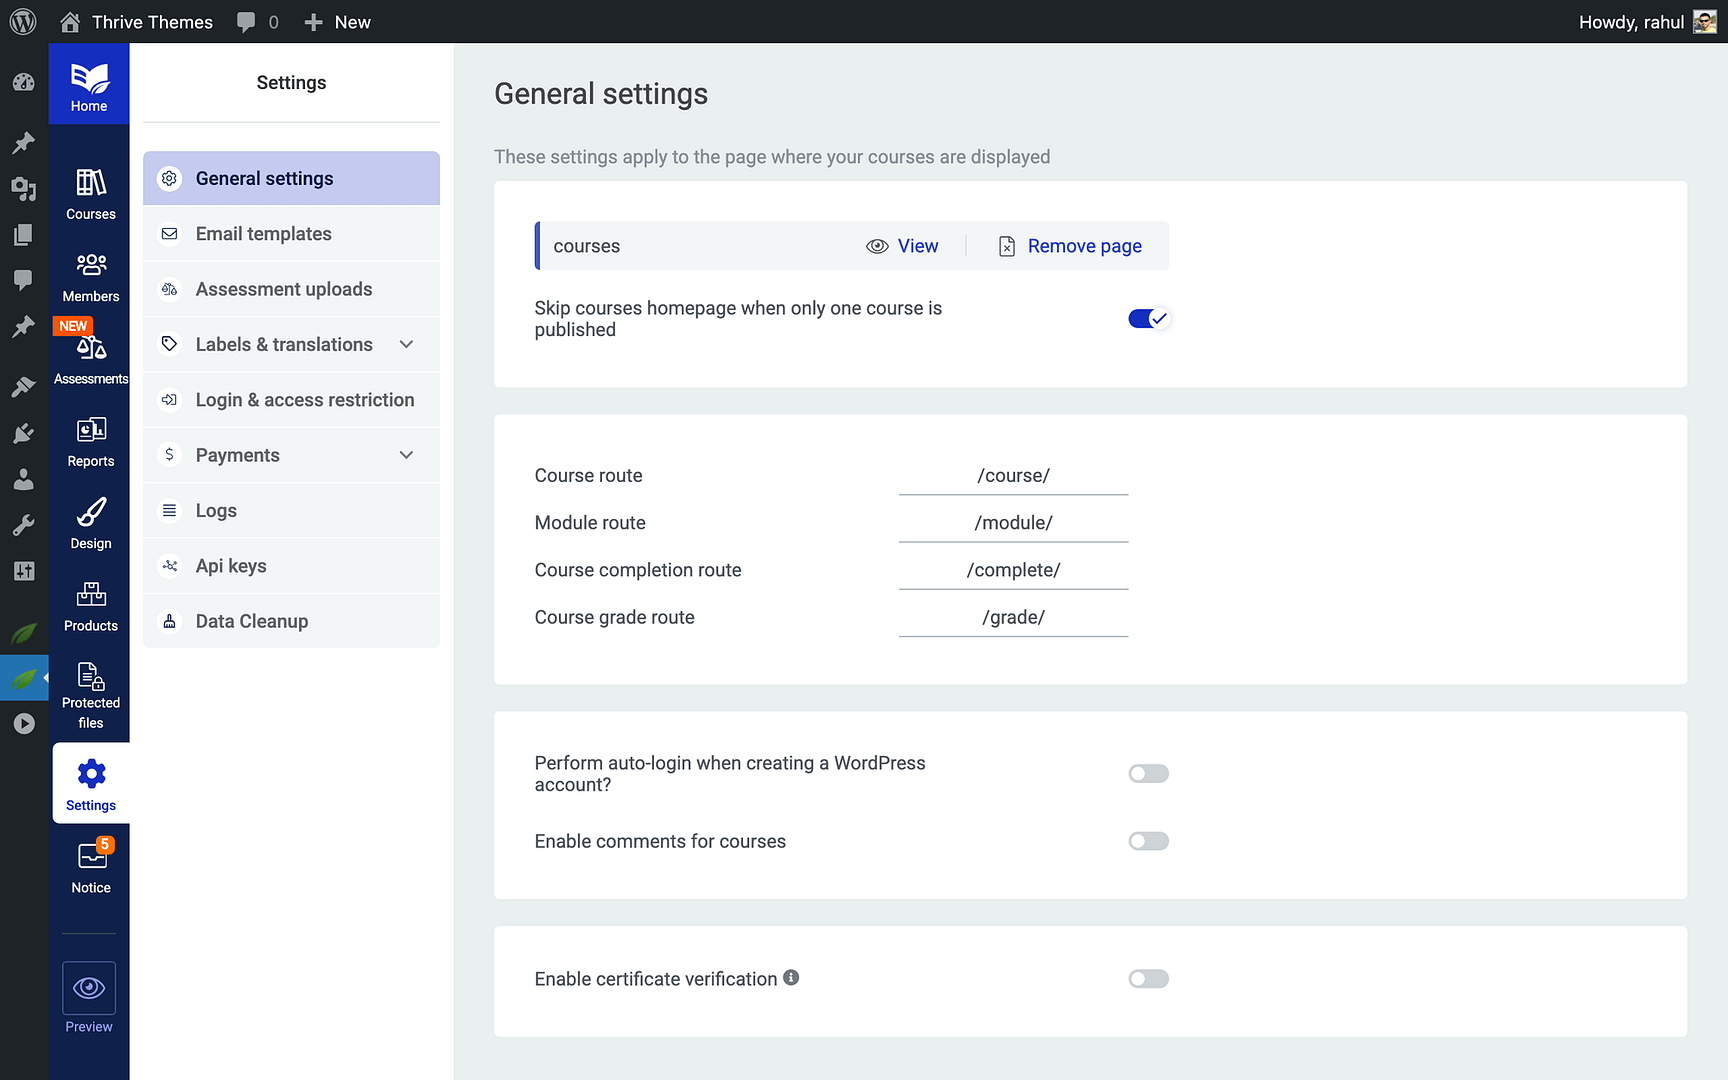
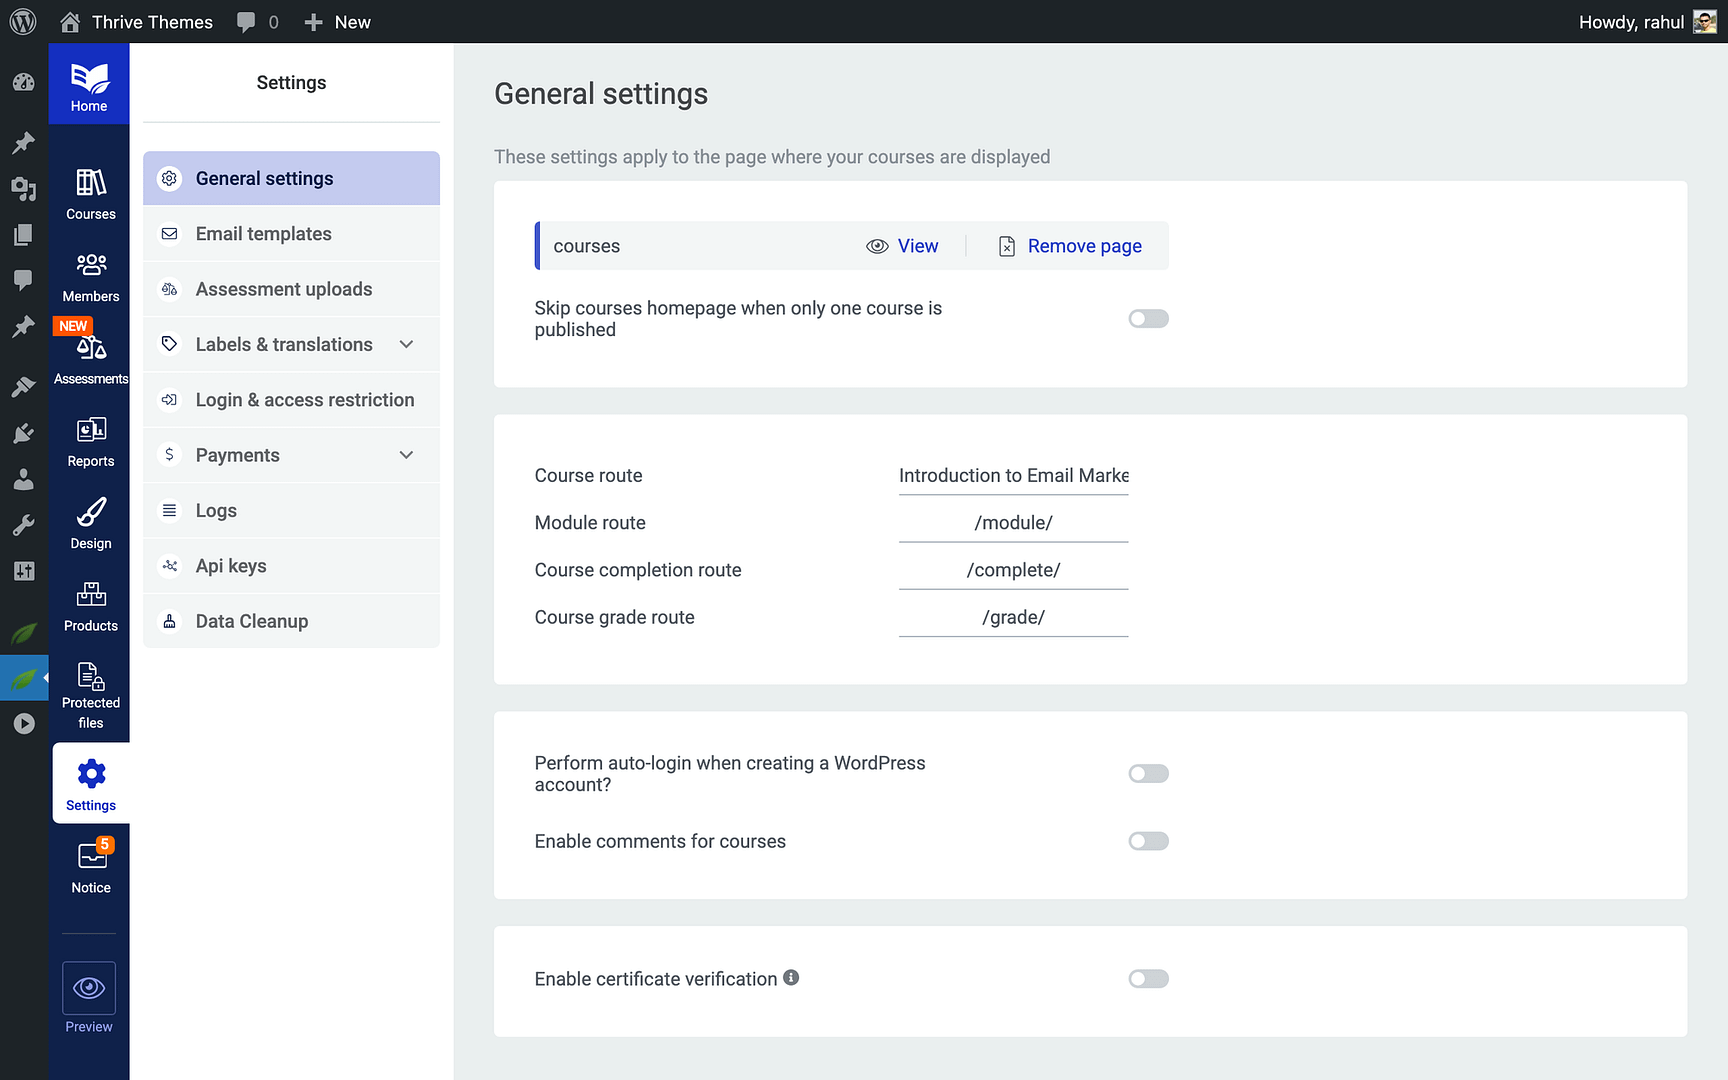
Configuring General Settings
The General tab is where you set the foundational options for your online school. Here’s what you can configure:
Course Page Selection
Choose which WordPress page displays your Thrive Apprentice course catalog. This is the page visitors see when they browse all available courses on your site.
- Open the General settings tab.

- Locate the Course Page dropdown.
- Select the page you want to use as your main course listing page.

- Click Save to apply the change.

URL Slugs
Customize the URL structure for your courses, lessons, and modules. Clean, descriptive slugs improve both SEO and user experience.
- Scroll to the URL Slugs section in the General tab.

- Enter your preferred slug for each content type (e.g.,
courses,lessons).
- Click Save to update the URLs.

Important: Changing URL slugs after your site is live may break existing links. If you update slugs, set up 301 redirects for any previously shared URLs.
Auto-Login
When enabled, the Auto-login feature automatically logs users in when a new WordPress account is created for them. This provides a seamless experience for students who are added to your site through integrations or manual account creation.
- In the General tab, find the Auto-login toggle.
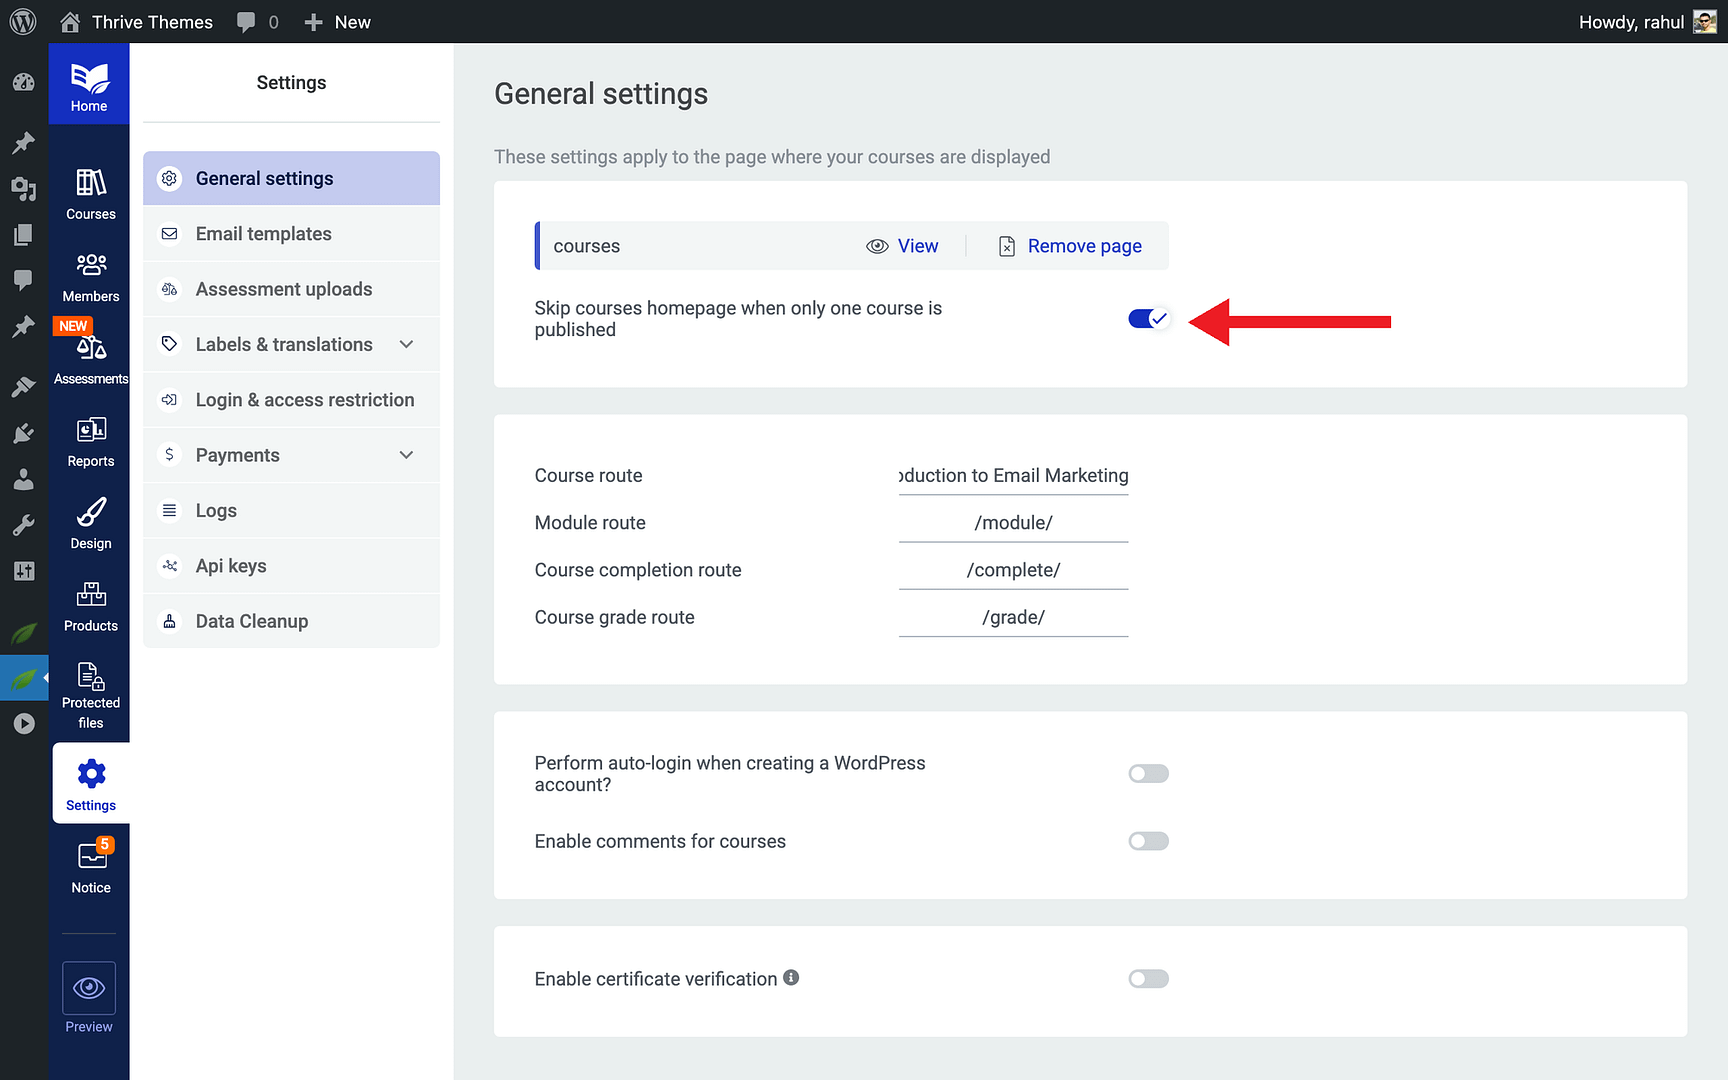
- Switch it On to enable automatic login for new accounts.
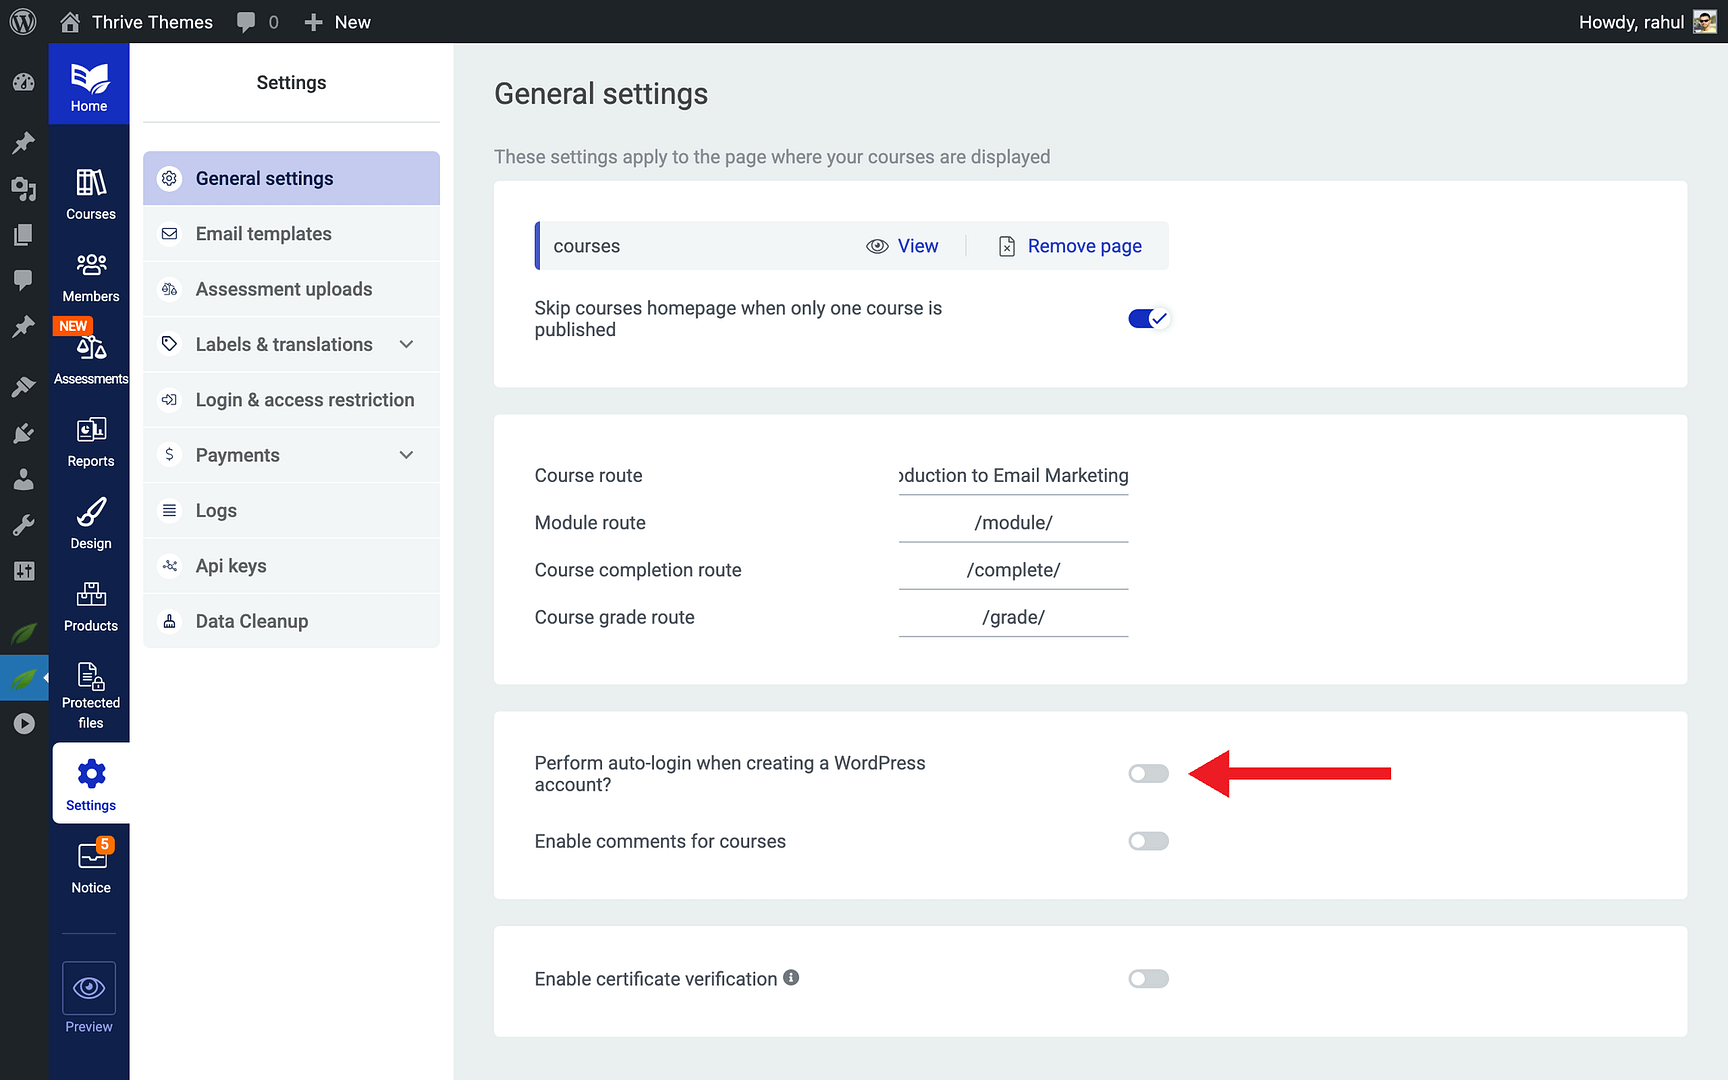
- Click Save.

Course Comments
You can enable or disable comments on your course content directly from the General tab. This lets students ask questions and interact with your material.
- Locate the Enable Comments for Courses option.
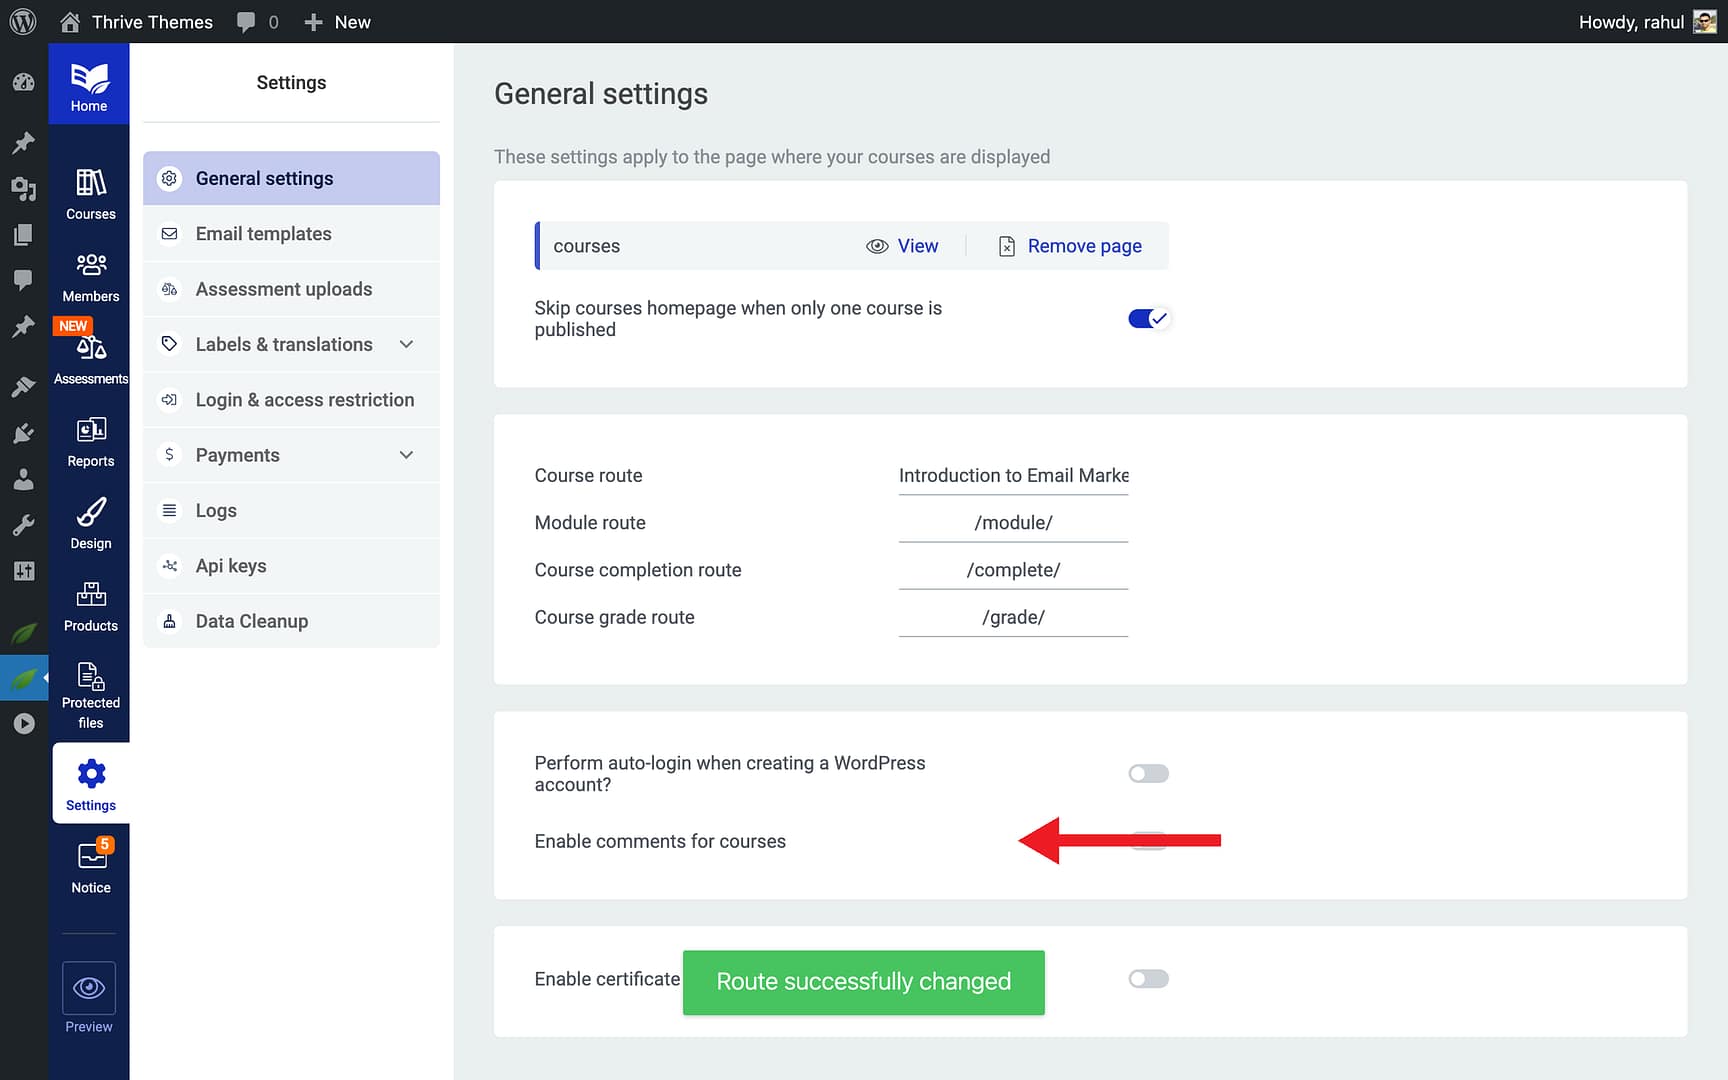
- Toggle it On or Off based on your preference.
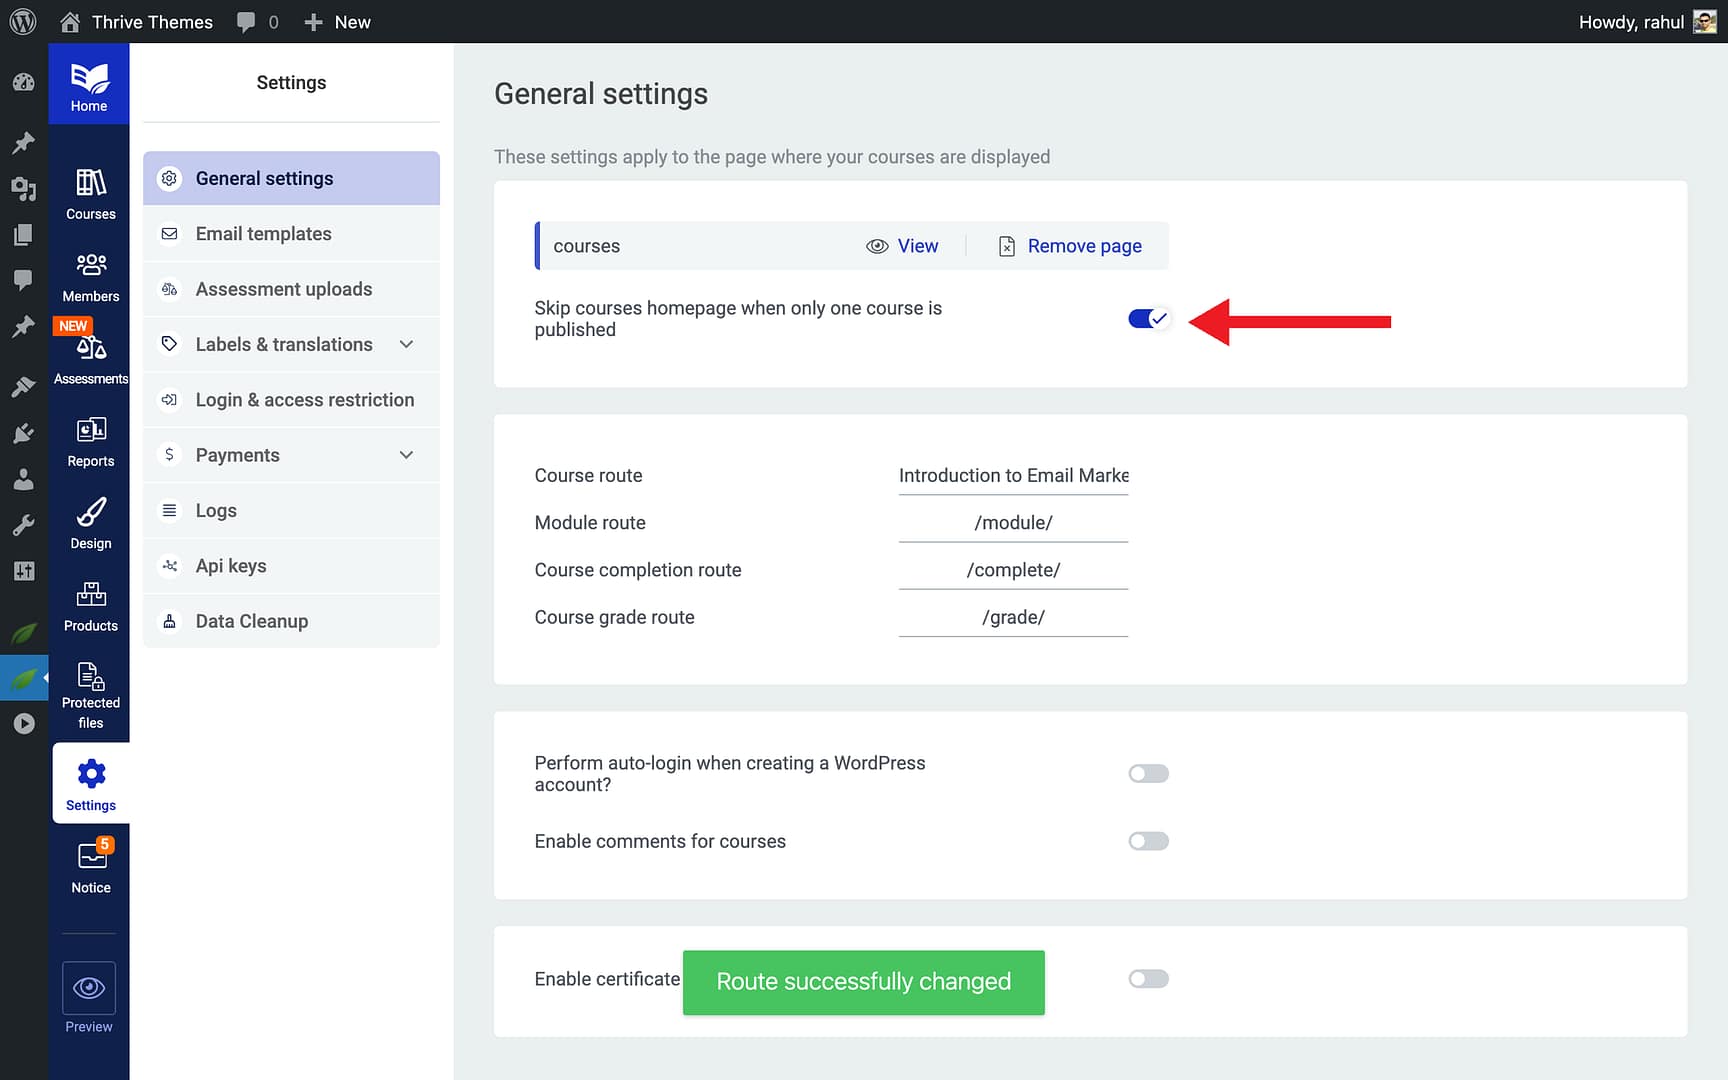
- Click Save.
Using Dynamic Labels
Dynamic labels are adaptive text elements that automatically change based on the visitor’s access status and context. For example, a label might display “Start Course” for a student with access and “Purchase Course” for someone who hasn’t enrolled yet.
Where to Find Dynamic Labels
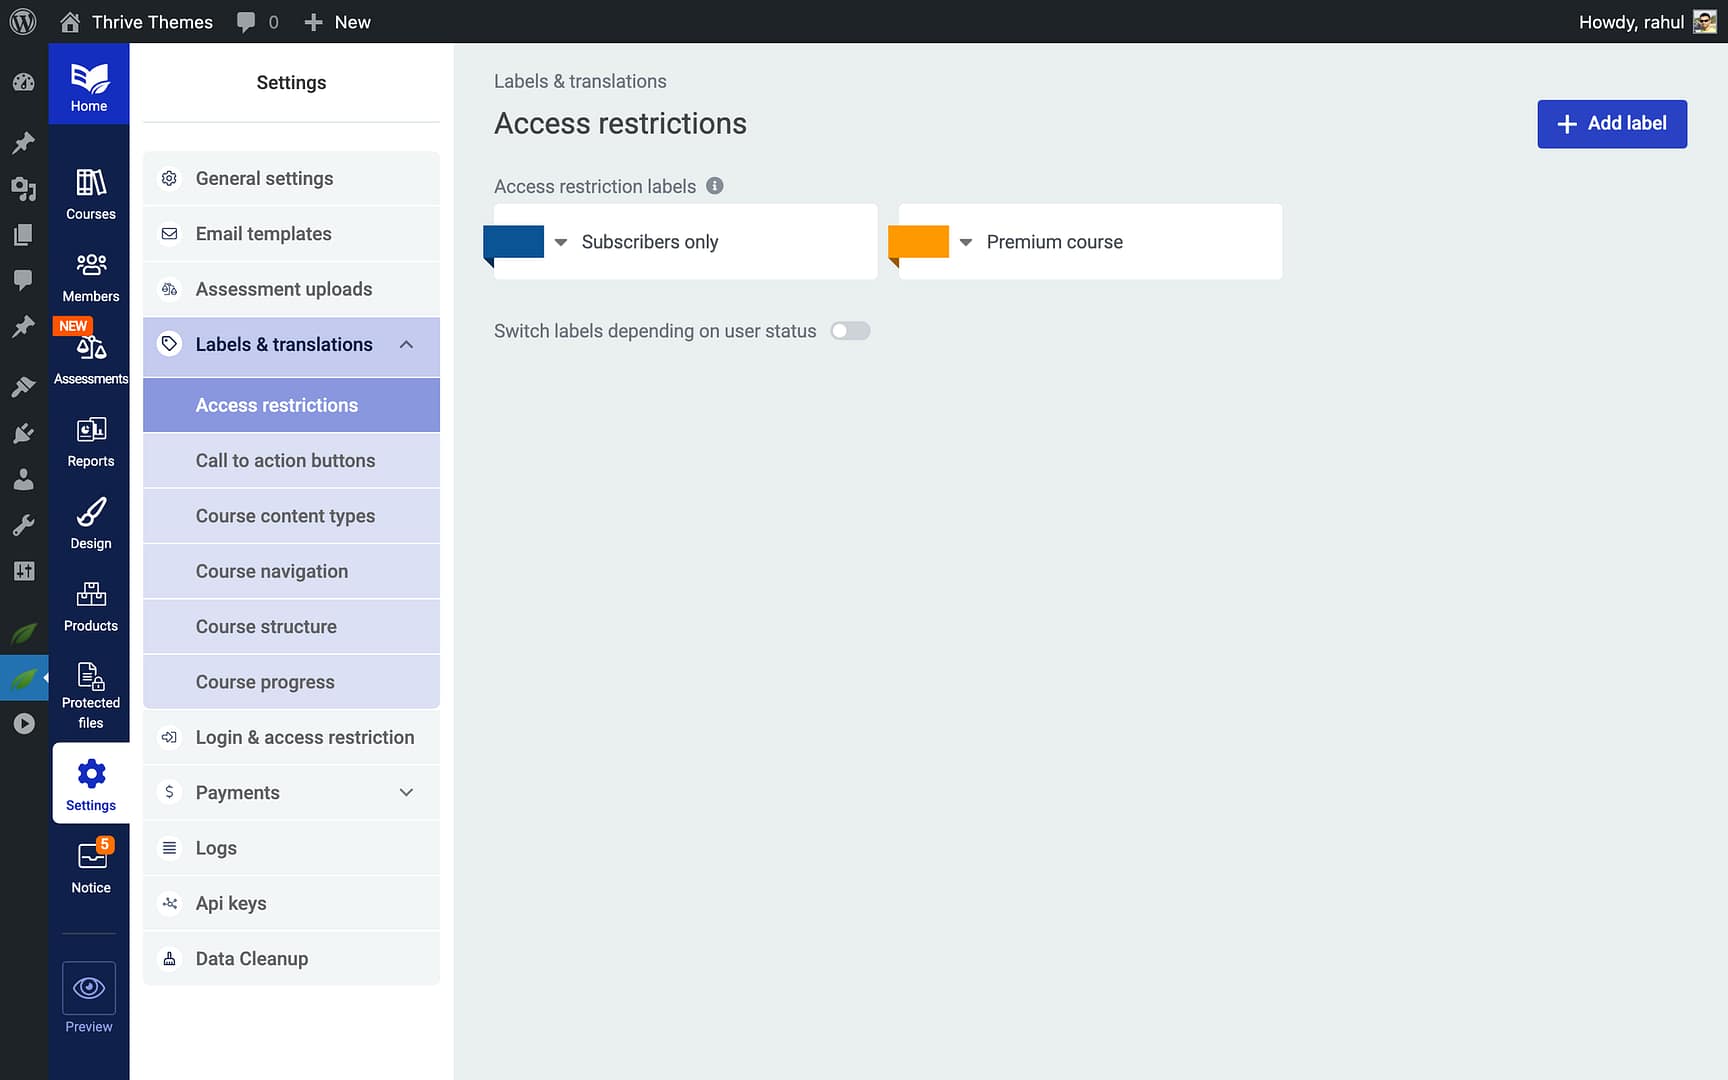
- Go to Settings > Labels & Translations.
- Select the Access Restrictions section.

- You’ll see a list of customizable labels and call-to-action buttons on the right side of the screen.

Customizing Dynamic Labels
Each label corresponds to a specific scenario—such as free access, paid enrollment, or restricted content. To customize a label:
- Click on the label text you want to edit.
- Type your new text in the field provided.

- Repeat for any additional labels or call-to-action buttons.
- Click Save to apply your changes.

Here are some common labels you can adjust:
- Free course label — Tells visitors the course is available at no cost.
- Paid course label — Indicates that a purchase or subscription is required.
- Call-to-action button text — The button text that prompts users to enroll, purchase, or log in.
- Restricted content message — The message shown when a visitor cannot access course material.
Tip: Use clear, action-oriented language in your labels. Instead of generic text like “Access,” try something more specific like “Enroll Now—It’s Free!” or “Unlock This Course.”
Conclusion
That’s it! You’ve successfully learned how to navigate the Thrive Apprentice Settings page, configure your general settings, and customize dynamic labels. With these fundamentals in place, your online school is ready for further customization.
Related Resources
- Login & access setup — How to Set Up Login, Registration, and Access Restrictions
- Course management — How to Manage Course Status and Bulk Actions
- Member management — How to Manage Members in Thrive Apprentice