When you are running a test to see which of the forms you have built would be worth keeping on your site, there are two ways you can choose the best performing variation.
The first is to manually check the stats on a running test until you find a satisfactory winner. You can then manually end the test and choose which version should be shown.
The other option is to make use of our automatic winner settings. With this option, you can ensure that the winning version of a test is automatically shown once enough data is gathered – even if you completely forget about a test and never intervene yourself.
Where to Find Automatic Winner Settings
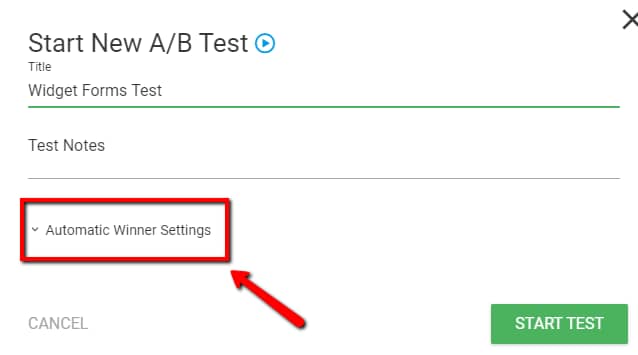
The “Automatic Winner” Settings will be available before you start the test. You can only start a test if you have multiple forms built, and before the test starts, you can set some of the details in the pop-up that opens.
This is how the pop-up window looks like if you start an A/B test consisting of variations of the same form:
And this is the pop-up window that you see before actually starting to run a test of different opt-in form types:
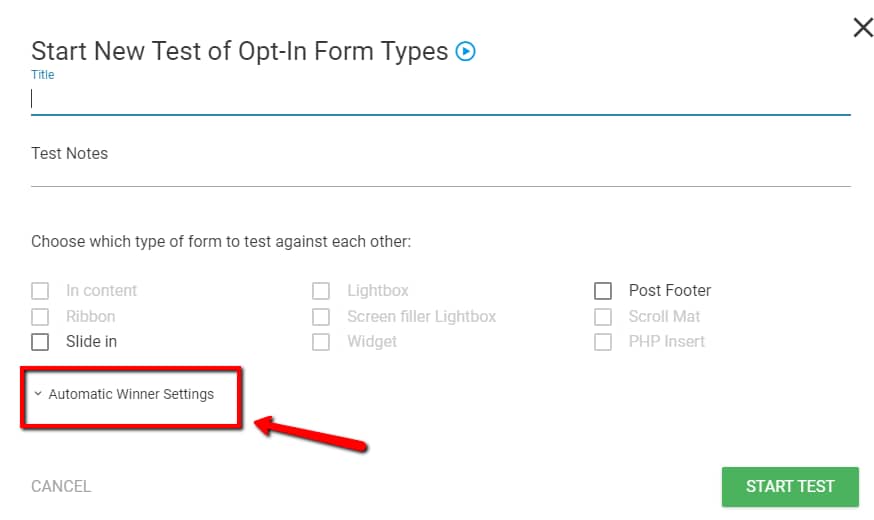
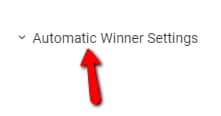
The “Automatic Winner Settings” works the same on both tests. You can see the “Automatic Winner Settings” section in each picture above, and you can click on this option, for more settings:
To activate the “Automatic Winner” feature, check the “Enabled” box:

Note: Keep in mind that even with the setting active, you can still stop the test and choose the winner by yourself any time, before the test would stop by itself.
Automatic Winner Minimum Threshold Settings
As you tick the box next to “Enabled”, the following options will appear in the same window:
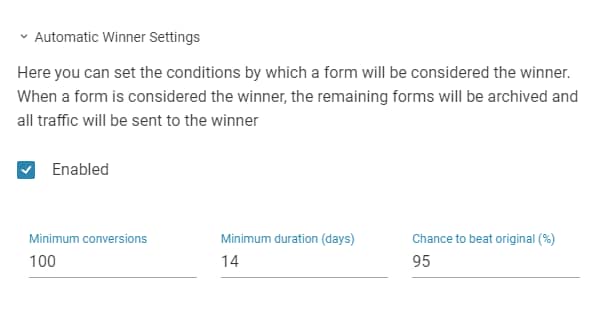
The values you see here exist to ensure that a test is not ended prematurely.
Early on in an A/B test, it can often seem like there’s a clear winner. Once more data is gathered, this can change and so it would be a mistake to end a test at the first sign of a high-performing variation.
Minimum Conversions
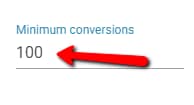
The minimum conversions determine how many total conversions need to be achieved in a test before a winner can be determined. The more variations you have, the higher this number should be. As a rule of thumb, you can add 50 minimum conversions per variation in your test.
You can change the default value here, and enter the number of desired conversions, in this field:
Minimum duration
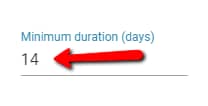
The next criterium is a minimum duration. This is the minimum amount of time the test should run before a winner can be selected.
This is especially important if you get a lot of traffic, meaning that you might reach a high number of conversions after a short time. This is another scenario where it can seem like there’s a winner, but unless you gather more data by leaving the test running for a longer time period, the data you see could be very misleading.
The default value here is 14 days, but you can also change this, by entering the number of days that you want the test to last, in this field:
Chance to beat original
Finally, there’s a minimum chance to beat the original, which has to be met before a variation can become recognized as the winner. This number is sometimes referred to as the statistical significance of the test. It basically asks: “how sure can we be that the difference we’re seeing is simply up to random chance?”
The higher this number, the more reliable your test results will be. We recommend keeping this number at 90% or higher:

Automatic Winner Settings in a Running Test
While you are already running your test, go to the test’s page and scroll down to the data table:

Here you can still change whether you want to enable automatic winner settings or not, by clicking on the “Change” option, next to the “Automatic winner settings are enabled” info message:
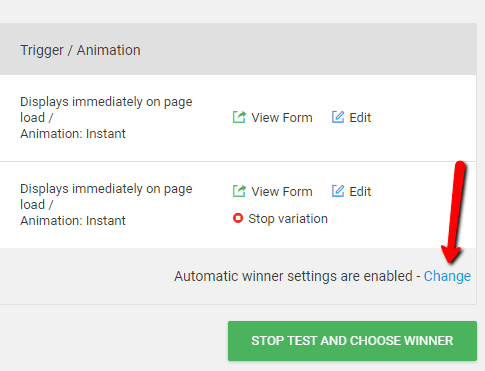
As you click on “Change” you will be offered to change the three settings and to enable or disable this feature:
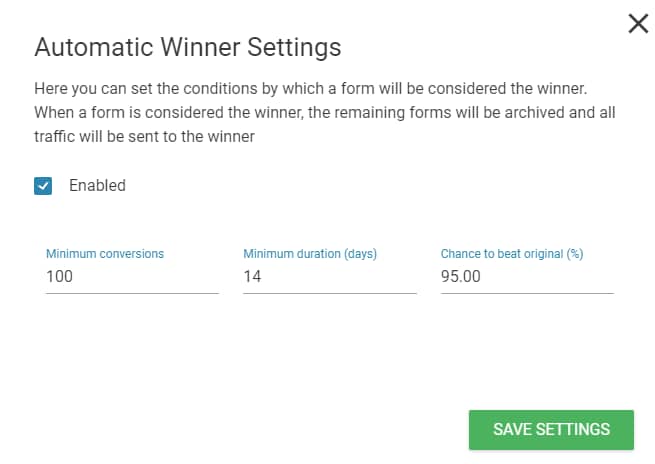
Naturally, make sure to click on “Save Settings” when you’re done:
These were the ways in which you can use and customize the “Automatic Winners Settings” when performing a test in your Thrive Leads dashboard. If you need more information about various Thrive Leads features and options, feel free to check out this knowledge base section.