Do you want to publish a customized homepage for your online school? You can do that using the School Homepage template in Thrive Apprentice.
In this article, we’ll see how you can use the School Homepage template and customize it for your website.
Accessing Thrive Apprentice Templates
To access templates in Thrive Apprentice, open your WordPress admin area, navigate to Thrive Dashboard >> Thrive Apprentice, and click on Design.
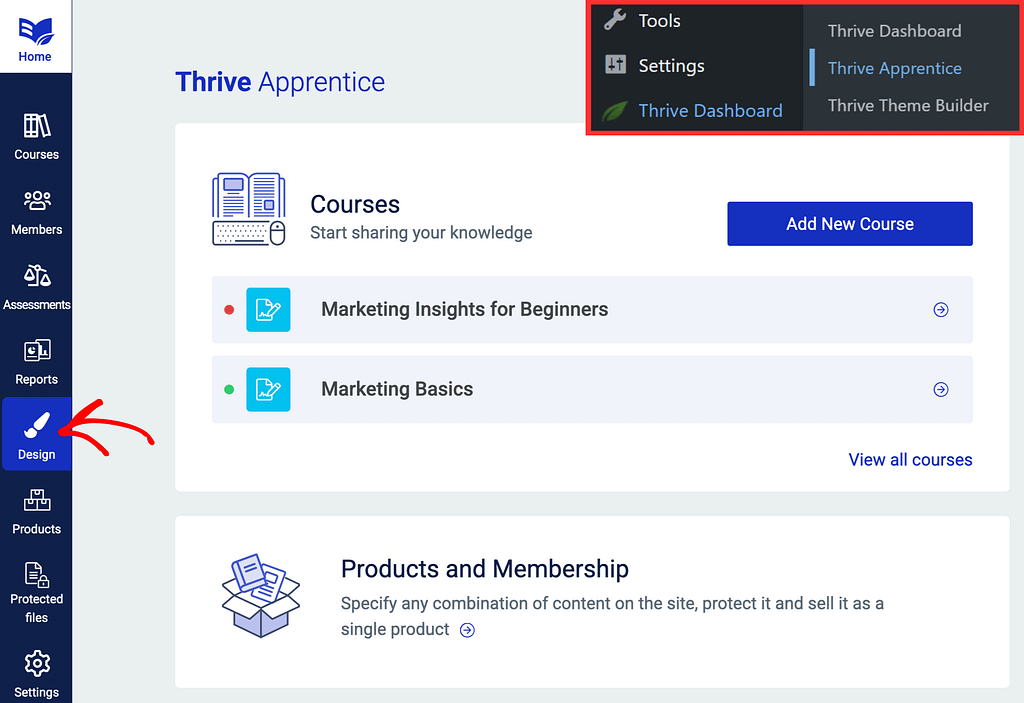
On the Design page, click on Edit design on the Active design block.
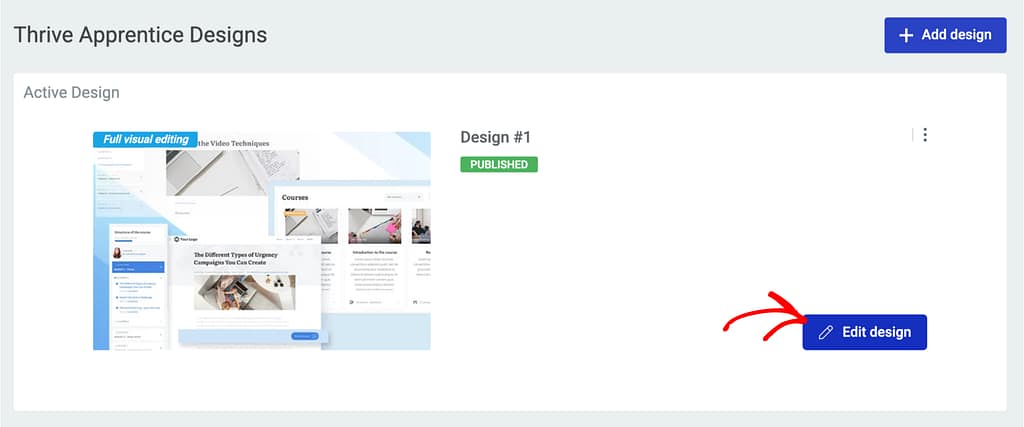
When you click Edit design, you’ll be taken to the Thrive Apprentice design page. On this page, go to the Template editor block, and click Manage templates.
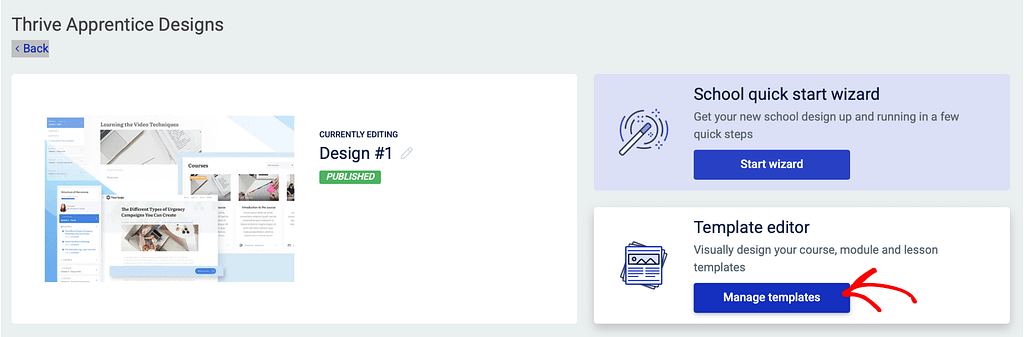
Clicking Manage template will take you to the Thrive Apprentice templates page.
Setting up the School Homepage Template
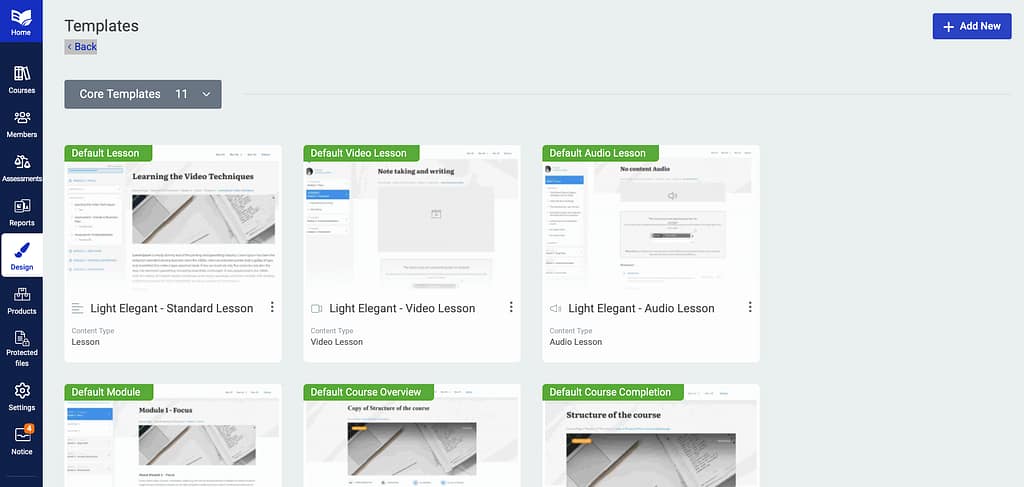
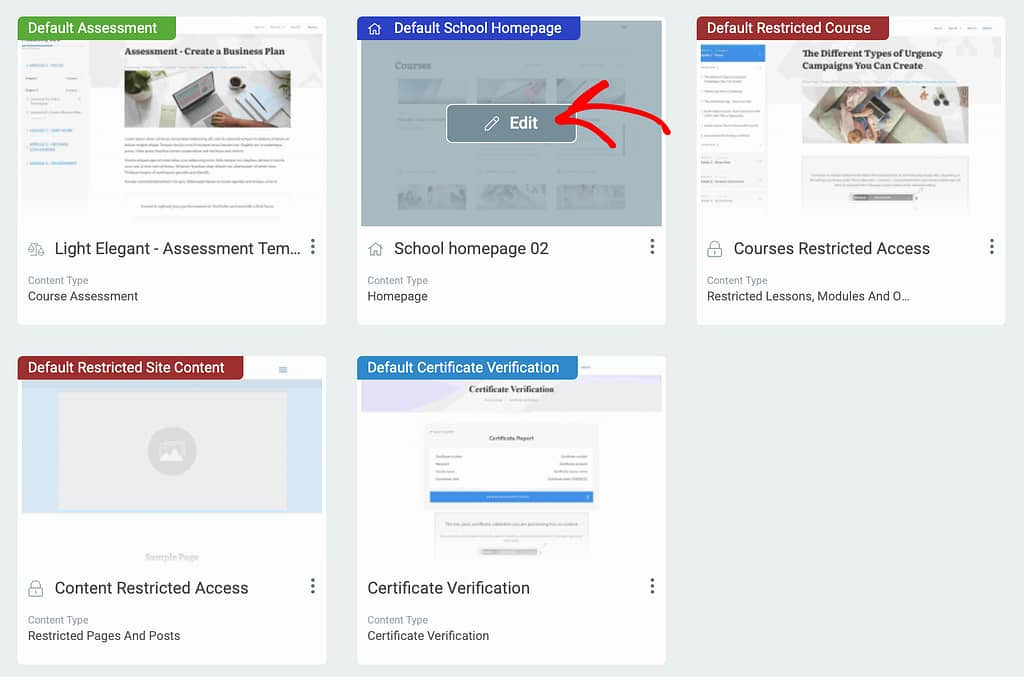
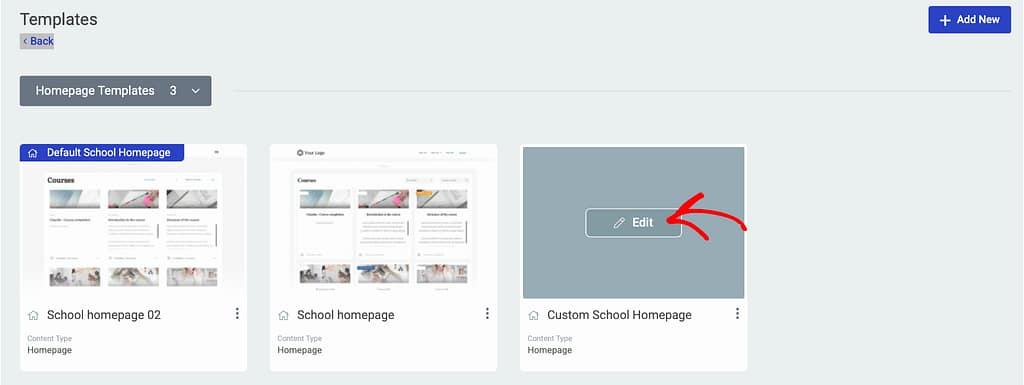
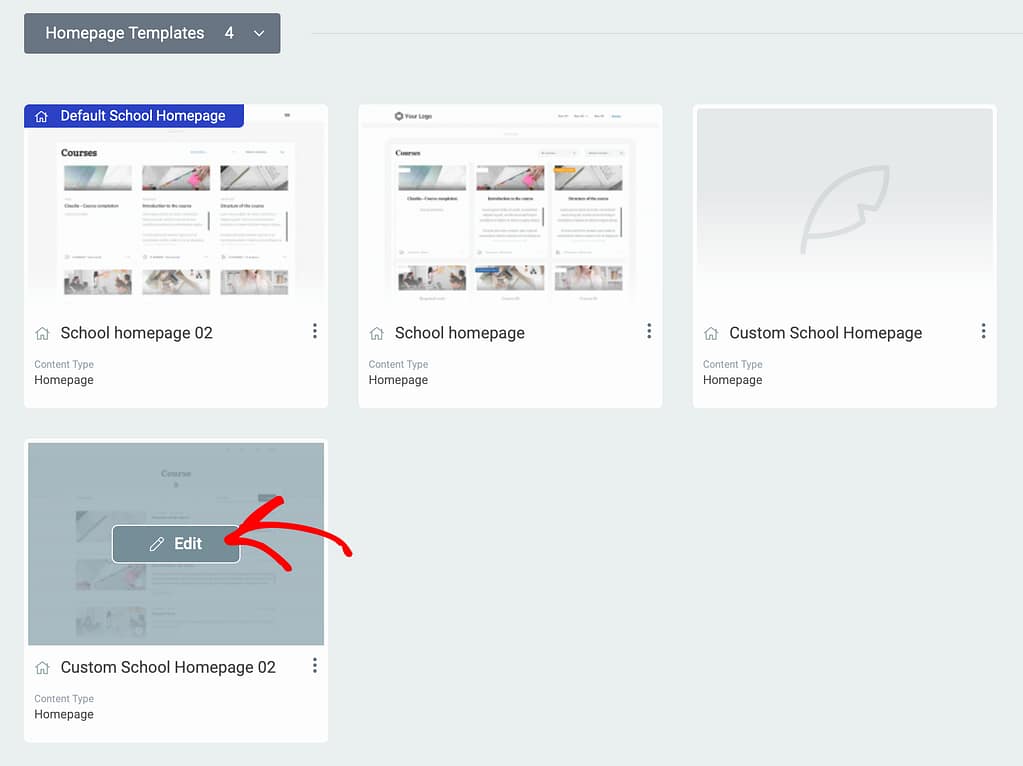
On the Thrive Apprentice templates page, you’ll find a template named Default School Homepage. As the name says, this template comes by default with Thrive Apprentice.
To edit this template, hover over it and click Edit.
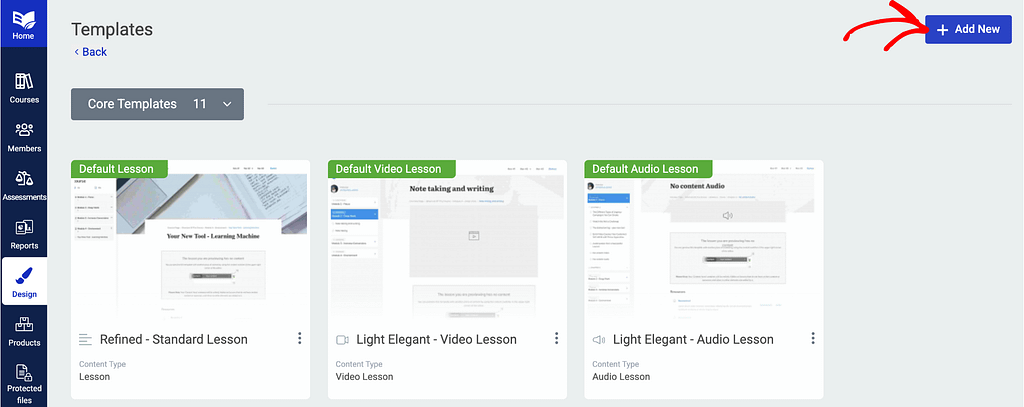
In this article, we’ll see how you can add a new template and use it as a School Homepage template for your website.
To add a new template, click the +Add New button on the top right of the templates page.
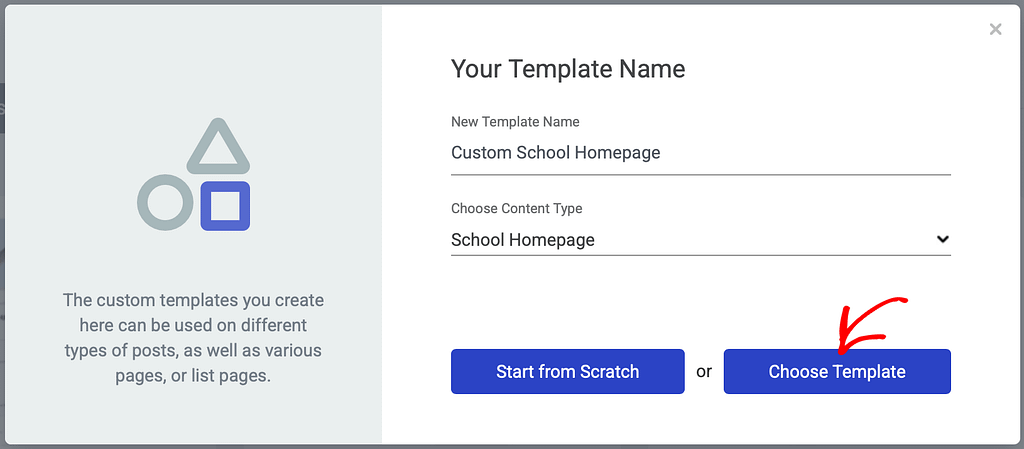
After you click +Add New, you’ll see a popup asking you to enter the Template name, Content type, etc.
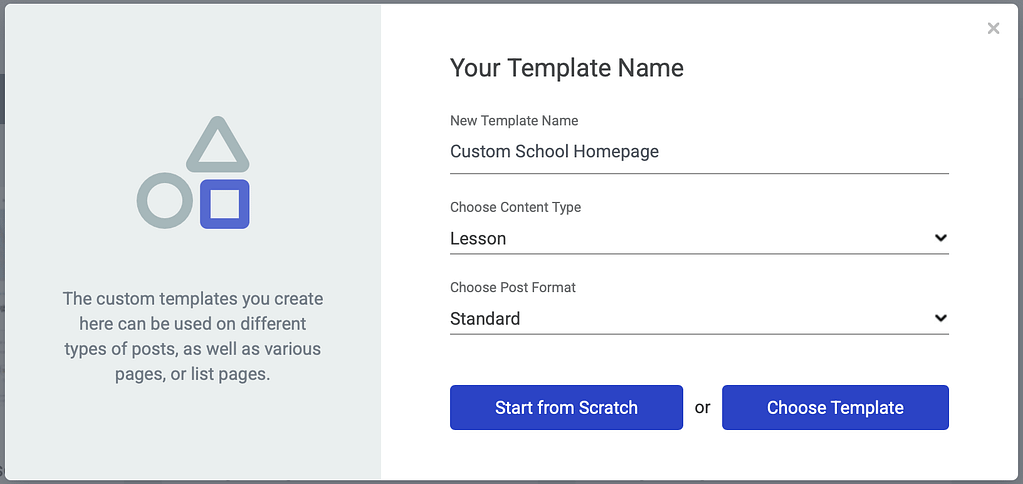
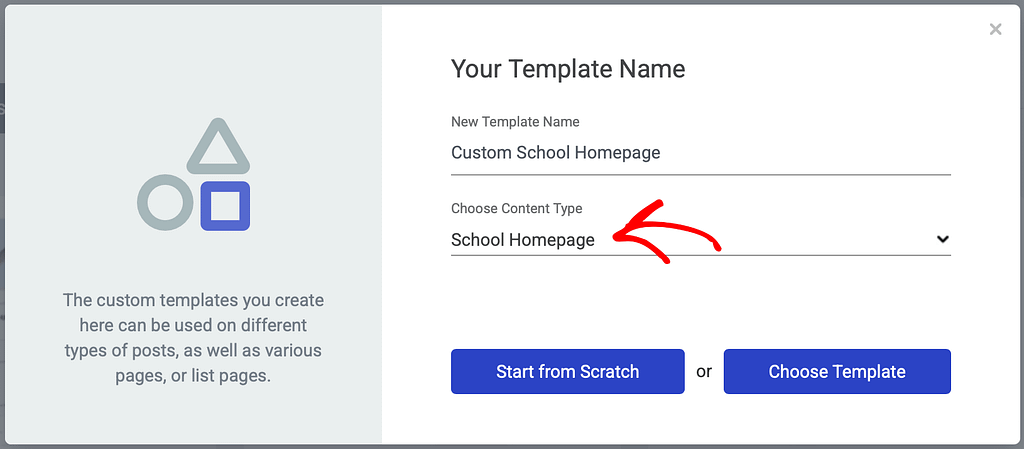
Since we are adding a School Homepage template, under Content type select School Homepage.
After entering the name and selecting the content type you’ll be able to select how you want to proceed.
Start from Scratch
The start from scratch option allows you to build the template from the very beginning, giving you complete control over its customization.
To start designing a template from the beginning, click the Start from Scratch button.

When you click Start from Scratch, the newly created template will be listed under all the existing templates on the Templates page. To edit the template, hover on the new template block and click Edit.
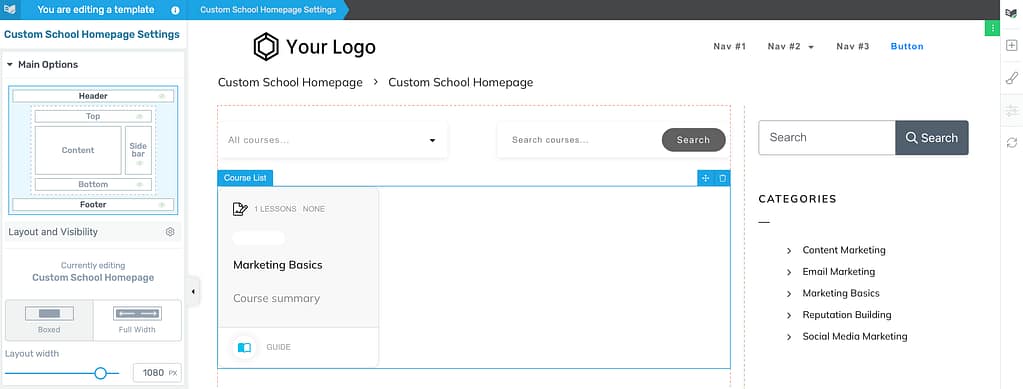
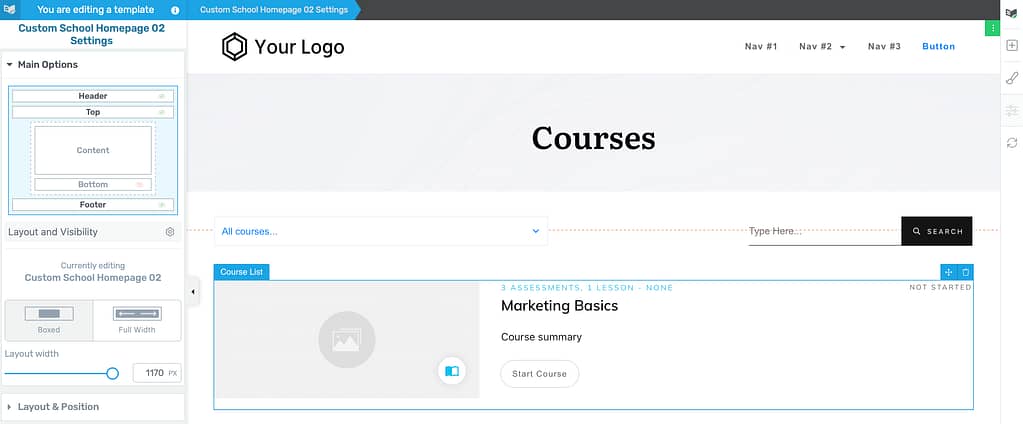
Clicking Edit will open the new school homepage template in the editor where you can continue with the changes you want.
Choose Template
If you don’t want to create a template from scratch, you can proceed by selecting an already available template.
To proceed using an existing template, click the Choose Template button.
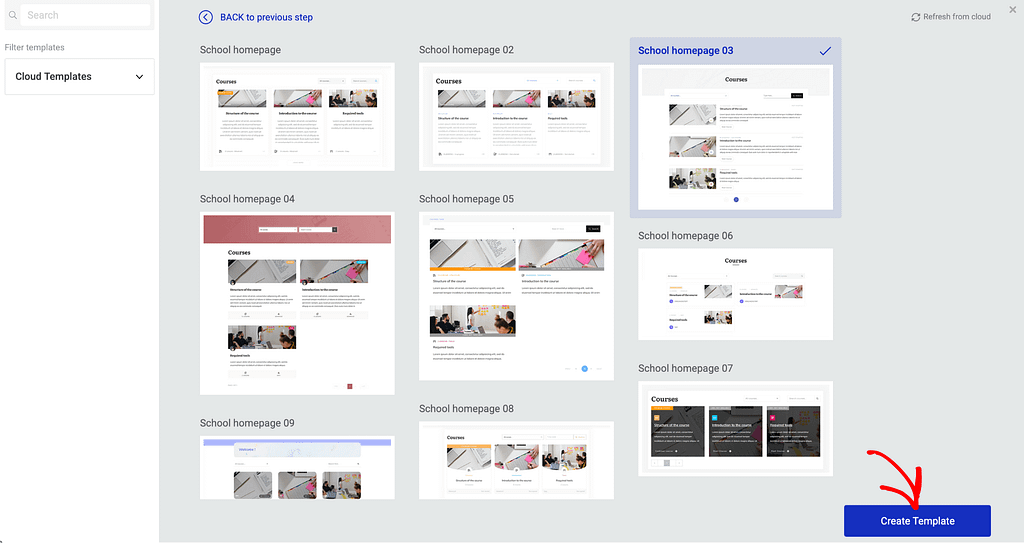
Clicking Choose Template will open a popup with templates you can choose from. In this popup, select the template you want to use and click Create Template.
Clicking Create Template will list the newly created template under the existing homepage templates. On the Templates page, hover on the new template and click Edit.
When you click Edit, this will open the template in the editor where you can make the changes you want.
When you finish creating a template from scratch or by editing an existing template, please ensure you click the Save Work button on the bottom left of the screen.
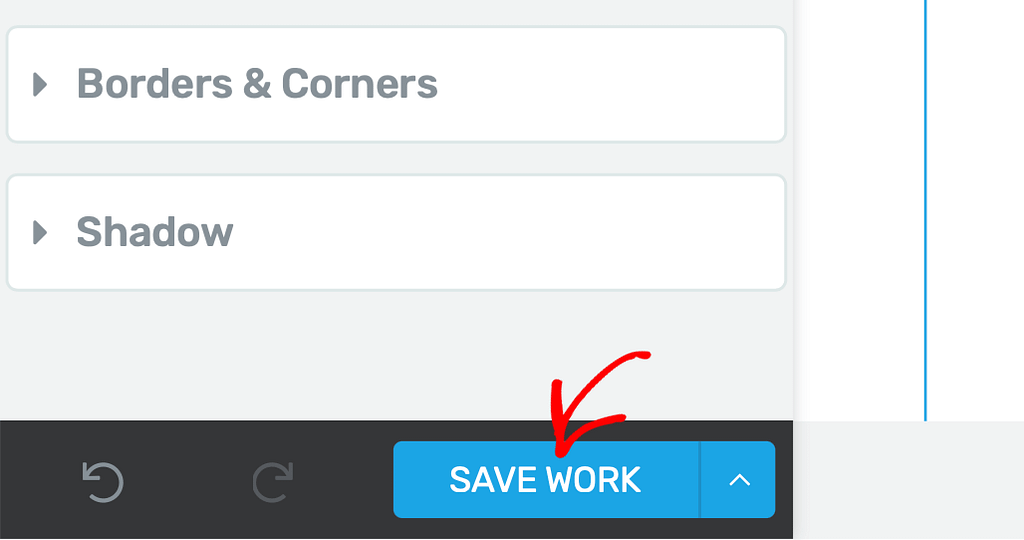
This will save your templates with all the changes you’ve made.
We’ve just seen how you can add a new school homepage template by building one from scratch or by using an existing template.
Note: After creating the School Homepage using this template and adding it as your course landing page, you will not be able to edit the page title, slug, etc. like the other pages on your website. This is because this page won’t be accessible in the list of pages on your website.
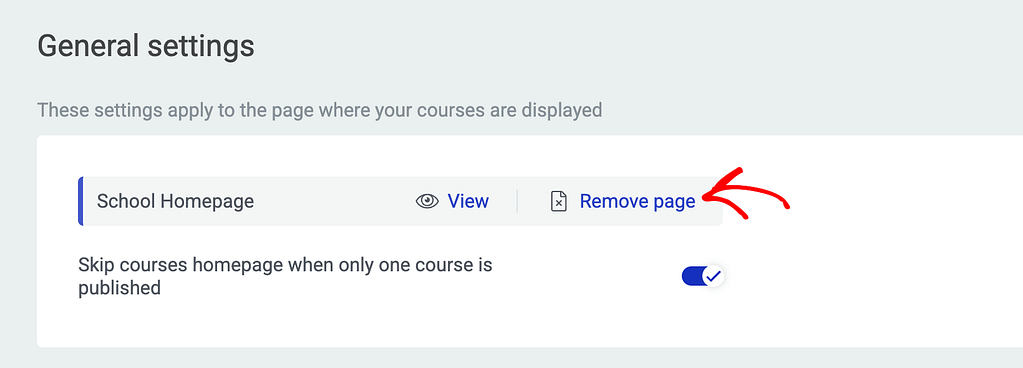
For the page to be visible alongside other website pages when you open the WordPress admin area and navigate to Pages >> All Pages, you’ll need to remove the School Homepage from being the course index page. To do so, open your WordPress admin area, navigate to Thrive Dashboard >> Thrive Apprentice, click on Settings, in the General Settings option, click on the Remove page link beside the page name.
Next, do you want to create and edit templates for the other sections of your website? Here’s a document that will help.