Adding a progress bar to your multi-step opt-in form is an effective way to increase conversions by showing visitors their advancement through the subscription process.
Step-by-Step Guide
1. Access the Opt-in Form Editor
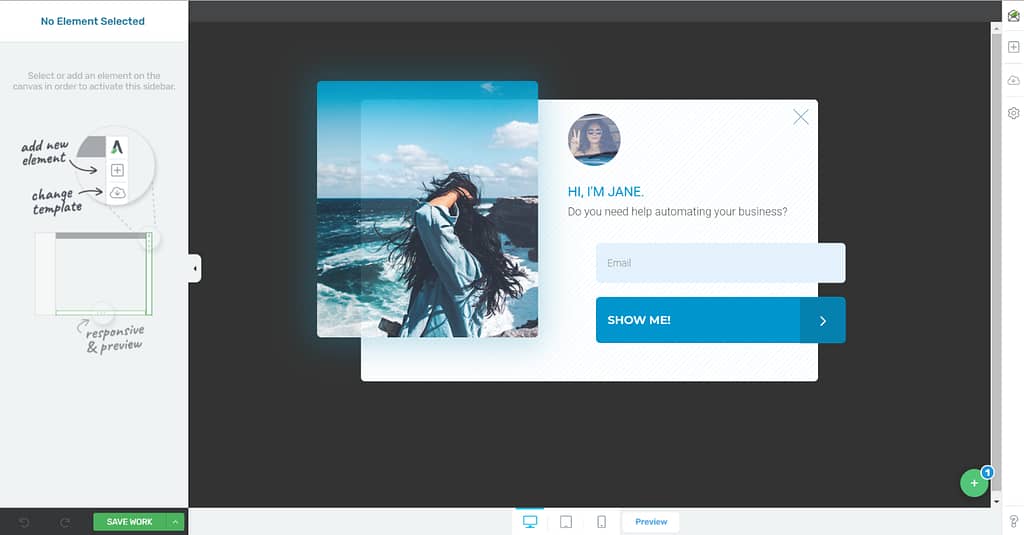
Navigate to your Thrive Leads dashboard and open the opt-in form you wish to edit.

2. Add the Progress Bar Element
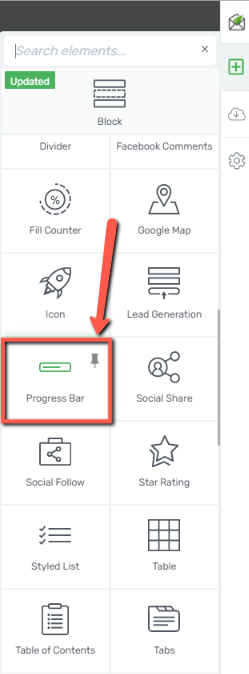
- Open the element list in the right sidebar.
- Search for the Progress Bar element.

- Drag and drop the element onto your opt-in form.

- Select a template from the lightbox that appears.

3. Customize the Progress Bar
Once the element is added, you can use the options in the left sidebar to customize its appearance:
- Colors and Typography: Adjust the colors and fonts to match your opt-in form’s design.
- Nodes: Set up the number of nodes (steps) to accurately reflect the stages of your multi-step form.
For a detailed guide on all customization options, please refer to the documentation on using the Progress Bar element in Thrive Architect.
4. Save and Display
After customizing the progress bar and your opt-in form, click Save to apply your changes. Your form is now ready to be displayed on your website.
Related Resources
- Opt-in Forms: Learn more about customizing Thrive Leads opt-in forms.
- Conversion Tips: Check out our blog post on improving opt-in conversions.
- Counters: For a different dynamic element, see the guide on using the Fill Counter element.
- Knowledge Base: Explore the full Thrive Themes knowledge base.