If you haven’t already created your social share badge, then you should the dedicated tutorial first, as it might help you:
In this article, I will show you how to embed your social share badge into your results page using our live editor.
Editing your Quiz Results Page
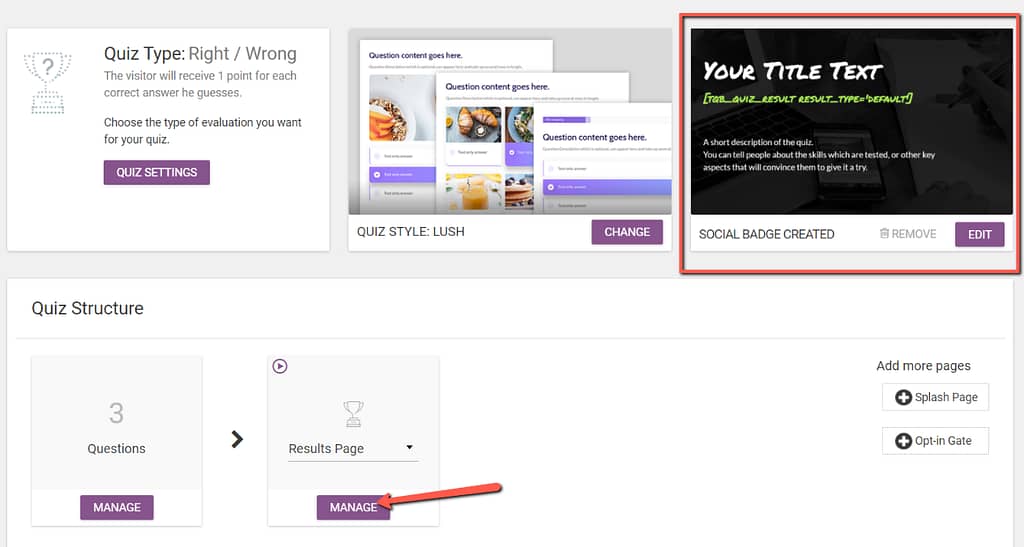
The social share badge can only be used on the quiz results page. To edit this page, simply go to the quiz dashboard and click the “Manage” button from the “Results Page” card:

Next, on the following page that opens, click on the “Edit Design” pencil icon:

This will launch the Thrive Architect editor, where you can start customizing the results page.
Inserting the Social Share Badge
Before actually starting to edit this page, you will be able to choose between three different templates:
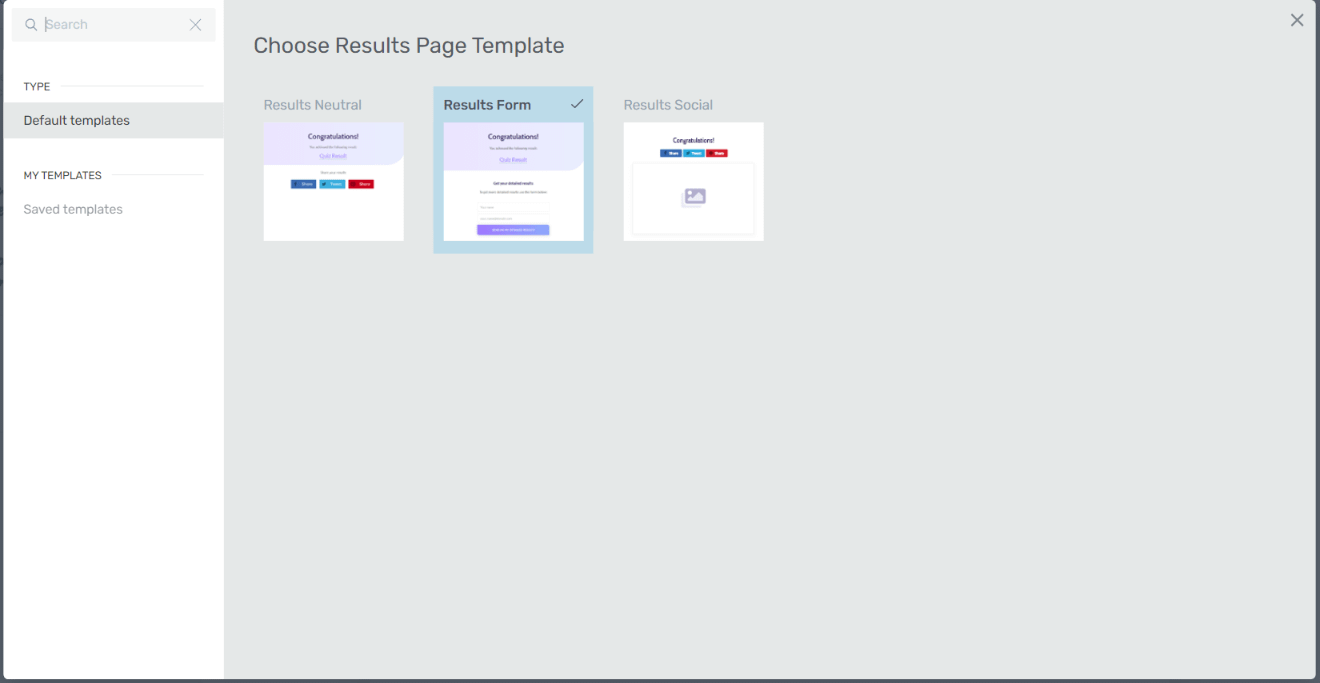
- By using the “Results Neutral” template, you will have to add the social share badge manually, using the editor.
- The “Results Form” is normally used to get your users to subscribe to your mailing list through an opt-in form. If you want to also add a social share badge, you should add an opt-in gate to your quiz, and add the opt-in form and the social share badge on separate pages, specifically on the opt-in gate and on the results page.
- The last template, which is the “Results Social“, is the best way to go if you want to add a social share badge on the results page, because, it is added automatically and, if the badge is already customized, it will be displayed automatically:
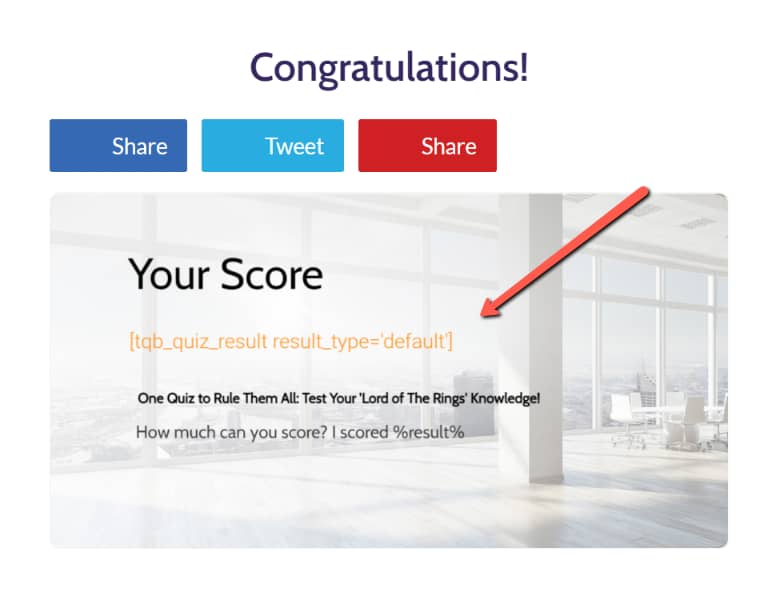
Our recommendation is that you choose the “Results Social” template if you want to display your social share badge on the results page.
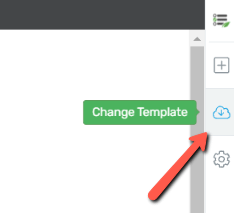
In case your page does not start with this template pop-up, you can always access the same layouts from the cloud icon located on the right sidebar of the editor:
Using the Results Social Template
As already mentioned, when you choose the “Results Social” template, the social share badge element will already be added to the content of your page:
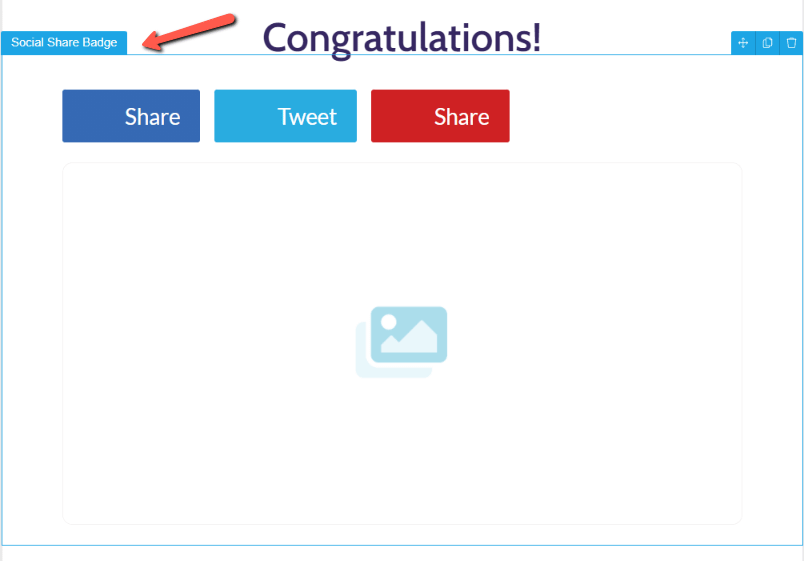
As you can see in the above screenshot, the badge is available but not displayed, due to the fact that it hasn’t been created in the main Quiz Builder dashboard.
In order to do that, you have to go back to this view, and create one:

All the steps for creating a social share badge are described in this article from our knowledge base.
After the social share badge is created you can return to editing the results page:
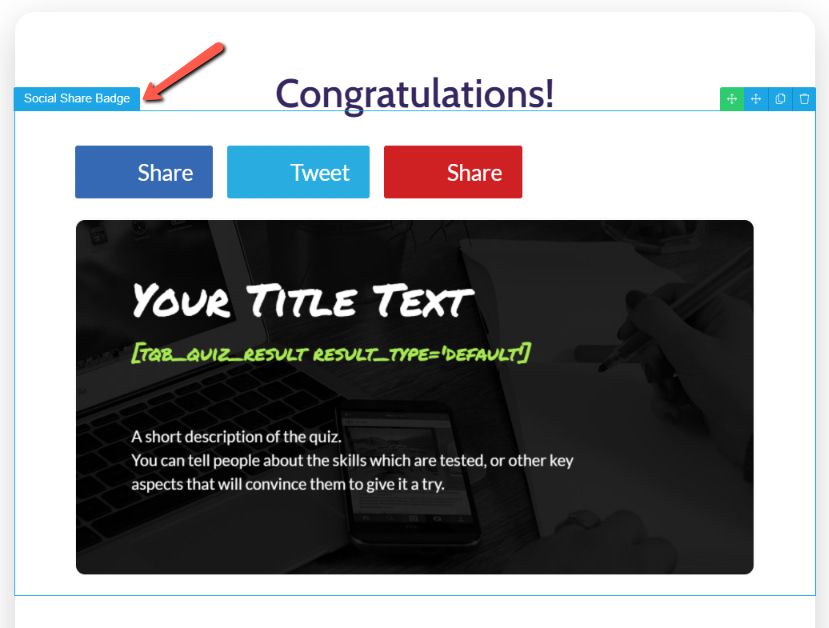
Once you load the page, the badge will be instantly visible and ready to be further customized.
To edit the social share badge, you simply have to hover over different parts of the template until you see it, and then click on it:
This will trigger the left sidebar options, that you can use to further customize it:
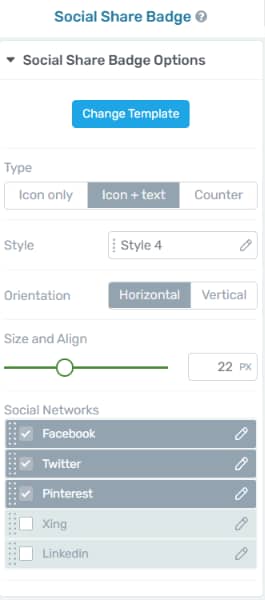
You can find out more information about the options available for the “Social Share Badge” in the following section of this article.
But before we get to that part, let’s see how to use the other two available templates, and manually add the social share badge to them.
Using the Results Neutral / Results Form templates
If you decide to use the “Results Neutral” or the “Results Form” templates, then you will have to manually add the badge to your content:
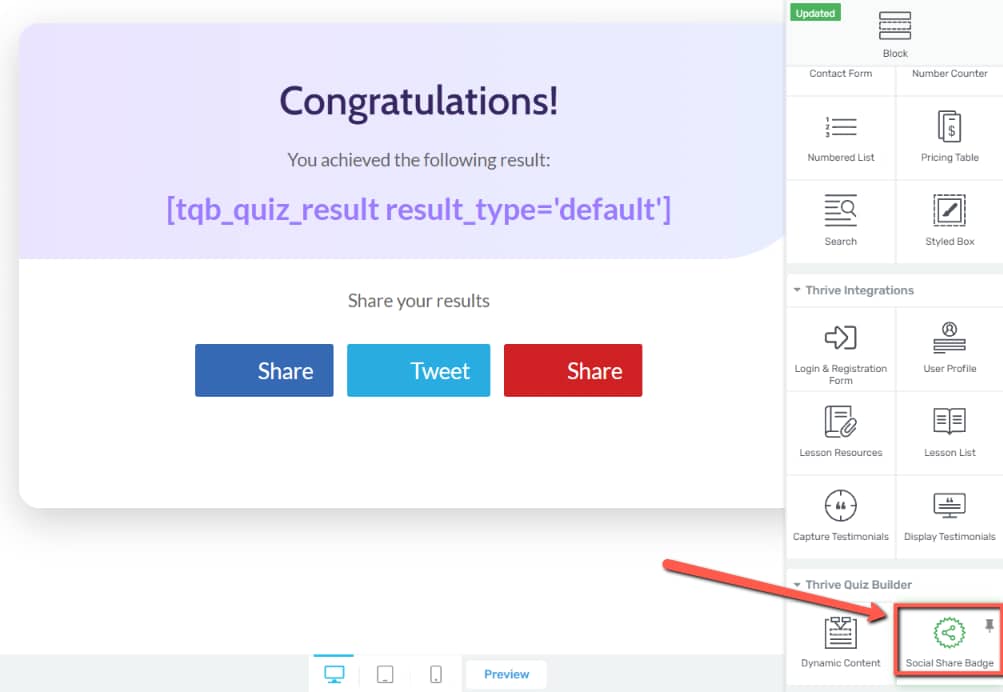
You can either click or drag the “Social Share Badge” element into your content just like you would do with any other Thrive Architect element.
Once you will drop it onto your canvas, you will see this pop-up from where you can select the desired template:

You can choose where you would like the social share buttons to appear in relation to the badge.
Important!
Here as well you will need to have the social share badge set up in order for it to be displayed on the results page.
Social Share Badge Options
Just like any other element in Thrive Architect, you can click on the social share badge to load several options in the left sidebar.
Here is what that currently looks like:
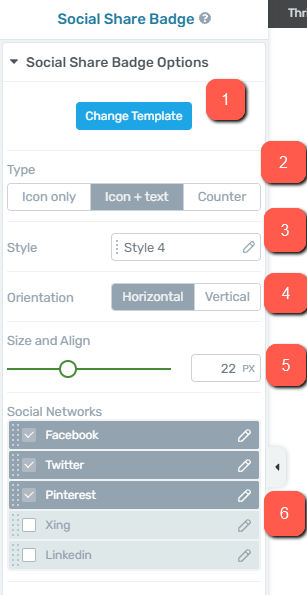
The customization options are similar to the “Social Share” element that’s already built into Thrive Architect.
Here’s a quick overview of all the important options:
- The “Change Template” button lets you access the template library, where you can set up the position of the social share buttons on the page.
- Choose what type of buttons you want to display.
- Choose from a list of button styles the one that fits your website’s design.
- Decide the orientation of the buttons: it can be horizontal or vertical.
- Adjust the size of the buttons with a slider or simply by inserting an exact value.
- Specify what Social Network buttons you want to display: Facebook, Twitter, Pinterest, Linkedin, and Xing.
Important!
Facebook is the only network that allows you to display the social share badge on your wall. “Twitter” does not support sharing images in a URL format. This way, the social share badge won’t be visible, after the user has shared his final result through the social buttons.
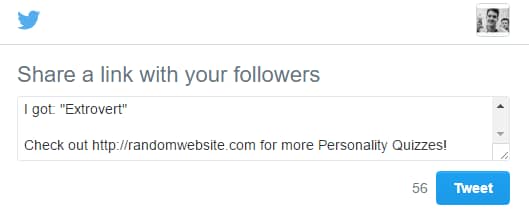
For Twitter, you will see this pop-up where you are able to write the text that you want to share:
Display the Social Share Badge as an Image
If you want to display your social share badge on Twitter, for example, then you’d have to upload it as an image.
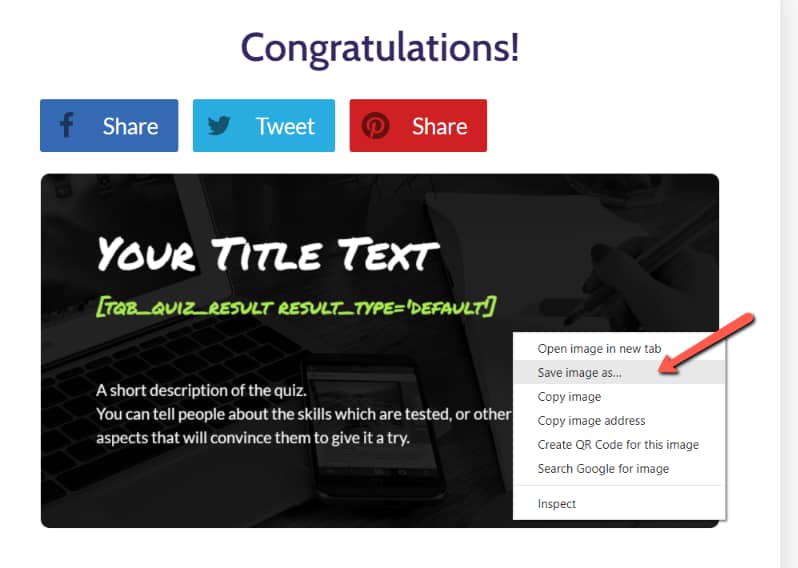
To do that, simply right-click the social share badge and save it as an image on your computer:
The next step is to simply upload the image to Twitter and, in the description area, add a short text about the quiz and also a link that will take the viewers directly to your quiz.
And that’s pretty much it!
This is how you can embed your social share badge on a results page and then share it on your social media platforms.