If you are using Amelia to manage bookings and events on your site, you can set up a flow to get notified (on Slack) when a new booking has been added (for an event or just a regular appointment).
You can also add various fields to include all sorts of information regarding the booking if needed.
This can be done using Thrive Automator and you can create such an automation in minutes, and here’s how:
Install and activate Amelia
Firstly, you will need to install and activate the Amelia plugin on your site.

Once you’ve done that, it is important to set up at least one employee and at least one service:
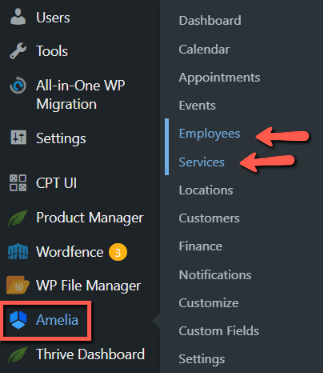
If you need help setting up services and bookings, you can follow the steps from this quick start guide from Amelia.
In my case, I’ve also set up an event:
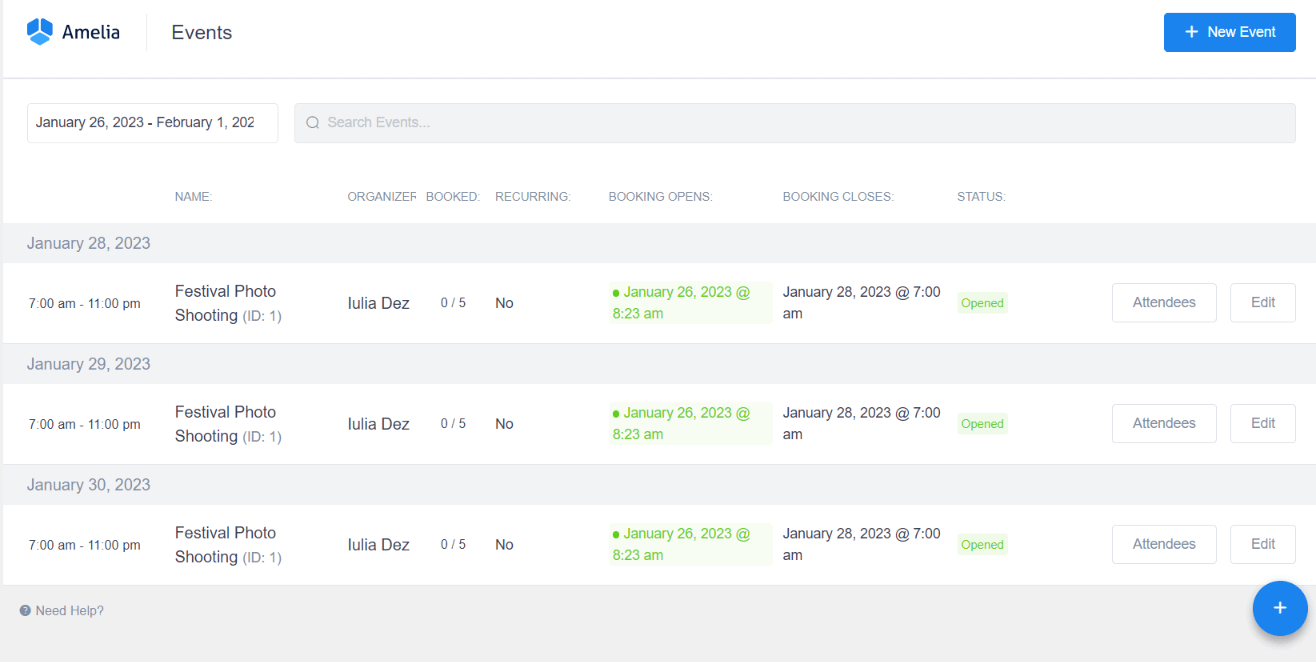
Of course, the setup I will show you is just an example, and you will have to adapt everything to fit your current situation. For example, things will be a bit different if you want to get notified about appointments than getting notified about event bookings.
Nevertheless, take a look at this example as I am sure any other setup is as easy to do as this one.
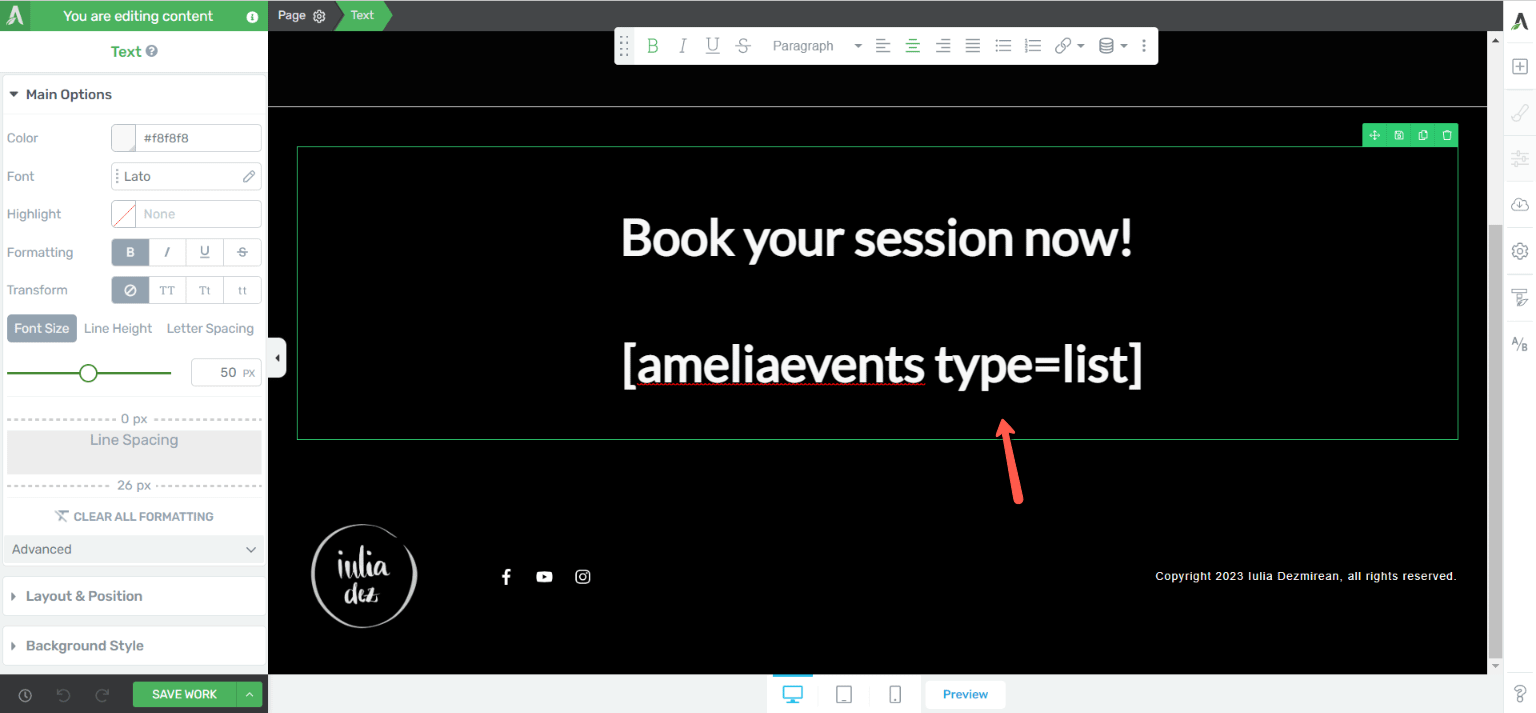
Once the event’s been added (if that’s your situation as well), you can go ahead and add the needed shortcode anywhere on your site (pages/posts etc.)
In my case, I’ve decided to add the [ameliaevents type=list] shortcode inside my “Book a session” page, by opening the page using Thrive Architect and adding the shortcode inside a “Text” element:
When I preview the page, this is what it will look like:
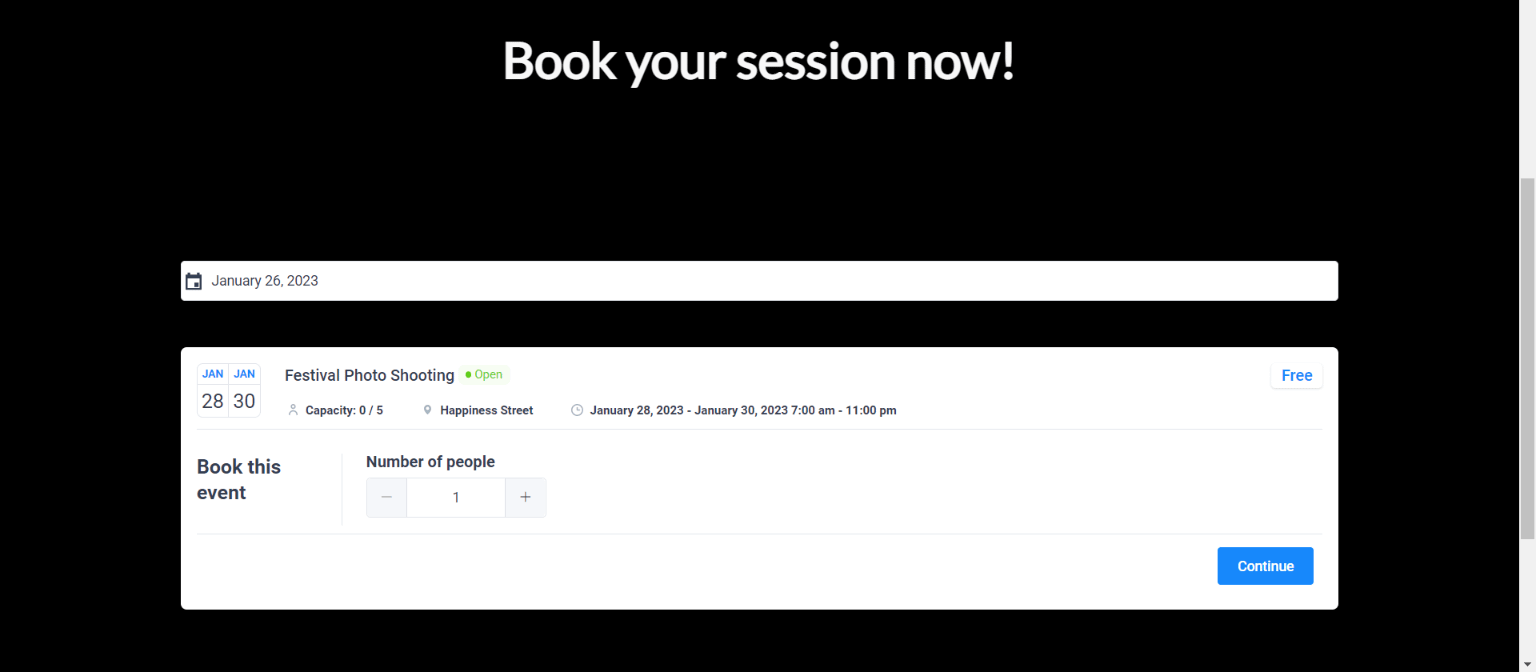
From now on, people will be able to make an event booking from this page.
Create the automation
Once people are able to create appointments/bookings on your site, we can go ahead and create the automation that sends you the Slack notification.
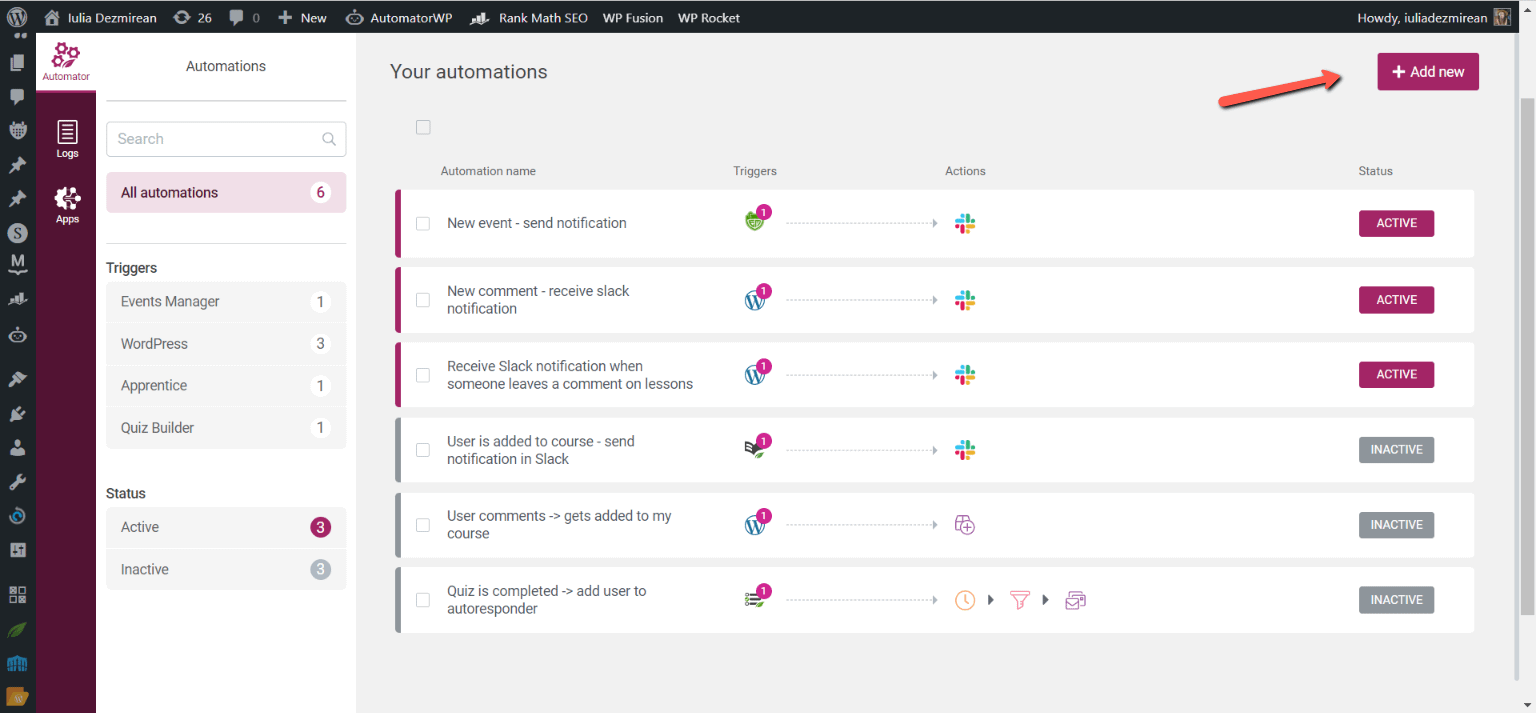
For that, open Thrive Automator from the left sidebar of your WordPress admin dashboard and, in the dashboard, click on “Add New” to add a new automation:
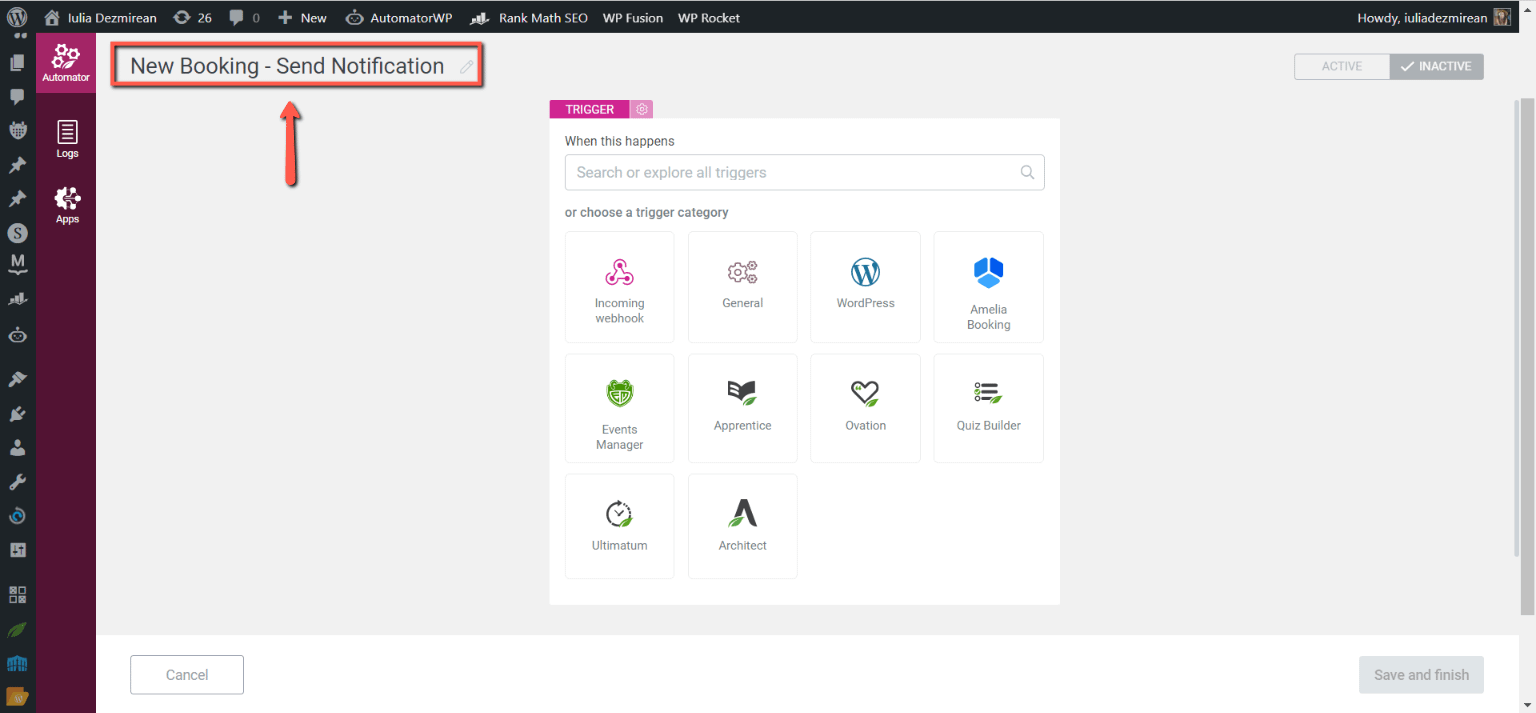
You can start by naming your automation:
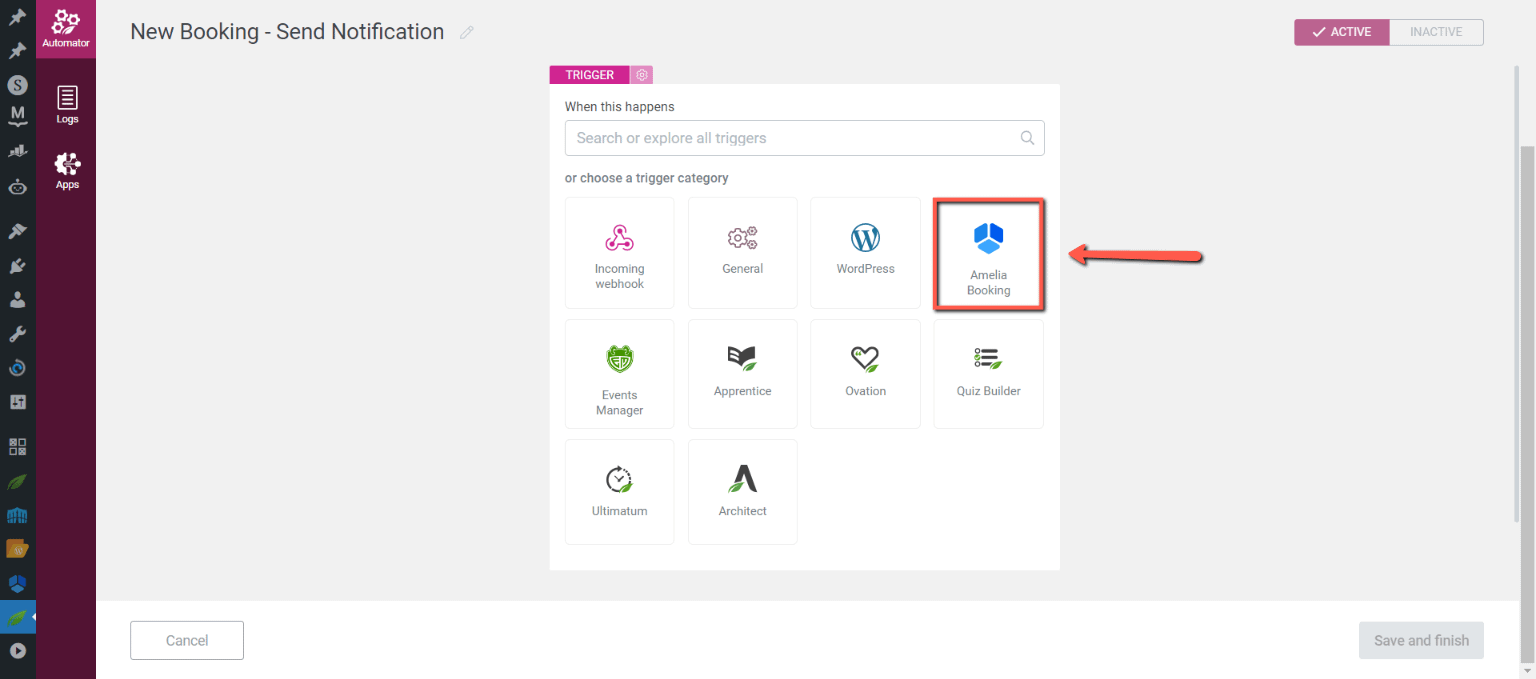
Next, you can choose your start trigger. Once you’ve installed and activated Amelia on your site, a new set of triggers will be available:
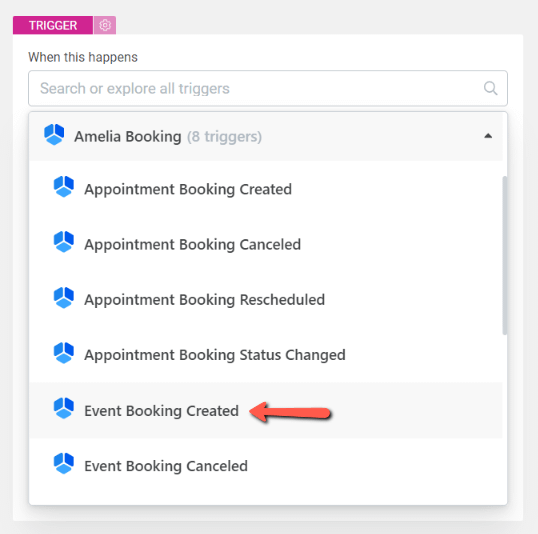
I will choose the “Event Booking Created” start trigger:
If needed, conditions can be set, so that the automation only starts in specific cases:
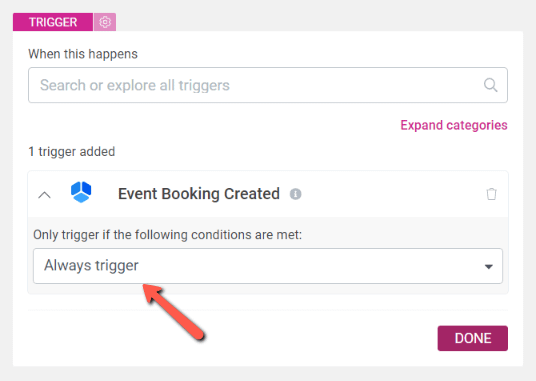
Click on “Done” when you’re finished with the trigger:
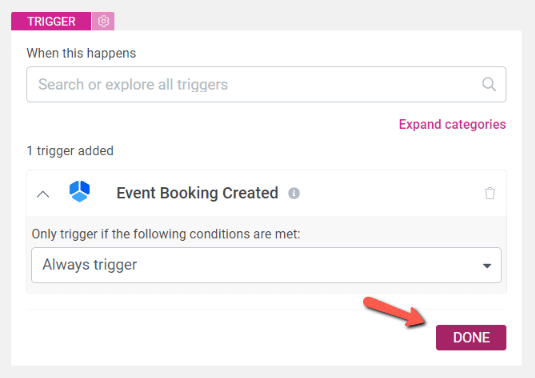
As a next action, click on the “Slack” category:
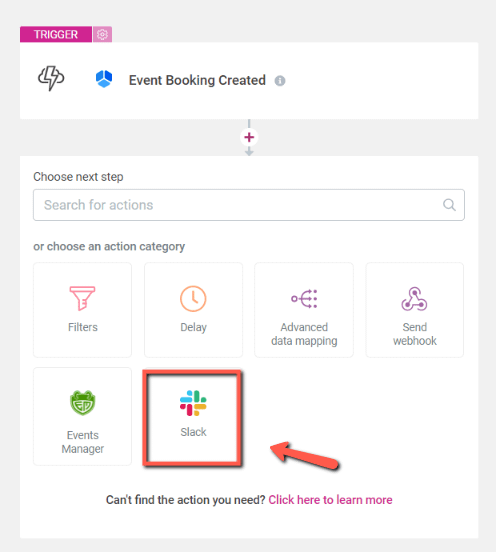
And choose the “Send Notification” action:
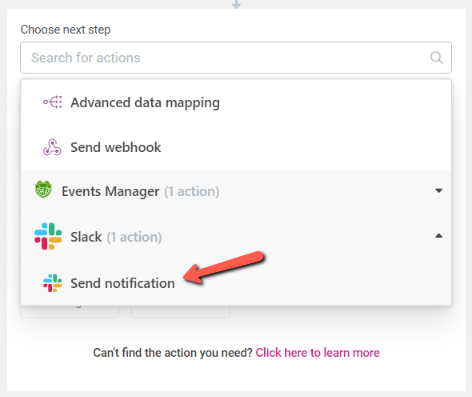
Then, set up the notification as you wish:
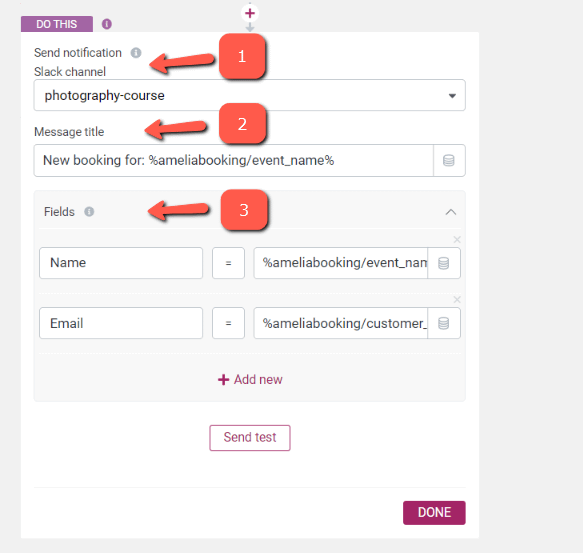
Slack channel – choose the channel in which the notification should be sent;
Message title – add a suitable title for the notification. You can use dynamic information (using the coin stack icon) as seen above.
Fields – additionally, fields can be added, using the dynamic option as well.
You can use the “Send test” option to check if the information gets passed correctly through the notification.
Lastly, click on “Done” and you’re good to activate and save the automation.
And, as simple as that, you’ll get notified via Slack each time a new booking is added for your event:

I hope this article was useful. Here’s another related article: