Thrive Automator allows you to create a connection to Stripe, and thus being able to set this service up as the payment system for your site.
The way to connect your Stripe account (and thus be able to let your users pay for your products directly from your site) is by creating an automation that uses a webhook to collect data coming from Stripe.
This can be done using the “Incoming Webhook” trigger when creating the automation. We’ll go through the entire process, step by step, in this article.
As an example, we will create a setup that will give users access to a paid course from Thrive Apprentice once they have purchased the course from our website, and we will use Stripe as the payment processor.
Note: Want to use the native Stripe integration rather than webhooks in Thrive Automator? Please refer to our document that’ll help you connect Thrive Apprentice with Stripe in a few easy steps.
And, if you’d like to continue using Thrive Automator to integrate Stripe with a range of Thrive products, please continue reading this document.
These are the plugins we’ll need in this document:
-
Thrive Architect;
-
Thrive Apprentice;
-
Thrive Automator.
Briefly, here are the steps to be taken in order to create this setup:
-
Create a Thrive Apprentice product that contains the course;
-
Create the product in Stripe
-
Create the automation in Thrive Automator that receives the user data upon course purchase completion
-
Optionally, use an autoresponder to assign different tags to the ones that have purchased the course, for refund purposes, for example.
The flow will work like this: as someone purchases the product set up in Stripe, (we will add the URL from Stripe on one of your pages), an automation will be triggered and give access to that user to one of your Thrive Apprentice products.
Create the Thrive Apprentice Product
In Thrive Apprentice, you will have to create, design and publish your course. We’re starting from the premise that you have already taken all the necessary steps in order to have a fully set up course.
Please check out the tutorials from our knowledge base in case you need help getting to this step.
In order to protect any course, you’ll have to add it inside a product. Since this example shows how you can send an email to a student after they’ve purchased a course (via Stripe), this means that we’ll have to add the course to one of our products:
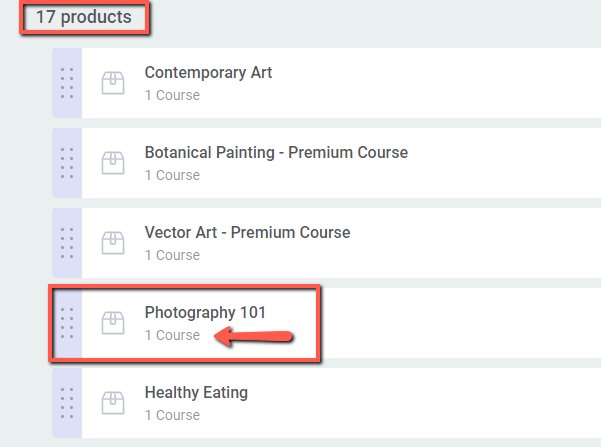
Note: Creating a product means that you can sell more than one course – you can add multiple courses to a product, or even other content types (pages/posts/custom content types).
And this means that, when making the purchase, users will get access to all of the content that has been added to the product.
Once the product is ready and the purchase process is all set up, you can access your Stripe dashboard and create the product there.
Create the Stripe Product
Once you’ve logged in to your Stripe account, go to the “Products” section:

From the top right side of the screen, you will be able to add a new product:

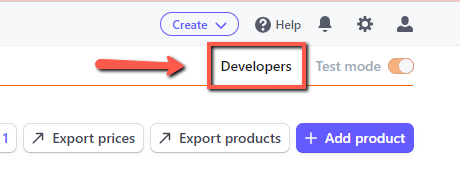
Once you have set up the product in Stripe, you can access the “Developers” section:
To be able to use the webhook and properly populate the fields with the necessary information, we will need to work in both Thrive Automator and Stripe at the same time.
Therefore, you can access the Thrive Automator dashboard, from where we will start setting up the automation and come back to the Stripe dashboard to interconnect the two platforms.
Create the automation in Thrive Automator
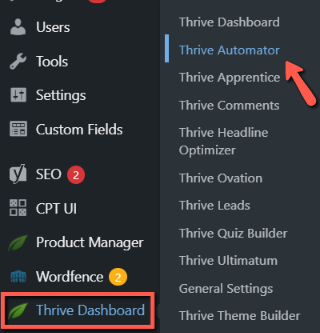
Access Thrive Automator from your Thrive Dashboard (or from the left sidebar of the WordPress admin dashboard):
Click on “Add New” to create a new automation:

You can start by naming it, and then click on the down arrow to choose the start trigger:

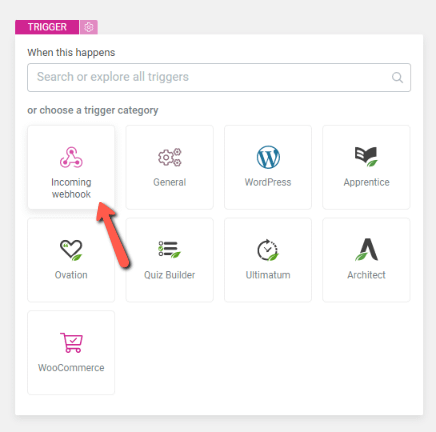
Choose the “Incoming Webhook” start trigger
The start trigger that is needed here is the “Incoming Webhook” one:
Here’s how to set up the trigger. Firstly, we will need to copy the Webhook URL and return to the Stripe dashboard so that we can make sure that the data collected by Stripe when someone makes a purchase is going to be sent over to our Thrive Account via the automation.
Therefore, you can go ahead and copy the webhook URL:
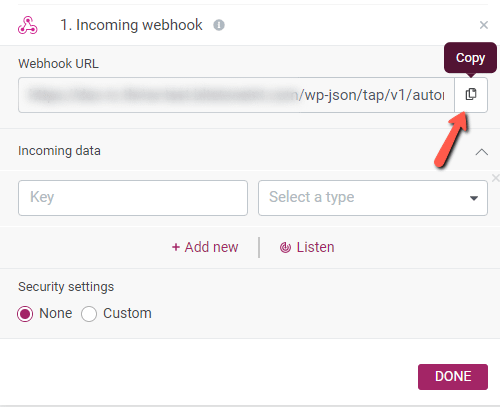
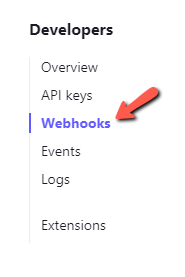
And then access the Stripe account again. Go to the “Developers” section:

From the left sidebar, go to “Webhooks”:
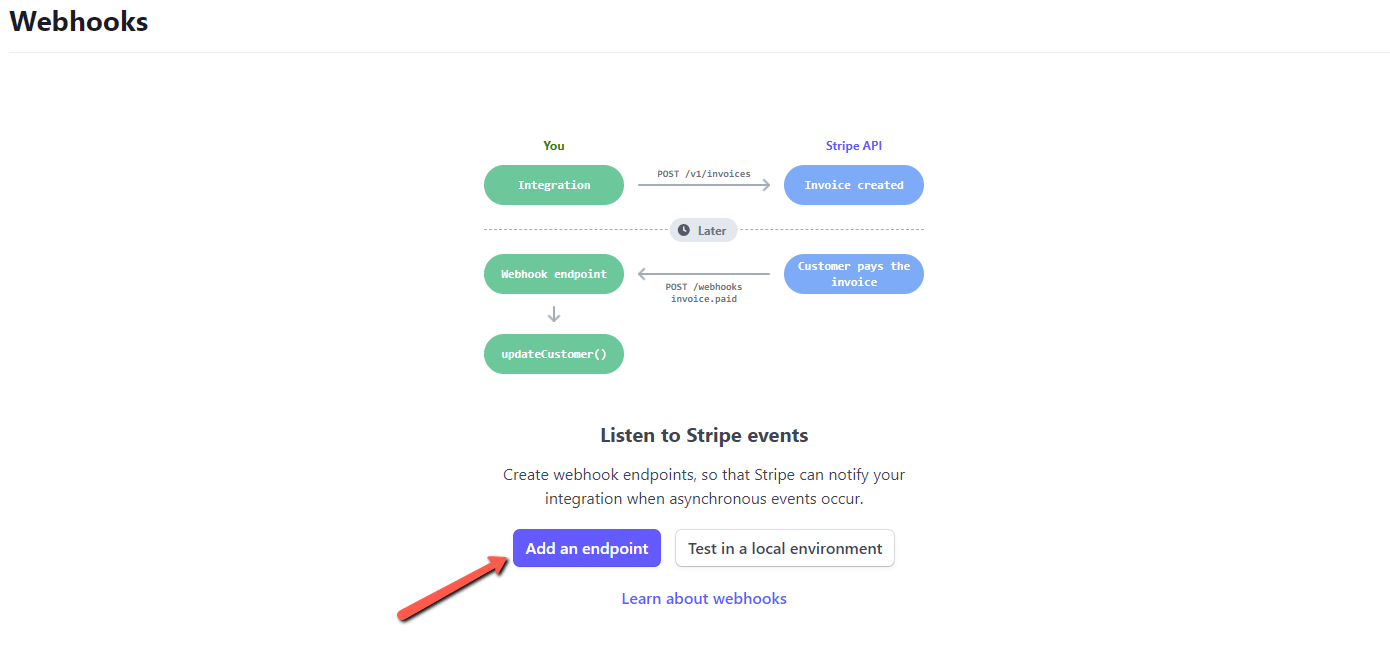
And this is where we will add the Thrive Automator webhook, as an endpoint. Therefore, click on “Add an endpoint”:
Add the webhook URL in the “Endpoint URL” section:
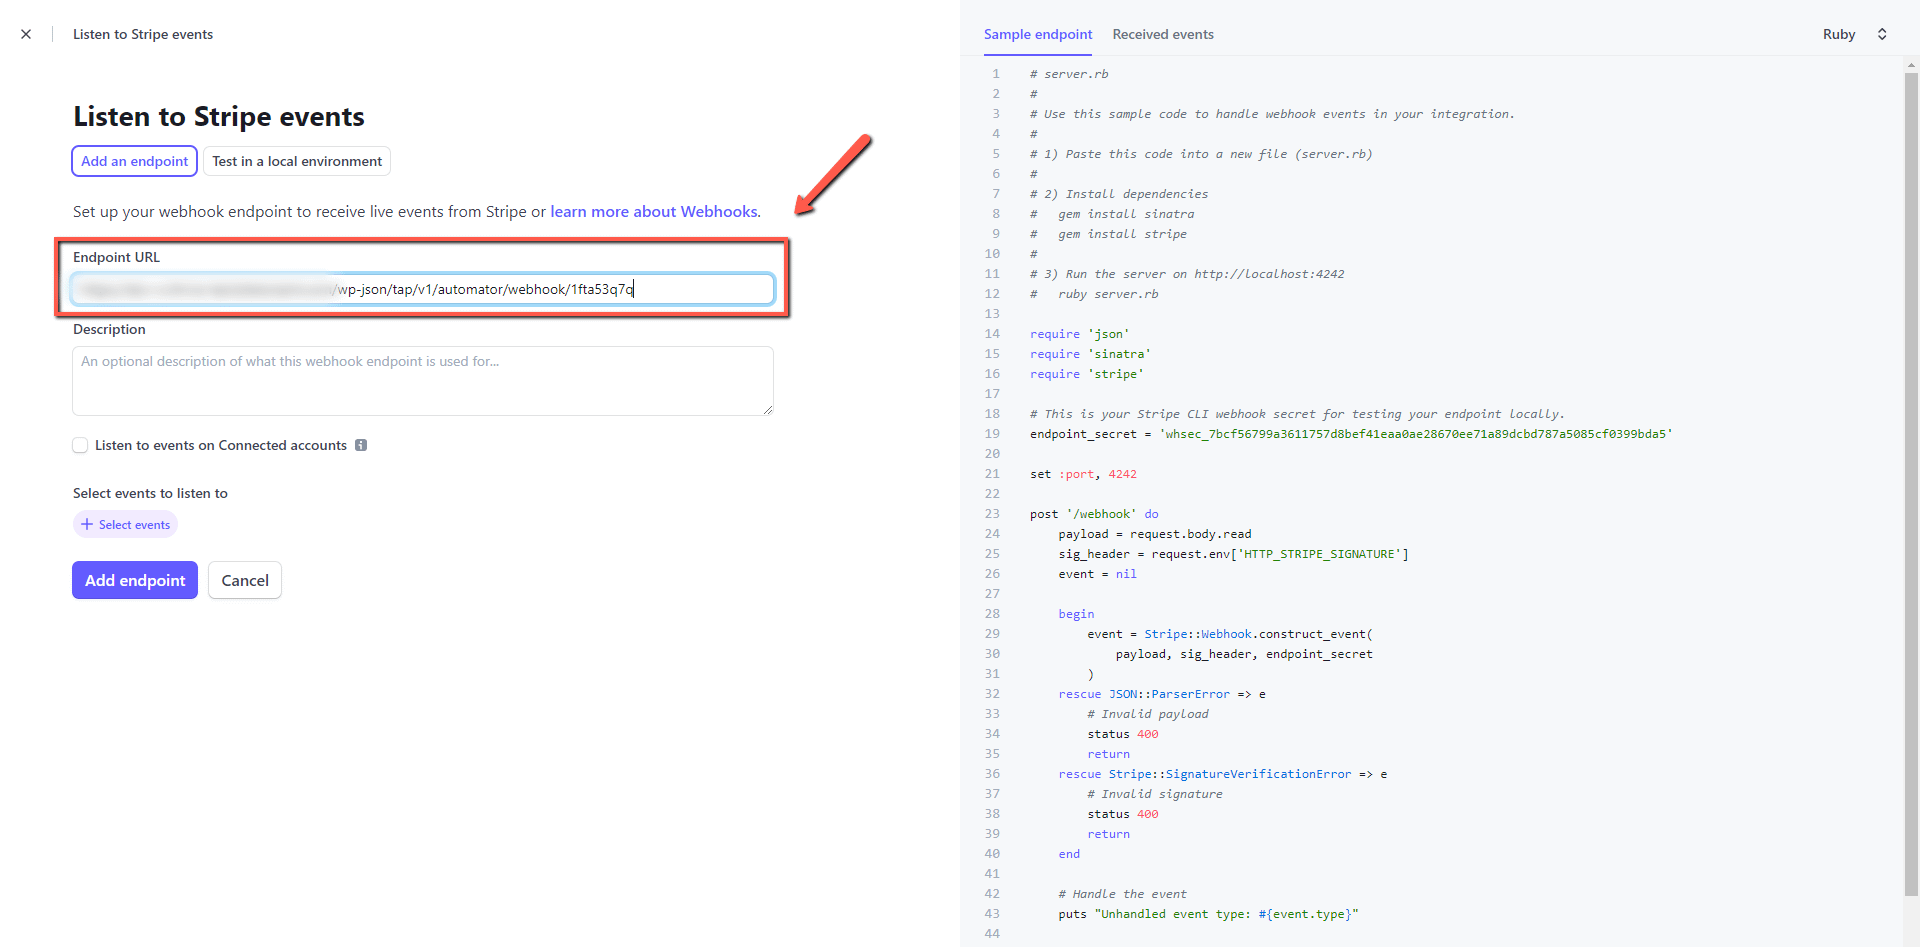
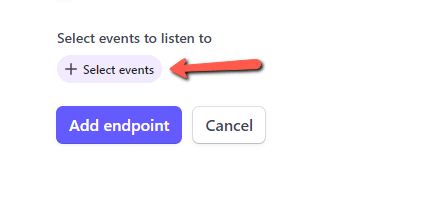
Select events to listen to
Then, we should select the events the endpoint should listen to:
In this case, I have selected this event:
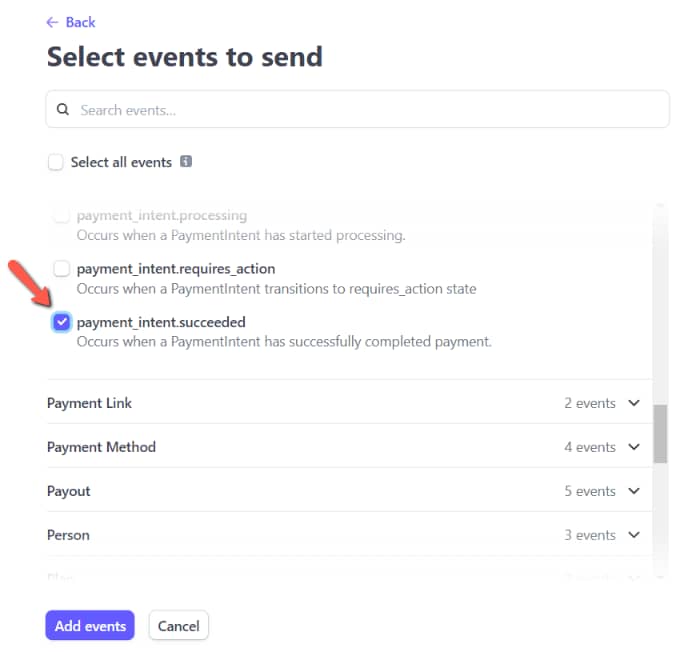
Click on “Add events” and then on “Add endpoint”, to save everything:

To continue setting up the “Incoming Webhook” trigger, we will need to populate the fields with the necessary information of the user who has purchased the course, such as their name, email, etc.
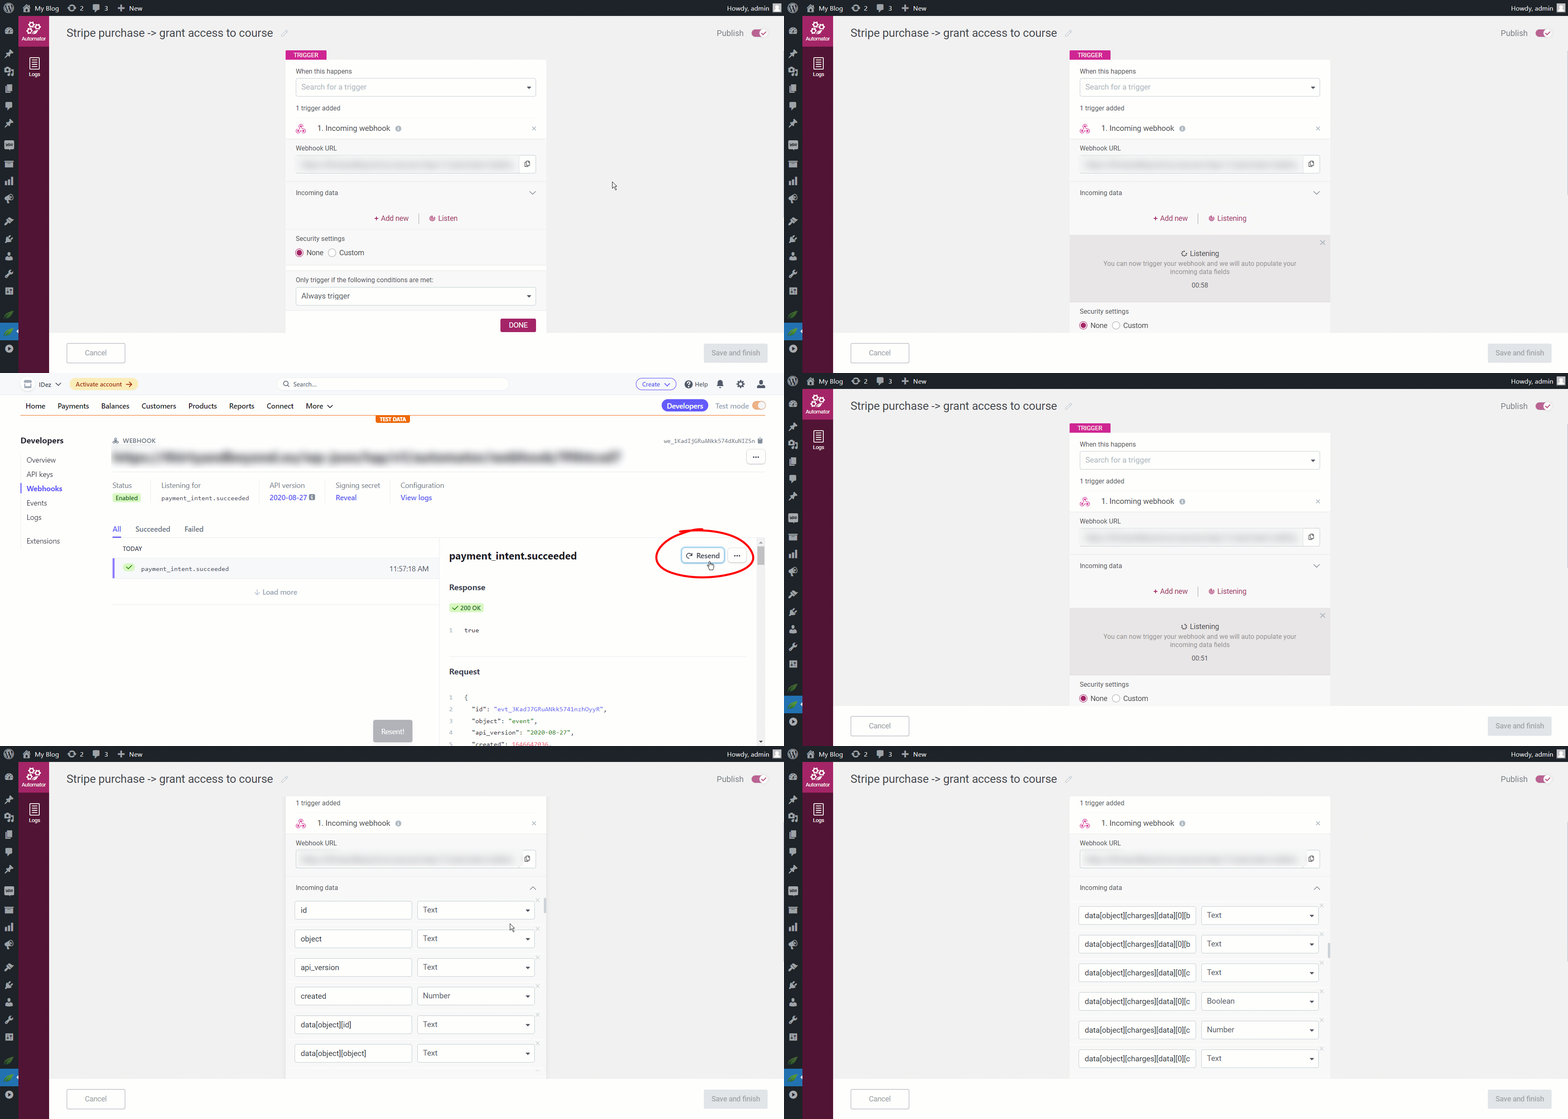
For that, we can use the “Listen” option found in Thrive Automator.
This will make the automation listen to any events for the next minute, and you can take this time to go back to the webhook from Stripe and resend the information:
|
Note: The “Resend” button shown in the animation above will only be available after making a test purchase. When first using the “Listen” mode to populate the fields, you will have to make a test payment and come back to the automation to click on “Listen” – that will send the data to the automation. After that, each time you want to use the “Listen” mode, you can simply resend the parameters, as the “Resend” button will become available. You can take a look at the video from the beginning of this tutorial, at 06:35, in case you want to see how to make a test payment in Stripe. |
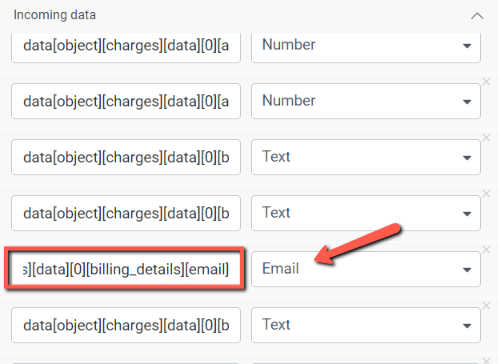
It is important to also look for the “Email” field and make sure that “email” is selected as the correct type of field:
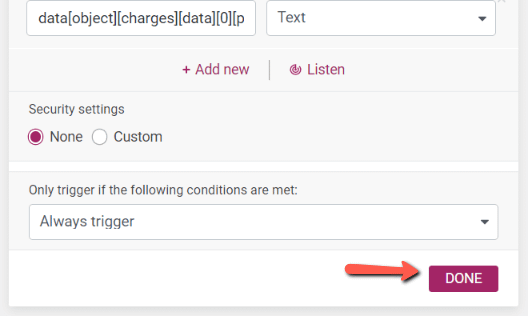
Once you’ve finished setting up the trigger, click on “Done”:
|
Important! If you want to send information specific to the Stripe product through the payment parameters sent via the automation, you will have to use metadata. We have explained this process in the video tutorial version of this article, at minute 3:15. |
Choose the next action – Find or create user
As the next action that should happen once the payment has been made, I will choose the “Find or create user” one. This way, in case the person who has just purchased the product was already a user on my site, the system will look for them and will grant them access to the product.
In case they have not created an account on my site prior to this step, the automation will automatically create a user for them, and they will receive an email with the login information:
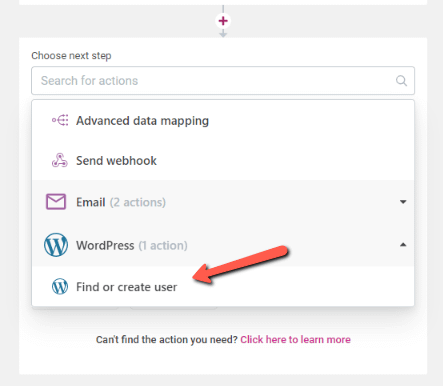
For this action, you will have to choose the role to be granted to the user, and you can also map out the first and last name:

Choose the next action – Grant access to product
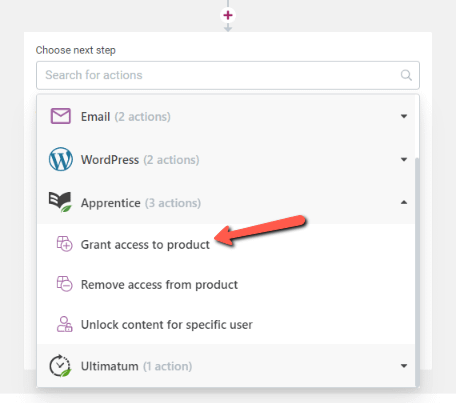
As a third action, we will need to choose the “Grant access to product” one. For that, click on “Add another action” and choose the “Grant access to product” one:
Next, choose the Thrive Apprentice product for which the access should be granted (this should be the same product that was purchased via Stripe). Click on “Done” when finished:
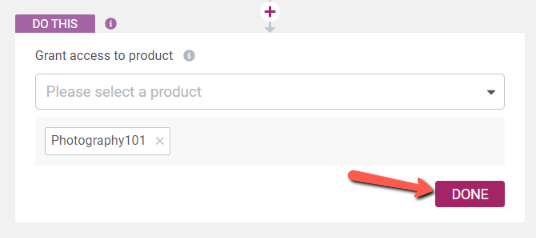
The automation is ready and you can save and publish it.
Add the Stripe product checkout URL to one of your pages
In order to have the product available on your pages, for your users to easily be able to purchase it, you can add the checkout URL of the product as a button or link to one of your pages.
For that, go to the “Products” section of Stripe and look for your product. Click on it:

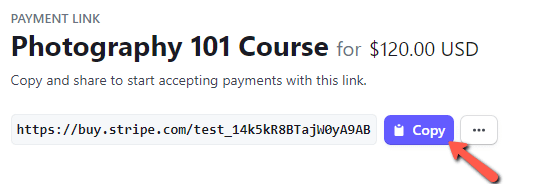
In the “Pricing” section of the page that opens, you will have the “Create payment link”/”View payment link” option, depending on whether you’ve previously created a payment link or not.
This is where you’ll get the checkout page URL from, so go ahead and create a payment link if you haven’t already, and then click on view. This will take you to a page from where the URL will be available for you to copy:
After that, you can go ahead and open one of your pages using Thrive Architect. This should be the page on which you wish to add the button or link that takes people to the checkout page:

In this case, I will use a “Button” element and add it to my page. If you need more information on how to add and customize such an element, please take a look at this article.
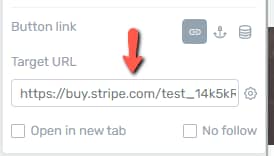
Once you’ve added and customized the “Button” element, go to the “Button Link” section of the left sidebar and add the payment URL that you’ve copied from the Stripe product in the “Target URL” field:
Don’t forget to save the page.
Create a different automation to revoke access
In case you want to automate the process that removes the users from the Thrive Apprentice product (in case their subscription has ended or other similar situations), you can quickly create another automation that does that.
In Thrive Automator, you will have to create a new automation with the following structure:
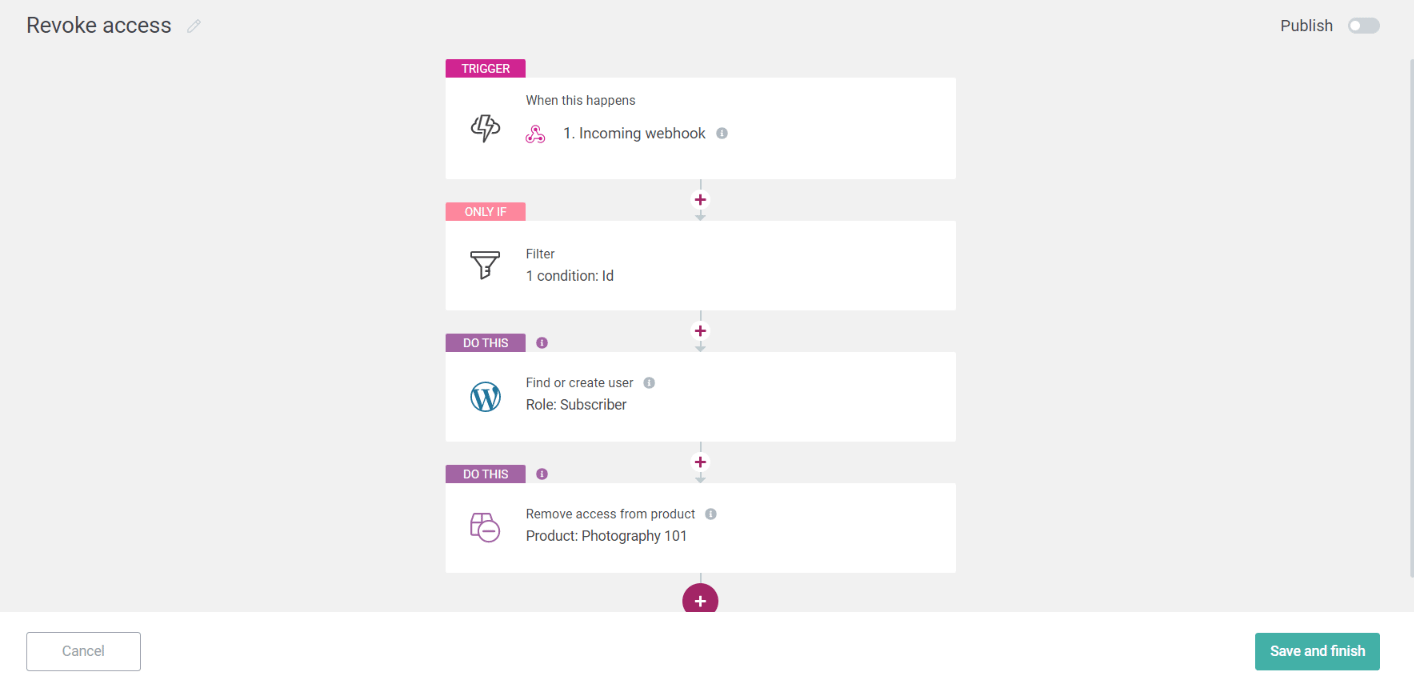
As you can see, it is almost identical to the other one, except for the last step, which will remove the users from having access to the product.
You will also have to set up another webhook in Stripe, in which you have to select events that will lead to users having their access to the course revoked, such as these ones:
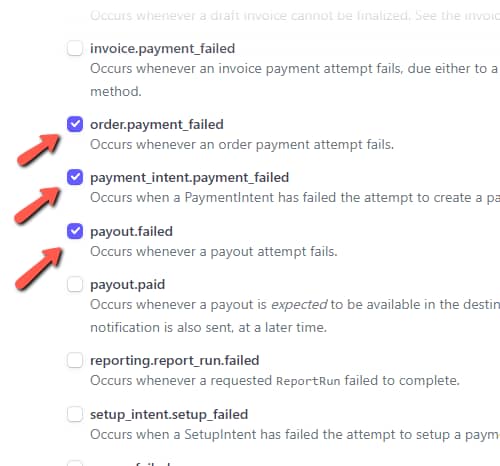
This, of course, will depend on the way you want to create the process on your site.
And when setting up this second webhook in Stripe, the Webhook URL that has to be inserted in this field will be the Webhook URL of the Thrive Automator automation that removes the users from the Thrive Apprentice product.
If you create this entire setup, you’ll end up with the following result:
-
when someone purchases your product via Stripe, they will be granted access to your Thrive Apprentice product;
-
in case an order event such as a refund, missed recurring payment, end of subscription, etc. occurs, they will be revoked their access to the Thrive Apprentice product.
Hopefully, this article was useful to you. If so, feel free to leave a smile below 😄