This guide explains how to connect your ThriveCart account to Thrive Apprentice using an API key to sell your courses and automatically grant access to customers.
Important Note on Video: The “Gives access based on your ThriveCart setup” switch shown in the video (starting at 2:00) has been removed from the Thrive Apprentice interface. You will not need to use it when setting up the access restriction rule.
Step 1: Get the API Key from Thrive Apprentice
First, you must generate an API key from your Thrive Apprentice dashboard.
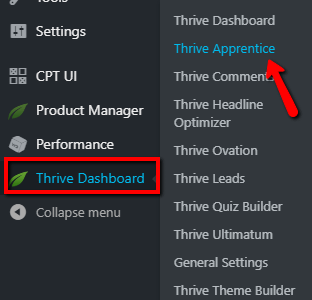
- In your WordPress dashboard, hover over Thrive Dashboard and click Thrive Apprentice.
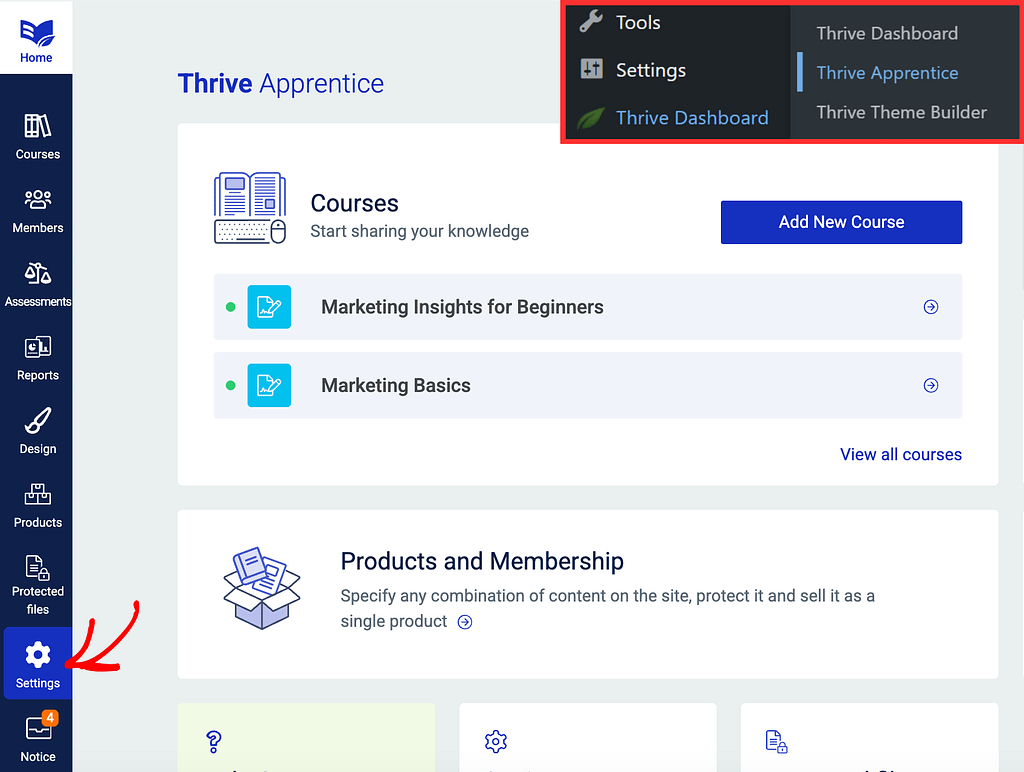
- In the left sidebar, click Settings.
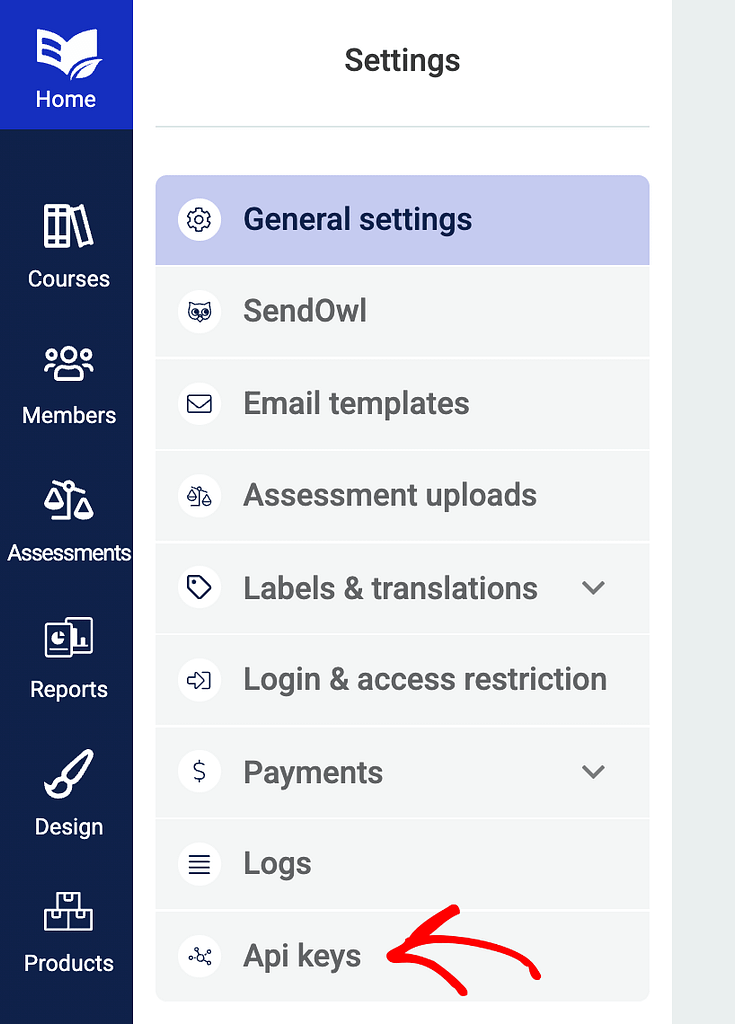
- Select API keys from the list of available settings.
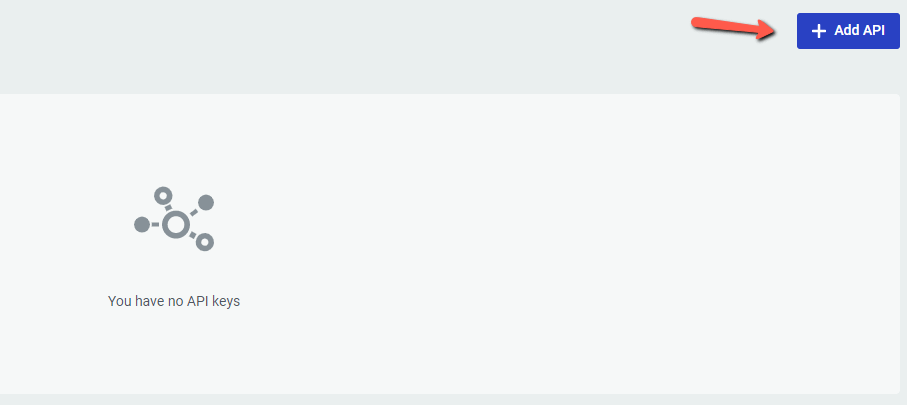
- Click Add API.
- A pop-up will open. Name the key (e.g., “ThriveCart Integration”) and copy the API Key to your clipboard.

- Click Save in the pop-up.

Step 2: Access the ThriveCart Integrations List
Prerequisite: Before proceeding, ensure you have at least one published Thrive Apprentice course. If you do not, the integration will fail with an error message.
With the API key copied, you can now set up the integration in ThriveCart.
- Sign in to your ThriveCart account.
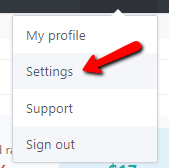
- Click the account icon (your profile image) in the top right corner and select Settings.
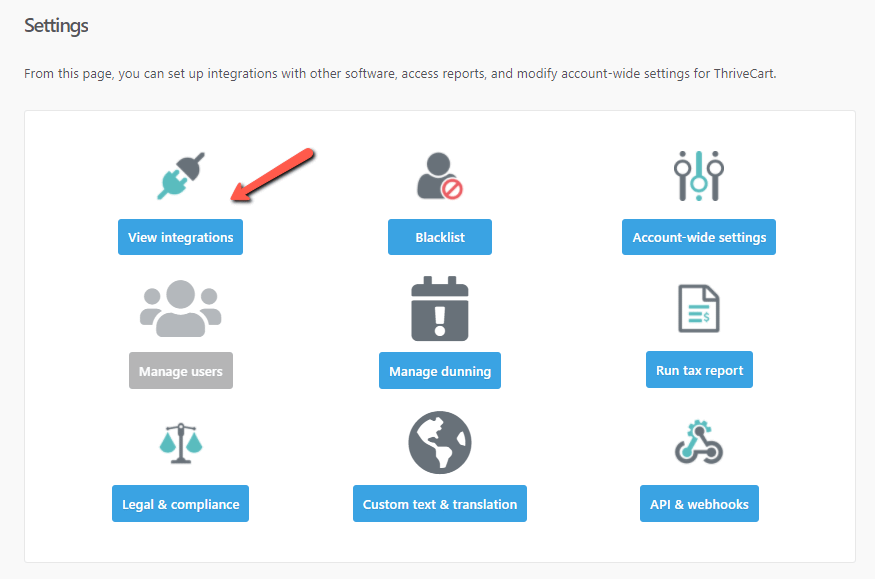
- Go to View Integrations.
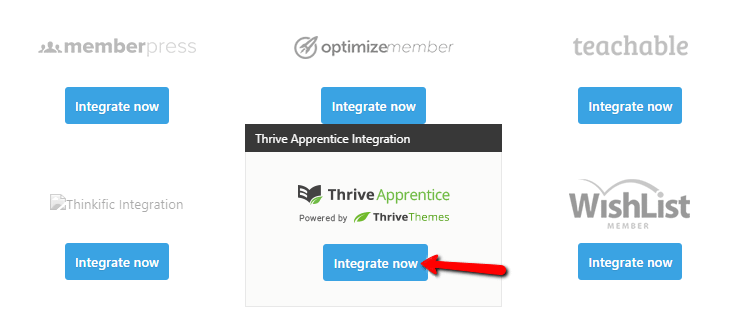
- Scroll down to find Thrive Apprentice and click Integrate Now.
- Click the Integrate with Thrive Apprentice button.

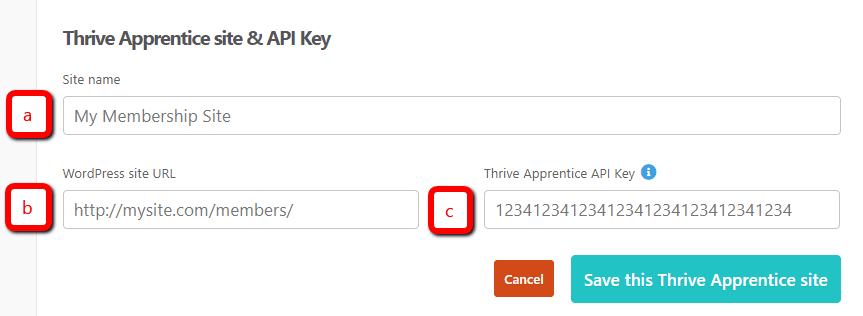
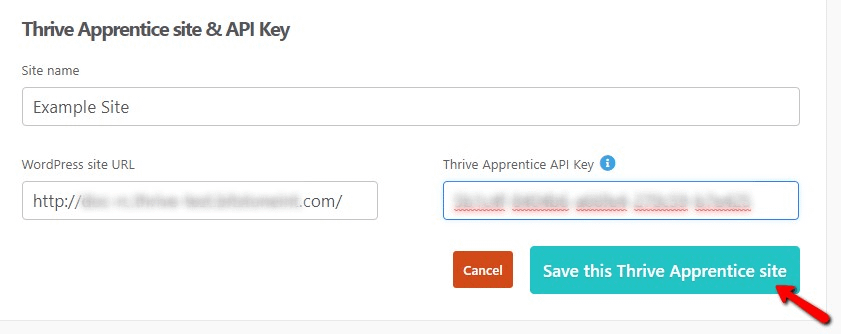
- Complete the following fields:
- Site Name: Enter a name for your site.
- WordPress site URL: Enter your website’s URL (e.g.,
https://mysite.com).- Note: Ensure you use the exact protocol (http:// or https://) as your live site.
- Note: Ensure you use the exact protocol (http:// or https://) as your live site.
Protocol Warning: You must keep the exact URL structure. If your site starts with
https://, ensure you addhttps://in the “WordPress site URL” field in ThriveCart.
* Thrive Apprentice Key: Paste the API Key you copied in Step 1.
- Click Save this Thrive Apprentice site.
Step 3: Create Products and Get the Product URLs
The connection is now established. Next, you will create the products in ThriveCart and retrieve the unique purchase URLs.
- Refer to the ThriveCart knowledge base for detailed instructions on creating products.

- When setting up the product, navigate to the Fulfillment tab.
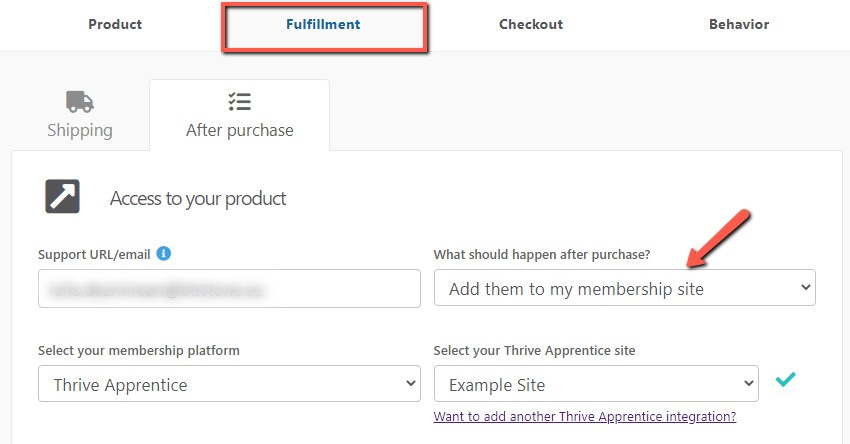
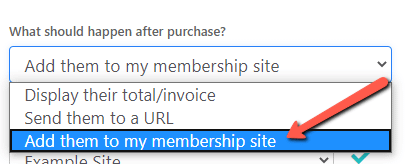
- In the “What should happen after purchase” field, select “Add them to my membership site” to ensure customers receive login details.
- After finishing the product setup, click Save & get URL.
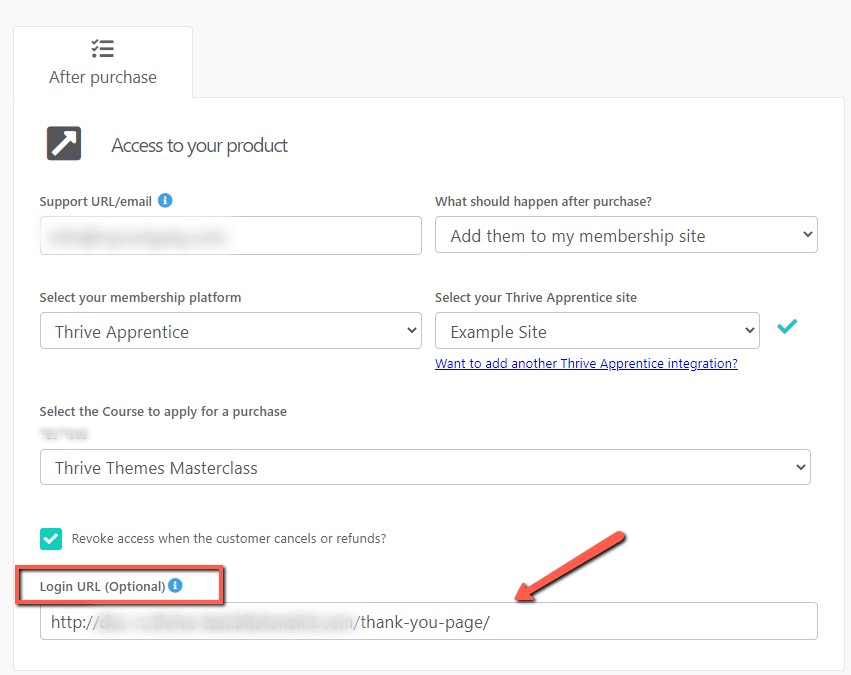
- Copy the URL to your clipboard. This is the link you will use in your Thrive Apprentice lesson.
Step 4: Configure Email Templates for Login Details
This step is crucial for ensuring your customers receive their login credentials after purchase.
- In your Thrive Apprentice dashboard, go to Settings and click Email templates.
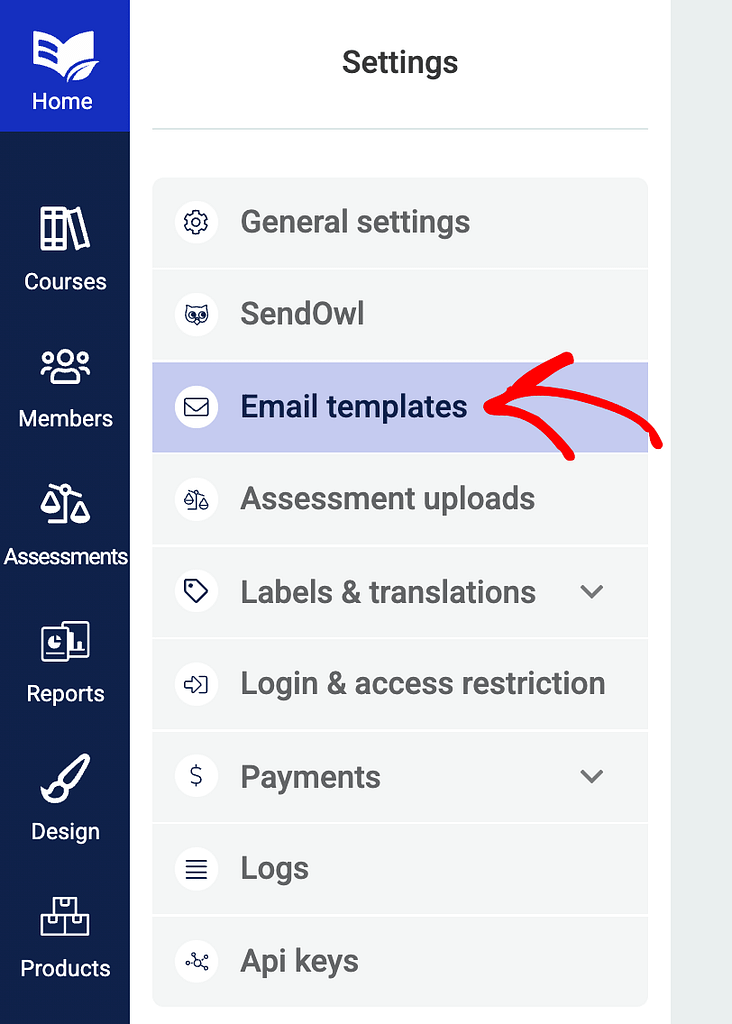
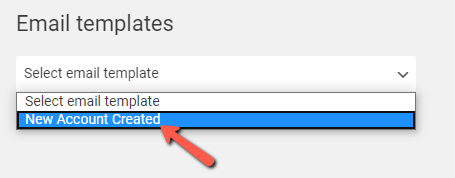
- Select the template you wish to customize (e.g., “New User Registration”).
- Ensure ThriveCart is selected in the Email Triggers list.
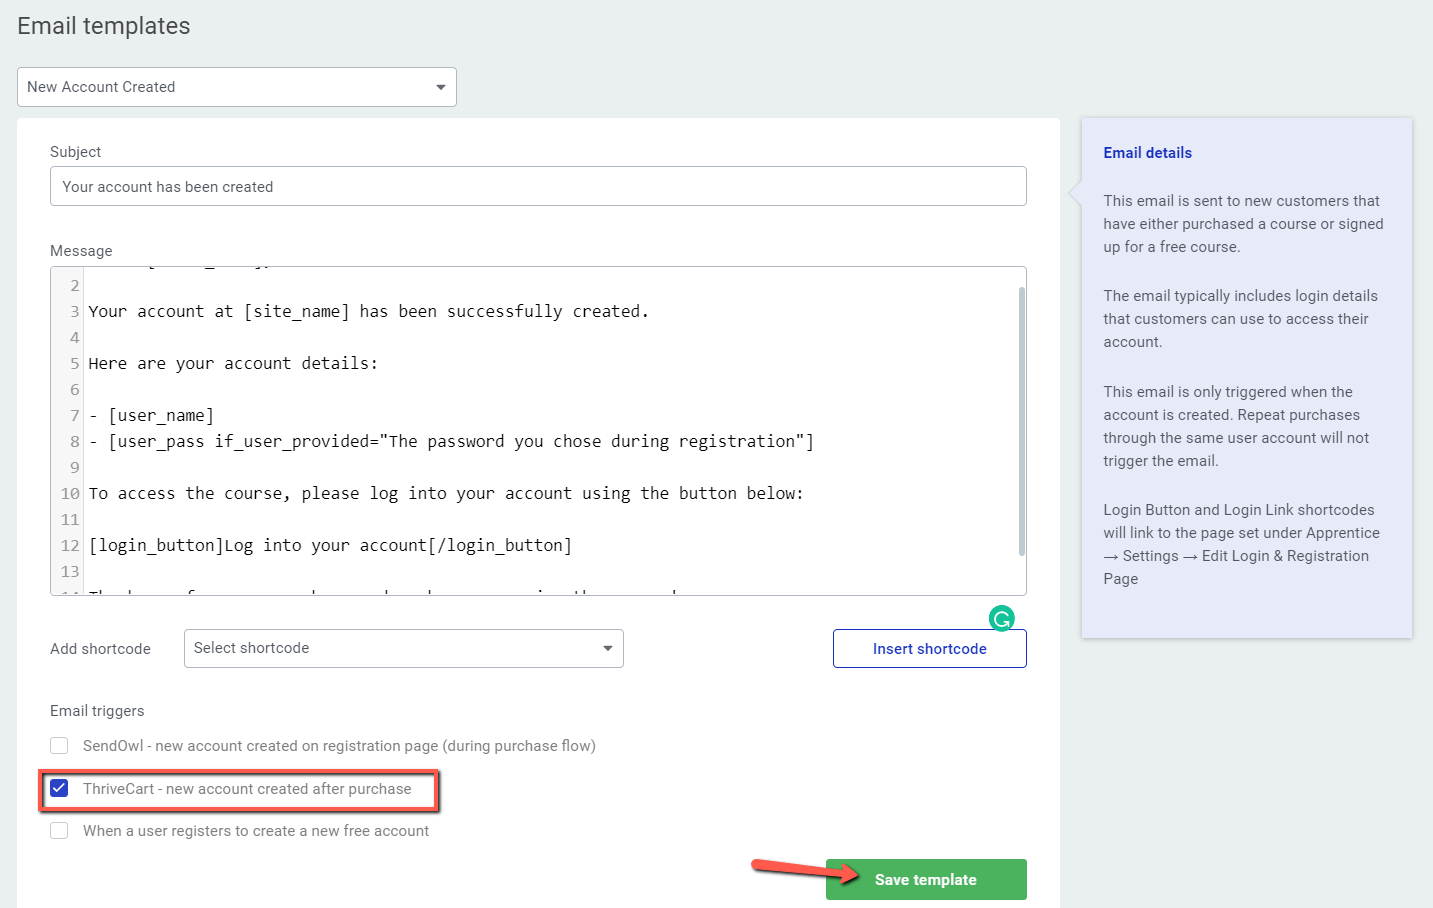
- Customize the template as needed, and click Save Template.
Step 5: Insert the Product URL into Your Lesson
Finally, you will add the ThriveCart product purchase link to your course lesson.
- In the Thrive Apprentice dashboard, open the course containing the lesson you want to edit.
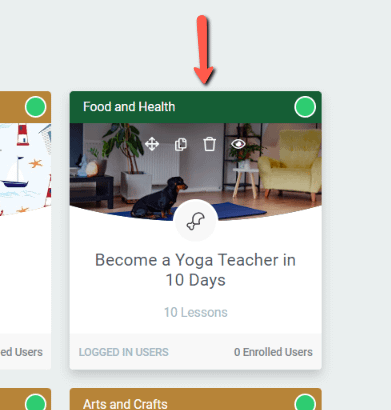
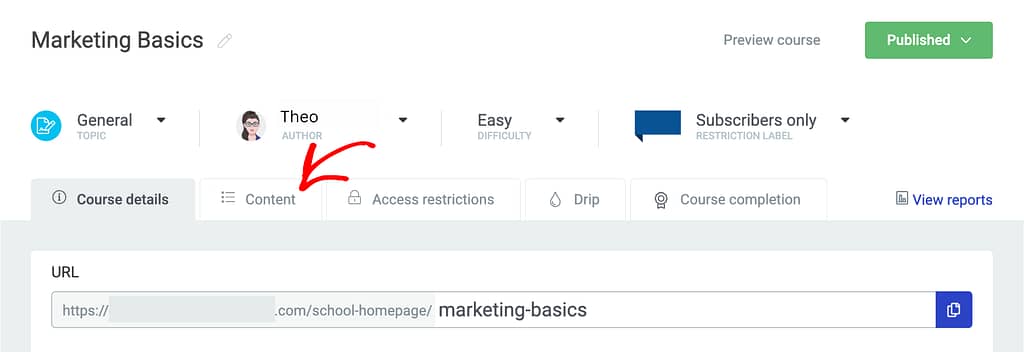
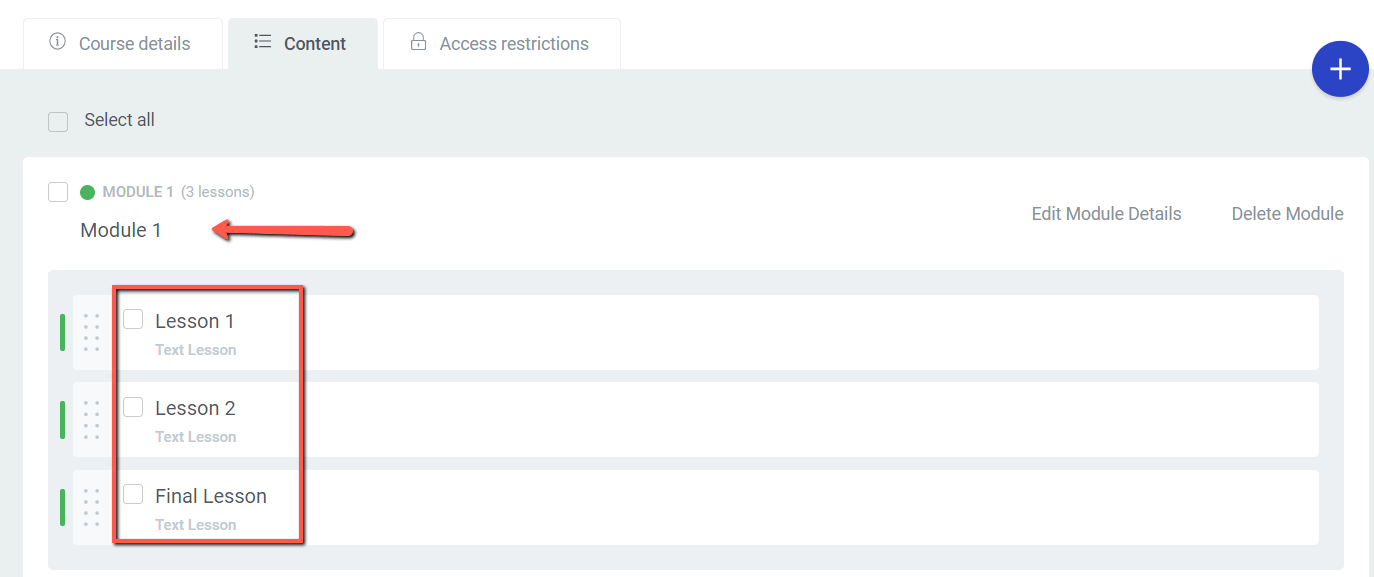
- Click the Content tab, expand the module/chapter, and click Edit Content on the lesson.

- In the Thrive Architect editor, add a Button element.


- Customize the button’s design.
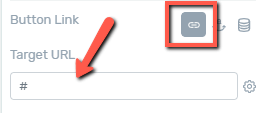
- In the main options sidebar, use the Button Link option to set a static link.
- Paste the ThriveCart Product URL (copied in Step 3) into the Target URL field.
- Save your work in Thrive Architect.
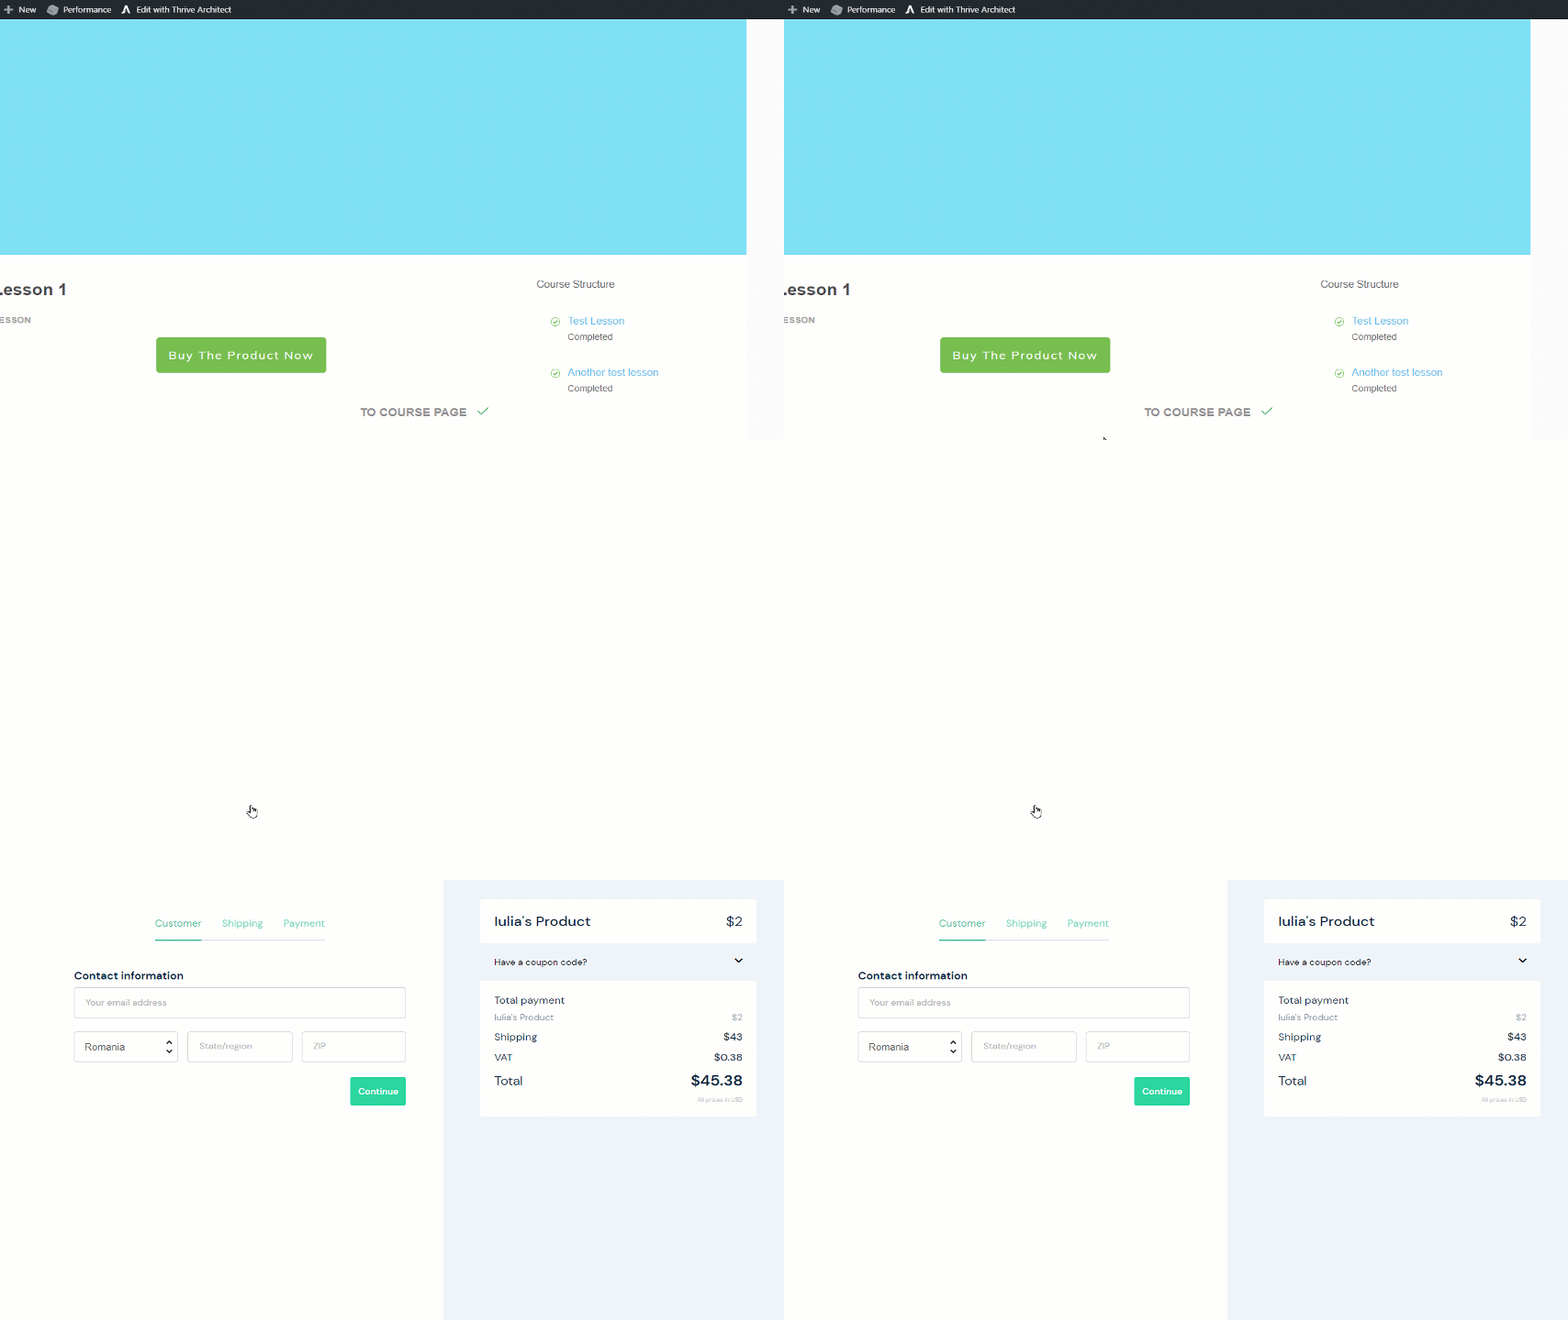
When a user clicks this button, they will be taken to the ThriveCart purchase page. Upon successful purchase, they will receive their login information via the email template configured in Step 4, granting them access to the course.
Related Resources
- Publishing a Course: Managing Course Status in Thrive Apprentice
- Access Restrictions: Login and Access Restriction Settings in Thrive Apprentice
- Course Bundles: Creating Course Bundles in Thrive Apprentice
- Button Element: Using the Button Element in Thrive Architect