Connecting your social media profiles to Thrive Theme Builder is important because it will not only save you time but also make the process of customizing your theme and its various templates easier.
You can connect your social profiles using the “Global Fields” feature, from the “Smart Settings”, available in the Thrive Dashboard.
After you do that, your social profiles will be automatically connected to the Thrive Theme Builder. For example, if you have the “Social Follow” element displayed on your template (it can be in the footer, for example) those links will be added to it by default. You do not need to manually link them once more, after you’ve set them up in your “Smart Site” section.
Here are the steps required to connect your profiles:
1. Access the Smart Settings
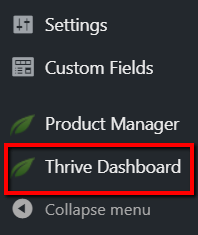
Go to your WordPress admin dashboard and click on the “Thrive Dashboard” item from the left-side menu:
Then, scroll down, in your Thrive Dashboard that opened, until you see the “Smart Site” card. When you found it, click on the “Smart Settings” button from it:
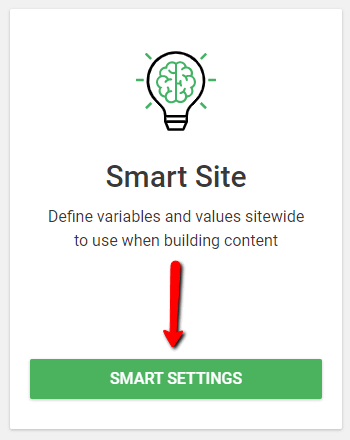
The page containing every “Global Field” will open.
2. Set the Social Global Fields
Look for the “Social” group/section on the page:
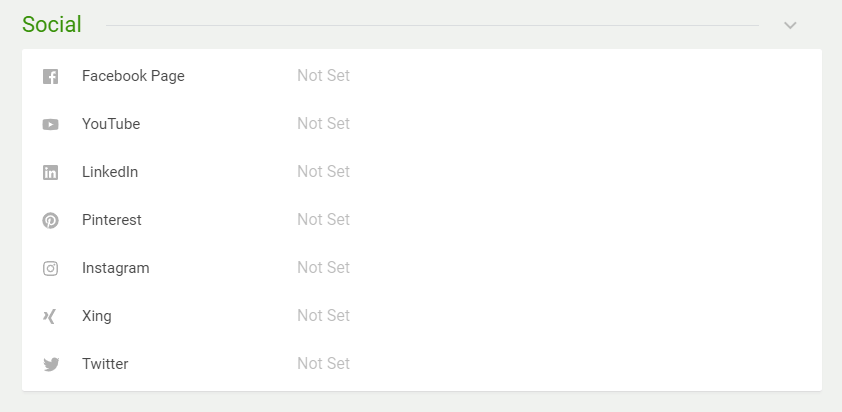
You will see that the “Global Fields” from this group have the “Not Set” status:
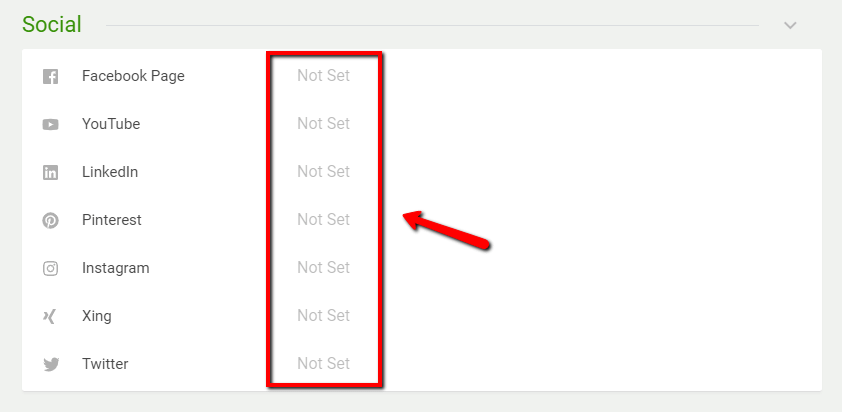
You will have to set/complete each “Global Field” from the “Social” group here, in order to connect your social media profiles to Thrive Theme Builder (and the other Thrive Products at the same time).
To do that, hover over one of the “Global Fields” from this group. Let’s take the “Facebook Page” for example. When you hover over it, you will see an “Edit” option (pencil icon) appear, next to the “Not Set” status. Click on this option:

This will open a pop-up window where you can edit the respective “Global Field”:
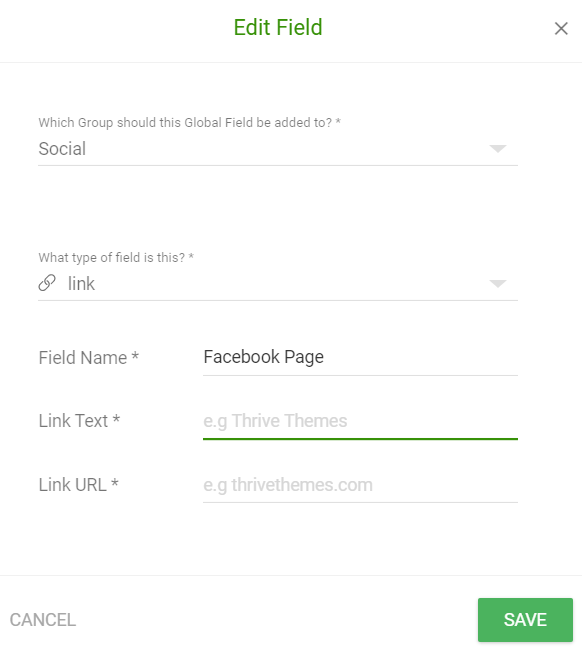
First, complete the “Link Text” field with the name you want to give to this social media link:
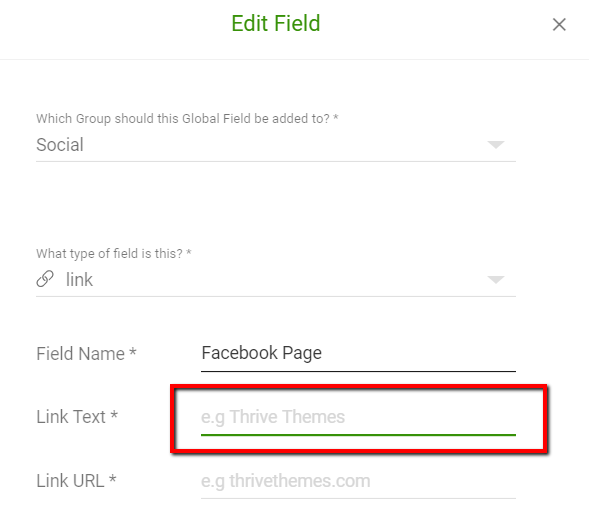
This name should be related to the social media profile you are about to add, the “Global Field” you are completing. In our example, something like “Facebook profile” would be suitable here.
Then, complete the “Link URL” field with the URL, the link of the social media profile you want to add here:
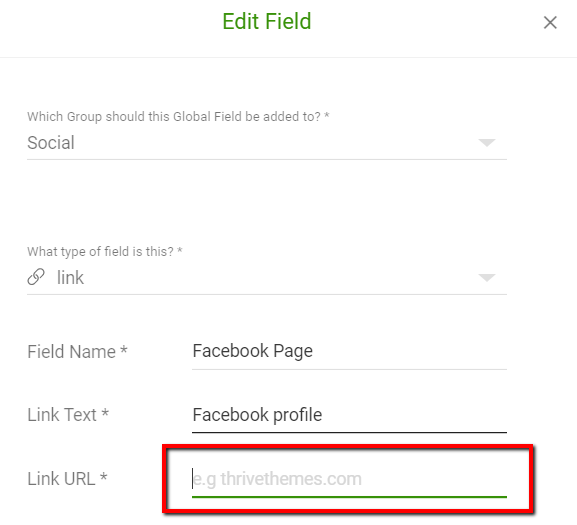
In our example, this has to be the link to the Facebook profile we want to set/complete the “Facebook Page” “Global Field” with.
After you have completed both fields of the pop-up window, click on the “Save” button from the bottom right corner:
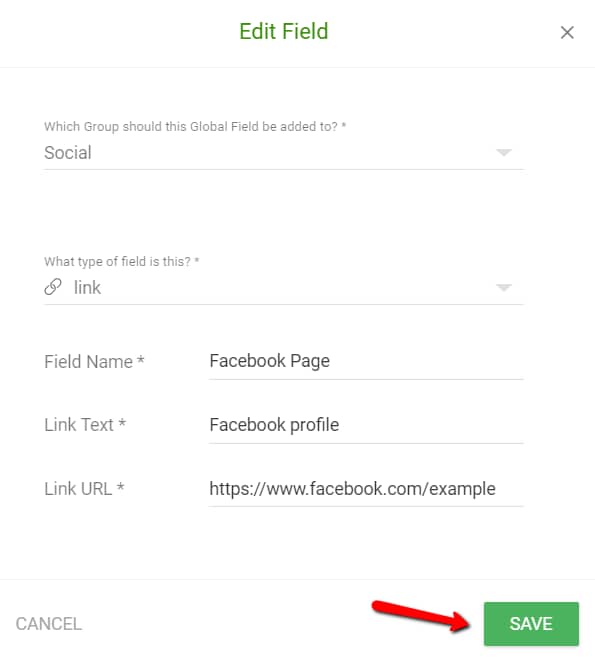
This will save the changes for the respective “Global Field” of the “Social” group; and the social profile you have entered will be automatically connected to Thrive Theme Builder too:

Repeat these steps for each “Global Field” from the “Social” group, in order to set each social media profile and connect them to Thrive Theme Builder. Once you have finished, you will see each field completed in the group, and the “Not Set” statuses will not be there anymore:
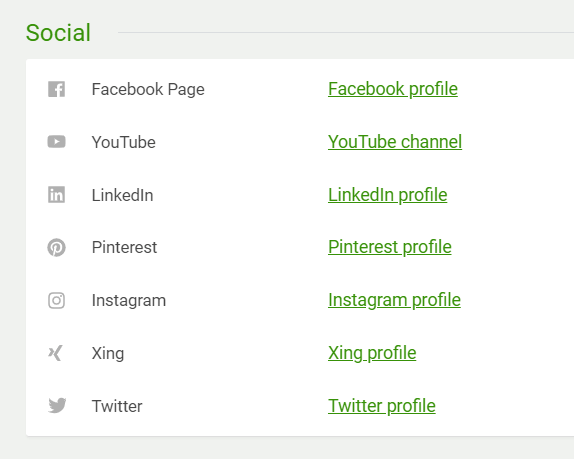
Any time you will want to make adjustments or changes to the fields with the social media profiles you set here, simply hover over the respective field and click on the “Edit” option that appears:

This will open the pop-up window with the editing option again, and you can make the necessary changes to the “Global Field”.
3. Use the connected profiles when needed
As previously mentioned, after you have finished setting the “Social Global Fields”, all the social media profiles will be connected to the Thrive Theme Builder (and your other Thrive products as well).
Therefore, you will be able to use these profiles with the “Social Follow” element, whenever you edit your templates, without having to complete the social media profile links again.
If you would like to find out about other Thrive Theme Builder options, features, and elements, don’t forget to check out our knowledge base here.
Hopefully, this article was useful for you. If so, please give it a smile below 🙂