You can now connect your Thrive Themes account to your PayPal account with the help of incoming webhooks from Thrive Automator.
The way this works is you set up an incoming webhook in Thrive Automator, as your start trigger, and this will fire an automation that collects data from PayPal. In the backend, your automation can use this data to find or create new users on your website and grant them access to a Thrive Apprentice product.
Here’s an interesting use case in which you would like to setup this connection between your Thrive Themes and PayPal accounts:
You have a Thrive Apprentice product that consists of one course. You want to handle the transaction through PayPal, so for that you can set up a PayPal ‘buy now’ button. This can be embedded anywhere on your website – on a sales page, for example.
All the visitors clicking on this button will start the purchasing process. In the backend, Thrive Automator will go through the data collected via the incoming webhook from PayPal (after the order is successfully paid), and grant the users access to your Thrive Apprentice product.
Important!
Keep in mind here that for the automation to succeed, the e-mail used when registering for a WordPress account has to be the same one that’s used in PayPal, when purchasing the product.
Here are the steps for achieving all the above:
1.Create the Thrive Apprentice Product
Create and publish your Thrive Apprentice course, and then, add it to a product:
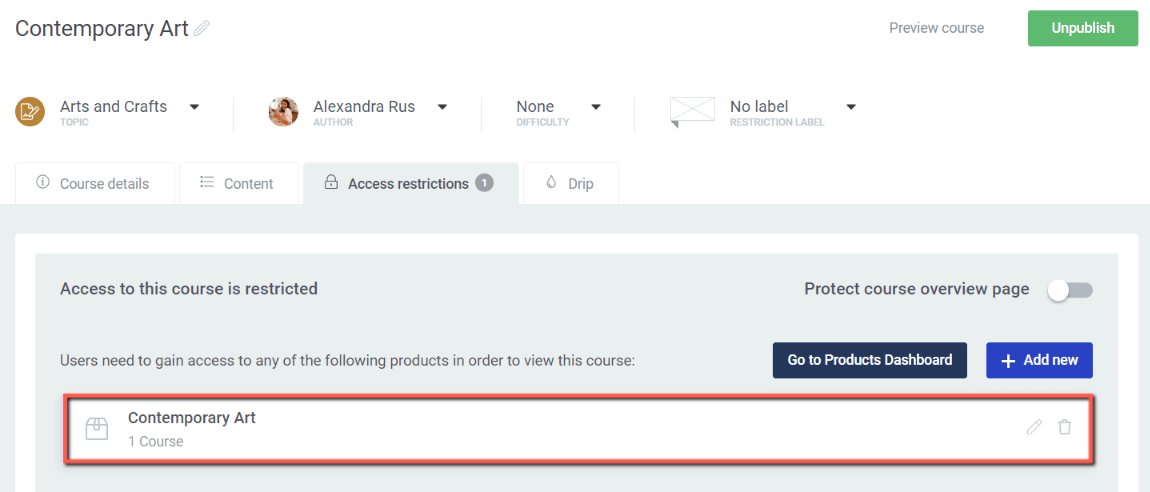
If you need help with setting this up, you can go through this guide from our knowledge base:
After you add your course to a product, you will be redirected to this view where you can start setting up other restrictions and settings at product level:
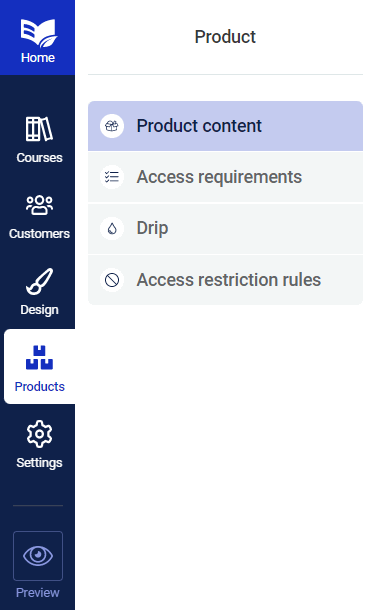
You don’t need to do anything here, as the course is already protected with a product.
However, one thing that you can set up here is the “Purchase protection” behavior from the “Access restriction rules” tab:
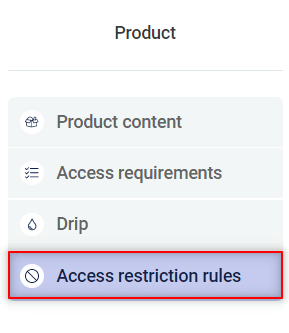
I changed the default site behavior, chose the “redirect to custom page” option so that anyone trying to access this course without having the right permission will be redirected to the PayPal sales page:

Open the list of options and this action will trigger a pop-up window. You can create a new page directly form this view, so go ahead and do that:
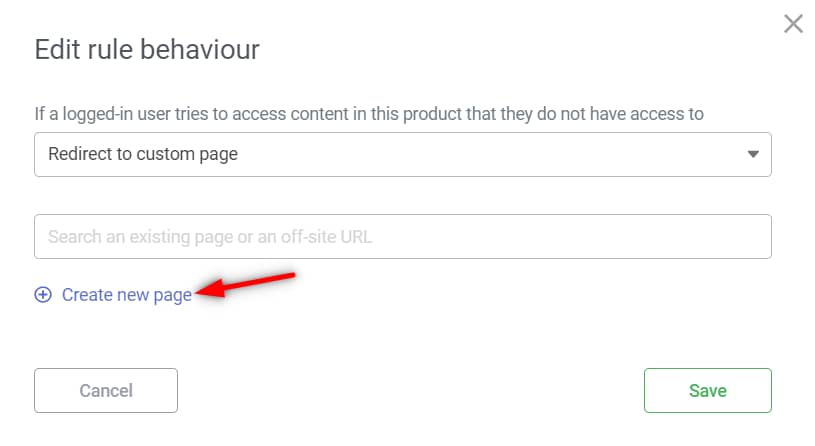
At this stage there’s no need to do much customization, as we will be returning to this page later on, after we have our PayPal buy button:
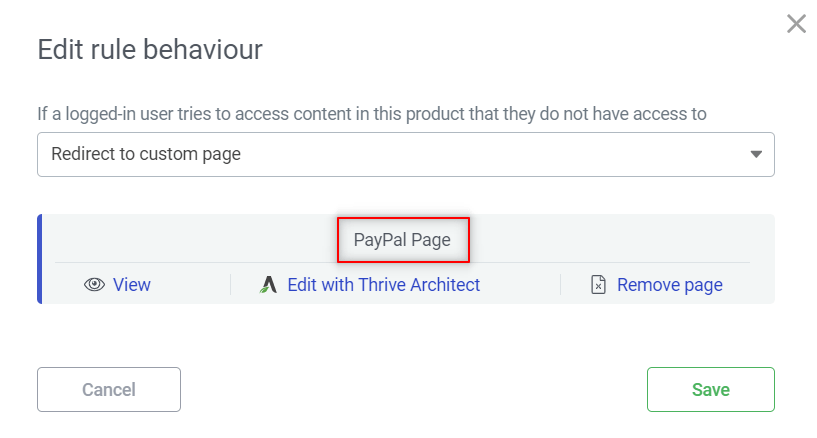
For the time being you’ve just created the sales page on which your PayPal button will be placed. This is also the page that will be shown to anyone trying to access the course without having the right permissions.
You are able to return to this page and edit it with Thrive Architect either directly from this view, or from the “Pages” section of your WordPress admin dashboard.
Then, once your course is ready and published, you can move on to setting up your PayPal buy button.
2.Set up a ‘Buy Button’ in a Regular PayPal Account
Login to your PayPal account.
Here, go to your account settings, access the “Seller tools” tab:

Access the PayPal buttons section:
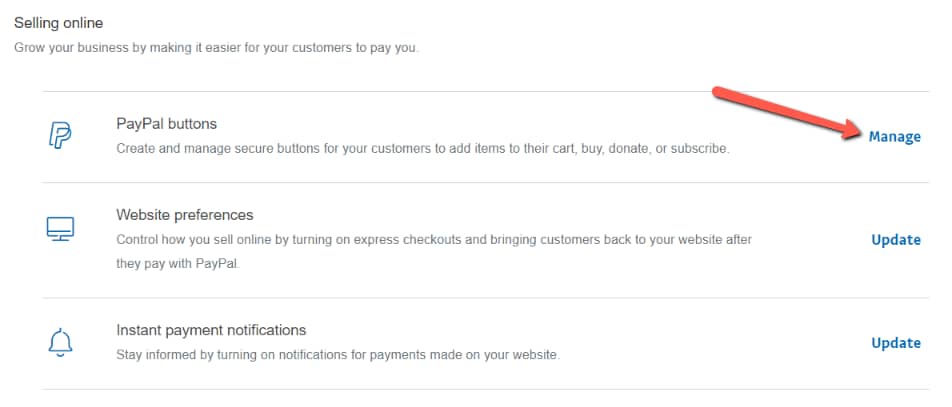
Here, start setting up your buy button:
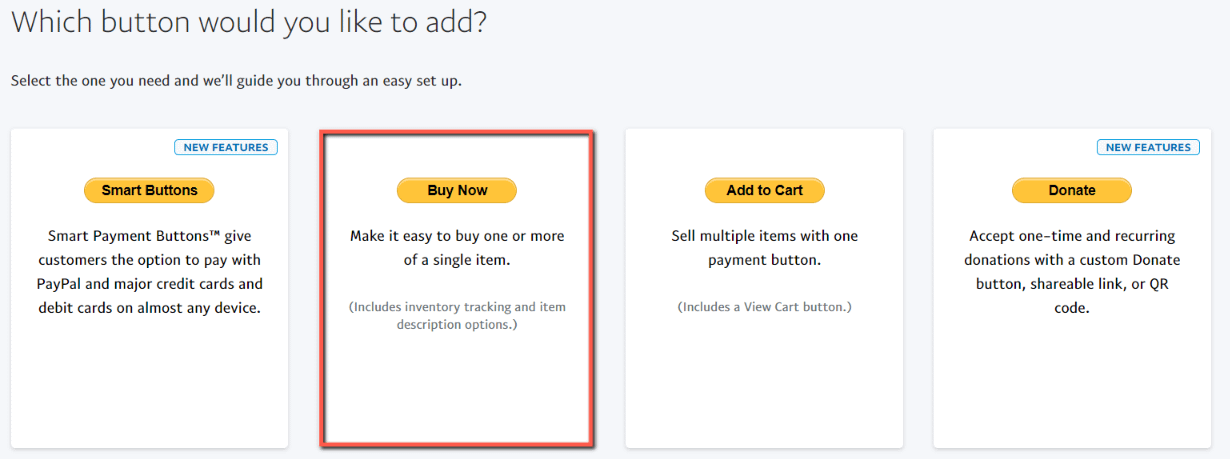
You can set up from pricing details to button types, to shipping values and so on:

Additionally, if you want, you can swipe over to the last step of this setup process:

And insert your course URL or course index page, so that anyone completing the checkout will be redirected to the bought product:
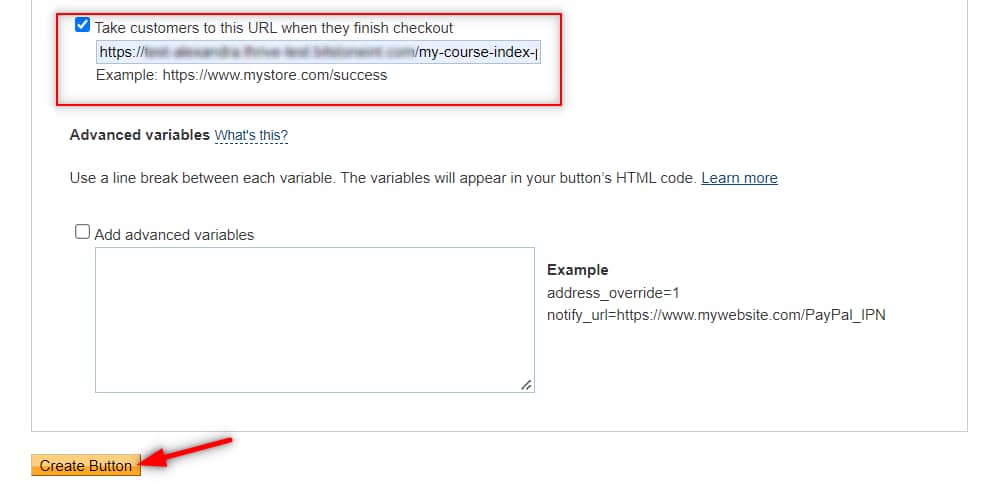
Once this is done, copy the code and embed it anywhere on your sales page:
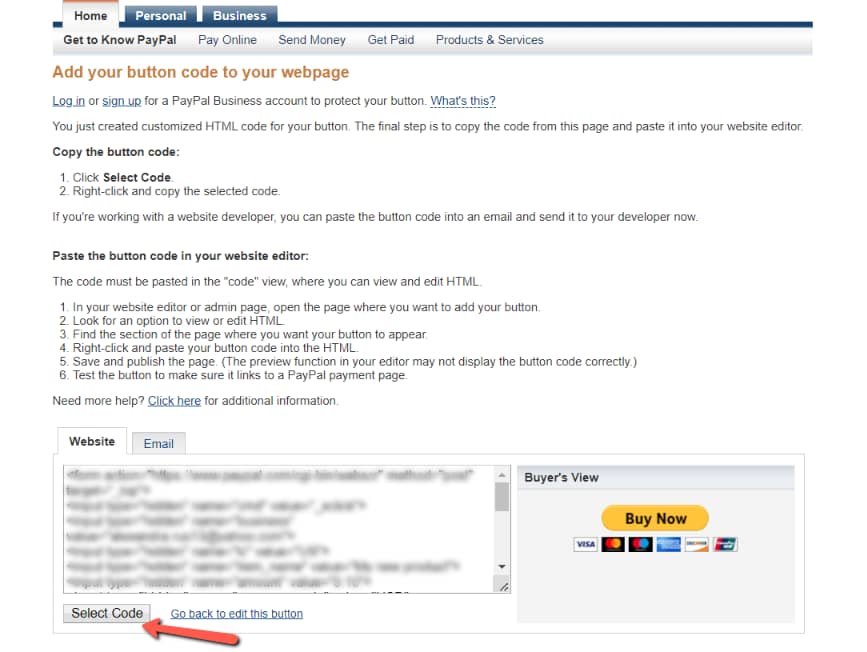
Set up a ‘Buy Button’ in a PayPal Business Account
When you are using a PayPal business account, you’ll see a slight difference in the interface. Therefore, let’s see how you can set up a Buy Button in your business account.
To begin, please login to your PayPal business account.
On the PayPal account page, click Business Tools menu.

On the Business Tools page, click Integrate PayPal in the left panel.

After clicking Integrate PayPal, you’ll see a number of blocks that you can set up.
To add a Buy Button, click Open in the PayPal Logo Center block.
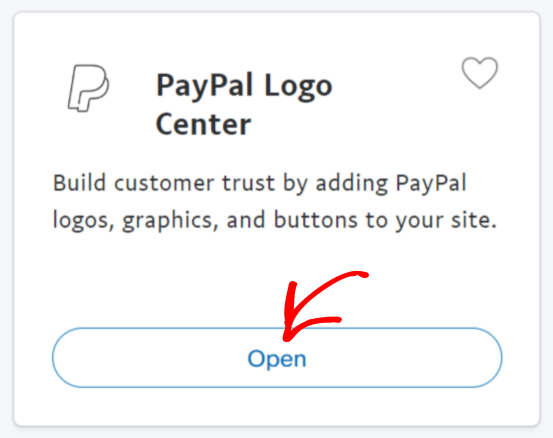
On the PayPal Logo Center page, you’ll see options to add different kinds of buttons and more. This is where you click the Buy Now block.

Clicking the Buy Now block will take you to a form where you can enter your product details, pricing, taxes, etc.
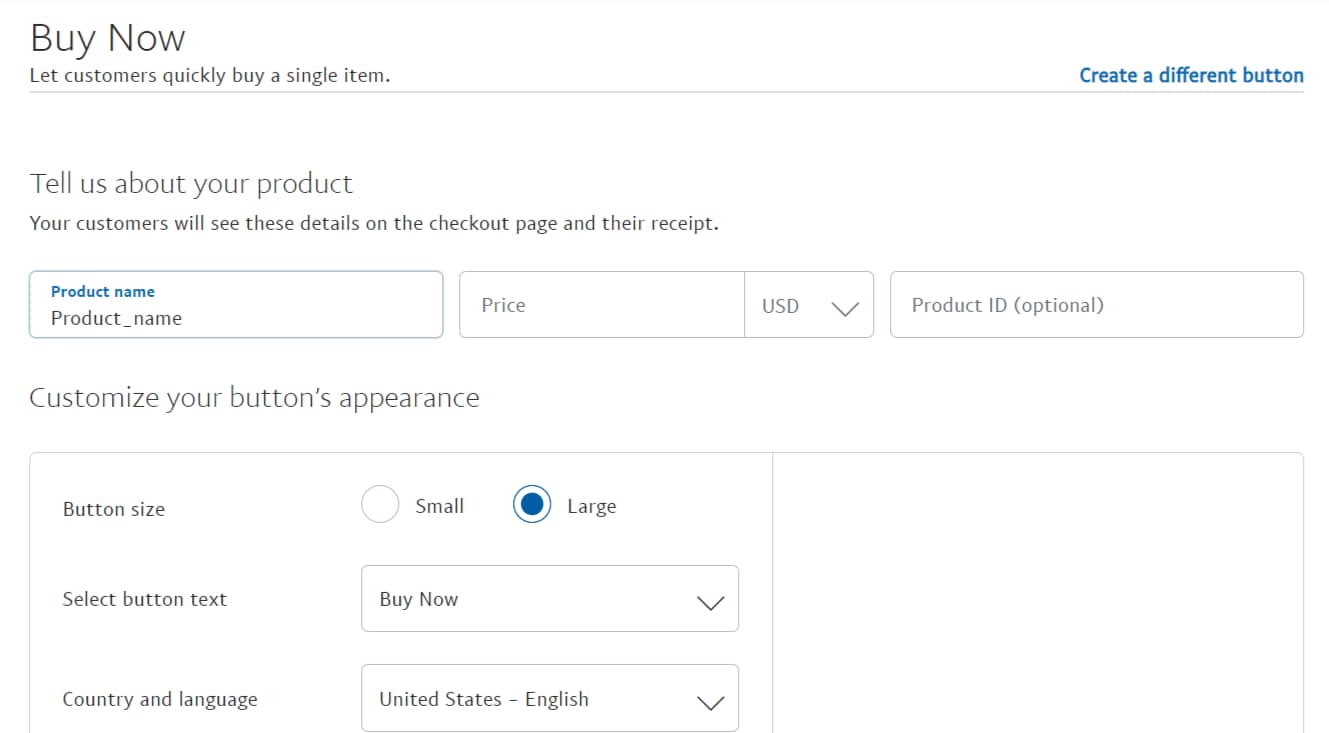
After filling out the form, scroll down and click the button “Save and Create Button.”
3.Add the Buy Button to Your Sales Page
For the sales page, I will use the same page that I’ve just set up in my “Purchase protection” section of Thrive Apprentice:

Open the Thrive editor and customize it as you best see fit to match your offer.
Then use the “Custom HTML” element to embed the button:
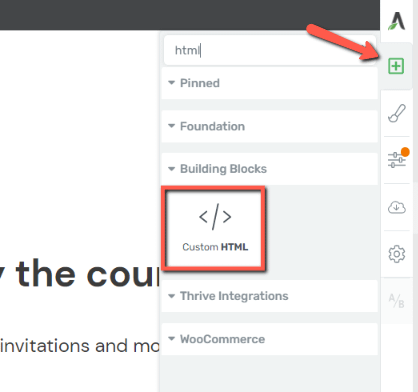
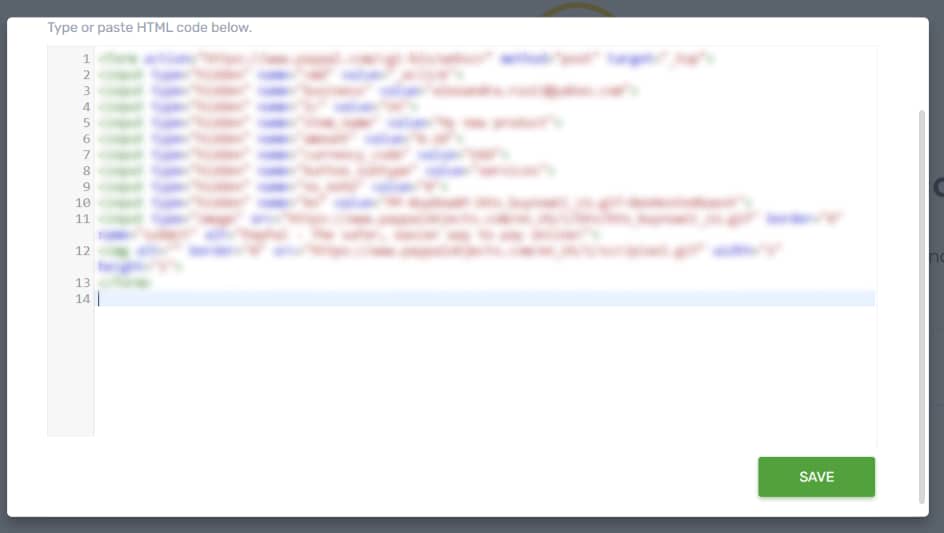
Add the element to your page, and paste the code that you’ve copied from your PayPal account in the pop-up that appears on screen:
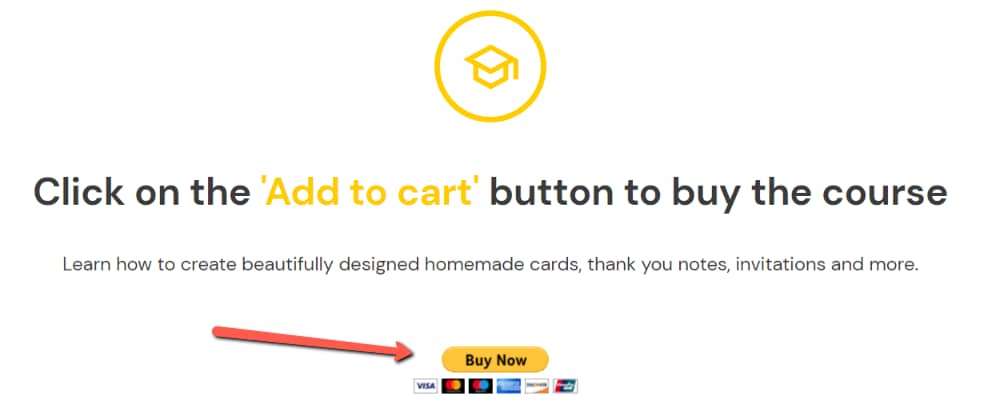
And your button should now be visible on your page:
4.Create the Automation in Thrive Automator
This step will require you to use two tabs, alternatively. You will first need the Thrive Automator dashboard tab, and in parallel you will have to access once more the “Seller Tools” in your PayPal account.
So, first of all, access your Thrive Automator dashboard and create a new automation:
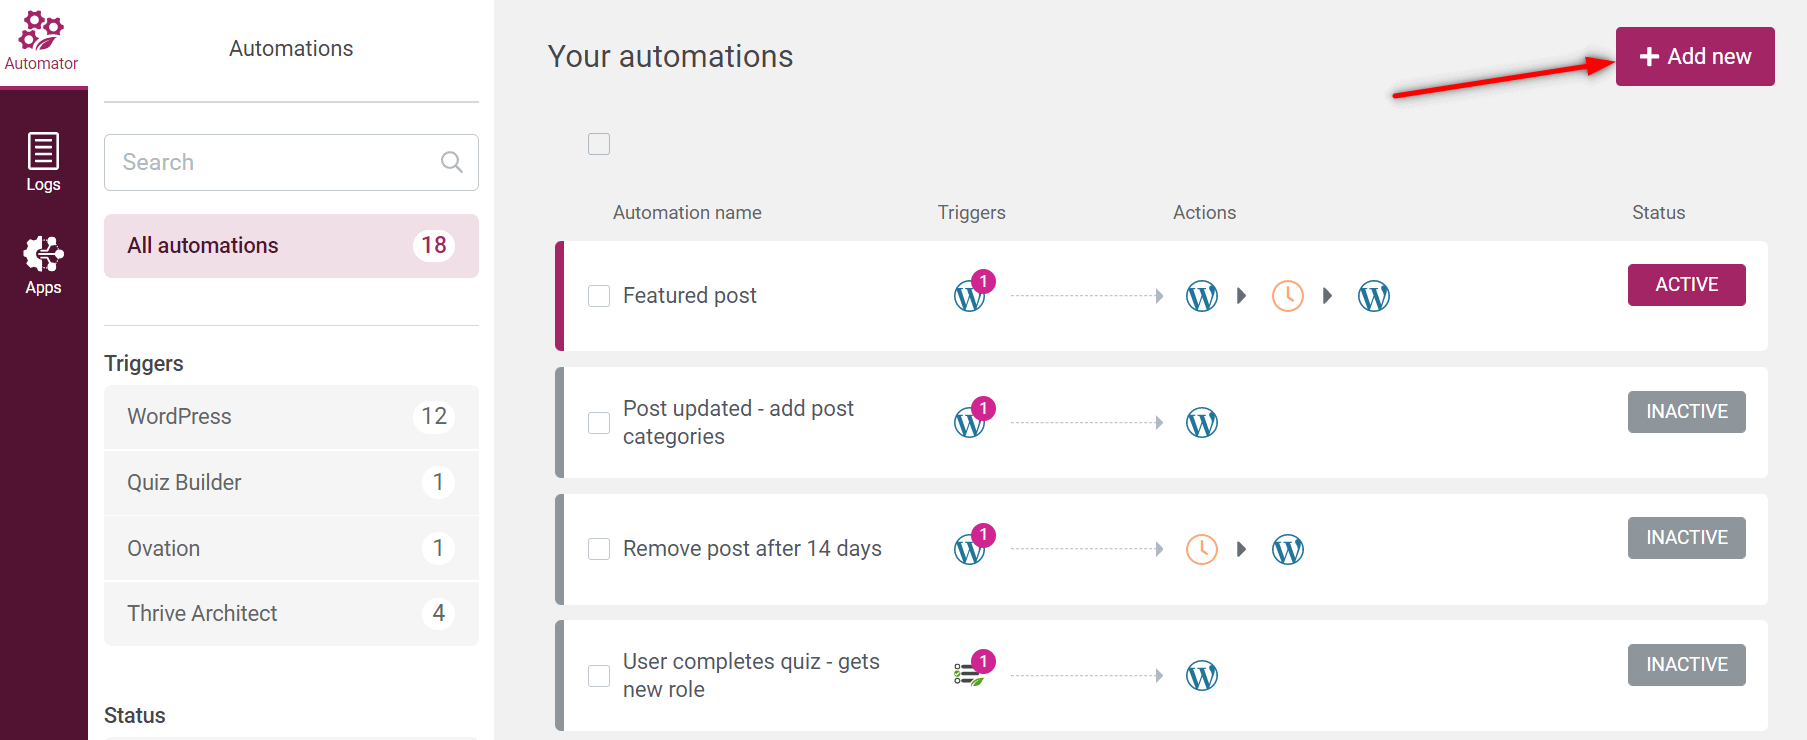
Choose the ‘Incoming webhook’ start trigger
Set the “Incoming webhook” as your start trigger:
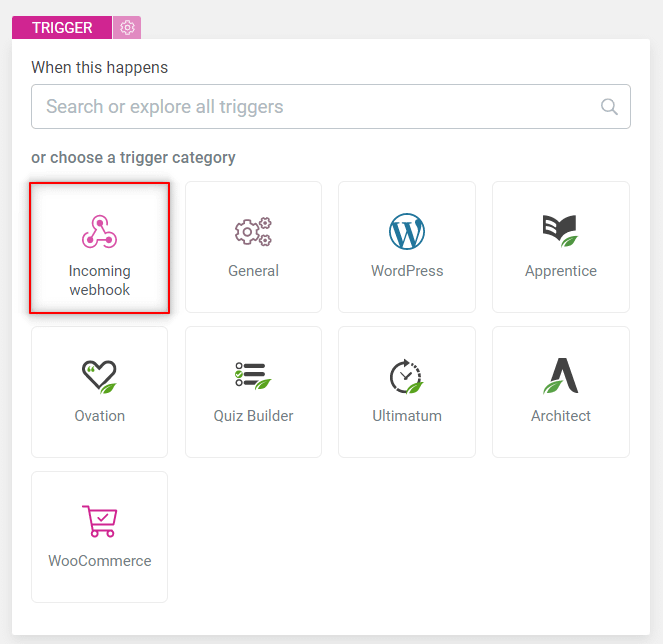
Copy the webhook URL:
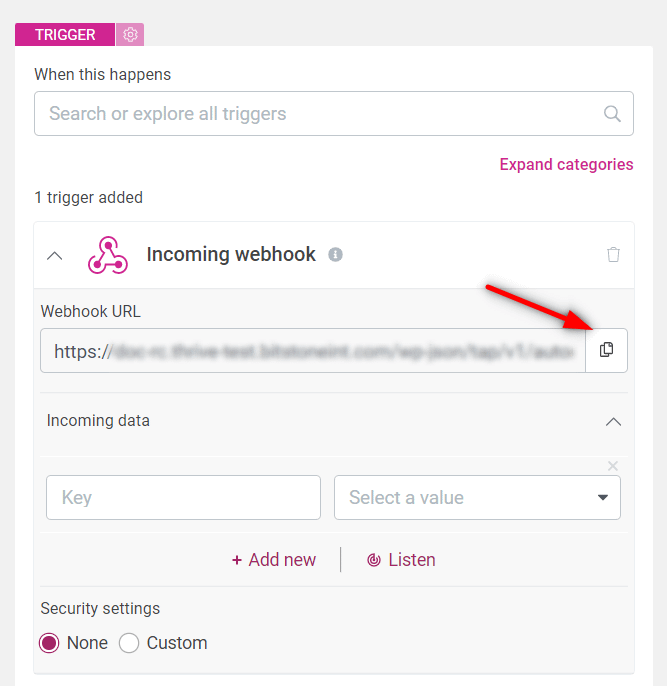
Swipe over to the “Seller tools” tab, of your PayPal account:

Access the “Instant payment notifications” dashboard:
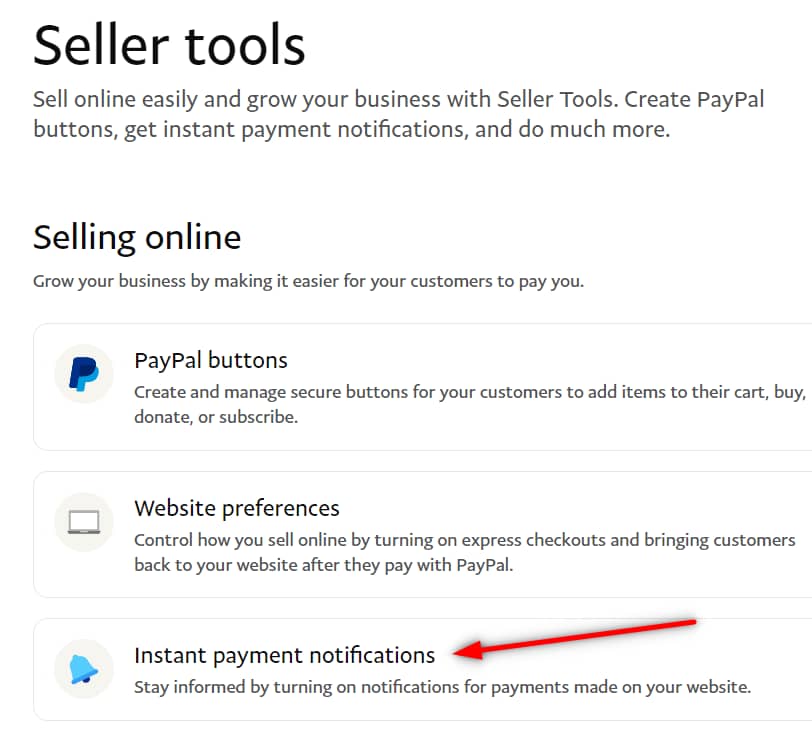
You will use the IPN feature for sending data about the completed payment, directly to Thrive Automator:
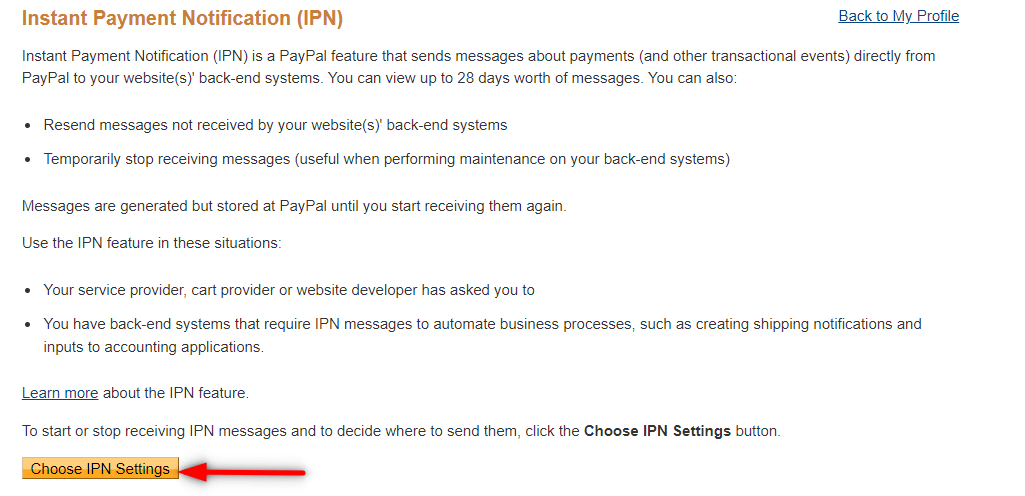
After you click on “Choose IPN Settings”, you’ll be taken to this view where you can insert the webhook that you’ve just copied from Thrive Automator. Don’t forget to also enable the feature:
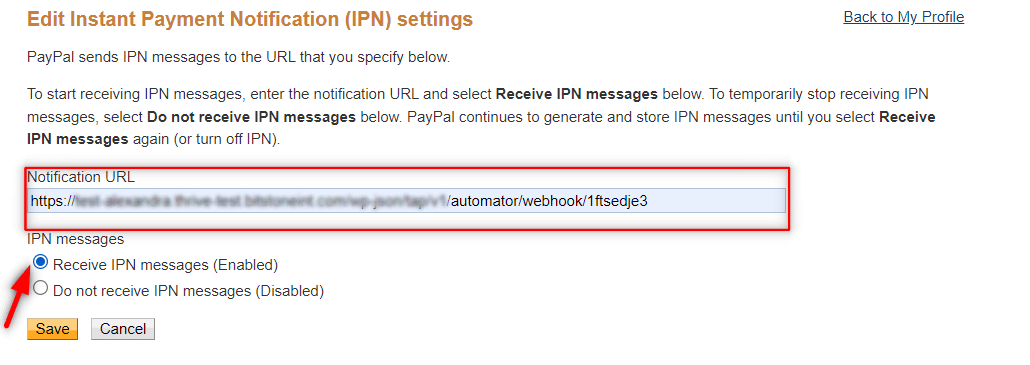
Save your changes and your IPN settings are configured and ready:

In a private window, open the sales page on which you’ve placed the buy button and start the purchasing process. Go through the entire process and make sure you are using the same e-mail address while creating the WordPress account and logging into PayPal.
After you complete the mock order, go back to Thrive Automator, and start the webhook listener:
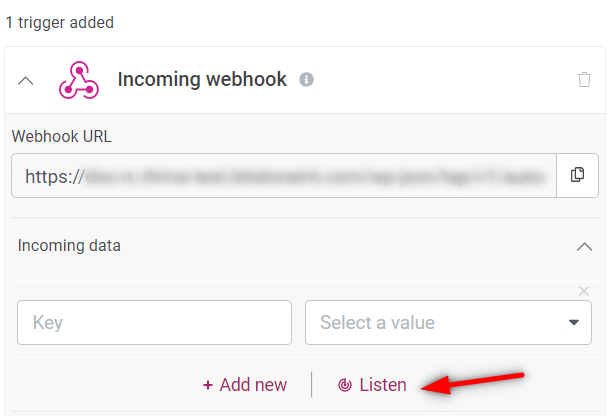
If the event was successfully queued up, you’ll get list of fields, that will auto populate with data pulled from the event you just sent from the PayPal mock order:
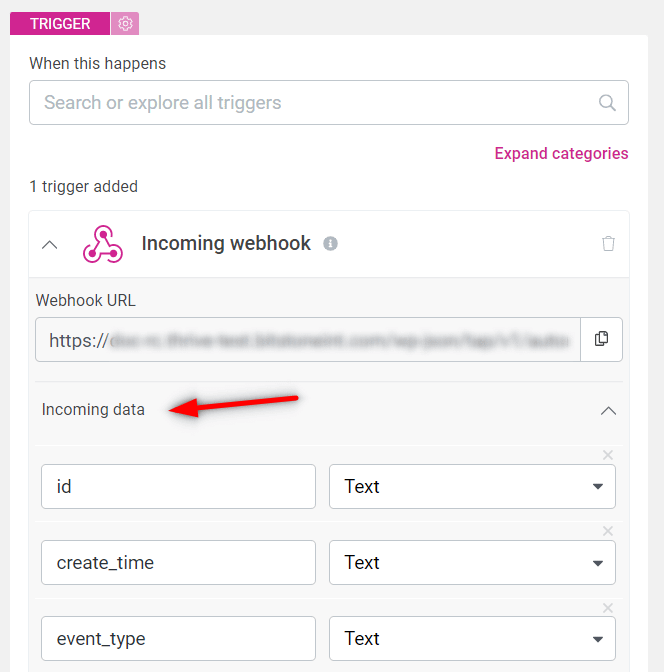
Important!
After the incoming data section will auto populate with information pulled from PayPal, what you need to do is to make sure that your email field is set to “Email” :
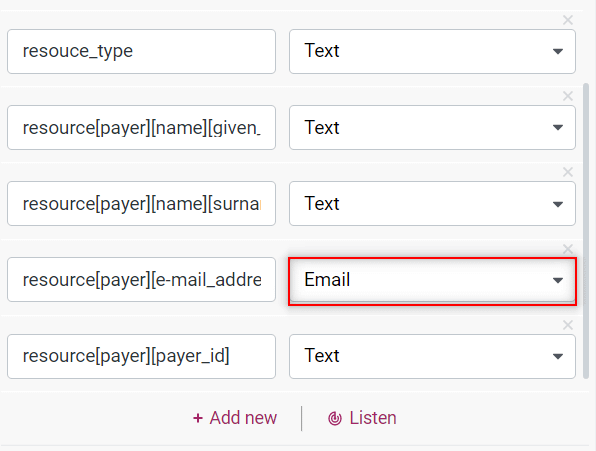
If this condition is not met, your automation will not display properly the next step in the workflow.
Add another action – Find or create user
One of the main goals of this automation is to make sure that all users get access to a Thrive Apprentice product. So, by choosing the “Find or create user” action, I am making of the following things:
- all pre-existing users that made the PayPal purchase will be found in the system, and receive access to my product
- all new visitors that buy the product will automatically have an account created on my website, and in return, receive access to my Thrive Apprentice product:
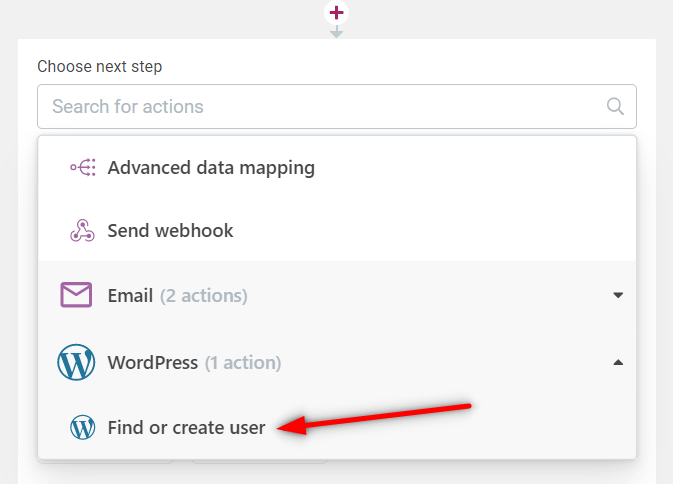
First, click on the “WordPress” card to add a new action:
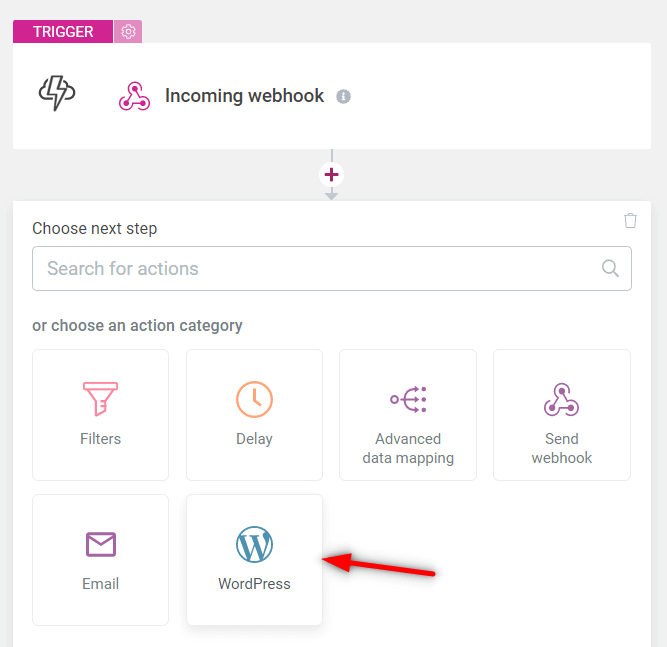
Next, select the “Find or create user” action:
Which will lead to this card, where you can use dynamic data for the first name and the last name:
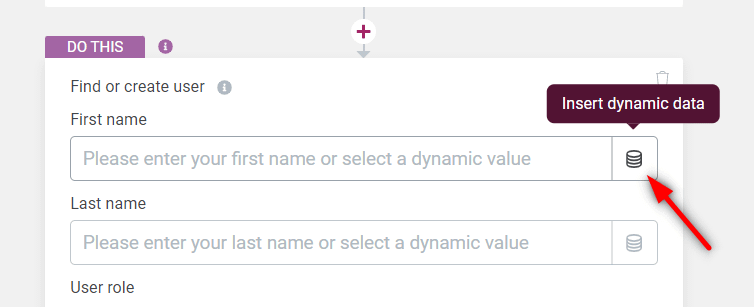
Click on the dynamic data button and use the “Webhook data” to look up the required information:

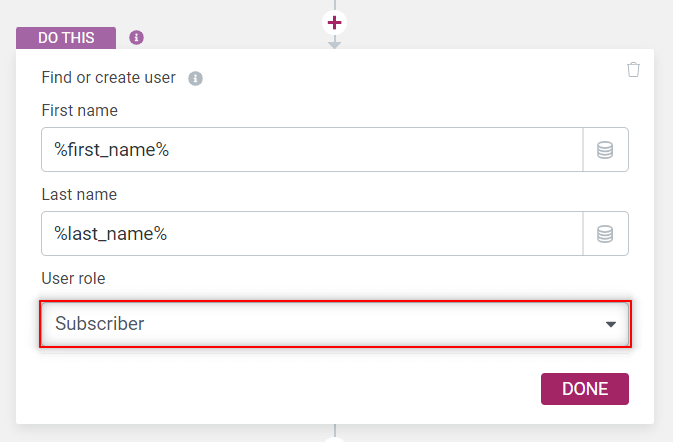
When this is set up, the only thing left to do is to select the “Subscriber” role, as the role to be granted to all new users:
Choose the next action – Grant access to product
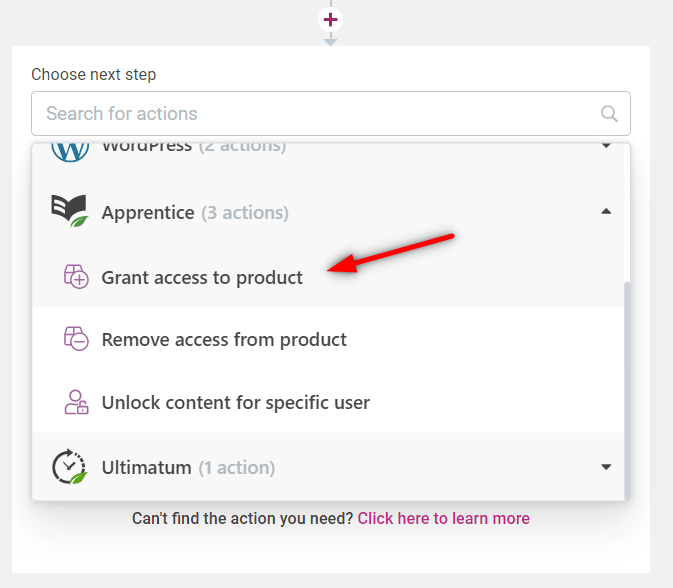
With this set up, you can proceed to the next step, which is granting access to a Thrive Apprentice product to all users that meet the conditions set by you:
Select the “Grant access to product” action:
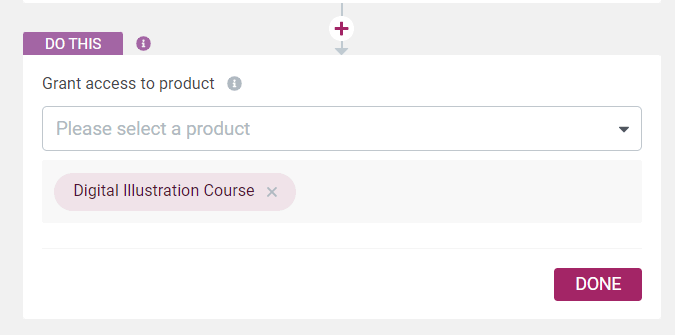
And filter out the product to which you want to give access:
Lastly, don’t forget to save your automation and publish it whenever you want to start this workflow.
Now anytime the visitors will be landing on the sales page, they will be taken to the checkout process where they can use they PayPal account to pay for your product. In the backend, Thrive Automator will gather the data from the purchase, through the incoming webhook that you’ve just set up, and automatically grant them access to the product.
Hopefully this guide about how to use the incoming webhooks from Thrive Automator to connect to PayPal has been useful to you.
Our knowledge base is one click away if you want to read more about this type of automations that you can set up: