If you have WooCommerce active on your website, then you have the option of applying dynamic links to various elements and turn them into an “Add to cart” type of links.
Here’s how you can use this feature:
Access the Product Page
First of all, open the page on which you would like to apply a dynamic link:

The dynamic link feature can be used on various elements, but, for this example, we will be using it on a “Button” element.
This is due to the fact that the “Add to cart product” option, in particular, is only available when applied to buttons. The other available options (such as the “Shop Page, “My Account”, “Checkout Page” and so on) can be used with other elements as well.
Apply a Dynamic Link
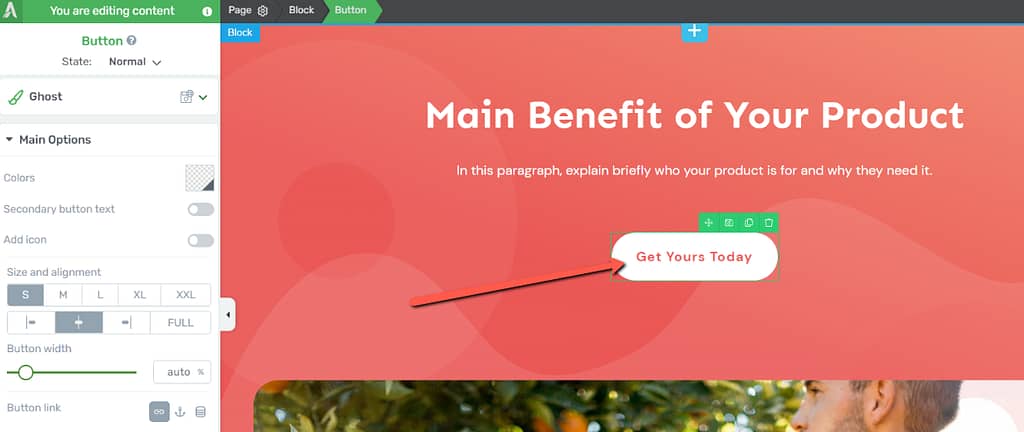
Select the “Button” element by clicking on it:
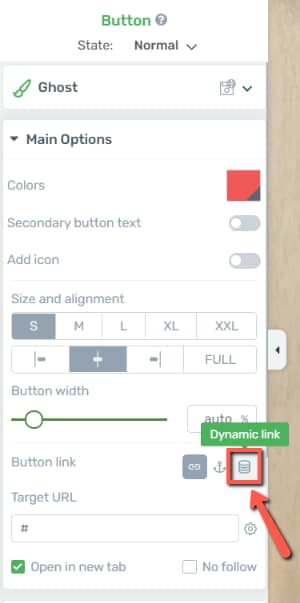
In the left sidebar list of options, click on the “Dynamic link” option:
If you want to read more about how to use the “Button link” options as well as how to use the remaining options of the “Button” element, then this article will be useful to you.
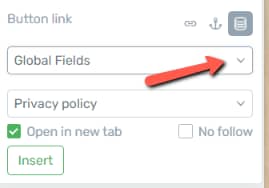
With the “Dynamic link” option selected, go ahead and open the first drop-down list:
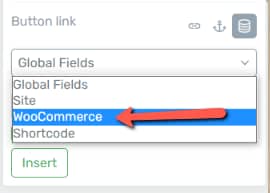
Select “WooCommerce” from the list:
Once you do that, a new set of options will become available in the left sidebar:
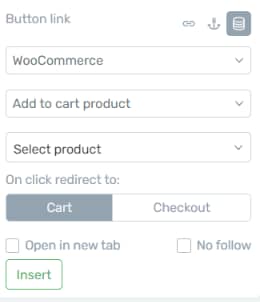
If you open the second drop-down list you will see all types of dynamic links you can apply here:
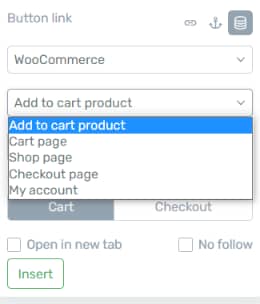
Select “Add to cart product” from this list:
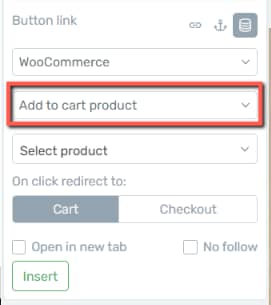
You will next have to select the WooCommerce product:

The products will be listed here alphabetically, and you can simply select the one you want from the list, or, if you want, you can also search for a specific product.
After you select the product, you will have to decide the action that will be performed on click.
The visitor can either be redirected to the cart or to checkout:
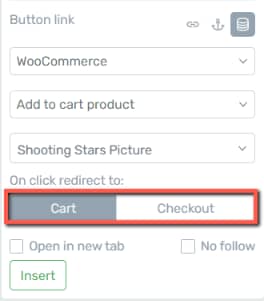
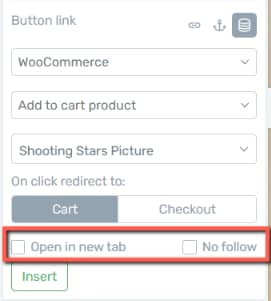
Lastly, decide whether you want to open the link in a new tab or if you want to “No follow” type of action:
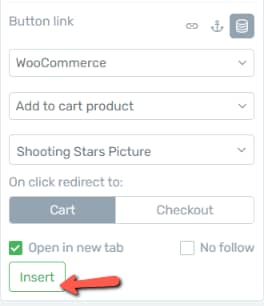
Don’t forget to click on “Insert” to make sure your link is applied:
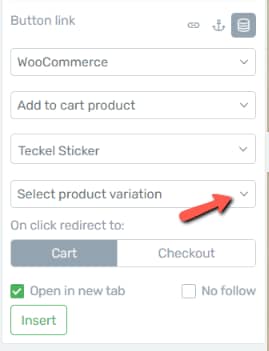
Note: If you have a variable type of product (a product that comes in different sizes, colors, etc), then there’s one more step you have to make here. After you select the product from the list, you will have to go ahead and also select the product variation:
For this example, I’ve created two variations for my sticker:
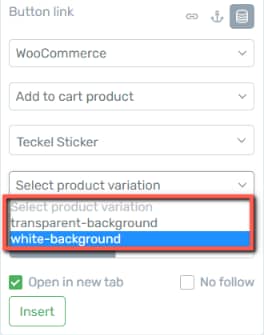
Once this is done, you can proceed with the remaining options, just as already described above:
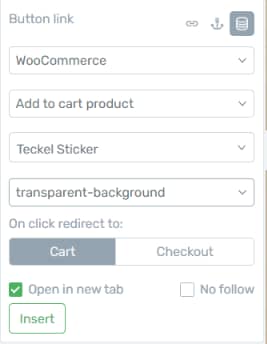
With this feature applied to it, your “Button” will now work as an “Add to cart” type of button:

This means that when someone clicks the button on which you have applied this feature, the product will be automatically added to the cart and that person will be redirected to the cart or checkout, depending on how you’ve configured this.
Hopefully this article about how to create a WooCommerce “Add to Cart” button using the dynamic link feature was useful to you. Make sure to check out other articles of this type if you want to learn more about setting up your products in WooCommerce: