You can very easily turn any button from your website into a WooCommerce “Checkout Page” button.
This can be done with the help of the dynamic link feature and the steps for doing just that will be detailed below.
Access the Post/Page
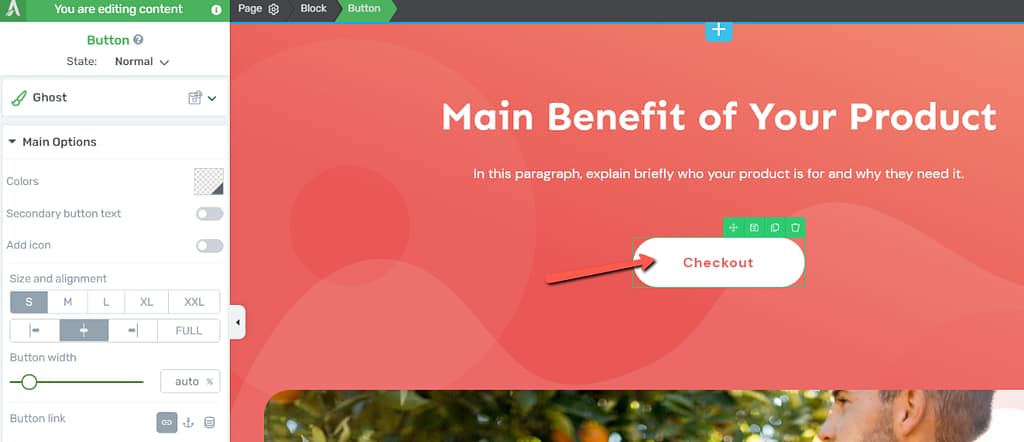
First, open the page or post you want to work on:
Next, select a “Button” element or add one to your page, and access its left sidebar list of options:
Apply a Dynamic Link
Here, click on the “Dynamic link” option:
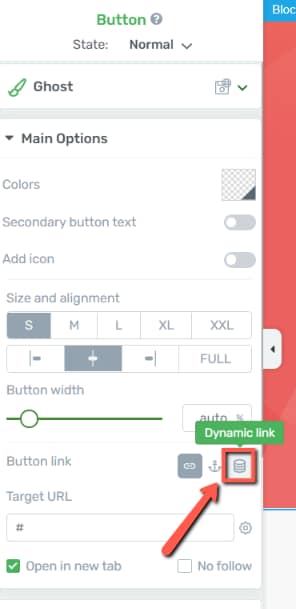
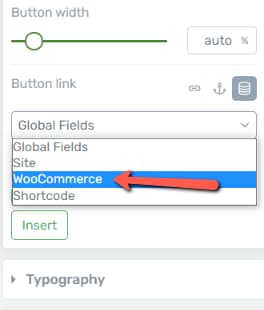
This will automatically two drop-down lists, that you can use to set up the action that will be performed when this button is clicked:
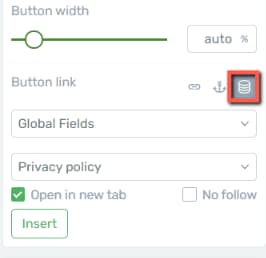
Open the first drop-down list and select “WooCommerce”:
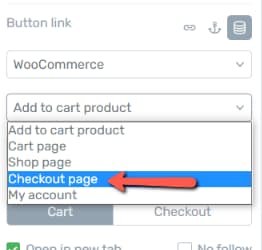
From the next drop-down, select “Checkout page”, as this is where you would like to redirect the visitors who are clicking this button:
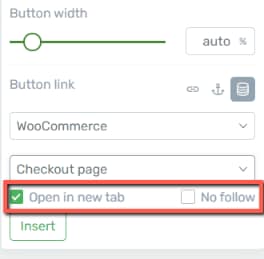
You can also check or uncheck the boxes from the following set of options, depending on whether you want to open the link in a new tab or not:
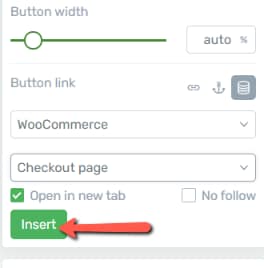
Lastly, click on “Insert” to make sure your dynamic link is successfully applied to your button:
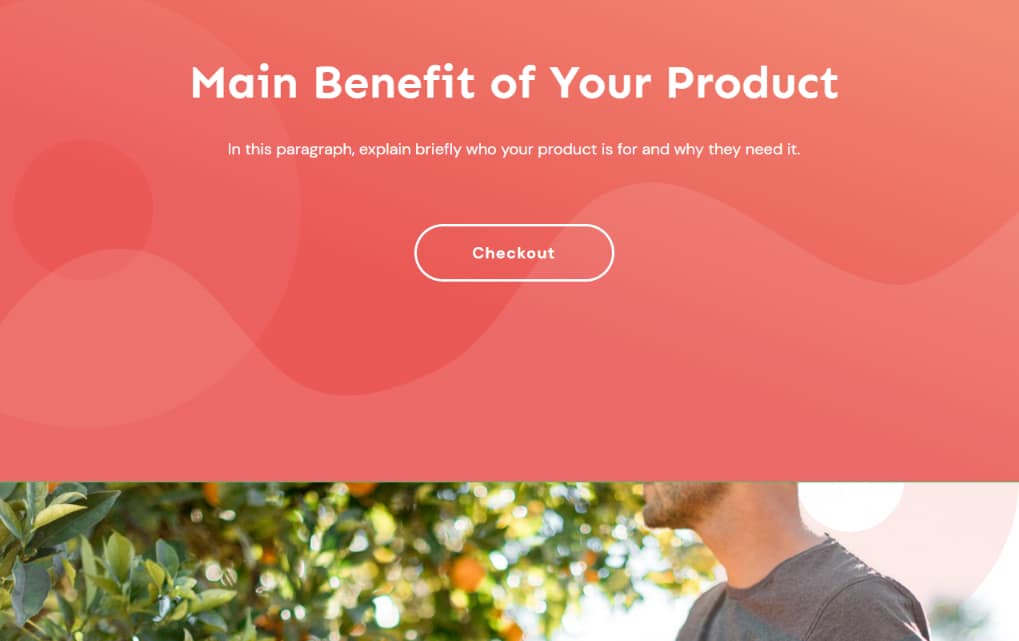
And now, as simple as that, you’ve managed to create a WooCommerce “Checkout Page” button on your website:

All visitors clicking this button (placed on any post or page), will automatically be redirected to the WooCommerce checkout page.
Hopefully, this article about how to create a WooCommerce “Checkout Page” button using the dynamic link feature was useful to you. Make sure to check out other articles of this type if you want to learn more about setting up your products in WooCommerce: